You've Been Using Your Oven All Wrong
How much you use your oven probably depends on your comfort level in the kitchen. Maybe you're a master chef who uses it to whip up elaborate homemade meals every night, or maybe you only turn the thing on for that late-night (drunken?) frozen pizza fix. Maybe you consider yourself a regular Martha Stewart in the baking department, or maybe the only time you attempt it is to satisfy your cookie craving with a tube of Tollhouse dough.
No matter your skill level, we've got some bad news: There's a good chance you're doing something wrong when it comes to using this workhorse appliance. From rack placement to cooking and cleaning hacks, we've got all the tips and tricks you need to ensure you're using your oven the right — and smartest — way, and most importantly, to ensure that all your culinary creations (yes, even pizza bagels!) are the tastiest they can be.
You're not using this preheat hack
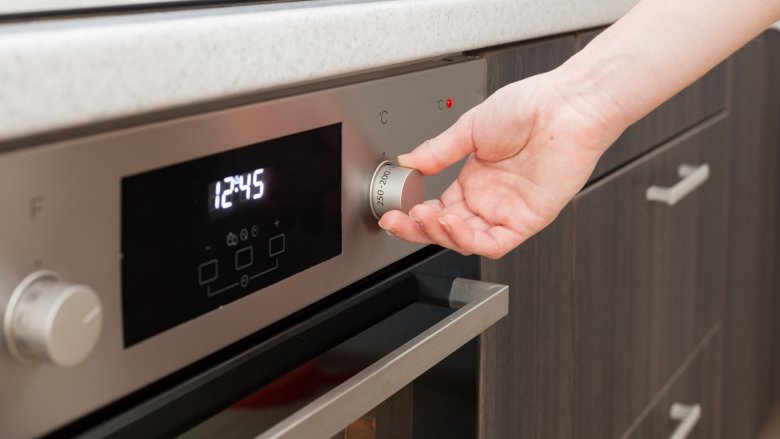
We've all been there. After a long day's work, you finally get home and all you want to do is get dinner on the table so you can retire to the couch for the night. But even if you're the meal-planning queen and have an assembled lasagna just waiting to be baked, you've still got to wait for the oven to preheat. And at that moment, when you're starving and tired, the time it takes for the oven to get to 350 degrees seems like absolute torture.
Of course, there's a workaround for everything these days, and that long wait will be a thing of the past with this easy preheat hack. All you need to do is turn your broiler on high for about 3 to 5 minutes (ovens will vary, and you can play around with the timing to get the fastest results). After that, turn the oven to whatever temperature you need, and prepare to be amazed at how quickly it dings at you. According to Cooking Light, it only takes about two more minutes for the oven to reach 350 degrees. Just think — in as little as five minutes total, you could be popping in that lasagna and kicking up your feet.
You're not paying attention to oven rack placement
The position of the oven rack must be important if even boxed brownie mixes recommend a particular position, right? Right. All these details matter, and can make a big difference when it comes to the success of your dessert. Even casseroles can benefit from proper placement within the oven — who doesn't love the golden brown top of a baked mac and cheese?
So you've already preheated the oven, but — news flash — the temperature inside isn't going to be uniform. As the element cycles on and off to maintain a temperature, the heat rises and the top portion of the oven becomes hotter. This extra hot environment is best for browning the tops of dishes, like the aforementioned mac and cheese, or a fruit crisp.
Conversely, the bottom portion of the oven is best for browning the — you guessed it — bottoms of dishes, thanks to the blast of heat as the element kicks on. This is best for things like pizzas or roasted veggies; just don't put your cookies there unless you want burned bottoms.
The middle portion is the Goldilocks of oven rack placement. This is where you'll get the most even temperature throughout the baking process, with even browning on both the tops and bottoms of dishes. Most baked goods will fall into this category.
The bottom line is, if a recipe recommends a certain oven rack position, don't ignore the instruction. There's actually a good reason for it.
You're not using the convection setting
Chances are that even if your oven has a convection setting, you probably don't use it — or even know how to use it. We get it — nobody wants to read those boring user's manuals — but before you jump into convection cooking, there are a few things you need to know.
So what the heck does the convection setting even do? When you use this feature, a fan and exhaust system come into play, keeping the hot air moving consistently around the oven and maintaining a more even temperature than you'd get with the standard setting. Your food will cook more evenly, more quickly, and will also get more crisp, since moisture is pulled out by the exhaust system.
This all means that your oven is more efficient when using the convection setting, and you therefore won't need to cook at such high temperatures. According to The Kitchn, you should set your oven 25 degrees below the recipe's recommended temperature to compensate. Keep in mind that due to the increased efficiency, cooking times may also need to be shortened. And because convection cooking relies on good airflow for the best, crispiest results, it's also important to use low-sided pans when possible, and not to crowd the oven.
You're not making it pizza oven hot
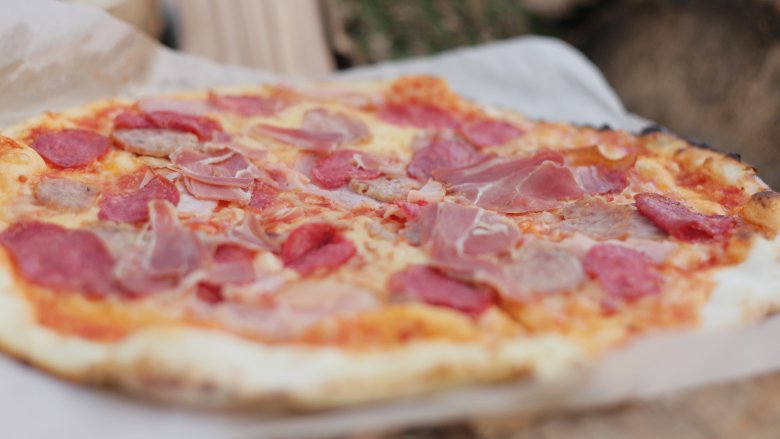
Have you ever tried getting restaurant-quality pizza crust with a regular ol' oven? It's nearly impossible, and that's because comparatively, pizzerias are working with ovens that exceed 900 degrees. A paltry 400 degrees just isn't going to get the job done. But, of course, there's a hack for that too, and you can trick your oven into working a little harder in your quest for the perfect crust.
This one works for ovens with a bottom broiler drawer, and it's easy to do. Just turn the broiler on high for about 45 minutes, and your oven will get hotter than it's ever gotten. That's because the broiler flame is the same flame that heats the oven, but with the broiler setting the flame is constant, never cycling on and off. This means the oven just keeps getting hotter and hotter, and according to FudeHouse, their thermometers flew past the maximum 550 degrees and kept going to an estimated 750 degrees. It might still not be pizza oven hot, but it's pretty close.
You're not broiling right
Ah, the broiler. Many of us have a love/hate relationship with this particular function, mostly because it's just too darn easy to burn the garlic bread. But it can be a handy tool — as long as you're using it correctly — and while it seems uncomplicated, there are still a few ways to make broiling better.
Consumer Reports, experts in all things appliances, recommends preheating the broiler for two to five minutes for optimal performance. They also advise that you conduct a simple experiment to identify its hottest spots by lining a baking sheet with nine slices of white bread and broiling for one minute. Wherever the bread is the toastiest is where you should place food for the best browning.
When it comes to using a broiler pan, it really depends on what you're cooking. If you're broiling something that's going to release a lot of grease, a pan or wire rack that allows the grease to drip through can prevent the fat from igniting. For the most part though, flipping the food halfway through the cooking process is enough to avoid any flare-ups. The Kitchn recommends a preheated cast iron skillet for the best sear.
Lastly, try leaving the door ajar to avoid a build-up of steam — excess moisture is not your friend here. Just be warned that some models are programmed to shut off if left open too long.
You're not using it to hard roast
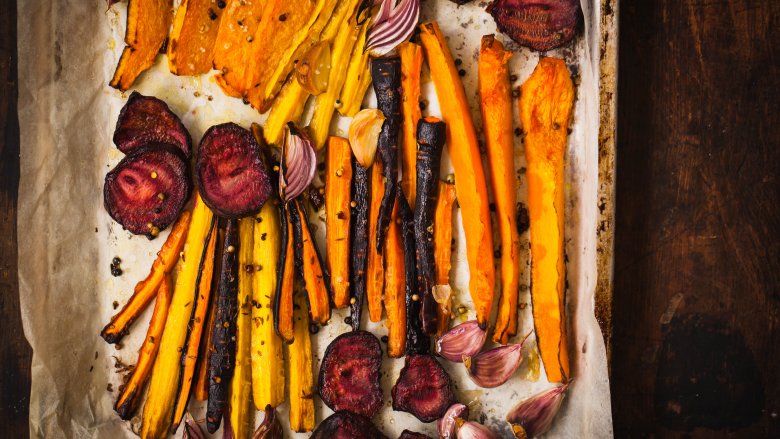
We've already determined that oven rack placement is key, but this method has you ditching the racks completely in order to achieve the best pan of roasted vegetables you've ever made.
As we've also already determined, the bottom of the oven provides the biggest blast of heat since the element is constantly cycling on and off to maintain temperature. But we're not talking about the bottom rack here — we're talking about the very bottom of the oven. By placing a sheet pan directly on the oven's floor (which has been preheated to 450 degrees), you can take advantage of its intense heat to achieve a "hard roast."
All you need to do is toss your produce in oil, plop the tray right on the oven floor, and flip occasionally for even caramelization. An expertly executed hard roast gives your veggies the most delicious crust while allowing the inside to cook through to tender perfection.
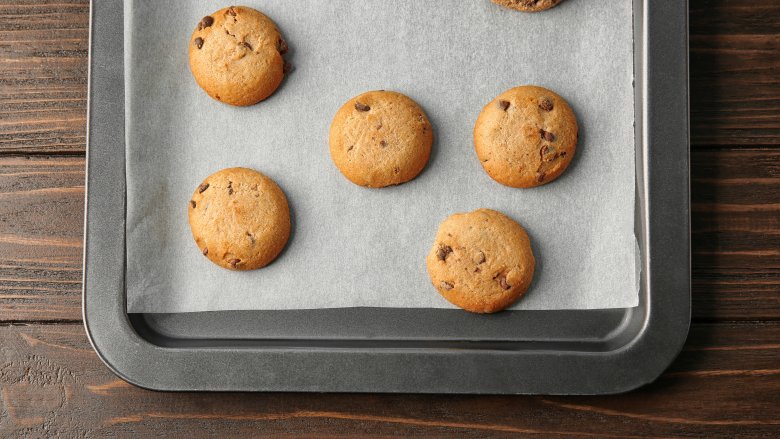
You're not using it to care for cookware
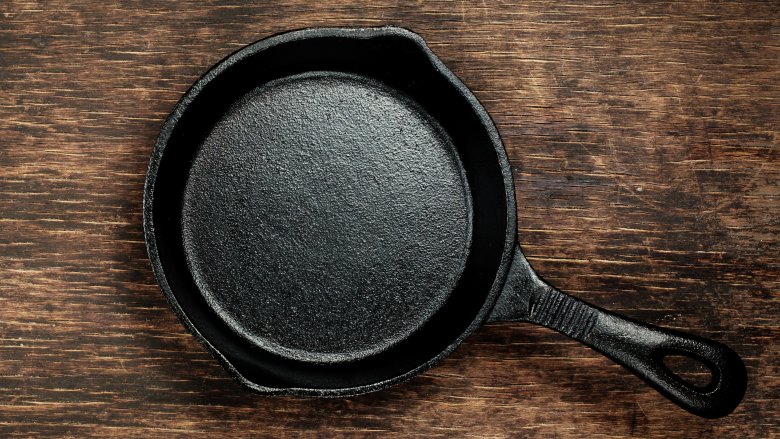
Let's be honest — as awesome as cast iron pans and pizza stones are they can be a royal pain to clean, especially after a particularly messy meal. But they're essential; nothing else can give your steak a better sear, and a pizza crust cooked without a stone isn't even worth eating. So what's the solution?
Well, you can try to wash this cookware like a mere mortal, scrubbing away at an endless amount of grease and chipping away at baked on dough and cheese until your hands are sore. Or you can take advantage of the magical cookware-cleaning appliance you didn't know you had — the oven.
That oddly sticky cast iron pan? It's actually built up oil, and there's an easy way to get it back to its former smooth self. Lodge Cast Iron recommends simply placing the pan upside down on the top rack of a 400 degree oven, and cooking for 1 hour. Repeat as necessary until that thing could pass as your grandma's trusty skillet.
And the pizza stone? If you're left with stubborn burnt-on bits, Epicurious recommends throwing it into a 500 degree oven and letting it cook off for about 1 hour. Easy as (pizza) pie, right?
You're using dark and light pans interchangeably
Admit it. You totally ignore that part in the recipe where it specifies a shorter cook time if you're using a dark pan. Dark, light — they all bake the same, right? Nope.
As with oven rack placement, the color of the pan matters when it comes to the success of your baked goods. A dark pan not only gets hotter faster, it also stays hotter longer than its lighter counterpart. So how does that affect your cookies, cakes, and brownies? According to Real Simple, they'll bake a bit faster and brown a little more. In other words, that shorter bake time is recommended for a reason.
If you're winging it with your baking, think about what kind of exterior you're going for. To achieve a crispier crust, like you'd want with cornbread, use a dark (or cast iron) pan. If you're making something a little more delicate, like a cake that shouldn't have a discernible crust, use a lighter pan.
You're lining the bottom with foil

If you've ever had a pan bubble over onto the oven floor, you know that the resulting mess is a nightmare to clean up. And once you do get it cleaned up, you don't ever want to deal with that again. Thinking you're being super proactive, you proceed to line the bottom of the oven with foil. If anything spills now, it's no big deal. But in your quest for an easy clean up, you could damage the oven, affect its ability to properly cook food, or even harm yourself.
From least bad to may cause death, here's a bunch of reasons not to line the bottom of the oven in foil:
- It can create a reflection, causing baked goods to cook too quickly.
- It can block heat, interfere with the flame, and impede airflow — all leading to improperly cooked food.
- It can actually melt to the oven floor, causing permanent damage and voiding your warranty.
- It can trap heat so effectively that it causes a fire.
- It can block the airflow so completely that it causes carbon monoxide poisoning.
If you must utilize foil to catch spills, put it on the rack below the food — but don't cover it completely either. Airflow is your friend.
You're not replacing the gasket
Dealing with appliance maintenance is no fun, but it's necessary to guarantee optimal performance from your oven. If you've noticed moisture on the inside of the door, or if the oven isn't maintaining a set temperature, chances are the gasket is to blame. Though this might seem inconsequential, a faulty door gasket that doesn't create a proper seal can be a waste of energy and lead to improperly cooked food. The good news is that it probably isn't as big (or expensive) a problem as you fear, so stop ignoring it.
According to Dustin Wheeldon, an appliance repair specialist at Angie's List who spoke to Today, this is an easy fix that will only set you back about $20 for the part. "When you see moisture building up on the inside of the oven door, that means you don't have a good seal," he said. "It's time to replace the gasket — a quick, fairly simple job that any good pro can do."
You're not using this natural cleaning method
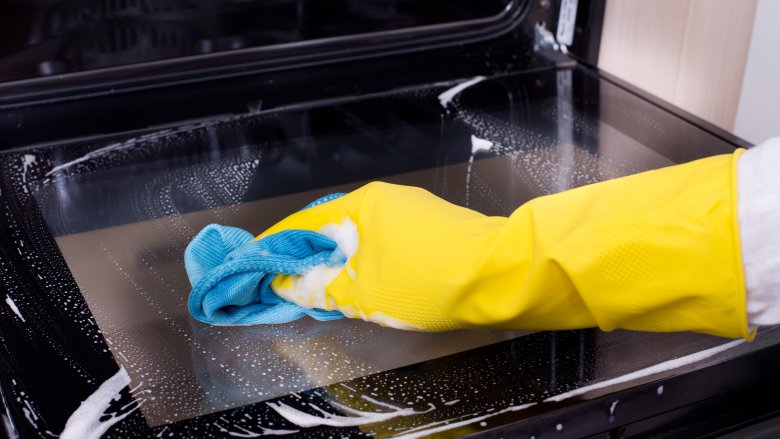
It's no secret that cleaning the oven is a chore, but while it might be tempting to avoid all that elbow grease in favor of the self-clean function, many experts agree that doing so can be risky, especially if your oven is too dirty. The problem is that the self-clean function superheats everything inside, and if there's too much build-up, not only will your smoke alarms be blaring for the entire two-hour process, it can actually start a fire.
Rather than risk it — or use harsh chemicals — try this natural cleaning method from The Kitchn. All you need is baking soda, water, white vinegar, and a little time.
- Mix a 1/2 cup of baking soda with about 3 tablespoons of water to make a paste.
- Remove the racks and rub the paste all over the interior walls of the oven.
- Let it sit for at least 12 hours.
- Wipe the paste off with a damp cloth.
- If there are spots where the paste remains, spray the area with vinegar and wipe clean.
- Repeat the wipe process one last time with a clean, damp cloth.
And you're done! Sounds a whole lot safer than the alternatives, doesn't it?
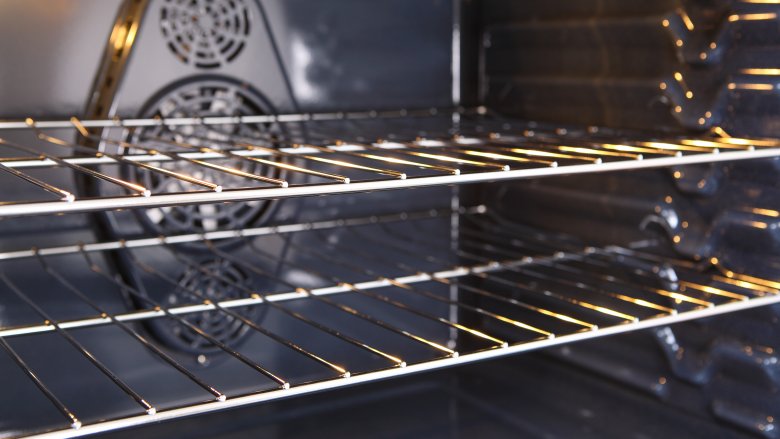
You're not cleaning your oven racks right
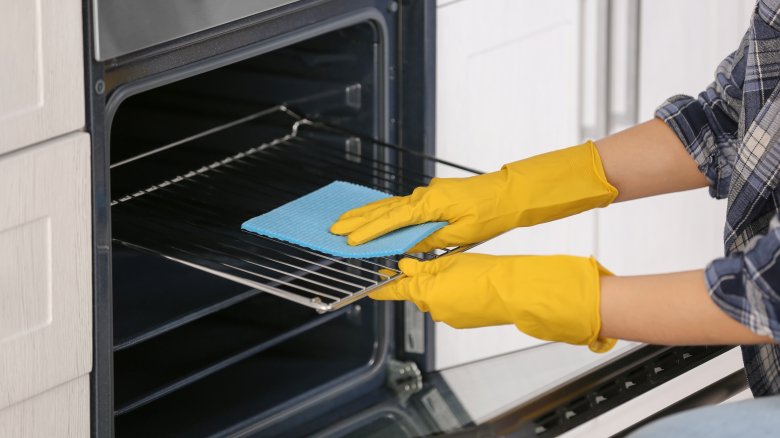
Another good reason not to use the self-clean function? It's bad for the racks. According to Reader's Digest, leaving oven racks in during the self-cleaning process can damage the coating, and also make it hard to slide the racks in and out. Thankfully, we have other options — Bob Vila recommends several different ways to tackle this unpleasant chore, and your pick will likely depend on how averse to chemicals you are.
The most natural way to do it is with baking soda, vinegar, and your bathtub. Just sprinkle the racks with the baking soda, pour vinegar over them, and wait for the foaming to subside. Once it does, place them in the tub full of hot water and leave them overnight. (You can also just add a 1/2 cup of dishwashing soap to the tub and skip the baking soda and vinegar treatment.) After sitting overnight, remove the racks and wipe with a cloth or scrub with a toothbrush if needed. Rinse and return to the oven.
If you're not opposed to using chemicals, you can also place the racks into a trash bag with a 1/2 quart of ammonia, then seal and let it sit overnight before rinsing. A word of caution: Be careful when opening the bag — the fumes can be intense.