Copycat Wendy's Chili Recipe
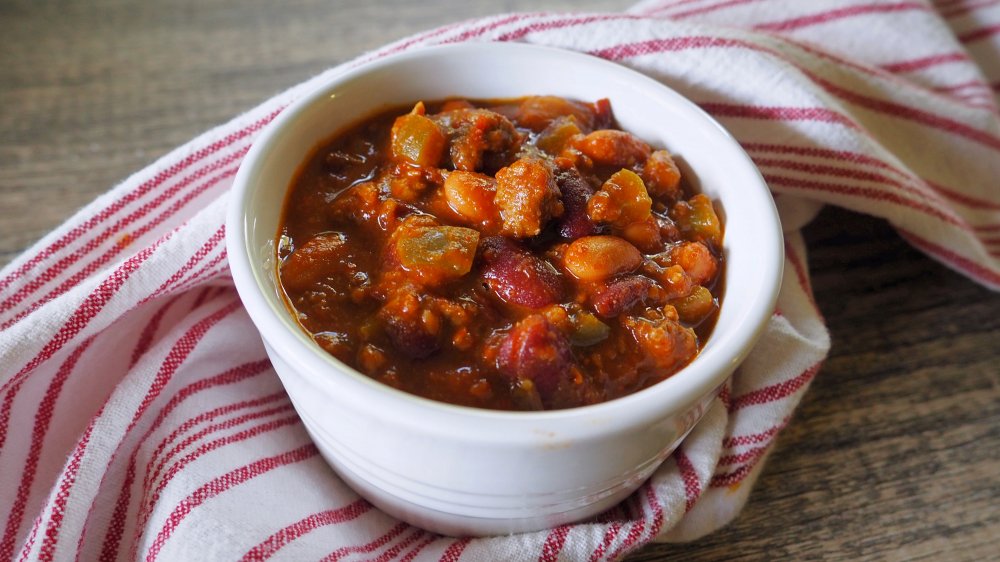
Fast food restaurants generally don't have a reputation for making high-quality food, but Wendy's chili might be the exception. It might not be the meatiest chili on the block, and it certainly doesn't contain any fancy ingredients like beer, sweet potatoes, or coffee. That said, there's a reason they've been serving it since Dave Thomas opened the first Wendy's back in 1969: It's warm, comforting, and made with fresh, never frozen beef.
So what makes Wendy's chili so delicious? It's perfectly seasoned and filled with rich flavors that are spicy — but not too spicy. You also can't hate on how protein-packed it is; it might be considered a side dish, but it's hearty enough to eat as a meal. The bowl is positively brimming with beef and beans, all for less than $3. The best part? It's shockingly easy to make at home with only a handful of ingredients (most of which you likely have on hand in the pantry). If you're willing to set aside a few hours to make chili, you can easily make this copycat of your favorite fast food chili.
Gather your ingredients for copycat Wendy's chili
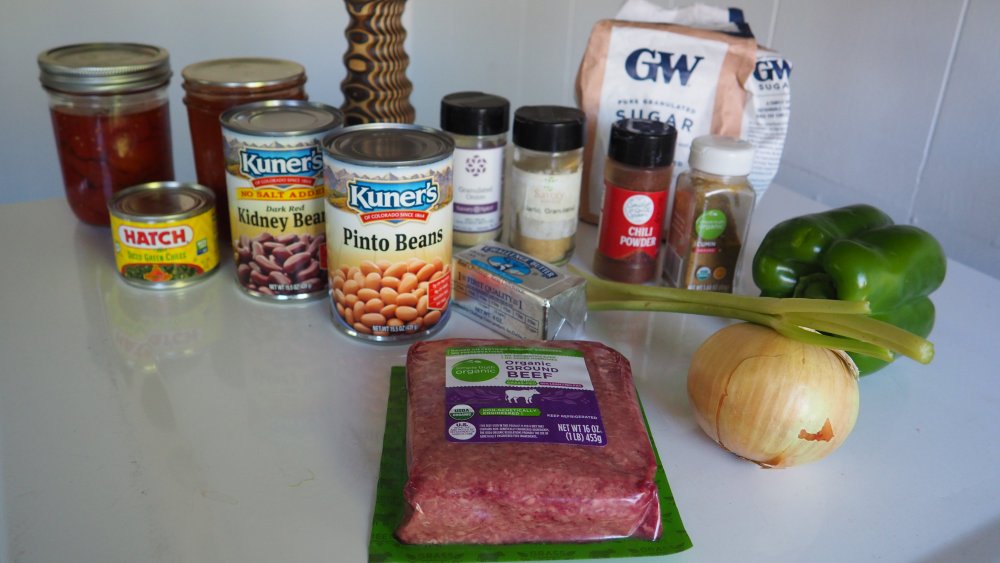
Our first stop in deciphering Wendy's chili was to take a peek at the ingredients list on their website. We knew it had beef and two types of beans — red kidney beans and something they describe as "pink beans." It's difficult to find canned pink beans in the U.S., so we picked up a can of pinto beans instead; they taste and look very similar.
Next up, we tackled what Wendy's calls the chili base, which is the sauce that makes up the body of this dish: yellow onion, celery, green peppers, chili peppers, canned tomatoes, and tomato sauce. Combined with the liquid in the canned beans, this combination provided plenty of liquid for our chili. From there, we tossed out all the unpronounceable ingredients; those function mostly as preservatives, something we don't need in the home kitchen. We concentrated on the spices and determined we needed chili powder, ground cumin, garlic powder, onion powder, salt, and pepper. The final two ingredients — sugar and butter — rounded out the flavor of our copycat Wendy's chili.
You'll find a full list of ingredients, including quantities and step-by-step directions, at the end of this article.
Why are there so many beans in Wendy's chili?
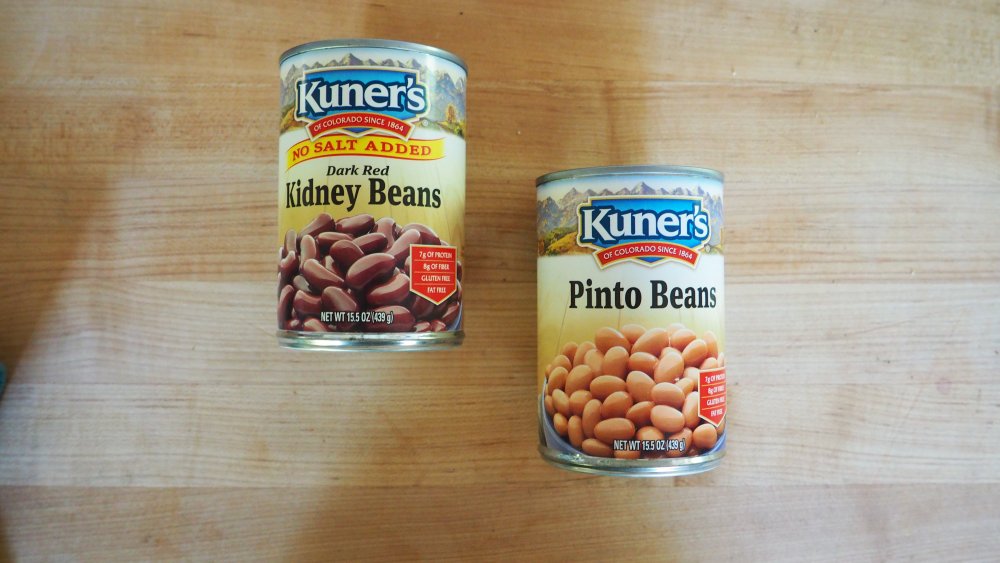
As compared to some other chili recipes, you might find the beef to bean ratio to be off in Wendy's chili: Wendy's version has way more beans than most. That means it's certainly not a Texas chili, but adding so many beans means you can make this chili on the cheap without sacrificing quality or flavor. The ground beef we bought for this recipe was both organic and grass-fed, so it cost around $6.50 per pound (but of course you can go with a less expensive variety, if you wish). The beans, on the other hand, cost only 80 cents per can. Those beans add an incredible amount of texture for a fraction of the price of beef. And, since we're using two different types of beans, we get to benefit from the combination of flavors here, bringing a hearty, meaty, full-flavored spoonful in every bite.
The other consideration is how long we plan to simmer this chili. In the hours that it cooks away on the stovetop, the chili not only reduces to a thick and hearty consistency, but it also infuses every bite with beefy flavor. By the time the chili is cooked and ready to eat, each bite tastes meaty and delicious. So why not amp up the beans and save some money on meat?
Do you have to use the sugar for copycat Wendy's chili?
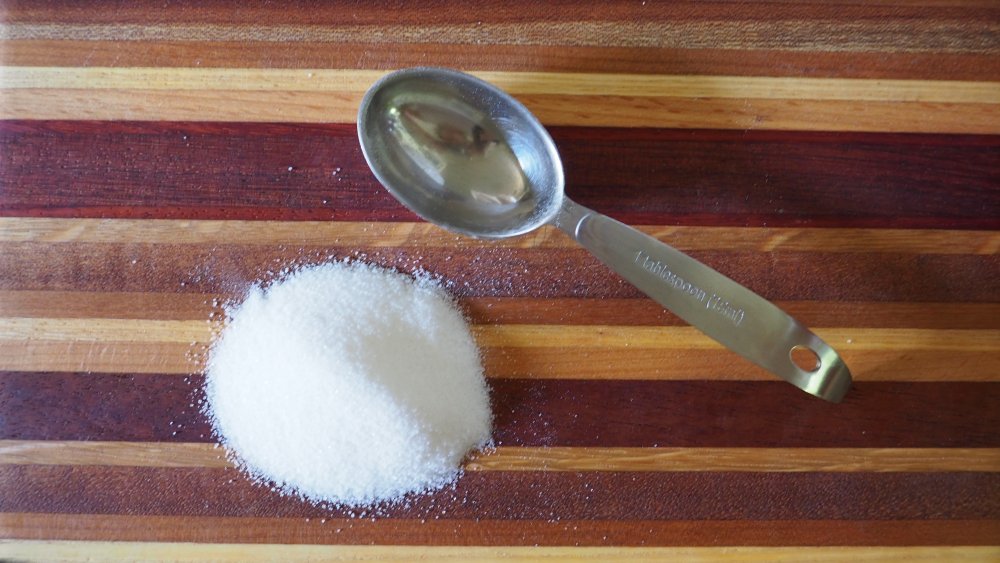
There are two "secret" ingredients in our copycat Wendy's chili recipe: butter and sugar. You might be tempted to leave one or both of them out, but allow us to convince you to follow the recipe as-is. Epicurious explains that sugar is an essential ingredient in tomato sauces, accentuating the tomato's natural sweetness while balancing its acidic finish. Many tomato sauce recipes use brown sugar (which contains molasses), but we went with regular white sugar for our chili. The molasses can add richness and complexity, but we wanted to give the beef, beans, and spices an opportunity to shine.
If you're trying to cut down on your sugar intake, you can feel free to omit this ingredient, but the chili won't turn out quite the same as Wendy's. Keep in mind that adding a tablespoon of sugar for a six-serving recipe won't actually affect your sugar intake too much; each bowl only contains a half teaspoon total of sugar.
Wendy's chili isn't spicy, but your copycat version can be

One of the most noticeable characteristics of Wendy's chili is its spice level. It's definitely not spicy enough to cause you pain; in fact, most people would call Wendy's chili mild at best. The combination of chili powder, ground cumin, garlic powder, onion powder, and black pepper comes together perfectly, creating a bowl of red that's not only super flavorful but also aromatic. You can smell the chili powder from across the room without twitching and sneezing.
If spicy chili is your thing, you can certainly take Wendy's chili to the next level with your favorite hot sauce (we ranked them worst to best, if you're looking for a new go-to sauce). Or, you can add additional spices to the mix. Try adding a half teaspoon of cayenne powder along with the other ingredients, or chopping up a fresh jalapeno. It won't taste authentic, but it will satisfy your craving for spicy food.
Browning the beef is an important start to making copycat Wendy's chili
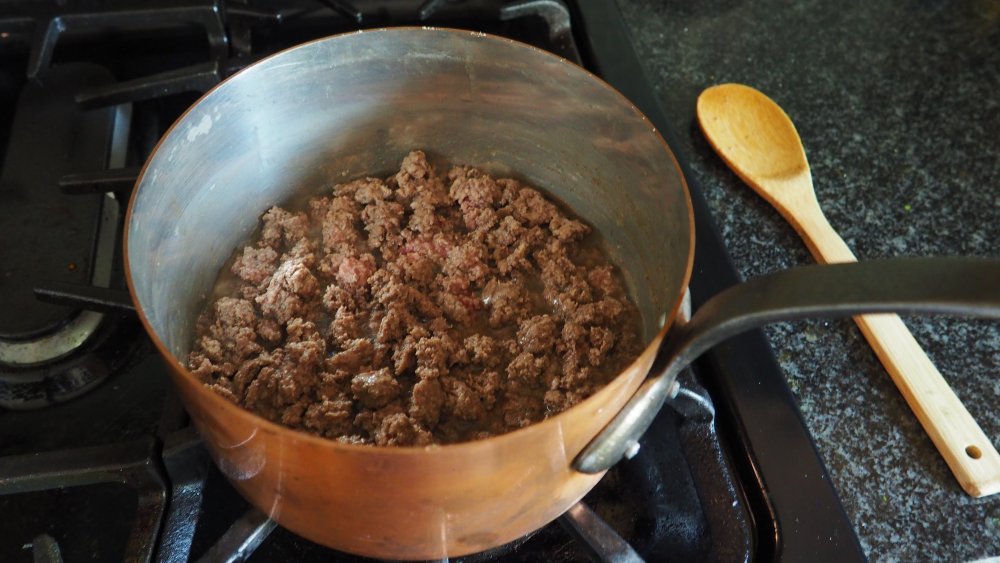
Now that we know all the ingredients that make up our chili, let's whip up a batch. It's important to keep in mind that the beef in Wendy's chili is unused burgers. That might sound like a bad thing, but it's actually a great way to reduce food waste while infusing the chili with char-grilled flavor. You likely won't have leftover burgers on hand, and you may not want to start your homemade version by firing up the grill. But, you certainly can if you want the dish to taste fully authentic.
The more convenient way to cook chili at home is to brown the beef in a large saucepan. It won't get the same grill-infused characteristic, but you can still get the caramelized flavor you need to create a flavorful chili. Start by heating a large saucepan over high heat. Add the beef to the hot pan and flatten it out over the bottom of the pan. Let it sit for a few minutes, giving the beef a chance to brown. After four to five minutes, flip the meat and start breaking it up into smaller chunks with a large spoon. When the meat is fully cooked, drain off any excess grease before moving on to the next step.
Then you just add all the rest of the ingredients for copycat Wendy's chili
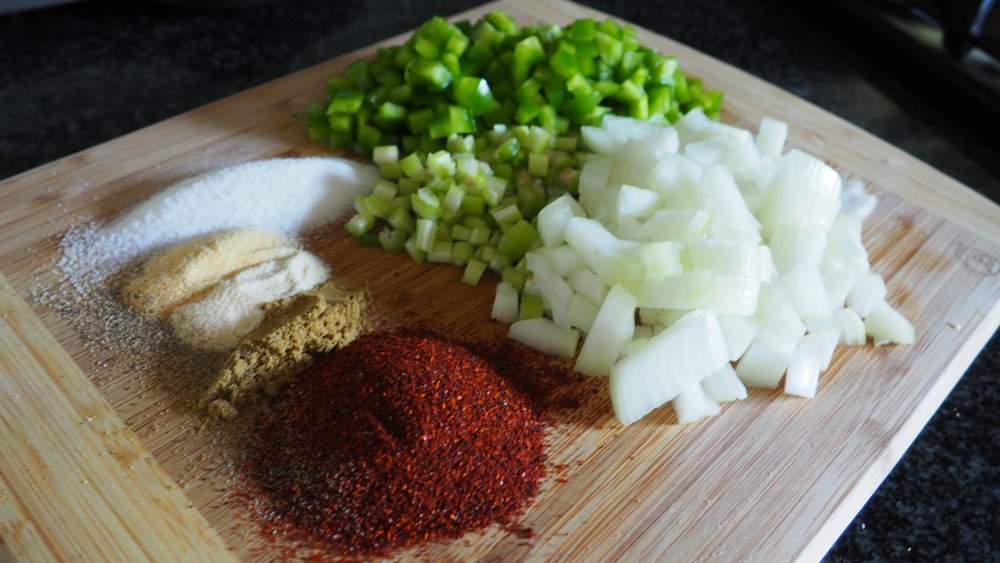
Once the beef is browned, your work is basically done. From here, you'll simply add all the remaining ingredients (except the butter, which we'll talk about in a minute). There's no need to brown the onions or sweat the peppers because this dish has such a long cook time. Everything will have plenty of time to soften over the next two hours. What is important, though, is that the vegetables are all chopped to the same size. This will help each piece cook evenly and consistently, preventing a bite full of half soggy, half crispy vegetables.
Although we didn't try it, we certainly considered cooking our Wendy's chili in the slow cooker. Once the remaining ingredients are added, the next step is to simmer it for two to three hours, stirring every 30 minutes or so to keep the chili from sticking to the bottom of the pot. The benefit of a Crock-Pot is you don't have to stir; you can simply turn the pot on to Low or High and let the chili cook unattended. The thing that makes us unsure is the slow cooker's lid. It's possible it could create too much excess liquid in the finished product, since simmering on the stovetop uncovered allows some liquid to evaporate. It definitely could be a viable option, though, if you don't have time to stir the chili from time to time.
Yes, you should cook Wendy's chili for at least two hours

Two hours is a long time to cook anything, so you might be tempted to take a shortcut and eat the chili early. All the ingredients are fully cooked, so the long cook time isn't for food safety. And it's not like we need to break down a tough cut of meat (like you would when braising brisket or short ribs) because the ground beef is cooked after the first step. Even the canned beans are ready to eat when they go into the chili, so why in the world are we recommending a two- to three-hour simmer?
It's all about allowing the flavors to meld together. When you're simmering the chili, you're basically holding it at a warm temperature for a few hours. The heat activates the flavor compounds in the spices and pulls out the natural sweetness of the tomatoes, allowing all those flavors to meld together. There is such a thing as over simmering, though. As we mentioned earlier, the ground beef is already cooked after the initial browning step. Cooking it for longer than three hours can affect the texture of the beef, causing it to turn chewy and tough.
An overnight rest never hurt chili, either
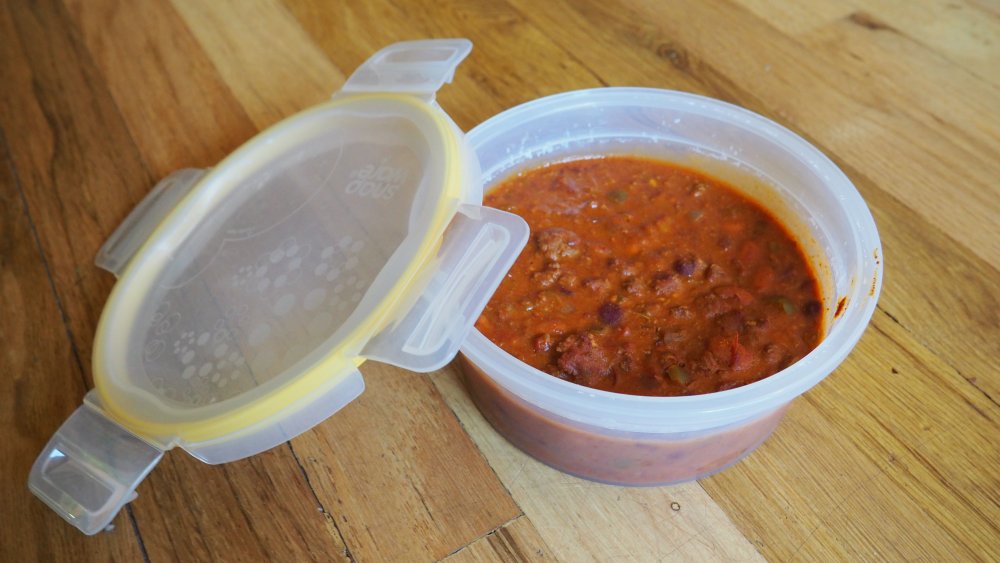
Chili is one of those dishes that almost always tastes better as leftovers the next day. If you have time to plan ahead and make chili the day before you plan to eat it, all the better. You see, dishes that have several types of aromatic ingredients (like onions, peppers, and herbs) go through a lot of reactions during the cooking process that work together to improve a dish's flavor. When you cool that dish down and reheat it the next day, those reactions continue to take place and the flavors have a chance to mingle. All that works together to create a deeper, richer-tasting chili.
It doesn't just have to be an overnight rest, either. Chili is good in the refrigerator for three to four days, so feel free to make this dish a few nights in advance. Chili is a great way to meal prep your way to a quick-and-easy weeknight dinner, and it's a fantastic option for lunch. If you happen to have too many leftovers, you can also freeze individual portions of chili for as long as six months.
Adding butter at the end is the real secret to Wendy's Chili
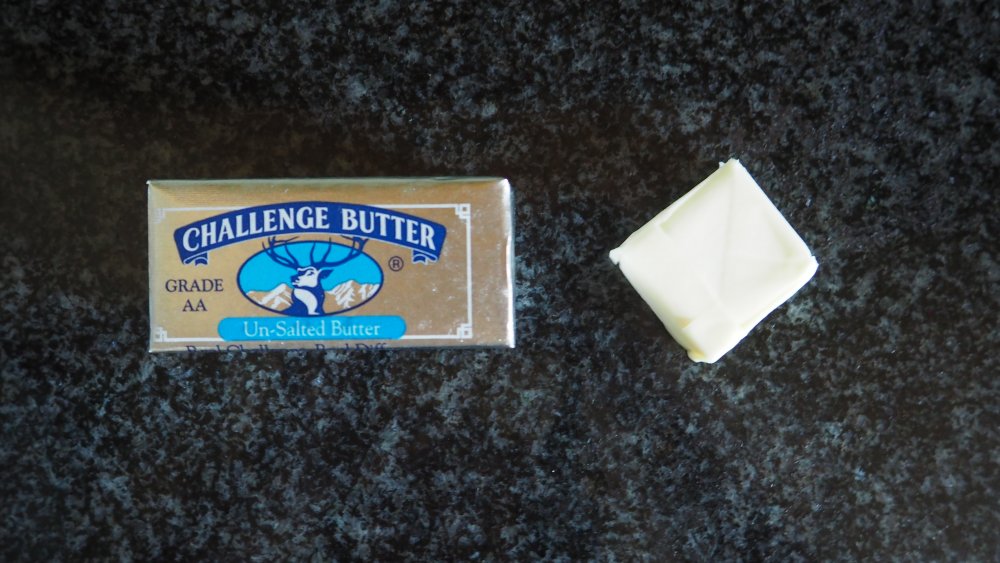
Butter is the second secret ingredient we alluded to earlier. While it might sound like a strange addition to chili, it totally works. Wendy's ingredients list doesn't specifically mention butter, but they do advise that the chili contains dairy and soy. There are no other dairy ingredients in the recipe, so we figured the dairy might be butter. We tried the chili without the addition of butter, and then we tasted it after swirling a tablespoon of cold butter into the hot soup. It made a huge difference in the flavor! It not only added a burst of richness to the chili, but it also created a really nice texture.
Like the addition of sugar, the entire six-serving recipe only calls for a tablespoon of butter. That's not that much, all things considered, so you may as well go ahead and add it in. It really only adds 100 calories for the entire soup, or just shy of 17 calories per serving. Considering that the soup is already a low-calorie menu option (a small portion of the soup only contains 160 calories, according to their nutrition information), skipping the butter won't make that much of a difference.
Top your copycat Wendy's chili with cheese and green onions
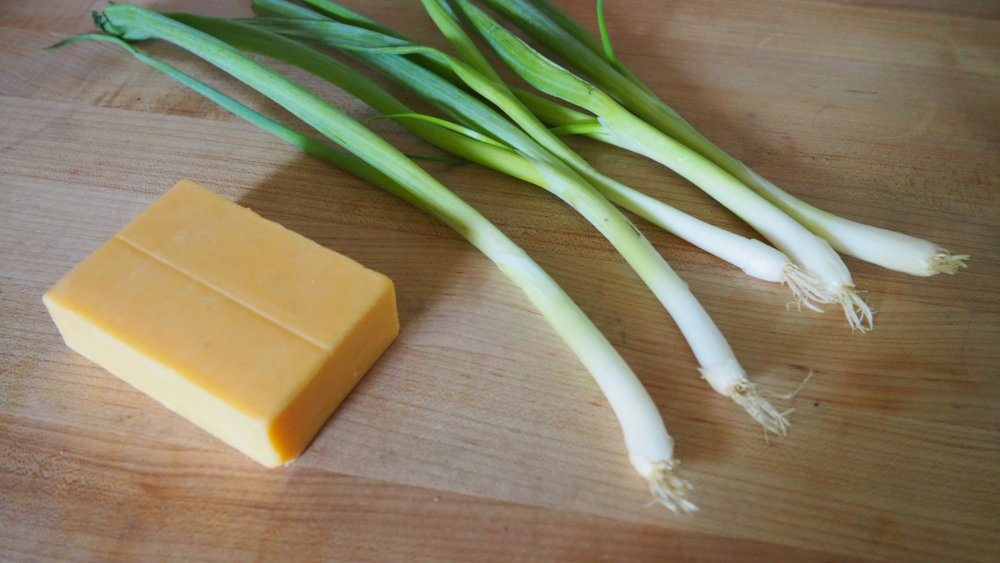
When they ask us if we want onions and cheese with our chili, the answer is almost always yes. Chili is good by itself, but add some crunchy onions to the top, and it gets even better. Sure, there's already onions and onion powder in the chili, but that extra burst of pungent flavor just works for us. Same thing with the cheese; it's totally worth it to pay that extra quarter for a fluffy pile of cheese. You can use any cheese you like, but cheddar cheese is sharp and tasty, and it also melts well into the soup.
The chili is great on its own, but you can also doll it up and make it fancy. If you want, try adding a dollop of sour cream or a diced avocado to the top of your bowl. Sliced jalapeno is a great way to add extra heat if you like things spicy, and chopped cilantro will add a boost of herbaceous flavor. Most of these additions don't reheat well, though, so we recommend garnishing individual bowls instead of mixing them into the entire soup pot.
How did we do with our copycat Wendy's chili?
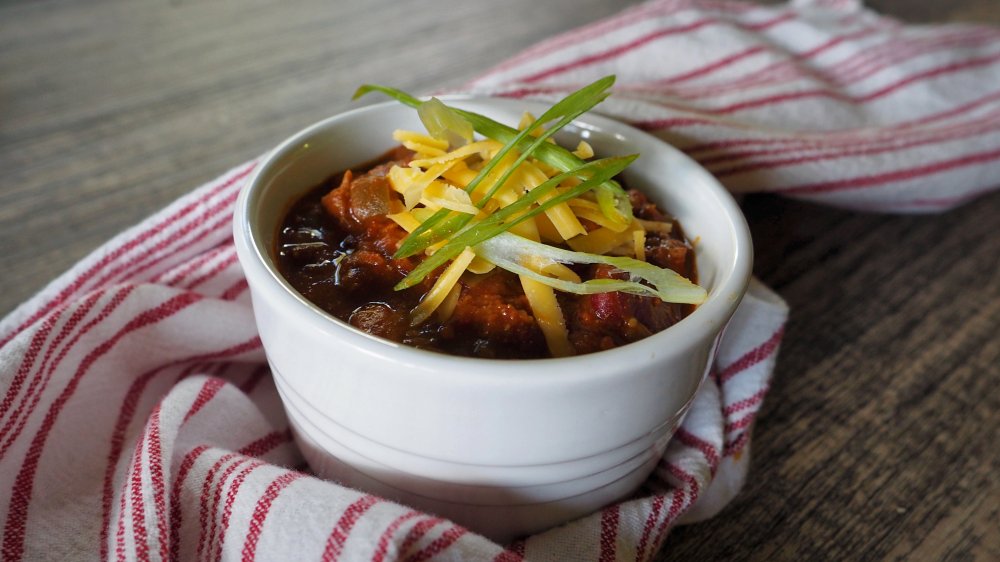
Oh man, we got really close with this one! At first look, we knew we nailed it: Our two hours of simmer time had reduced the chili so it was thick but not too thick — perhaps a touch thicker than Wendy's, but not in a bad way. We loved how we could see the different colored beans, chunks of browned beef, and green peppers floating around on top. And the aroma didn't inspire any complaints, either; one whiff of the sweet tomatoes, spicy peppers, and smoky cumin transported us back to our childhood, warming up on cold winter nights with a bowl of Wendy's Rich and Meaty Chili.
When it came to flavor, the chili was definitely closer to the original after we let it sit in the refrigerator overnight. But, even straight out of the pot, the combination of beef and beans created all the texture we crave from chili, and the flavor was perfectly sweet and smoky. And that butter we swirled in at the end added the perfect amount of richness.
If we had one complaint, it is that Wendy's chili is definitely more convenient. Our version took hours of browning, chopping, and simmering, whereas theirs is ready-to-eat from the drive-thru.
- 1 pound ground beef (85/15)
- 1 (14.5-ounce) can tomato sauce
- 1 (14.5-ounce) can chopped tomatoes
- 1 (14.5-ounce) can kidney beans, not drained
- 1 (14.5-ounce) can pinto beans, not drained
- 1 (4-ounce) can chopped green chilies
- 1 yellow onion, diced
- 1 stalk celery, diced
- 1 green bell pepper, seeded and diced
- 2 tablespoons chili powder
- 1 tablespoon sugar
- 1-½ teaspoon ground cumin
- 1 teaspoon garlic powder
- 1 teaspoon onion powder
- 1 teaspoon kosher salt
- ½ teaspoon ground black pepper
- ½ cup water
- 1 tablespoon butter
- Cheddar cheese and chopped green onions, for garnish
- Heat a large saucepan over high heat. Add the ground beef in a single layer on the bottom of the pan. Cook for 4 to 5 minutes, until the beef is browned. Flip the beef over and continue to cook until the meat is no longer red in the center, 3 to 4 minutes. Using a spoon or a potato masher, break the browned beef up into small, bite-sized pieces. Drain off any excess grease before moving on to the next step.
- Add all the remaining ingredients except the butter. Bring the mixture up to a boil before reducing the heat to a simmer.
- Simmer, uncovered, for two to three hours, stirring every 30 minutes or so to keep the chili from sticking to the bottom of the pan.
- Add the butter and stir until it is fully melted.
- Serve the chili immediately, or cool it down and let the flavors meld together overnight. The next day, reheat the chili before serving.
| Calories per Serving | 414 |
| Total Fat | 19.1 g |
| Saturated Fat | 7.3 g |
| Trans Fat | 1.0 g |
| Cholesterol | 58.8 mg |
| Total Carbohydrates | 39.1 g |
| Dietary Fiber | 11.3 g |
| Total Sugars | 10.5 g |
| Sodium | 1,032.3 mg |
| Protein | 24.1 g |