IHOP Buttermilk Pancake Recipe
If you name your restaurant after a product, you better bring it. The former International House of Pancakes, now IHOP, does just that. The pancakes are everywhere, and in many varieties, but the ones that made them famous are their traditional buttermilk pancakes. You can order a stack, or just get them on the side, but either way they're super popular for their fluffy and light appearance, and superb taste. They're also so easy to make at home that you'll never buy a store-made mix again. The trick is in the ingredients, and with the proper balance you can get the perfect IHOP pancake at home.
Gather your ingredients
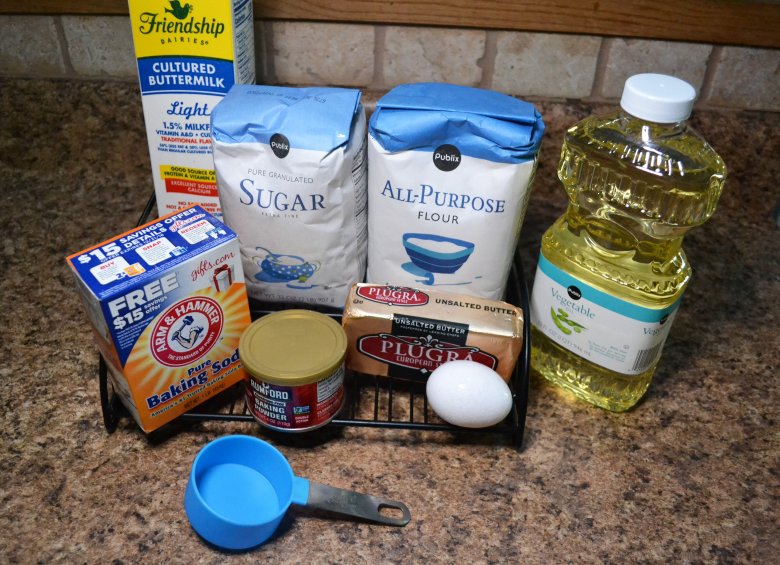
Here's what you need to make your own IHOP pancakes: all-purpose flour, an egg, buttermilk, sugar, baking soda, baking powder, vegetable oil, non stick spray, and salt. If that sounds remarkably like your own homemade pancake mix, you're right. The full ingredients list is at the end of this article, along with a step-by-step recipe.
The secret of pancakes
I hate to burst everyone's bubble, but no one really likes pancakes. People love butter and syrup. The pancake is just a conduit to get that to your mouth. You don't believe me? Have you ever had a pancake without syrup or butter? IHOP's pancakes sans everything that makes it a pancake tastes like... air. Really; there's nothing to it; there's no buttermilk, there's no hint of sweetness, it just tastes like fluff. But when you drop the butter and sauce on there, it's an amazing mix that is irresistible. It's the fluffy texture that allows the sauce and butter to get into every crevice that make you love pancakes. It's not a bad thing, but it's time someone leveled with you — sorry it had to be me.
Choosing your flour
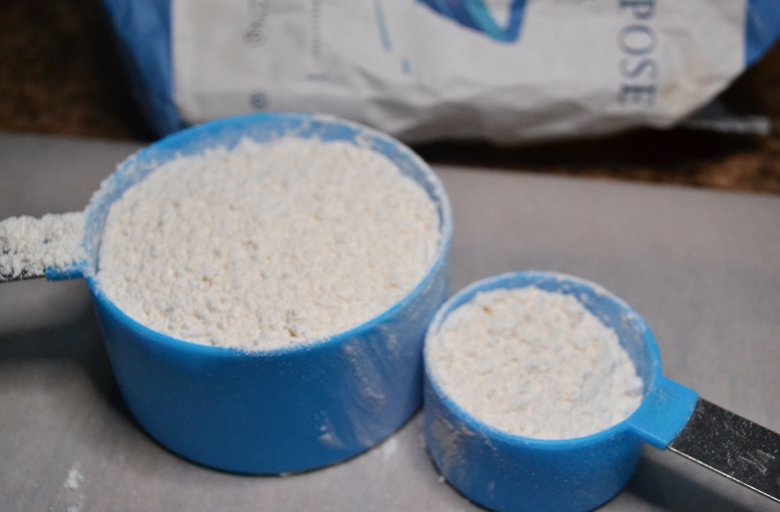
There isn't anything more obvious than needing flour when it comes to making pancakes. All-purpose flour is the one we need. If you have a gluten issue, you can use gluten-free flour — and it's a one-to-one substitute, however, we'll need an extra ingredient to help it out. If you go gluten-free, add a teaspoon of our dear friend xanthan gum to 1 ¼ cups of gluten-free flour. For the traditional route, it's just 1 ¼ cups of all-purpose flour.
The binder
Do you really need an egg? Eggs bring protein to the mix, and also act as a binder, so don't skip on the egg, or the pancake will come out dry. Just one egg will be enough to provide the structure we need.
The other part of the name
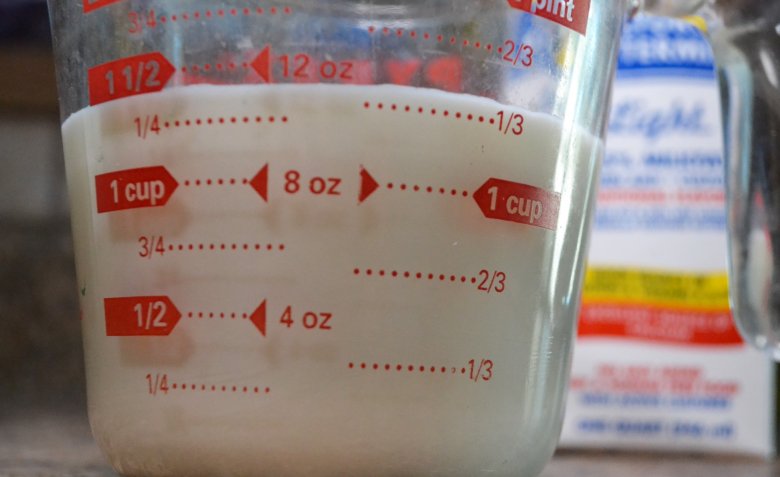
The pancakes are actually called buttermilk pancakes, so there better be some buttermilk in there. If you're expecting that acidic taste you get from buttermilk, it's not present in the pancakes. The buttermilk is there for a chemical reaction mainly, but an important one. We need 1 ½ cups of buttermilk to make the magic happen.
We don't want these too sweet
Don't think sugar as in "sweetness" but rather sugar as in moistness. Just as sugar in baking keeps things soft, it'll perform the same trick here in the pancake. We're not looking to add any sweet taste here — that'll come from the syrup — so we only need 2 tablespoons of sugar. T; that may seem like a lot but you won't really taste it in the finished pancake.
The rising agent
If you thought baking soda was just for sticking in your fridge to keep things fresh and for scrubbing pans, well, you're not wrong. Baking soda is an often overlooked ingredient in cooking. Sodium bicarbonate, which is what baking soda is, causes things to rise in the presence of acids. That's why there's buttermilk in here — that's what makes the pancakes fluffy. The question is, how much baking soda do you need? At a minimum, you need two teaspoons of baking soda. Between you and me, you can throw another half teaspoon in there and it's not going to hurt anything.
The rising insurance
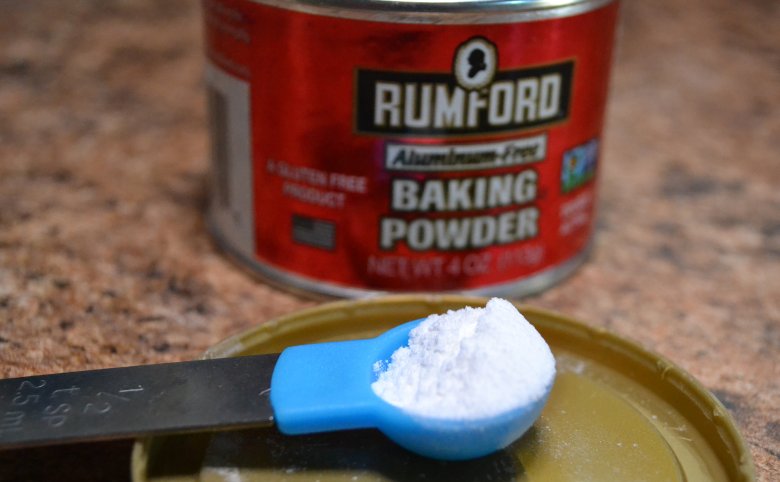
It may seem redundant to include baking powder and baking soda, but they do serve different purposes. Baking soda gives you the rise you need immediately, and that means you have to work fairly quickly to get the bubbles from your batter into your finished product. Baking powder buys you a little time. A half teaspoon will be just enough to stretch out the rising process.
The right oil matters
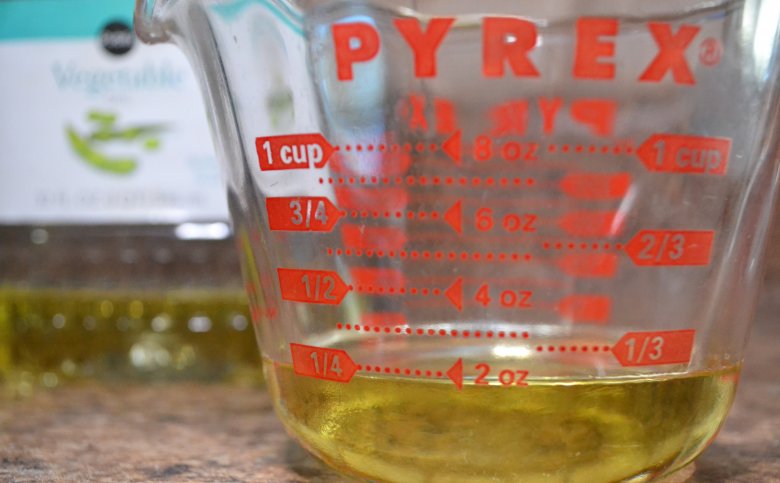
There are many different oils out there, but you definitely don't want to use anything but vegetable oil. You need something that's neutral in flavor — so that knocks olive, sesame, and peanut out — and something that has a high enough smoke point that we don't have to worry about it burning and causing funky flavors. Vegetable oil is practically made for baking. There's a school of thought that you can go with something in the "vegetable" family here; corn, safflower, sunflower... don't. Just stick with the good ole vegetable oil. We'll need a quarter of a cup.
A wee bit of salt
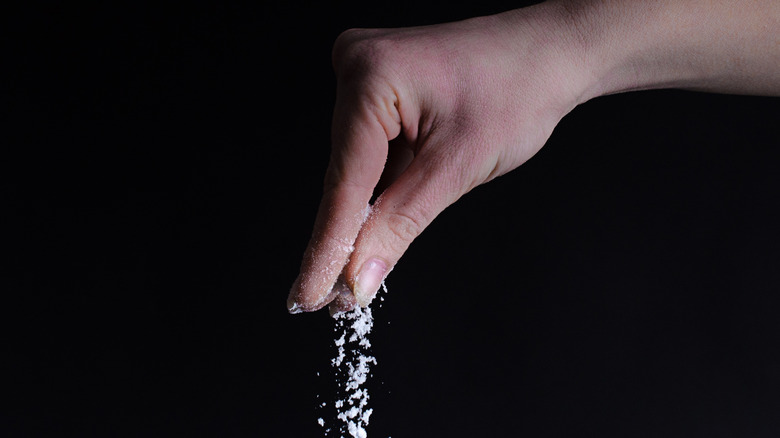
More than once I've warned about the overindulgence of salt in dishes. Most restaurants pour it on (no pun intended) to the point where you'll need a glass of water just to balance out your salt intake. But you don't want to skip the salt here. It will greatly assist the flavor of the pancake, and help the entire chemical reaction. We don't need a lot, just a half teaspoon, but it will make the difference.
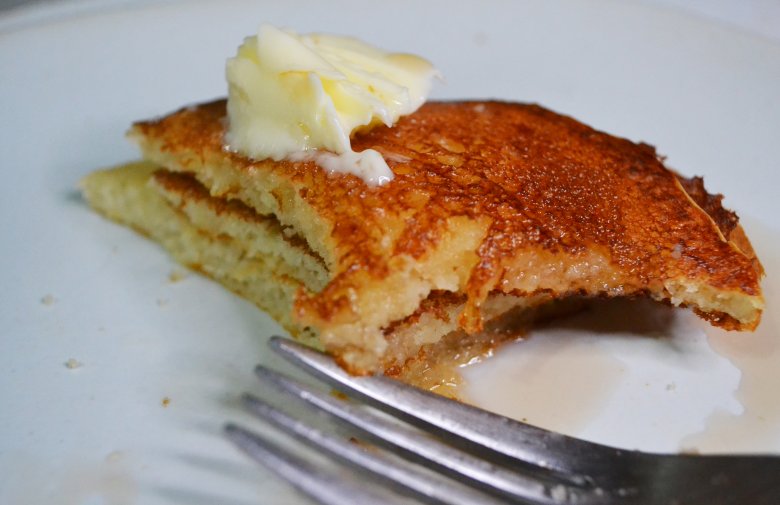
The topping
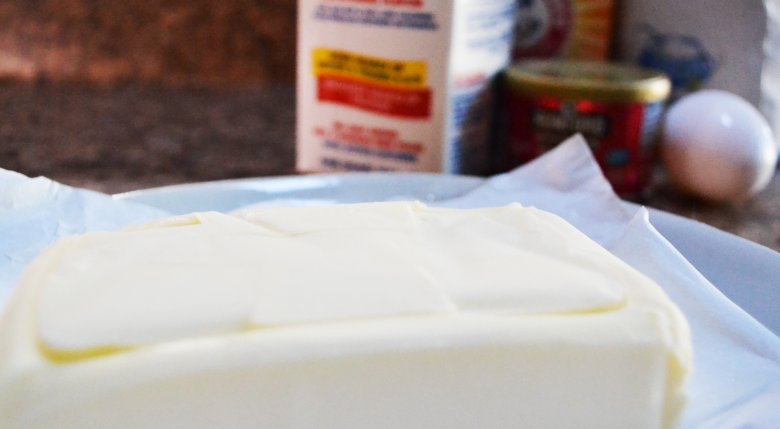
A pancake simply isn't a pancake without butter. Get a nice stick of butter and keep it cold until we need it. As usual, I'll kindly suggest you go with no- salt butter because you don't need the extra salt. As mentioned earlier, you're really just eating the butter and syrup, so if you want to splurge on a "high end" butter, go right ahead. I do anyway because I'm a butter snob — yes, we exist.
Some non-stick spray
I'm not going to tell you which one to get, but there's one brand — rhymes with Sam — that has a picture of pancakes on the bottle. Seems like a safe choice to use.
How big should those pancakes be?
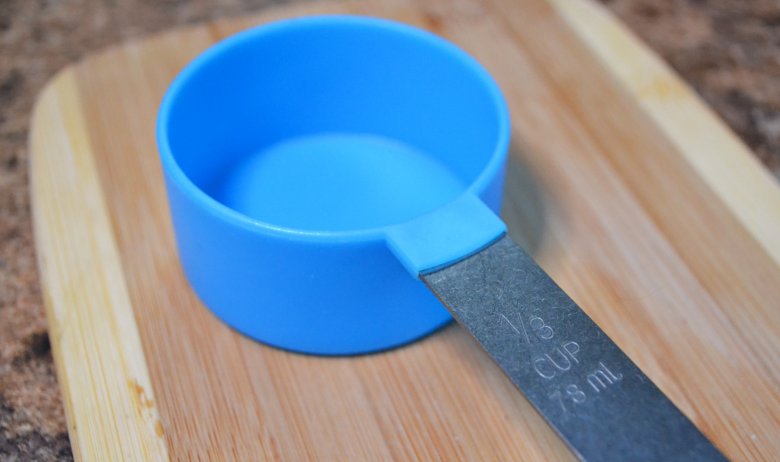
You probably have a ladle, but what size should you go for here? If you get your pancakes too big they're... well, simply too big to eat. You're really looking for a nice "medium" size. Rather than going with a ladle, just pull out a measuring cup — use that ⅓ measuring cup that you never ever use and that'll get us the right size pancakes.
The wet team
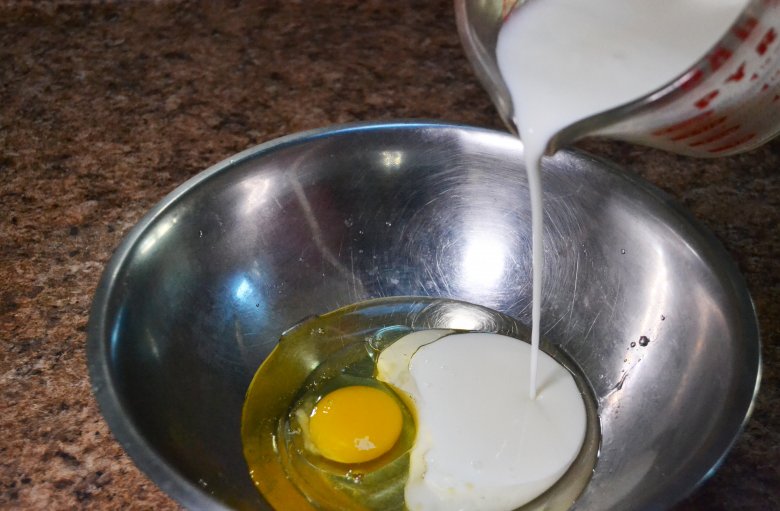
Now that we have everything all set, we need to build this in two different bowls to start. First, let's get the wet team incorporated. Take the 1 ½ cups of buttermilk, and put that in a bowl with the egg, and a quarter cup of vegetable oil. Give that a light beating with a whisk, just to break the egg up, but you don't have to go nuts on it or throw it in a mixer; just a few twirls with the whisk will do the trick.
The dry team
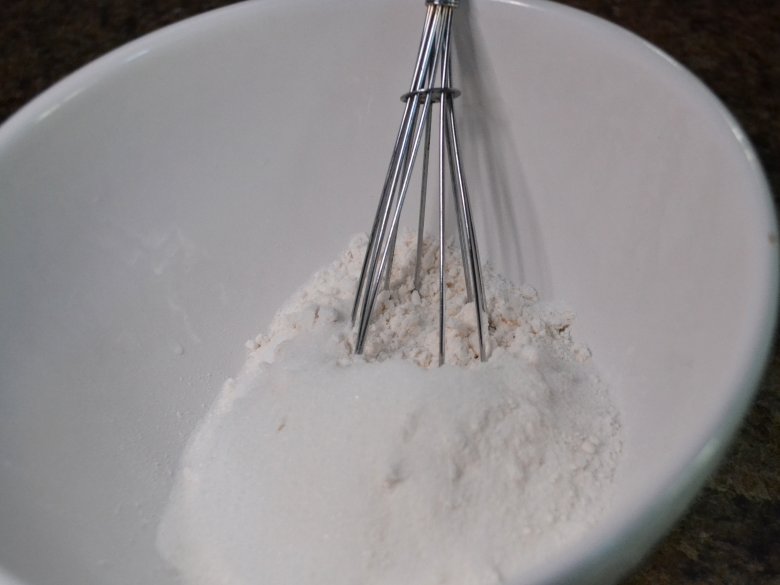
In a different bowl, throw all the dry ingredients together. The order doesn't really matter, but just to assure you get a proper mixture let's start big and work our way down. Begin with the 1 ¼ cups of flour, and then 2 tablespoons of sugar, followed up by 2 teaspoons of baking soda, a half teaspoon of baking powder, and a half teaspoon of salt. Give that a thorough mixing with a whisk to get the dry goods all stirred up.
Mix a lot
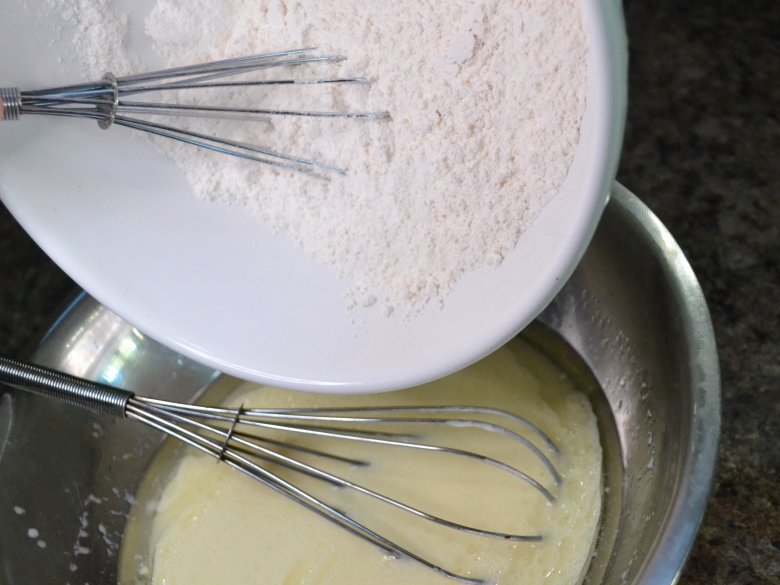
So, which goes into which? There's a school of thought that you make a well in the dry and pour the wet in. There's also a school that says put the dry into the wet and mix it that way. I'm more of a dry into wet fella, so let's go with that. Slowly pour the dry ingredients into the wet and whisk it all together. You'll notice some big bubbles forming — that's what we're looking for. You do not need to over-mix this, just bring it together. It Doesn't have to be silky smooth.
Pan prep
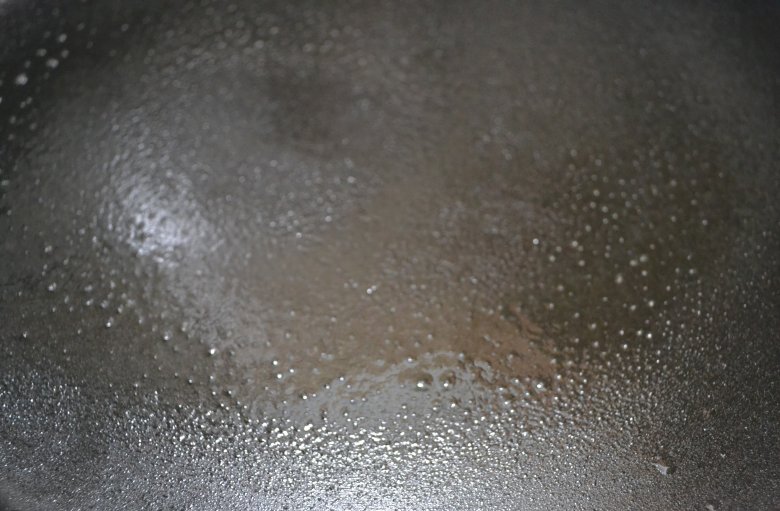
Take that non-stick spray and hit big pan with it. If you have a flat top, that'll be optimal for cooking these. For the rest of us, just a large pan. As you can tell, I'm using a non-stick pan and still using non-stick spray because I don't want anything sticking anywhere. We want the heat to be somewhere in the 5-6 range on your stovetop setting, which is somewhere in the 350 to 375 degrees Fahrenheit range, depending on how golden brown you like your pancakes. I'm more of a 6 setting guy because I like them nice and golden brown.
Gentle pour
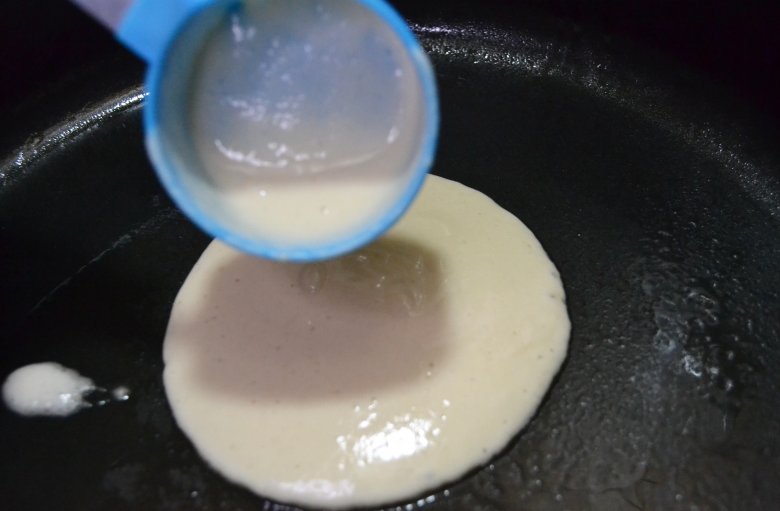
Using our makeshift ladle, fill that ⅓ measuring cup up and gently pour it onto the middle of the pan. I'd caution against making more than one at a time unless you have a pretty large pan or a flat top. We don't want any funky sizes coming out of this or any accidental touching of the pancakes. And if you spill a little off to the side, that's fine (since I did). Set a timer for three minutes, but you'll have to keep an eye on this. After two minutes you should see the sides starting to curl up a little – that means you're ready for the flip.
Flip!
After that 2 ½ to 3 minute mark, flip the pancake over — quickly but not like some short order cook from an 80s tv show. We don't want the pancake to go splattering everywhere, so keep the spatula close to the pan and flip it over. It's important to use a spatula big enough to get under the pancake, which is just another reason to make sure we're only making them from a ⅓ measuring cup. The flipped side needs to go for about the same time as the other side, so whenever you flipped, set the timer and then you're done!
If you're cooking these one at a time, just set the first cooked one aside and cover with a tea towel, that will assure they're all nice and warm they hit the plate.
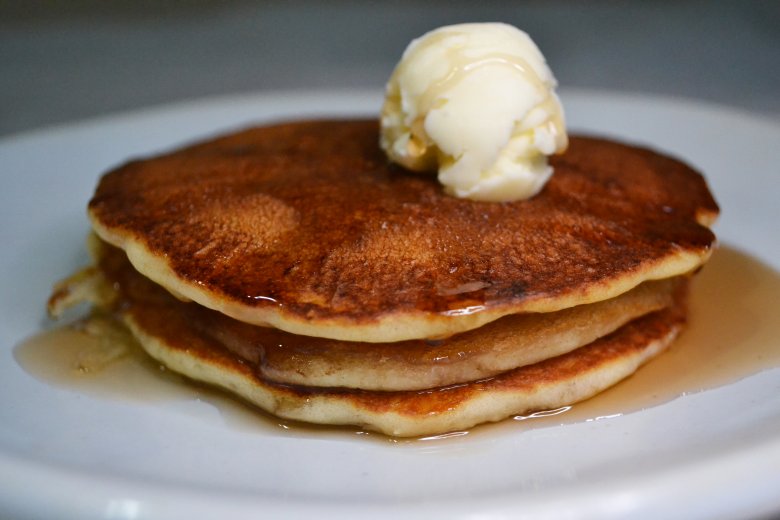
The things that make it a pancake
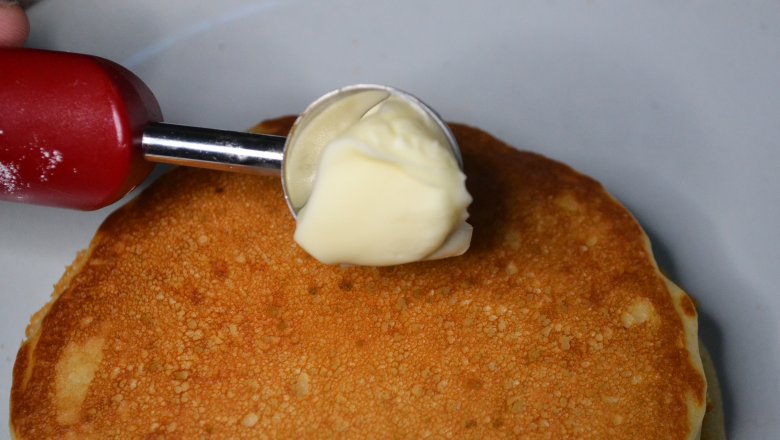
How does IHOP get that butter on there like that? The easiest way is to get a melon baller and just scrape away at the butter until you have a ball. If it won't just plop out onto the pancakes — and it probably won't — grab a couple of toothpicks and pop it out from the back of the melon baller.
As for the syrup, you can use whichever you like. Maple is always a safe choice.
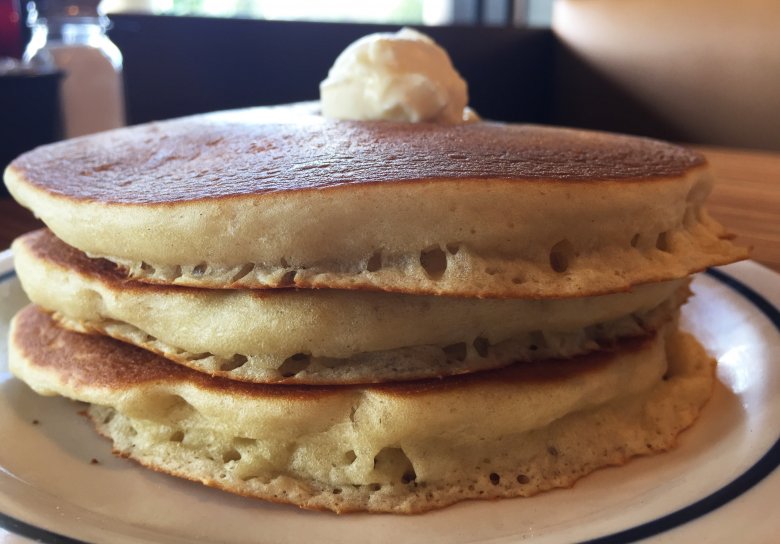
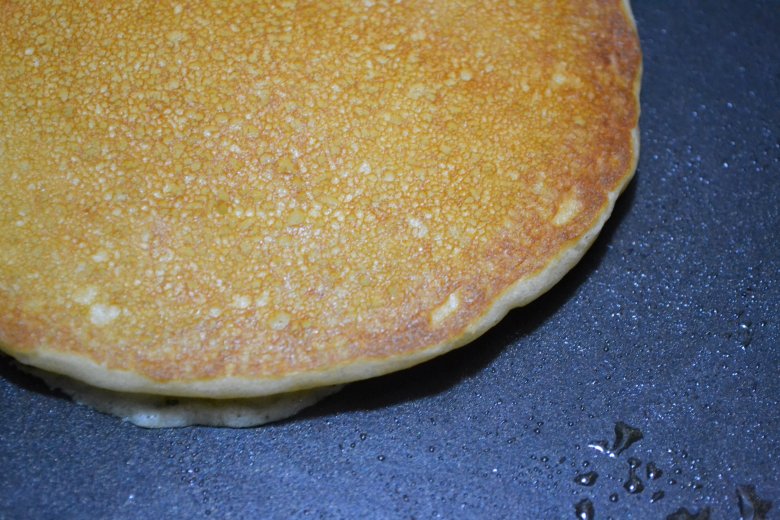
How close are we?
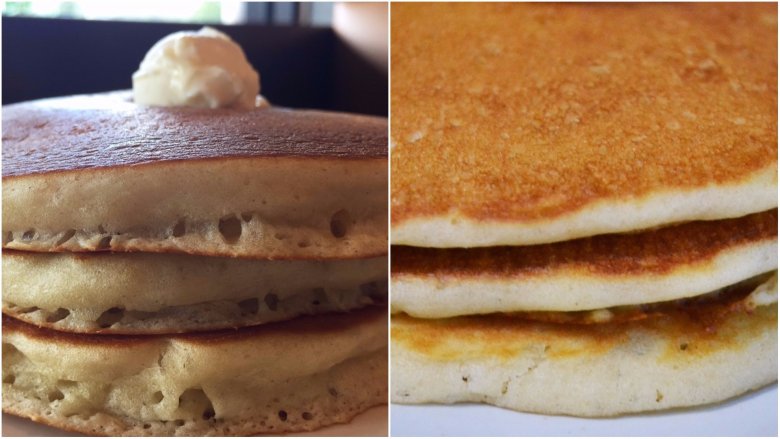
Look, it's pancakes. It's hard to not make a pancake taste like a pancake, so what we're looking for here is, did we get the fluffy height that IHOP achieves? Sort of. We're close, we certainly got some levitation from your average flapjack, but we didn't reach the stratospheric heights that IHOP gets. I toyed around with adding a bit more baking soda but at some point you just have to say "these pancakes are high enough" and live with what you have. They certainly have the light fluffy taste of an IHOP pancake, and perhaps a bit more flavor than the real thing. But as I said before, the pancake is just a way to get butter and syrup into your belly, but that doesn't mean we can't make a tasty vessel. This pancake is just that.
- 1 ¼ cups all-purpose flour
- 1 egg
- 1 ½ cups buttermilk
- 2 tablespoons granulated sugar
- 2 teaspoons baking soda
- ½ teaspoon baking powder
- ¼ cup vegetable oil
- ½ teaspoon salt
- Butter (a dollop on top)
- Syrup
- Combine wet ingredients in a bowl (including egg), and mix with a whisk just to meld the ingredients.
- In a separate bowl, combine dry ingredients and whisk to get all the dry stuff evenly distributed.
- Pour the dry ingredients into the wet ingredients, mix with a whisk to combine.
- Using a ⅓ measuring cup, ladle mix onto a pan of flat top sprayed with non-stick cooking spray set at 5-6 on your low-to-10 stove top setting (or 350-375 degrees)
- Cook for 3 minutes a side max. After two minutes you should see the sides curling up — that means they're done on that side.
- If cooking one at at time, remove to a plate and cover with a tea towel.
- Serve with a dollop of butter and syrup, and enjoy!
| Calories per Serving | 152 |
| Total Fat | 7.2 g |
| Saturated Fat | 0.8 g |
| Trans Fat | 0.0 g |
| Cholesterol | 19.4 mg |
| Total Carbohydrates | 18.1 g |
| Dietary Fiber | 0.5 g |
| Total Sugars | 4.8 g |
| Sodium | 384.6 mg |
| Protein | 3.7 g |