How To Freeze Bread
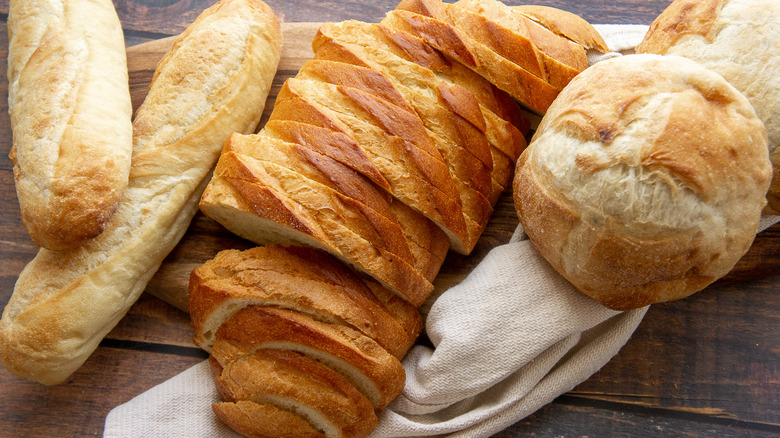
Whether you like to make your own bread or prefer to buy in bulk, learning how to freeze bread is a useful way to extend the freshness of any kind of loaf. Mikayla Marin, the recipe developer and photographer at The Flour Handprint, freezes her homemade bread all the time. Fresh loaves especially go stale faster than store-bought ones, given that they container fewer preservatives. Keeping them tucked away in the freezer makes it easy to have fresh bread any night of the week without fretting over it going bad.
This method works for more than your standard sandwich loaf, too. From buns, to dinner rolls, to individual pitas, to large baguettes, it's easy to get them all wrapped up and frozen in just a few minutes. Here, you'll discover the different materials you can use to keep them safe from freezer burn. Plus, you'll learn about the flash freezing method you can use to make sure you don't have to thaw an entire loaf for just a few slices.
How long you freeze your bread matters
The first step is to determine how long you're going to keep your bread in the freezer. This is key to determining not only how the bread's going to taste or be ultimately used, but how you're going to prep it for its time in the freezer.
For any bread that will be frozen for less than a month, just one layer of protection should work great. If you're freezing the bread for any longer, it's best to go for a double wrap method. That way, the bread won't pick up any odd smells or the dreaded freezer burn. Regardless of the exact method you use, it's always ideal to use your frozen within 3 months, however, or the quality may not be as good when you pull it back out.
Start with a first layer
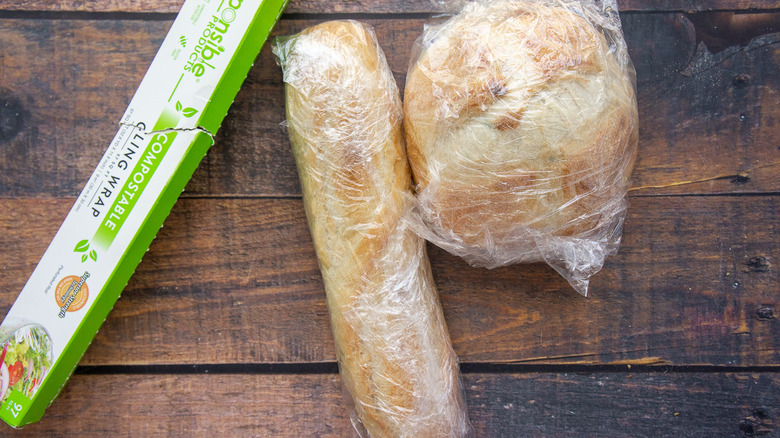
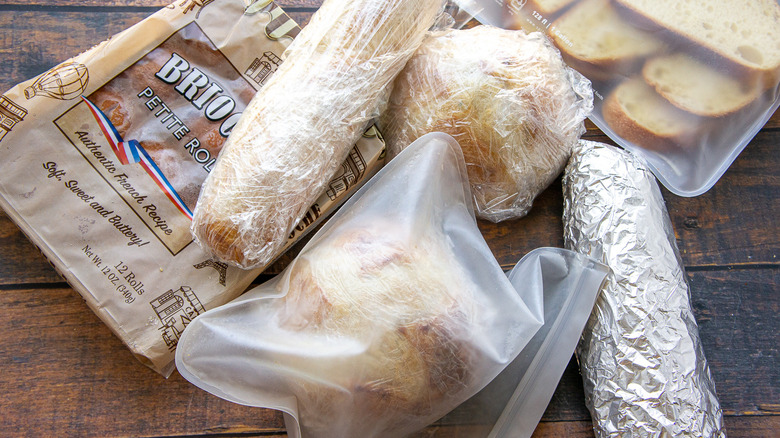
The most common way to wrap up frozen bread is by using a layer of plastic wrap. The process is as simple as laying your loaf of bread in the center of a section of plastic wrap and wrapping it up like a Christmas present. Get this layer as airtight as possible, all so the bread is protected from the harsh air in the freezer.
Other materials like freezer-friendly bags, reusable silicone ones, or butcher paper can work as well. Just do your best to squeeze out any excess air so the taste of your loaf will remain unaffected. Do that, and your bread will be good to go.
Add a second layer if needed
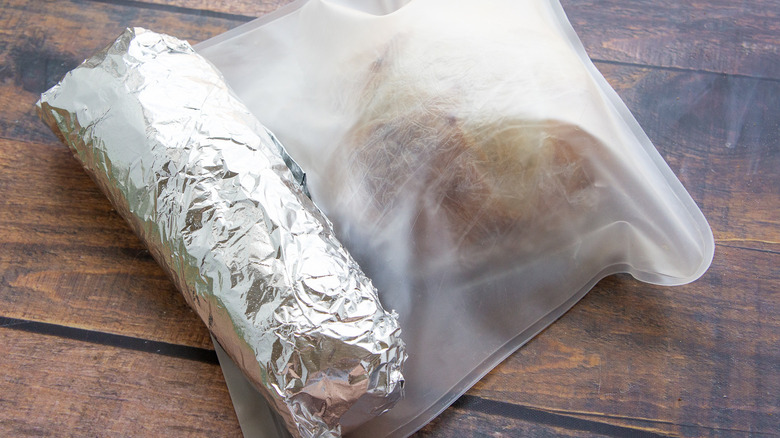
If you're not strictly planning ahead or you just aren't sure that you'll get to the bread within 30 days, it'll still be happy in the freezer for a few months longer with a second layer of protection.
Here, you've got plenty of options. You could use a second sheet of plastic wrap, a sturdy layer of aluminum foil, a large freezer-safe container with an airtight lid, freezer-safe plastic bags, or reusable silicone bags. Again, just make sure to get out all the air that you can before you toss them into the freezer.
Flash freezing is best for individual slices and rolls
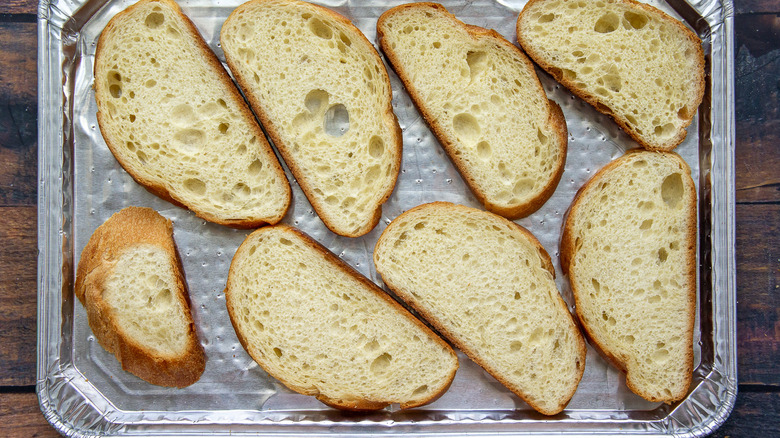
Sometimes we don't actually need all 12 hot dog buns at once, at least not if we're feeding a small family instead of a hungry cookout crowd. If that's the case, Mikayla recommends using a flash-freezing technique before wrapping individual slices or pieces of bread.
It may sound involved at first, but this process is actually very easy. Grab a freezer-safe sheet pan and place the rolls or slices of bread in a single layer. It's okay for them to touch a bit, but don't overlap or cram them very close together. This can misshape the pieces of bread or make them stick together into one frozen mass. If needed, you can use a second pan or lay a sheet of parchment over the top and make a second layer of bread that won't stick to the first one.
Once you've arranged the individual portions to your liking, put the sheet in the freezer, keeping it level so they don't fall all over the place. Let them freeze for an hour or two. This step allows the outside layer of the bread to freeze and prevents them from sticking together when you package them using the previously mentioned methods.
You can also freeze bread in its original packaging.
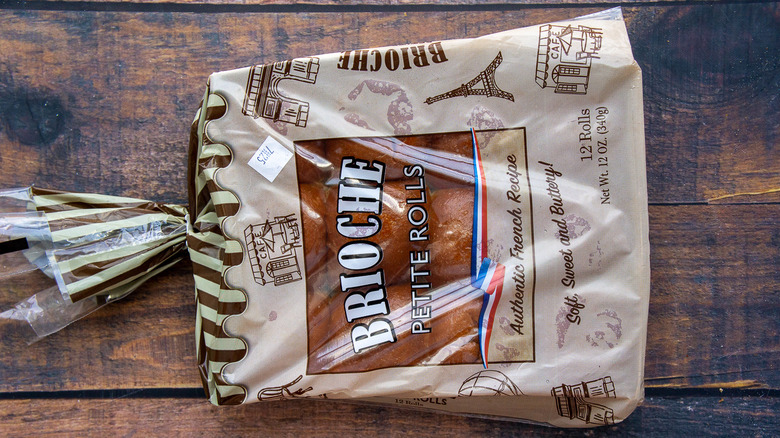
Before you take pre-wrapped bread out of its plastic and put it in different plastic, take a second to reconsider. It may be okay as-is for short-term storage. Marin doesn't recommend this for long-term freezing, but, if you plan to use the bread within that 30-day time frame, you can simply pop the whole thing right into the freezer.
You may want to take a quick minute for an additional step, however. Often these packages are sealed with twist ties or plastic clips, which are definitely not airtight. So, it might be best to release as much air as possible and tape or tie off the ends of the package to more fully protect the bread. Then again, if you're pulling it out in just a week or two, this isn't even necessary!
Freeze and defrost your bread with ease
As you can see, freezing bread is very easy indeed! Plus, it's very effective at making sure you get the most bang for your buck out of every single loaf. Not only is this method supremely simple, but it's also a great way to reduce waste. No more moldy half-loaves need to meet the garbage can or compost pile ever again! It can also extend that gorgeous homemade loaf of bread long past its unfrozen life expectancy.
When it's time to pull your bread out of the freezer, leave it at room temperature. Marin notes that she's never had any issue with sogginess when using these methods, even when she's left the bread on the counter in its wrapping to thaw. If some of the cold air of the freezer got into your wrapping and your bread is icy, that can admittedly cause condensation and moisture while thawing. If that's the case, simply remove the bread from its wrapping entirely. Then, let it thaw for an hour at room temperature, keeping an eye on any condensation or melting ice