Mistakes Everyone Makes When Using A Chafing Dish
If you own a chafing dish –- a serving tray designed to keep prepared food hot -– you likely only break it out for big group meals. And if you're like many people, you probably serve a few big meals during the fall and winter holidays.
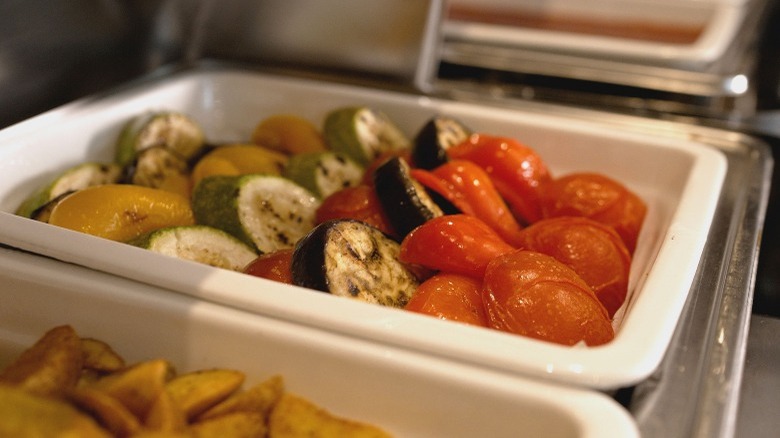
But while using a chafing dish might seem simple, there are a lot of ways it can go wrong. The risks of a serving mishap can be a lot more serious than cold mashed potatoes, and might include food-borne illnesses. That said, you might be surprised to learn that chafing dishes are very useful for a wide variety of dishes, from larger meals like a roast or casserole to sides like gravy. They're also a lot easier to use than you might think, and most chafing dishes have the same components and work the same way. We looked at recommendations from catering brands as well as kitchen tool product makers for the best practices of how to use and not use chaffing dishes in composing this piece.
Let's dig into the benefits and features of chafing dishes, and how to use them correctly -– and safely.
Not understanding what a chafing dish is used for
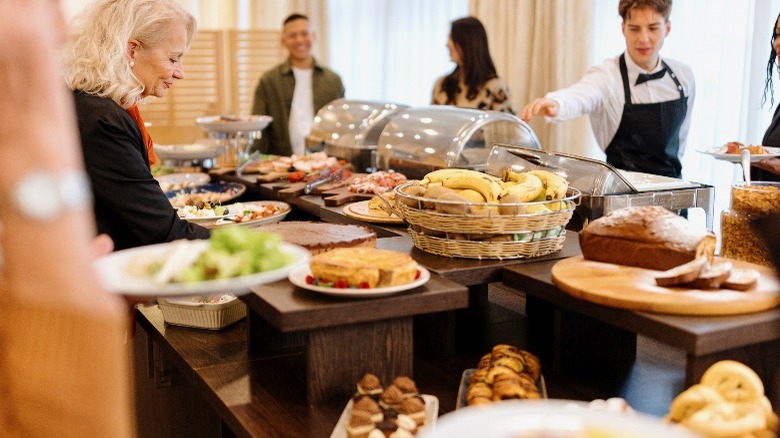
If you have a chafing dish collecting dust in your basement, you may think of it as an outdated kitchen appliance –- something for the days of regular dinner parties, or for a time before food could be easily reheated in microwaves. Or you might associate chafing dishes with buffet restaurants or large events like weddings. They're definitely useful for these occasions, but a chafing dish is also a great tool to have in your home kitchen toolbox if you ever host family or friend gatherings.
A chafing dish has important functions beyond simply being a serving dish. In fact, chafing dishes have a lot of benefits, the main one being that they keep your food warmer for longer, once it's out of the oven or off the stove, by providing an ongoing source of heat.
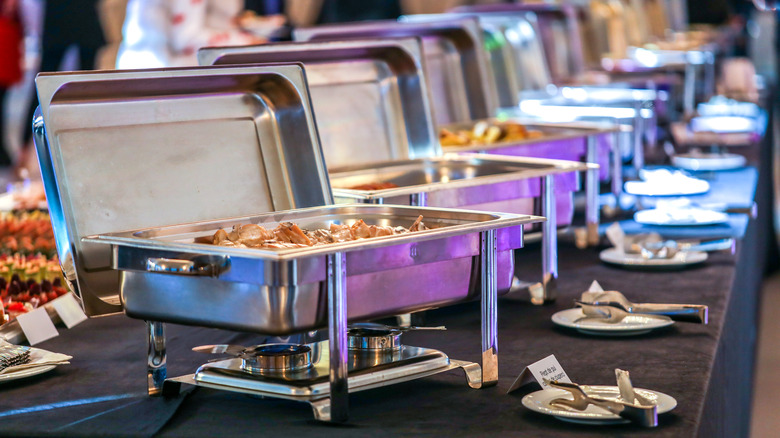
That's because the "dish" is actually two dishes -– with one that sits inside the other -– along with a lid, a stand, and a heat source. That heat source is the key difference between a chafing dish and other types of serving dishes, and it's how they can be used to keep dishes warm. This is important for ensuring both that your lovingly cooked meals taste great and stay safe for every guest.
Not knowing what type of chafing dish you have
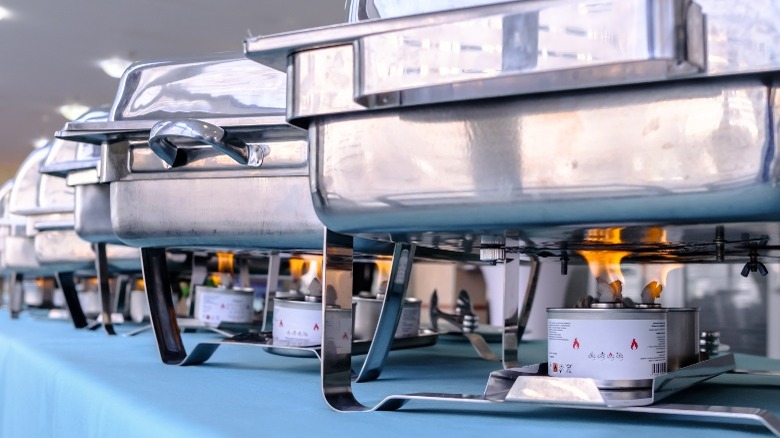
There are two primary kinds of chafing dishes for at-home use: induction chafing dishes and fuel chafing dishes. The fuel-based dishes are more common, but both kinds work well.
Fuel chafing dishes use the flame created by a fuel source to warm the water in the larger dish, in order to keep your food hot. These dishes can use either gel or liquid fuel, depending on the type you have. Fuel chafing dishes are generally more affordable to purchase, and relatively simple to use. They have the advantage of not requiring an electricity source, which makes them a great option for outdoor use in particular.
Induction chafing dishes don't use fuel. Instead, they sit directly on electric induction plates and have a built-in water return system. This system helps remove condensation created by the warmed water away from your food, diverting it instead into the dish's water tray. Induction chafing dishes don't need fuel, which means there is no flame involved, which can be a safety benefit.
Many chafing dishes that use electricity as a heat source have built-in temperature controls, which can be easier to adjust than for a fuel chafing dish. Also, with an electric heat source, you don't have to worry about restocking your fuel or having enough on hand.
Setting up your water dish incorrectly
When setting up your serving station, don't forget to add water to your chafing dish! It's key to keeping your food warm. The water in the larger of your two chafing dishes is warmed by the heat source sitting underneath it. In turn, the steam created by the warmed water heats in the food in the smaller pan.
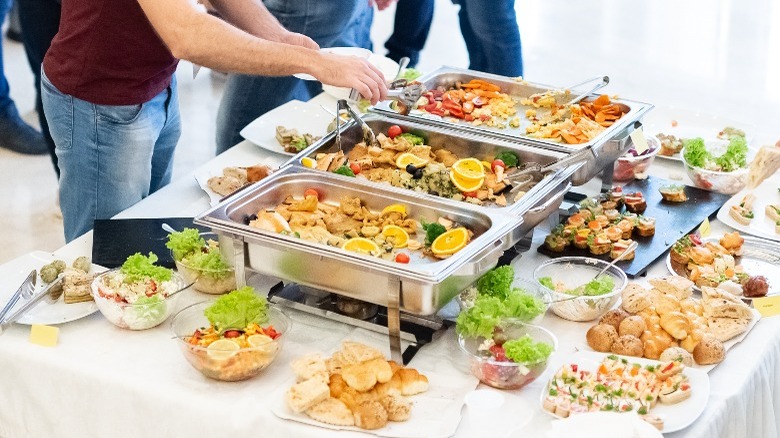
To properly set up a chafing dish, water is placed in the larger pan that sits on the stand or rack, above the heat source. The smaller pan –- the one that holds your food -– is then placed sitting inside the larger one.
There are a few important things to keep in mind, however, with the water in your chafing dish. Add water to your chafing dish's larger pan after you have it set up on the table and in its rack –- liquid can make it surprisingly heavy! Make sure you don't add too much water because it might overflow when you place the smaller dish inside the larger one.
However, the water can evaporate too soon if you don't use enough, which means your dish won't work properly to keep your food warm. Your dish's manual should have instructions for the correct amount of water to add. For longer events, carefully lift out the smaller dish (the one containing food) and check your water levels to see if more needs to be added.
Putting food in the dish too soon

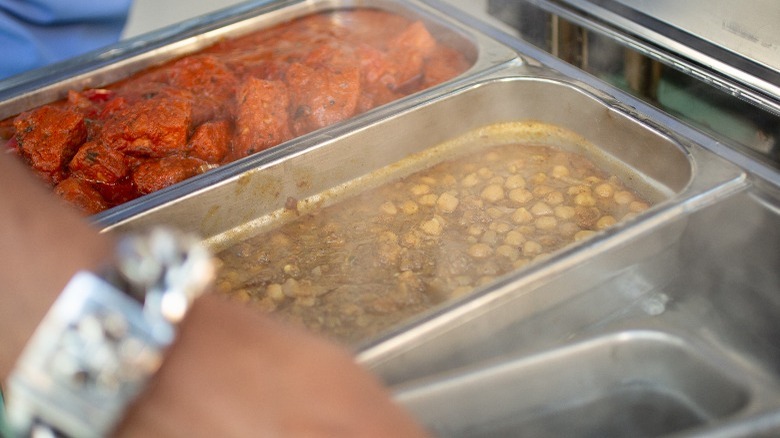
It's very important to note that while chafing dishes are great at keeping your food warm, they are not suited for heating up cooked food, whether it's frozen, been in your fridge, or at room temperature. Food should only be added to your chafing dish at its ready-to-serve temperature, immediately after it has finished cooking or been reheated.
A chafing dish is great for keeping food that has already been warmed up at its ideal temperature. However, you can't warm food up quickly enough in a chafing dish to ensure it stays safe to eat, or ensure that it ever warms up to a safe temperature in the dish.
Relying on a chafing dish to heat up any meal could result in your food spending too long in the "danger zone" –- the 40 degrees Fahrenheit to 140 degrees Fahrenheit range where bacteria grows most quickly, according to the USDA. It's not worth the risk.
Placing the chafing dish on or near something flammable
Chafing dishes are safe if used correctly, but it's important to remember they do use either fuel or electricity to keep your food warm. For that reason, some basic precautions are required and avoiding flammable materials is one of them, according to catering products company Sterno.
When you set up your chafing dish, and while it's in use, ensure the table is clear around it -– no loose napkins or nearby decorations. When lighting the fuel or otherwise using the dish, make sure no hair or fabric dangles near the flame. Don't place the dish on any highly flammable materials, like plastic tablecloths, that could easily melt or catch fire. And wash your hands before and after handling the fuel cans to ensure there is no flammable material on them.
Finally, if you're using a fuel-based chafing dish, make sure you put out the flame properly by snuffing it out with the lid of the fuel can or a saucer. Don't blow it out –- you could splatter fuel liquid or gel outside the can.
Not protecting your chafing dish from the elements
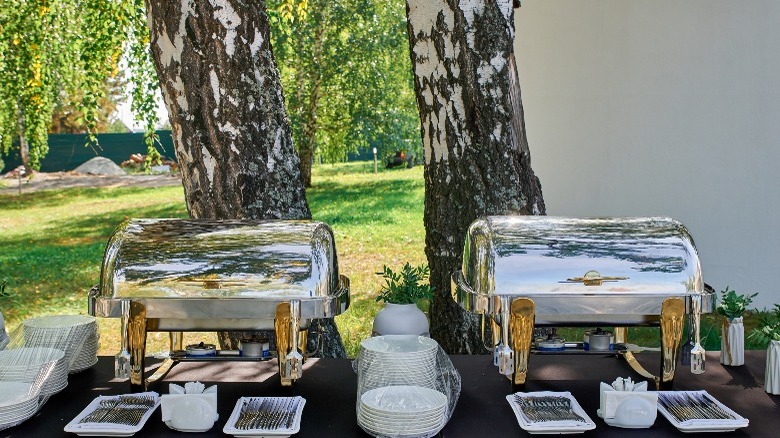
Also, if you're using a fuel chafing dish outside, it's important to protect the flame from the wind –- to ensure both that it doesn't go out and affect the function of your chafing dish, and that your fuel doesn't blow out of its container or tip over. Try to set up your chafing dish somewhere that is protected from the wind, as much as possible, advises Skorr Professional Products. You can make a DIY wind shield for your fuel source by folding a piece of heavy-duty tinfoil that protects it on three sides. Check your dish often to ensure the flame hasn't been extinguished.
Finally, be honest with yourself and your guests about when the weather is bad enough that it's not possible to use a chafing dish outside. If the wind is strong enough to blow over your fuel source (or the dish itself!), it's time to make different plans.
Using the wrong fuel for your chafing dish
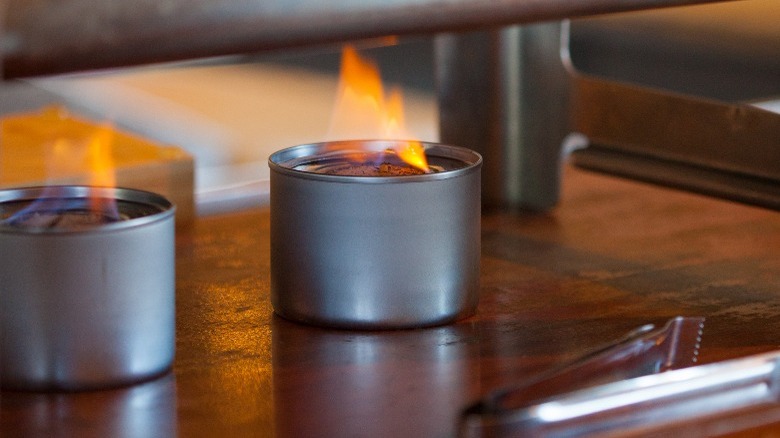
There are two types of fuel used for chafing dishes: gel and liquid. The type of fuel best suited to your chafing dish might depend on its height –- liquid chafing fuel with a wick produces a taller flame than gel fuel. For this reason, liquid fuel may be the better choice for a dish with a taller stand, while gel is more suited to one that is lower.
Both are quite simple to use. Simply remove the lid from the fuel container, and place the container in its holder. This holder will have a dampener that allows you to adjust the flame by rotating the lid. Place your fuel source in its holder, with the dampener adjusted for a low flame, before you light it. Then, light the holder using a long lighter or match -– as with any spirit-based fuel, chafing fuel's fumes are also flammable so it's important to light from a distance.
Liquid chafing fuel is more difficult to light without a wick, making it less likely it will be ignited accidentally. Liquid fuel can also sometimes be reused, if the fuel canister features a resealable lid, while gel chafing fuels are ignited within their containing can and can't be reused.
A final tip for fuel: ensure your chafing dish's heat source has plenty of burn time for your event, to avoid having to change or refill canisters while the dish is in use. Not only does this help ensure your food is exposed to consistent, even heat, it's also a safety measure -– swapping canisters could lead to spilled fuel.
Not properly checking your dish for damage
Before you set up your chafing dish, it's important to ensure you check all of its components for damage. Issues with the stand, heat source, pans, or lid could lead to spills or your food not being kept warm properly. They could also create a fire hazard, especially in the case of faulty wiring or fuel leaks.
Make sure your chafing dish's stand is stable and sits evenly on your table. Before you put water in your larger pan, check it for any leaks and ensure it sits properly in your stand. Do the same for your smaller dish before you put any food inside. Check your dish's burner before adding and lighting fuel, and ensure the flame control is working once you do. If your chafing dish is electric, ensure it's working properly and check the cord and plug for any damage. Finally, make sure the lid has no cracks and sits properly on your pans, and that the handle is secure.
Putting your food in a cold chafing dish
Just as it's important to ensure your food is properly warmed before you place it in your chafing dish, it's also key to ensure the dish itself is at the right temperature before you put it to use. This means both using hot enough water to warm your dish effectively, and giving the dish time to heat up before putting food inside.
The water you put in the larger pan of your chafing dish should be hot enough to scald –- at least 140 degrees Fahrenheit, according to the U.S. Consumer Product Safety Commission. Knowing that, be very careful when adding this water to your pan. Boiling water on the stove, then adding it to the pan, is the easiest way to get your water hot enough to use in the dish.
Once you've added the correct amount of water, cover your chafing dish -– without the smaller pan for food inside -– for about 10 minutes to allow the water and steam to warm it up. Then your dish is ready for the smaller pan with food.
Remember: when you add water to your chafing dish, bring the source to the dish, not vice versa. Set up your chafing dish, then bring over the boiling water to add to the larger pan. Carrying a pan of very hot water is dangerous -– it could easily splash, or the heavy pan could be dropped.
Relying on your chafing dish to finish up your cooking

Just as it's important to know your chafing dish can't effectively warm food for you, it's also vital to ensure your food is fully cooked before it goes into the dish. Chafing dishes do not heat up enough to cook food on their own.
Remember, water boils at 212 degrees Fahrenheit, but the steam released by the water in the larger dish isn't at that temperature so heating a meal like soup in a chafing dish is not the same as cooking it at high temperatures on the stove. And meals are cooked in ovens at even higher temperatures, ones your chafing dish will never reach.
Fully cook all food before adding it to a chafing dish. Not doing so creates the risk of food-borne illness, according to the Centers for Disease Control. These illnesses can be serious -– even fatal.
Not checking the food as the event goes on

Though a chafing dish removes a lot of the work of keeping your dishes at the correct temperature during an event, it's not wise to just put the food in its dish and ignore it. Instead, check your food every 25-30 minutes to ensure it's maintaining the correct temperature. Some chafing dishes have a thermometer to help you monitor temperature, but you can otherwise use a food thermometer to ensure the temperature is staying consistent. The correct temperature varies by food — the USDA provides information on what you should aim for.
When you're checking your food's temperature, that's a good time to make sure your food isn't either drying out or getting soggy. Give your food a stir regularly, and ensure the lid stays on when nobody is serving themselves from the dish.
When you're lifting the lid to your chafing dish, either to serve food or to check on your meal, be sure to lift the lid carefully and away from your body. The combination of the hot food and the water in the larger pan can create a lot of steam, which can burn you if you aren't careful, according to the Burn and Reconstructive Centers of America.
Cleaning your chafing dish incorrectly
Generally, a chafing dish's water and food pans are made of stainless steel and should be cleaned how you'd handle anything else in your kitchen made with that material.
To safely clean the other components of your chafing dish, you should wipe the lid, fuel source, and stand with a microfibre cloth and a cleaner designed for use with stainless steel. If any part of your chafing dish is made with another material, follow the instructions for cleaning that specifically. And in case of cleaning doubt, always refer to your dish's manual or instruction booklet for recommended procedure.
Allow the fuel canister to completely cool before you remove it from the holder, and ensure the holder is cool before you pick it up or clean it. If you have remaining chafing fuel, store it away from direct sun and in a cool, dry place before the next use.