Mistakes Everyone Makes Baking Christmas Cookies
 Shutterstock
If you've decided to make cookies for the holidays, you probably have visions of perfectly baked, beautifully decorated treats that no one will be able to resist. That's why it's so disappointing when — after mixing up the dough, carefully creating adorable shapes, and adorning each treat with colorful icing — your cookies don't turn out as you imagined. Don't worry. We've got a list of the common pitfalls of cookie making and solutions to make yours a joyful cookie season.
You don't carve out enough time

Avoid kicking off any cookie-baking session until you've first assessed the time needed to complete the project from start to finish. Start by searching through trusted recipes to decide on the type of cookie you want to make and how much time you're willing to spend in the process. Read the recipe carefully and note how the time is allotted. Some cookie recipes don't let you take a break from starting to getting the cookies in the oven. Other recipes might require breaks like overnight chilling or lengthy cooling time. Many drop cookies will require only the time it takes mix up the dough, spoon mounds onto cookie sheets, and bake and cool the cookies. Refrigerator cookies (also called icebox cookies) will need some extra time: the dough must be rolled into logs and chilled long enough so it's firm enough to cleanly slice. Rolled-out cookies, such as classic sugar cookies, require the dough to be chilled before rolling out and often require that cut-out cookies be chilled again before baking. And many cookies can't be iced until they are fully cooled.
You don't check the pantry
Don't start mixing until you've checked the recipe ingredient list against your pantry provisions and equipment. You don't want to begin mixing only to discover midway through that you're missing a key ingredient or a necessary tool. Pull everything needed from the cabinet and check that it's in proper working order, still fresh, and there's enough of what's called for. If you plan to make cookies regularly or will be making multiple batches or different cookies, you should stock your pantry with cookie basics and consider keeping an inventory list taped to the inside of the cabinet door to track when supplies begin to dwindle.
You measure incorrectly
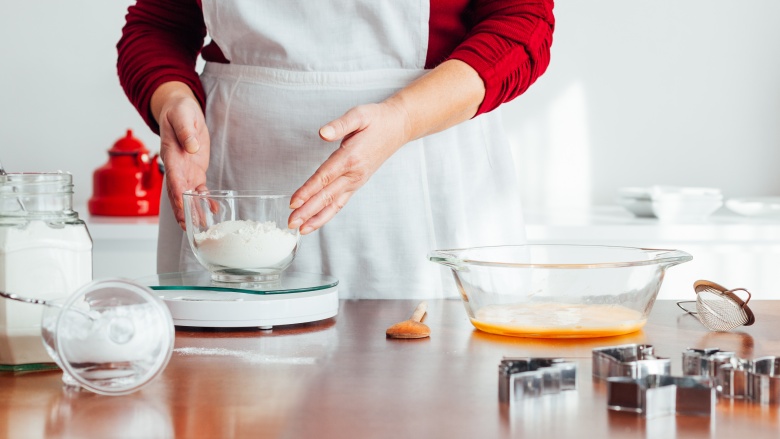
Baking relies on precision. Cookies can be somewhat forgiving compared to cakes and other pastries, but they can easily be ruined. Measuring improperly is one way to end up in trouble. If possible, use a scale to measure ingredients: it's the best way to get the same result time after time. Weighing is extremely accurate, but properly using measuring cups and spoons will also yield good results. To measure accurately, make sure the ingredient isn't packed down in its container (stir with a whisk or spoon to loosen), spoon the item into the measuring cup, then scrape evenly across the top using a table knife to level. Flour, sugar, yogurt, sour cream, butter, and chopped nuts should all be measured this way, whether in measuring cups or spoons. Ingredients you pour, like milk, maple syrup, water, and lemon juice, should be measured in a liquid measuring cup with marks on the sides. Place it on a level surface and view the hash marks at eye level to get an accurate read.
You use the wrong butter
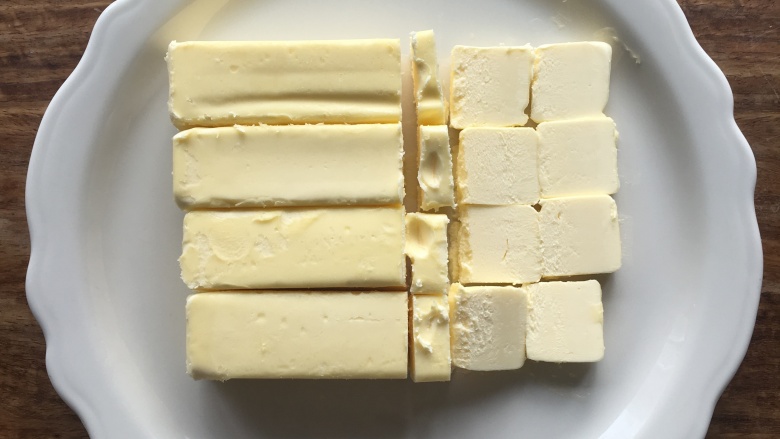
It's a common mistake to use salted butter in a cookie recipe. In most cases, it won't mean the complete ruin of the cookie, but using salted butter instead of unsalted butter can affect cookie flavor. Unless the recipe indicates otherwise, you should use unsalted butter to make cookie dough. Salt is a preservative and can mask freshness in butter. As a rule of thumb, unsalted butter will last about one month in the fridge and salted butter can last for three months. If you must go with salted butter, taste and smell it before using to make sure it hasn't become rancid. It's hard to gauge how much salt is in salted butter, and the amount can vary a lot from producer to producer. If you must use salted butter, reduce the salt that's called for in the recipe by half. You can substitute whipped butter when making cookie dough, but avoid using it for frosting recipes and make certain to use the weighed equivalent since the butter has air beaten into it and won't measure out the same using cups or tablespoons.
You don't soften the butter
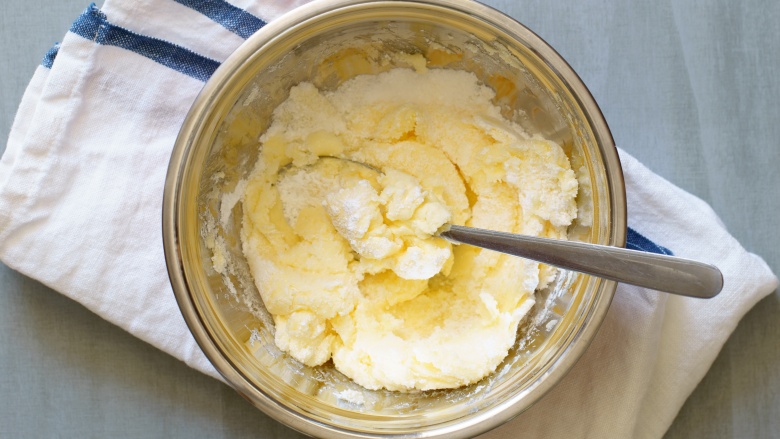
If a recipe calls for softened butter, don't make the mistake of pulling the sticks straight from the refrigerator and thinking you can just start mixing. Butter is usually softened so that it will incorporate properly with the sugar. This process creates an airy, fluffy mixture that plays a part in the cookie's texture. If you attempt to cream butter and sugar together while the butter is still cold, the butter won't be able to expand and create air holes. You don't want to overwarm or melt the butter either as it will not allow you to reach the desired creamed state and the cookies will spread during baking. To soften butter, leave it out, unwrapped at room temperature for 30 to 40 minutes. If you need to speed up the softening, place butter between two sheets of wax paper or parchment paper and gently roll it out flat with a rolling pin. Avoid warming butter in the microwave. It will never warm evenly. This is because it's a microwave.
You confuse the many types of sugar
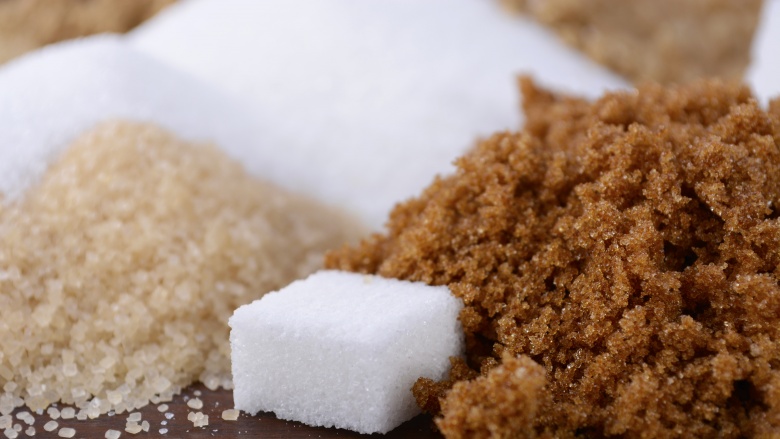
Sugar plays a big role in cookie making. It adds sweet flavor, affects texture, and even plays a role in leavening. You'll find many different types of sugar at the grocery store, so it's important to know the difference. You can store sugar indefinitely in a dry, cool place, but it can absorb flavors if you store it near pungent foods. In some cases, that absorbency is a good thing — think vanilla sugar. But if you store sugar right next to your bag of onions or garlic, your cookies might taste a little strange. White granulated sugar is made from sugar cane or sugar beets. You can also find cane sugar, which goes through less processing than white granulated sugar and is made only from sugar cane. Because it's processed less, cane sugar is a pale beige color rather than white. You can use these two granulated sugars interchangeably in recipes without any problems.
You use superfine sugar instead of granulated sugar
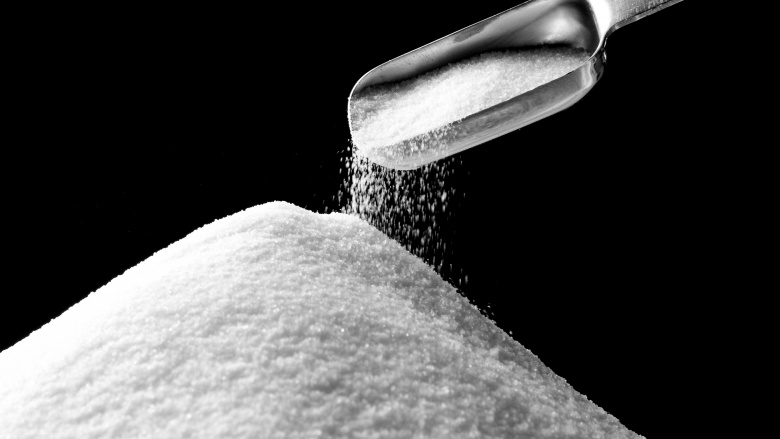
You'll find superfine sugar (sometimes called caster sugar) right next to granulated sugar, but don't mix them up. Superfine sugar, like the name implies, is more finely ground, so it's denser. Those teeny tiny crystals make superfine sugar an ideal ingredient for making certain sweets like angel food cake, candying flowers, and other cooking scenarios where you need sugar to quickly dissolve. If you find a cookie recipe that calls for superfine sugar and you don't have any on hand, you can make your own by grinding granulated sugar in the food processor.
You substitute brown sugar for white sugar
Brown sugar is essentially granulated sugar that has some molasses in it. There are two types: light and dark. The molasses makes the sugar moist and sticky and brings a rich, caramel flavor. The flavor is a little more robust in dark brown sugar because it has more molasses than light brown sugar. The moisture and color in brown sugar can affect a cookie's texture and appearance (it can look darker) but sometimes that trade-off is worth the added depth of flavor. Because of that moisture and deep color, substituting brown sugar for granulated sugar without testing could go poorly. Be prepared to try out a half batch of a recipe using brown sugar instead of white sugar to see how you like the effect. Unless the recipe says otherwise, when measuring brown sugar, pack it into a dry measuring cup before leveling.
You figure powdered sugar is close enough to granulated
You probably know powdered sugar best as that powdery finish on the tops of cookies, cakes, and other desserts. This sugar is made by finely grinding granulated sugar to a flour-like texture. You will find most cookie icings call for powdered sugar and won't work with another type of sugar. Classic shortbread cookies are often made using powdered sugar for a very tender result.
You substitute the all-purpose flour with whole-wheat
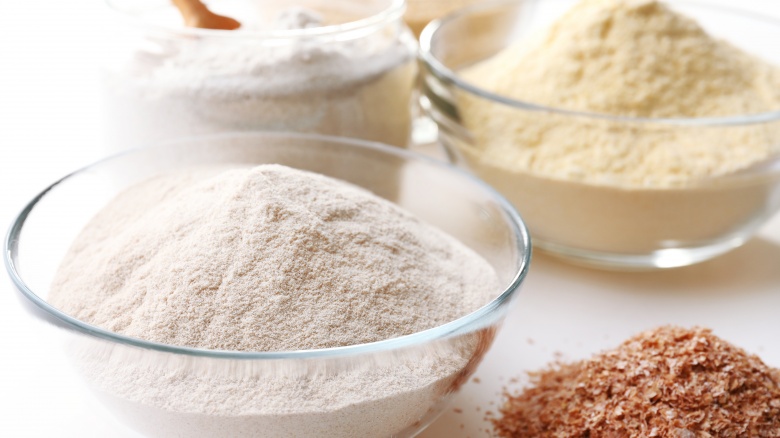
The flour you use for cookies is critical. Most recipes will call for all-purpose flour. But if you're interested in making cookies using a whole-grain flour, like whole wheat, take care. Whole-wheat flour takes longer to hydrate and might yield a coarse or dry result if you completely replace the all-purpose flour. The rule of thumb is that you can substitute half of all-purpose flour in the recipe with whole-wheat flour. White whole-wheat flour will make an even better substitution. Similarly, if the recipe calls for cake flour, which is lighter than all-purpose, don't make a straight substitution. For DIY cake flour, measure 1 cup of all-purpose flour and remove 2 tablespoons. Replace the 2 tablespoons flour with 2 tablespoons cornstarch and sift the mixture several times to aerate it.
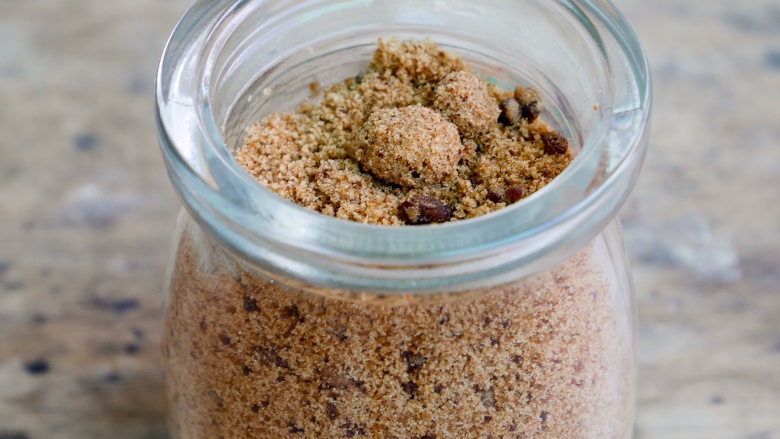
You use expired baking powder
Baking powder and baking soda give lift to your cookies. The main problem that people run up against is using baking powder or baking soda that has expired and will no longer chemically react with the other ingredients to create the needed lift. Baking powder reacts to the oven heat to give treats a soft, delicate crumb. With old, inactive baking powder, the treats would be flat and tough after baking. Baking soda reacts with an acid like lemon or vinegar to produce bubbles that expand and lighten the cookie dough. If it's no longer effective, that chemical reaction won't occur. The simplest way to prevent the problem is to buy a fresh baking soda and baking powder about once a year, but first test the ones you have to see if they'll still do their job.
You overmix the cookie dough

The key to mixing cookie dough is to avoid deflating the air you've incorporated during the creaming stage. Mix in flour and remaining ingredients on low speed and stop once the flour comes together with the rest of the ingredients to make a dough. Stir in chunky ingredients, like chocolate chips, nuts, and dried fruit by hand.
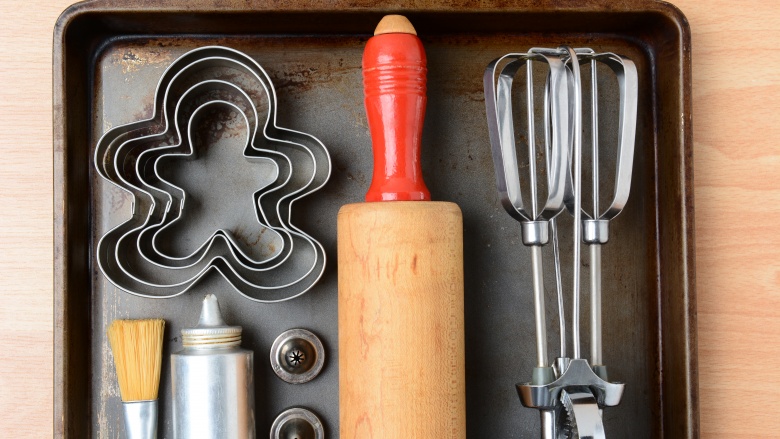
You don't properly prep the pans
Prepping the cookie sheets as directed is important. If the instructions say to bake on an ungreased pan, it's to make sure the cookies don't spread too much during baking. If you do need to coat the pan, use vegetable shortening or nonstick cooking spray. The milk solids in butter can burn during baking and cause the bottoms of the cookies to turn a bit darker than you want. You can also use parchment paper or a silicone baking mat to line cookie sheets in either case, skipping the greasing step altogether.
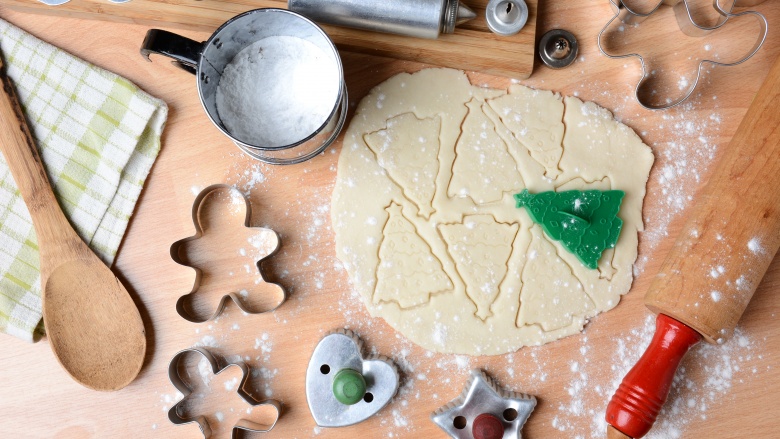
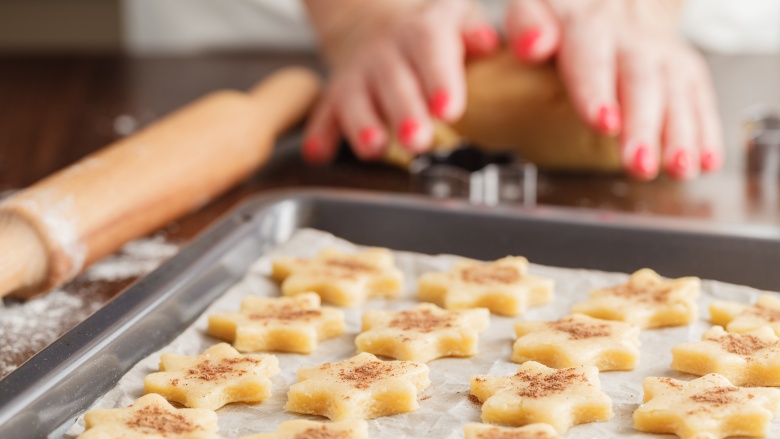
You flub forming the cookies
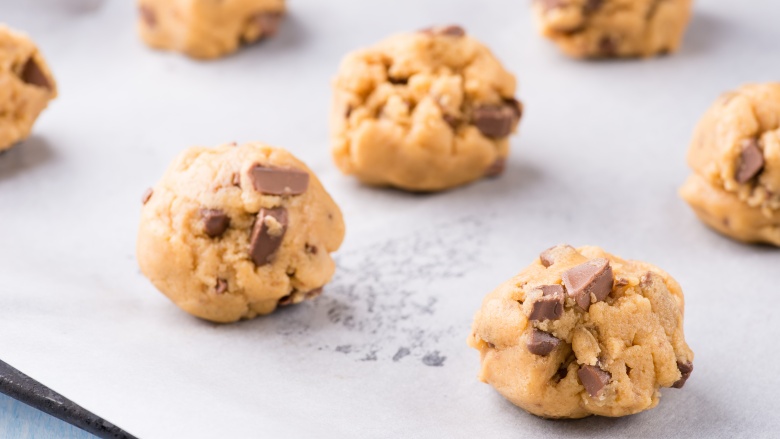
Once you've got your dough made, it's time to form cookies. No matter how good the cookie tastes, if it doesn't look right, it won't be as appealing. For rolled-out cookies, makes sure the dough remains chilled throughout the entire process. Roll out the dough between parchment paper while it's still malleable, then stack and chill it before cutting out shapes. Another safeguard is to return the cut-out cookies on the baking pan to the refrigerator to chill before baking. This might add an extra minute of baking time, so watch carefully during the first batch. The trick to making good-looking drop cookies is uniformity. If they aren't the same size going into the oven, they won't all bake at the same rate. They'll also look like they've been created by a seasoned baker if they all have a similar (but not factory-like) look. Use a cookie scoop, two spoons, or a small measuring cup to achieve consistent cookies. If you're piping cookies or using a cookie press, make a few test cookies to perfect your technique and then gain a rhythm. If you are creating cookies that you'll shape by hand, like crescents or balls, think about dividing up the dough by weight for perfect portioning.
You don't check oven temperature and hot spots

Some of the most frustrating problems with cookies occur after the dough is made and the cookies are already in the oven. It's essential that the oven is well-heated before the cookies go in and that you use an oven thermometer to make sure your oven is properly calibrated. Oven heat is seldom even: it's generally hotter on the top of the oven than on the bottom. You should try to bake cookies one batch at a time in the center rack of the oven, but that isn't always practical. If you're baking multiple batches, position the racks evenly in the oven and rotate the pans halfway through the baking.
You cool cookies improperly
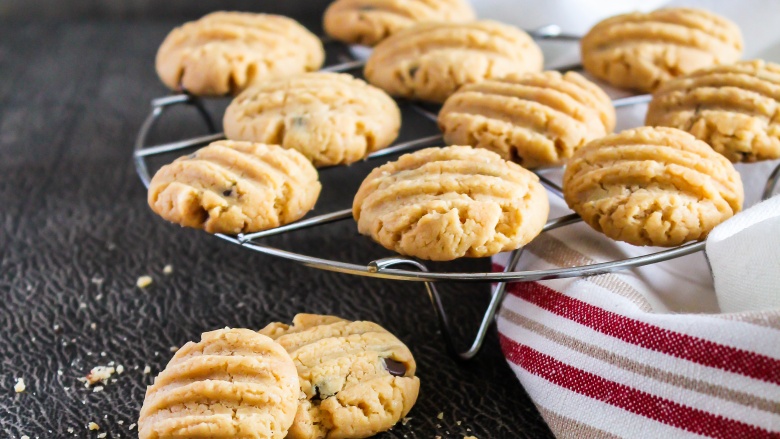
What you do once the cookies come out of the oven will make all the difference in your success. If the recipe says to let cookies cool on the pan, don't be tempted to remove them earlier. If you remove the cookies too early, the sugars and fats won't have hardened enough and the cookie will crumble. Wait too long and the cookies may have adhered to the pan. If you try to pry those cold cookies off the pan, they might shatter. If this happens, place the cookie sheet back into the oven for a brief moment to warm the pan and loosen the sugar. If you are directed to remove the cookies immediately, don't transfer them to a plate or other flat surface. The heat from the cookies will create condensation and wreak havoc in your final texture. Cool cookies on a wire rack that allows air to circulate. You must also cool the pans in between batches. Skipping that step is not an option; placing cookie dough on a hot pan will make the cookie spread.
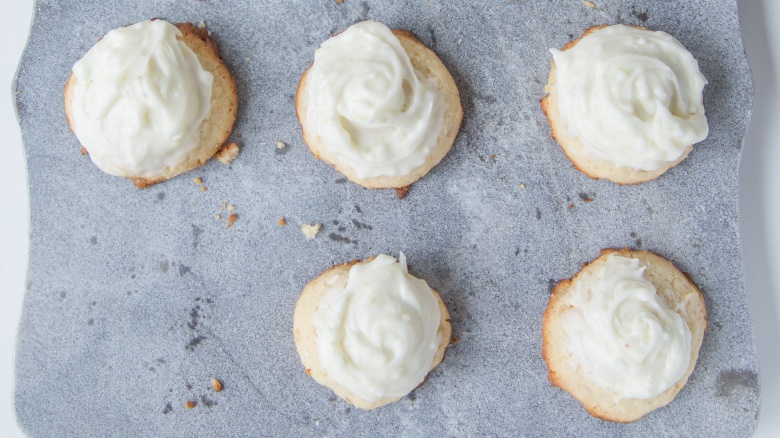
You rush decorating

If you decorate cookies with icing, make sure they've cooled completely (unless the recipe says otherwise) so the icing will properly set. Apply any of the nonpareils or decorating sugar before the icing sets and do so with the cookies set on a wire rack set over a baking pan to catch any excess. Allow plenty of time to make sure the icing is fully set before packing to store or give away.
You poorly pack the cookies

Pack cookies between layers of parchment to prevent them from sticking together. Pack like with like: crisp cookies shouldn't go in the same tin or container as soft or chewy cookies. The moisture from soft cookies will be absorbed by the crisp ones and ruin their texture. You can freeze most cookies to serve later, but avoid freezing meringue-based cookies, iced and decorated cookies, or cookies glazed with chocolate. Store cookies in layers between plastic wrap or parchment in a freezer-safe container.