Cheesy Garlic Bread You'll Make Over And Over
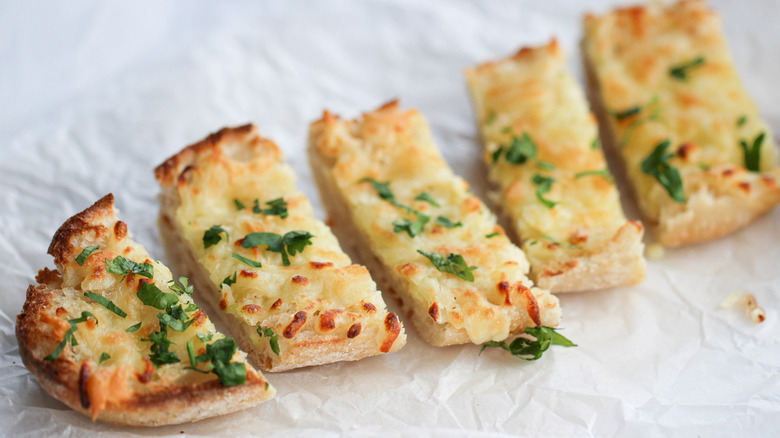
Is there anything more comforting than cheesy garlic bread, fresh out of the oven? Rich, crispy, and aromatic, it's a nostalgic, Italian-American fave. And with the help from recipe developer Susan Olayinka of The Flexible Fridge, it couldn't be simpler to make at home.
Olayinka relies on ciabatta bread for this recipe, which she loves for its texture. "It's nice and soft," she says. Ciabatta manages to retain its pillowy texture even with two trips under the broiler. For the cheesy layer, Olayinka features two kinds of cheese in this recipe: mozzarella and Parmesan. The resulting bread is the perfect appetizer for an Italian meal, says Olayinka, so that diners "can get a taste for what's to come." She recommends serving this garlic bread with pizza or pasta. Something garlicky like a chicken Alfredo or a pizza topped with roasted garlic cloves would nicely echo the rich flavors of the garlic bread itself.
Gather the ingredients to make this cheesy garlic bread
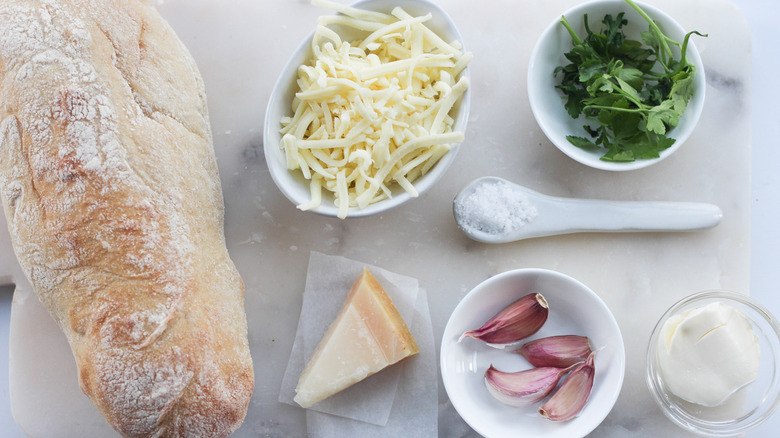
To make this recipe, start with a nice loaf of ciabatta bread. This Italian bread's name actually translates to "slipper," thanks to its shape (via The New York Times), and like the best slippers, it boasts a pillowy interior that's absolutely perfect in this recipe.
Olayinka recommends seeking out a loaf that's about half a foot long, but there's no need to take your tape measure to the store. "Think of a Subway sandwich," she suggests.
To top off this loaf, you'll also need butter, salt, parsley, and, of course, the garlic that gives the recipe its name: five whole cloves. For the cheesy topping, you'll rely on a delicious combo of Parmesan and mozzarella.
Halve the ciabatta for the cheesy garlic bread
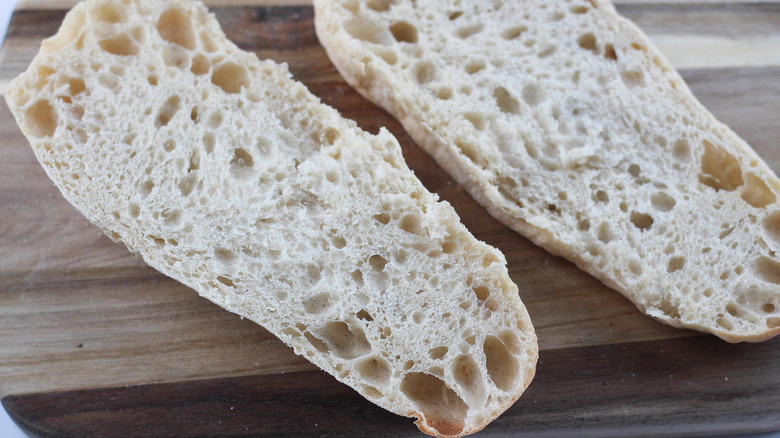
To begin making this cheesy garlic bread, first halve the ciabatta lengthwise. The big holes inside will provide the perfect place for the buttery, cheesy, garlicky filling to gather.
For as much as we associate ciabatta with traditional Italian cuisine, did you know that ciabatta wasn't actually invented until the '80s? According to The Guardian, the very first ciabatta loaves first appeared in reaction to the popularity of the French baguette. To reduce reliance on imported breads, a man named Arnaldo Cavallari invented the loaf, dubbed "the bread that saved Italy" (via The Guardian).
Grate the cheese
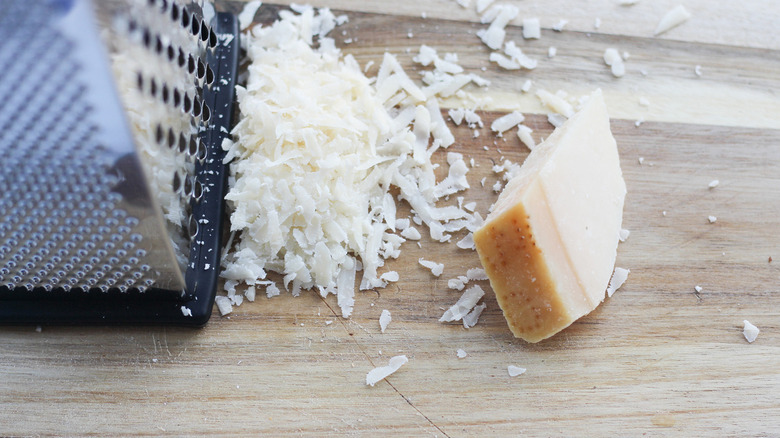
To top the cheesy garlic bread, Olayinka relies on two kinds of cheese: Parmesan and mozzarella. And while she grates her own Parmesan to get nice, thick shreds, she opts to use pre-grated mozzarella. Her reasoning? The shredded stuff can be difficult to grate. (If you prefer to use a whole block, stick it in the freezer for 10 to 15 minutes before using, which should keep it from falling apart as you grate.)
Either way, grate the Parmesan for this recipe and place it in a bowl along with the grated mozzarella, tossing well to combine.
Press the garlic
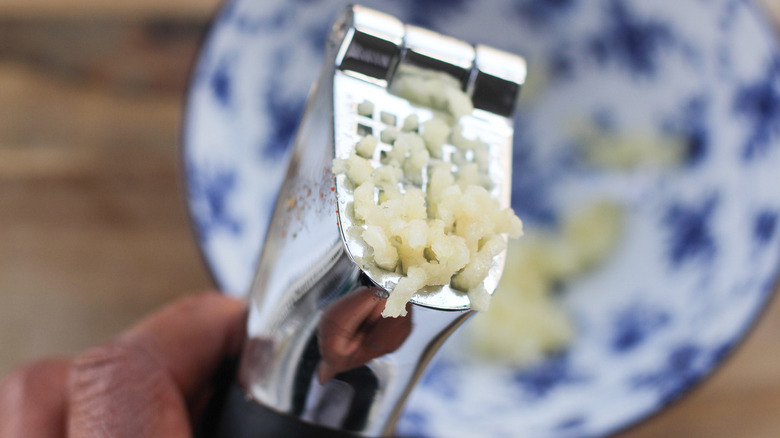
Garlic is an essential element of this recipe, which is why Olayinka doesn't just use five whole cloves, but she also relies on a garlic press to cut them down to size. The garlic press, she notes, is crucial, as "we want to the garlic to be as small as possible." This means you get even garlic dispersal across the entire surface of the bread.
Once the garlic has been pressed, place it in a small mixing bowl with the melted or softened butter, and stir well to combine. The aromatic combo is going to add loads of flavor to the finished cheesy garlic bread.
Brush the bread with garlic butter, and broil the garlic bread
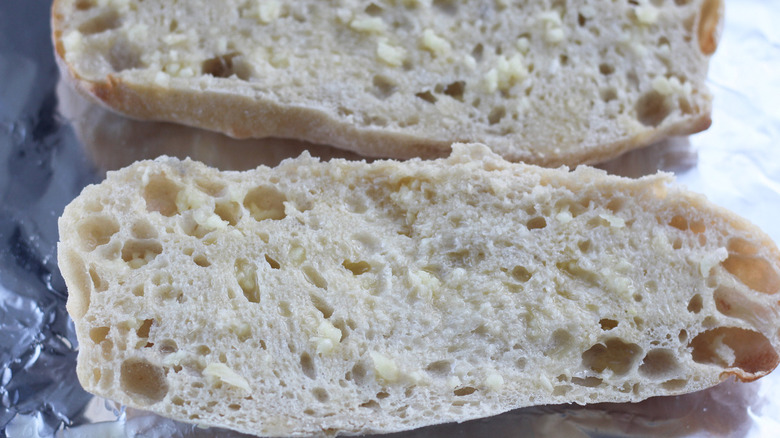
This cheesy garlic bread is going to take two trips through the oven — one to toast the bread and slightly cook the garlic so that it's rich and sweet, and another to melt the cheese on top. For the first bake, preheat the broiler, and then while it heats, spread the ciabatta generously with the garlic-butter mixture. Next, transfer the loaf to a lined baking sheet, and bake for three to four minutes, until just golden and aromatic. Garlic has a tendency to burn, so be sure to watch it carefully!
Add the cheese, and broil the cheesy garlic bread a second time
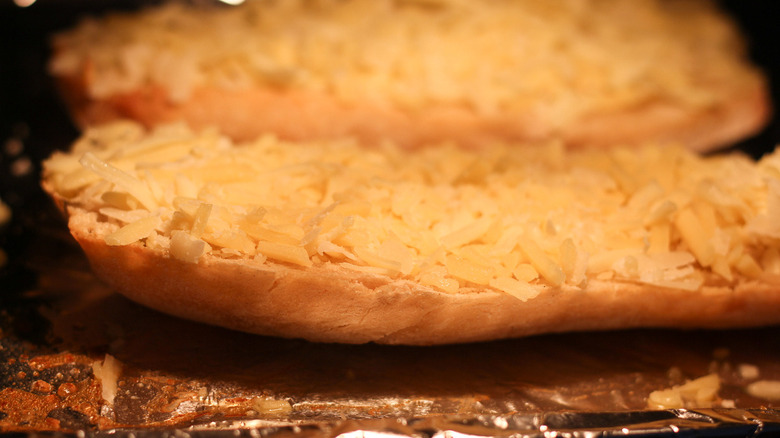
Once the bread has been toasted and the garlic slightly cooked, it's time to add the cheese. Working carefully, (The bread and pan are hot!) scatter the cheese mixture over the garlic bread, and season with a pinch of salt. Return to the oven, and broil an additional three to four minutes, until bubbly and golden brown.
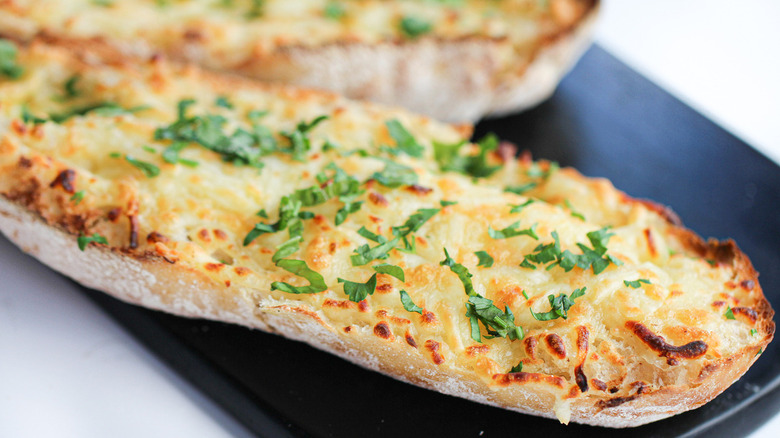
Once the garlic bread comes out, it's time to serve it! Scatter the chopped parsley over the top, slice into pieces, and dig in. Olayinka notes that other herbs can be used in place of the parsley, like basil or thyme. You could also add a pinch of red pepper flakes for even more flavor and color.
This Cheesy Recipe Is Comfort Food At Its Finest
Is there anything more comforting than cheesy garlic bread, fresh out of the oven? This recipe is crispy goodness, and pairs so well with pizza or pasta.
Ingredients
- 1 loaf ciabatta bread
- 1 cup shredded mozzarella cheese
- ¼ cup shredded Parmesan cheese
- 5 garlic cloves
- 1 tablespoon butter
- 1 teaspoon salt
- 2 tablespoons chopped parsley
Directions
- Cut the ciabatta in half lengthwise. Set aside.
- Grate the Parmesan cheese and combine with the mozzarella in a bowl. Set aside.
- Use a garlic press to press the garlic cloves. Place in a small mixing bowl with the butter, and mix to combine.
- Preheat the broiler. Spread the garlic-butter mixture evenly over the ciabatta, then broil three to four minutes.
- Remove the ciabatta from the oven, and top with the cheese mixture. Season with salt and broil once more for three to four minutes.
- Remove the garlic bread from the oven, top with chopped parsley, and serve.
Nutrition
| Calories per Serving | 425 |
| Total Fat | 19.5 g |
| Saturated Fat | 11.4 g |
| Trans Fat | 0.1 g |
| Cholesterol | 57.4 mg |
| Total Carbohydrates | 40.0 g |
| Dietary Fiber | 3.2 g |
| Total Sugars | 5.2 g |
| Sodium | 863.2 mg |
| Protein | 22.4 g |