The Easiest Way To Make Homemade Jam Without Canning
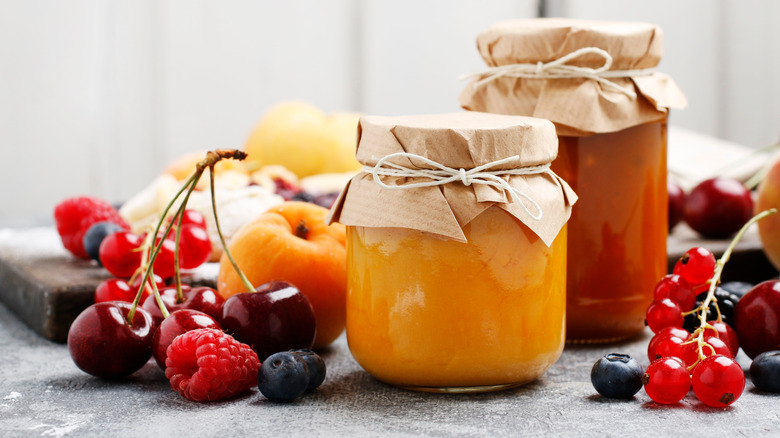
Back when the country was young, and stores were few, canning was a way of life for many Americans. It was the only way of ensuring access to fruits and vegetables during long winters. Even today, there's something delightfully homespun and resourceful about canning. But for many the charm wears off once the process starts: remembering to pick up some pectin, fussing with water baths, and being afraid of accidentally poisoning family and friends with insufficiently sterilized materials. But jam doesn't have to be hard — it's actually extremely easy. And one of the advantages of making jam these days is that you can keep it in your refrigerator or your freezer, and not have to bother with the preservation techniques necessary for canning, explains Kitchn.
There is a multitude of good reasons for making jam – it's a great way to avoid food waste since it's a perfect way to use up excess or overripe fruit. You can personalize it by adding additional flavors. You can make a lot and share it, or just a little and hoard it all, or freeze it and break it out after the summer is over.
Jam without cans
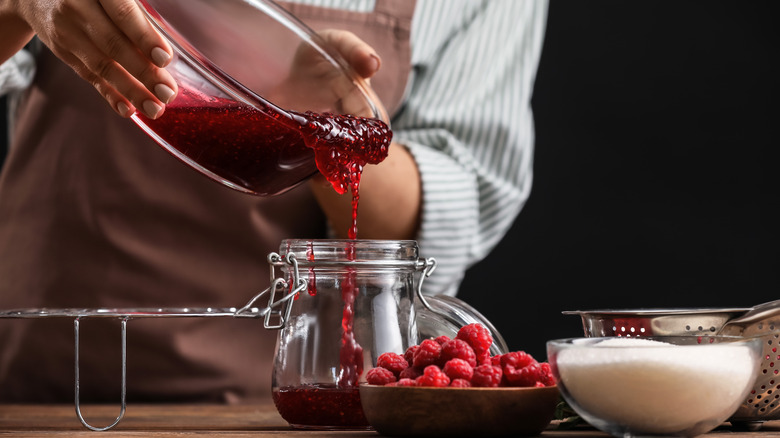
The first step is choosing and chopping your fruit. Different fruits have different quantities of natural pectin, which means that some will jell up more readily than others. Most berries and cherries will take a little longer if you're not adding pectin; juicing some lemons into low-pectin fruits can help the process along. Chop your fruit into manageable pieces and add some sugar. A good rule of thumb is one cup of sugar for every two cups of fruit, suggests The Washington Post. If your fruit is very ripe, you can use less sugar, but remember that the sugar is essential to help the fruit cook, in addition to sweetening the spread.
Most preserving experts recommend cooking jam quickly on a high heat, notes SeedtoPantry, so it's best to put it over the highest flame. A non-reactive skillet like enameled cast iron or stainless steel is best and something with a wide opening helps the fruit cook faster and more evenly. Once it's boiling, lower the heat slightly to a simmer and stir regularly with a heatproof spatula. The timing will depend on many factors, but according to The Washington Post, it should take between ten and thirty minutes. The simplest way to tell when the jam is cooked is to keep a spoon in the freezer for testing. Put some jam on it and push your finger through the middle. If it makes a trail that doesn't fill up in its wake, your jam is ready.
Make your jam your own
Once the jam has cooled, spoon it into clean jars and pop it in the fridge or freezer. If you're freezing, just make sure to leave room for expansion, warns Kitchn.
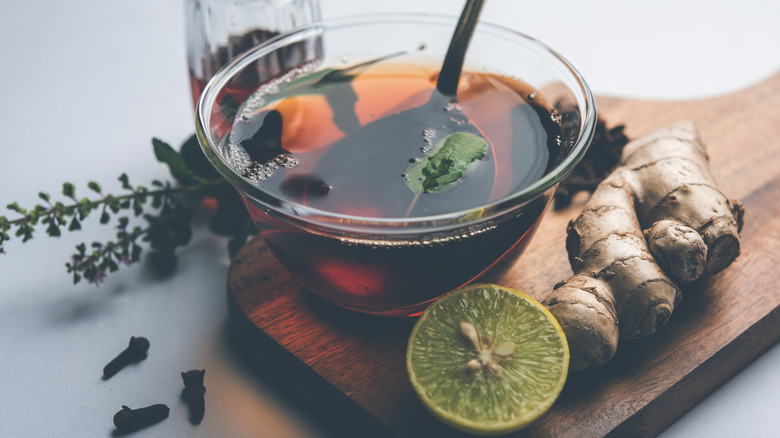
There are endless ways to experiment with flavor, which is where the fun really begins. You can try adding vanilla to strawberries or almond extract to cherry jam right before it's done; a bit of bourbon also goes nicely with your peach preserves. Alternatively, you can enhance the flavor with spices — cinnamon, cardamom, or ginger are good places to start.
For something sophisticated, you can add fruit-friendly herbs like fresh thyme, or you can try unusual fruit combinations — adding lime zest (especially nice with blackberries) can give an extra dimension to the dense sweetness of the spread. There are many ways to use your cooked fruit once it is complete. It's a perfect addition to your charcuterie board, a great addition to baked goods, and a wonderful topping for ice cream. Once you're ready to think outside the box, you'll find a number of things to add to your jar and more reasons for whipping one up any time you have a lazy afternoon — or just a spare half hour.