Microwave Peanut Brittle Recipe

This old-fashioned peanut brittle comes together in minutes using the microwave, and it makes for the perfect snack or thoughtful little gift. There are few things as fun to give and receive that finger-licking desserts. According to food Blogger Ksenia Prints of At the Immigrant's Table, one of the best edible gifts out there is peanut brittle, an easy recipe that we've made even easier thanks to the kitchen MVP, the microwave.
The classic formula of peanut brittle works because it is sweet, crunchy, and keeps forever. But the hassle of messing with melting sugar and corn syrup on the stovetop is enough to put most people off this easy beauty. After all, who wants to get caramel burns AND have to scrub off scorched sugar from their saucepans? Not us. But in this easy microwave peanut brittle recipe, we have taken the stove out of the equation. So try our microwave peanut brittle, and fall in love with this classic confection all over again.
Gather the ingredients for microwave peanut brittle
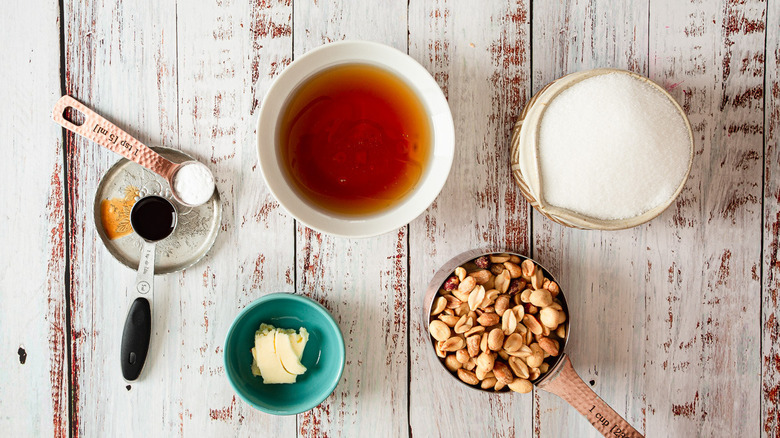
To make peanut brittle in the microwave, you will need white granulated sugar, corn syrup, shelled peanuts, butter or coconut oil, vanilla extract, and baking soda. To get the right texture, baking soda and corn syrup are absolutely required, and cannot be substituted for anything else.
Combine the sweeteners
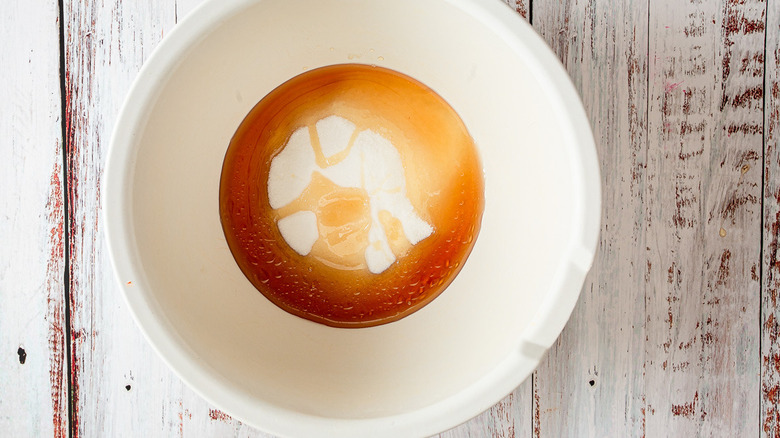
Cover a baking sheet with parchment paper or a reusable silicone mat.
Then, in a large microwave-safe bowl, combine sugar and corn syrup. Stir to combine, and microwave on high for 4 minutes.
Add in the peanuts
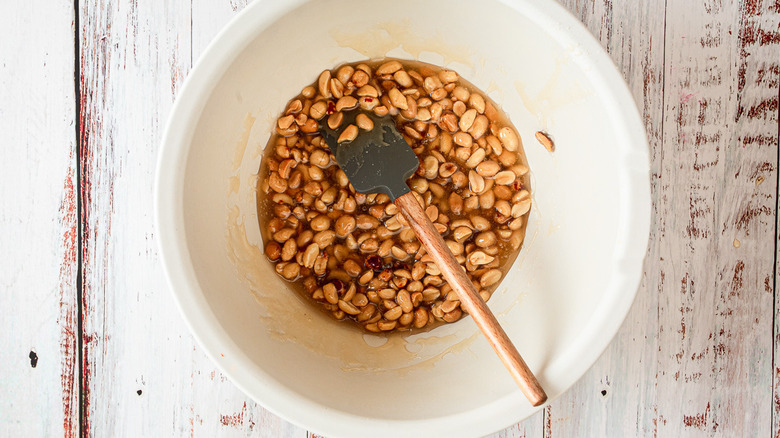
Stir in peanuts. Return the mixture to the microwave and cook on high for 3 to 5 minutes.You want your mixture to be light brown in color — if it's too pale, the brittle will not harden sufficiently, nor will it taste as good.
Add the butter and vanilla extract
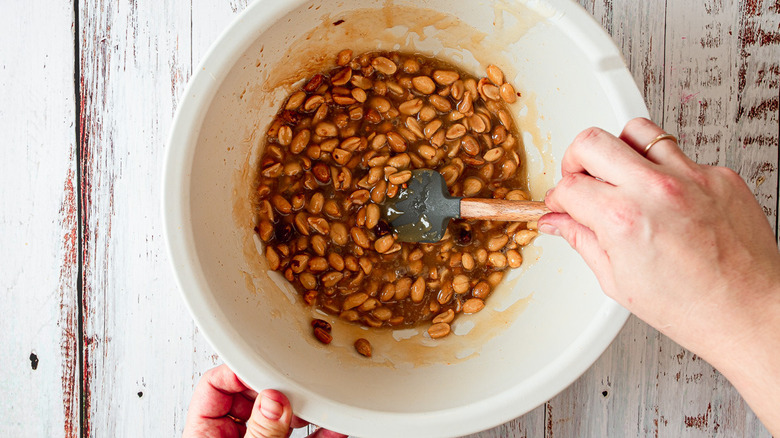
Add in butter (or coconut oil) and vanilla extract. Stir to combine. Microwave on high for 1 to 2 minutes more, until the peanuts have browned in spots.
Add in the baking soda
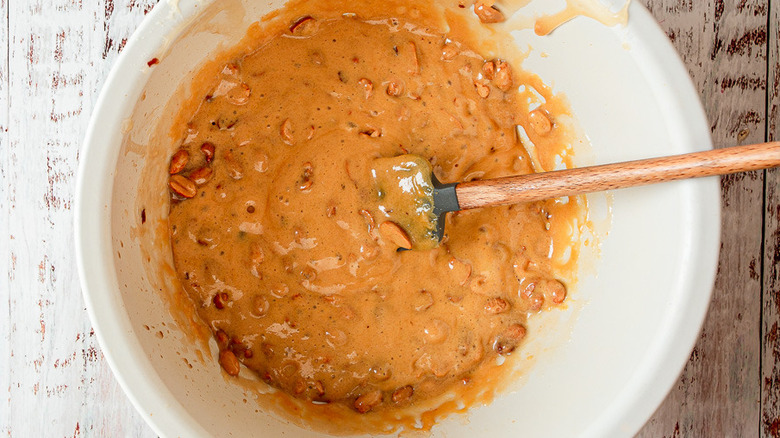
Add in baking soda, and stir immediately. The mixture will become foamy, lighten in color, and increase in size dramatically.
Cool the peanut brittle
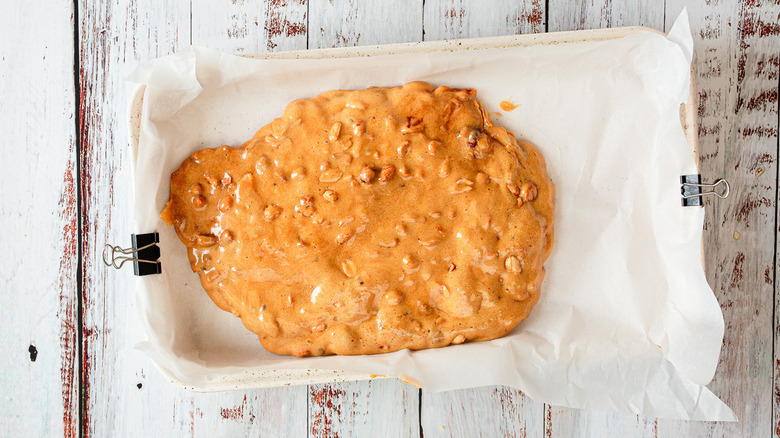
Pour peanut brittle mix into the prepared baking sheet, and let cool for at least 1 hour. Then, break the peanut brittle into pieces.
Serve this microwave peanut brittle
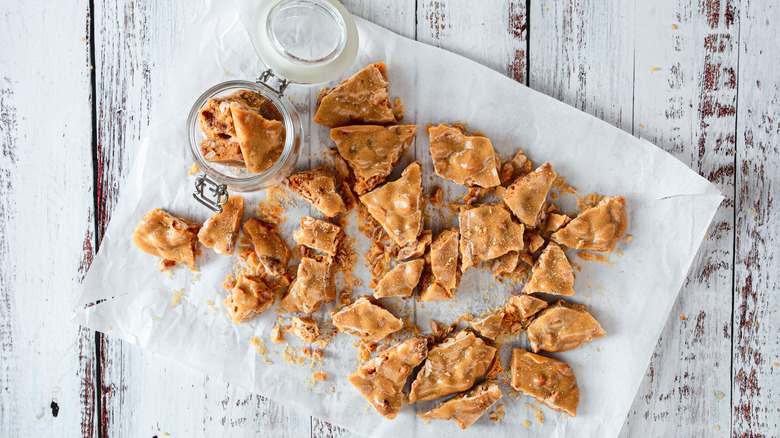
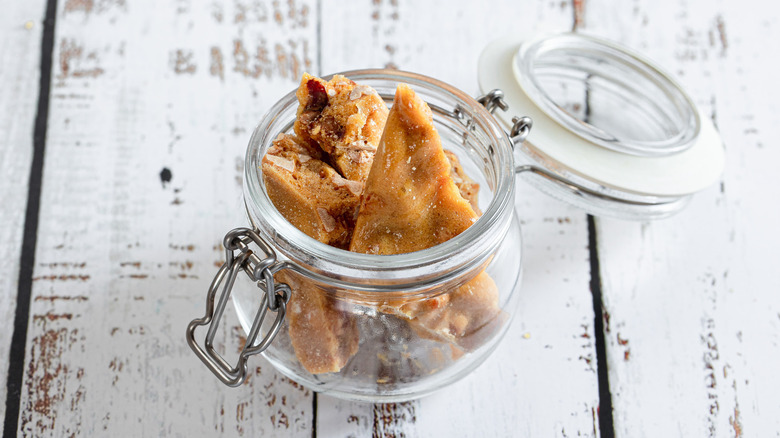
You can serve the peanut brittle as is, or package it in little gift bags or cookie boxes for a great edible gift. Peanut brittle will keep in an airtight container at room temperature for weeks — which makes it perfect for shipping off to your loved ones!
Microwave Peanut Brittle Recipe
Skip the stovetop and make this quick, easy, and mess-free microwave peanut brittle.
Ingredients
- 1 cup sugar
- ½ cup corn syrup
- 1 cup peanuts, shelled
- 1 teaspoon butter or coconut oil
- 1 teaspoon vanilla extract
- 1 teaspoon baking soda
Directions
- Cover a baking sheet with parchment paper or a reusable silicone mat.
- In a large microwave-safe bowl, combine the sugar and corn syrup, then microwave on high for 4 minutes.
- Stir in the peanuts. Return to the microwave, and microwave on high for 3 to 5 minutes. You want your mixture to be light brown in color — if it's too pale, the brittle will not harden sufficiently or taste as good.
- Add in the butter (or coconut oil) and vanilla extract. Stir to combine. Microwave on high for 1 to 2 minutes more, until the peanuts have browned in spots.
- Add in baking soda and stir immediately.
- Pour the brittle into the prepared baking sheet, and let cool for at least 1 hour. Break the peanut brittle into pieces.
- Peanut brittle will keep in an airtight container at room temperature for weeks.
Nutrition
| Calories per Serving | 356 |
| Total Fat | 12.8 g |
| Saturated Fat | 2.2 g |
| Trans Fat | 0.0 |
| Cholesterol | 0.0 mg |
| Total Carbohydrates | 59.2 g |
| Dietary Fiber | 2.1 g |
| Total Sugars | 56.3 g |
| Sodium | 232.2 mg |
| Protein | 6.3 g |