How To Get The Perfect Crust On Your Steak, According To Chefs
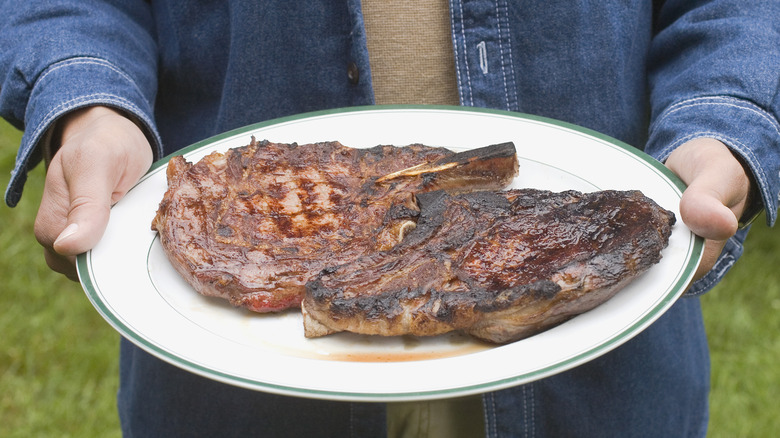
If cooking the perfect steak was easy, steakhouses would be in trouble. Beef perfection takes practice, and if you're still in learner's mode, you've probably produced steaks that ranged from undercooked to overcooked to $20 charcoal briquettes. But one of the most frustrating challenges for inexpert steak cookers is the one that professional chefs have so beautifully mastered: that beautifully seasoned, perfectly textured crust.
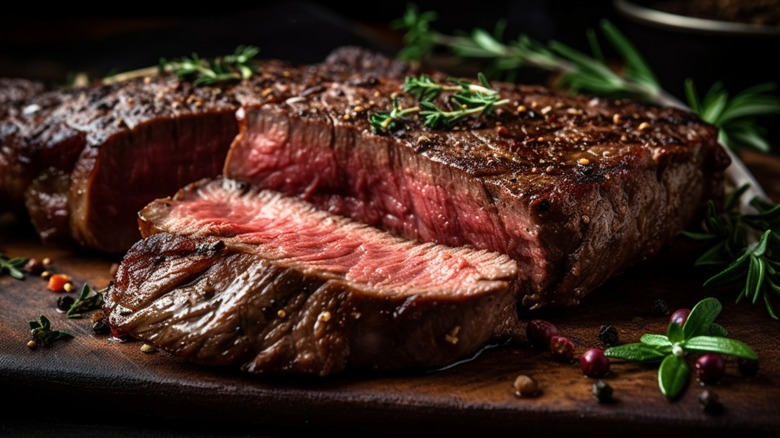
There are some obvious reasons why your mouth prefers a crusty exterior over one that's wet and meaty, and much of that has to do with flavor. The crust is where most of a steak's flavor resides, but it also gives a piece of meat that variation in texture that humans crave. The mouthfeel of a steak with a nice crust is similar to that of a perfectly executed chocolate chip cookie or a slice of French bread: crisp on the outside and soft in the center. Whether you're making cookies, bread, or steak, getting the texture right is just as important as getting the flavor right.
Crust perfection is not exactly intuitive, though, and if it has remained elusive for you, take heart. It's true that you need to know a few secrets, but it's also true that with enough knowledge and practice, anyone can learn to cook a perfect steak. We spoke to several professional chefs to give you a step-by-step rundown of how you too can achieve steak crust perfection every time.
What causes a crust to form?
Getting a perfect crust on a steak is — like everything else in cooking — both an art and a science. The art is in the presentation and the seasonings and sauce, but the science lies in the chemical reactions that happen when you put a piece of meat on a grill or hot pan.
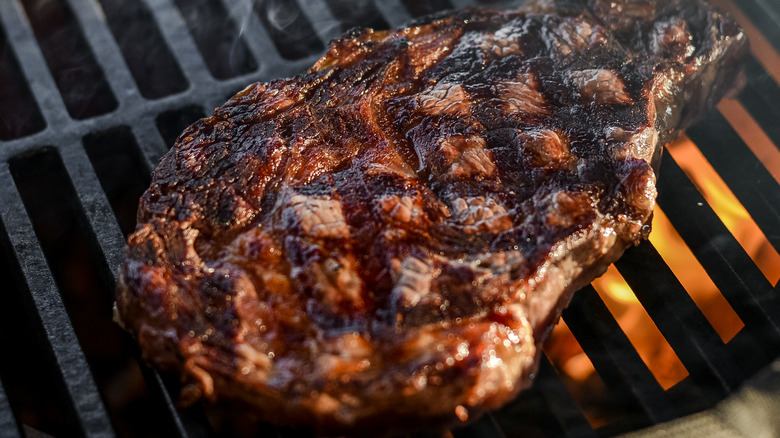
"Achieving a crispy crust requires understanding the Maillard reaction, a process yielding the browning when heat meets proteins and sugars," explains Justin Raponi, Executive Chef at Canopy by Hilton Toronto Yorkville. First described by French physicist and chemist Louis Camille Maillard, the Maillard reaction produces extra flavors and a golden-brown color in all sorts of foods, from roasted coffee beans to crusty French bread.
With the addition of heat, the proteins and sugars in a piece of steak break down and recombine to create new flavor and aroma compounds and that brown crust that every meat lover appreciates. But there is some nuance to working Maillard reaction magic since overcooking can produce a nice crust but a terrible, rubbery interior. The secret is in the timing. Make sure the pan is at exactly the right temperature and the steak gets flipped and removed from the heat at the right time.
What tools you'll need
The Maillard reaction doesn't really kick in until temperatures on the surface of the meat reach 300 degrees Fahrenheit. If you tried to get the Maillard reaction in an oven, you'd end up with an overcooked, dry piece of meat that most dogs would turn their noses up at. Instead, chefs say you need a cooking surface that gets really hot so the outside of the meat will reach that high temperature quickly, but the inside will be in less of a hurry. "When it comes to pan searing, a cast iron skillet is highly recommended due to its heat retention properties," says Raponi. A hot grill works, too.
Other important tools you'll need for steak crust perfection include a meat thermometer, kitchen tongs, a good steak rub (which can be a simple mix of salt and pepper), and the right oil. "High-smoke point oils, such as avocado, canola, or grapeseed oil, are ideal because they can withstand high temperatures without burning," says Raponi.
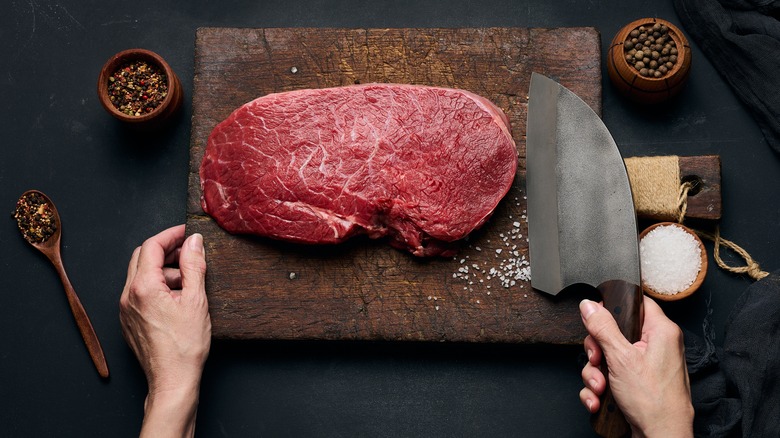
Choose the right piece of meat
There's a reason why a chuck steak is one of the cheapest cuts in the meat department. A chuck steak comes from the heavily muscled shoulder of the cow, so it doesn't have a lot of marbling from fat and is therefore a lean and tough piece of meat. Reserve the chuck for long cooking methods, like when you want a pot roast. After all, a nice crust is pointless if your dinner guests can't actually chew their meat.
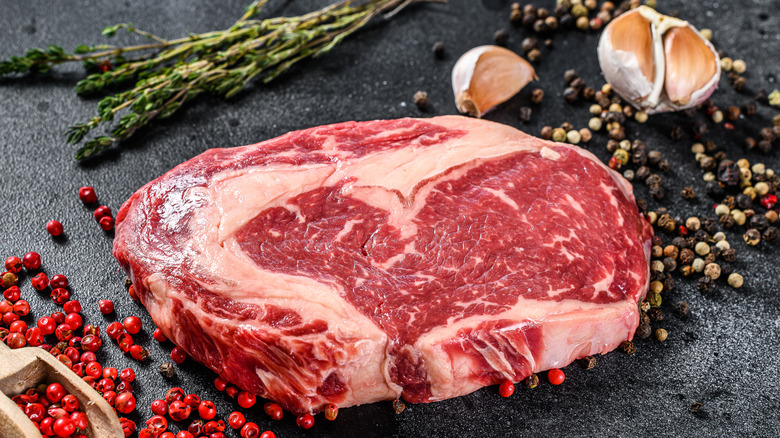
Instead, "choose a steak with good marbling (fat distribution) for flavor and juiciness," says pitmaster Erica Blaire Roby, Season 2 winner of Food Network's "BBQ Brawl" and owner of Blue Smoke Blaire's Barbecue Academy. "Ribeye is my go-to every time." Other good choices are porterhouse, T-bone, or tenderloin. Sirloin is another option. It's a less expensive cut of meat, and can work on a grill too. However, it does have a reputation for being tougher than some of the more expensive cuts. If you plan to cook sirloin, look for one that's well-marbled.
No matter the cut, make sure your steaks are the right thickness, as the high heat required to achieve a perfect crust can quickly ruin a thin steak. "Thicker cuts provide more room for error, as they minimize the risk of overcooking the interior while forming a crust," says Raponi. "A steak that is at least 1 inch thick will be ideal."
Trim the meat
Trimming is a step many unpracticed cooks miss. That's understandable, since a ribeye isn't exactly the cheapest thing in the supermarket, and everyone hates to throw what appears to be perfectly good meat into the garbage. But you don't want your steak to cook unevenly, so trimming is necessary. Cutting away the thinner pieces of a steak will give it a uniform shape and size. This helps to prevent it from overcooking in some spots and undercooking in others.
Trim large areas of fat, too, especially the thick, gristly stuff that runs around the outside of the cut. A thick layer of fat can easily burn in a hot pan, which will then affect the flavor of the entire piece of meat and can inhibit the formation of a good crust. Moreover, removing those large pieces of fat will save your dinner guests from having to do the work themselves.
Plus, it just looks better. Trimming, says Roby, "not only helps with cooking but also improves presentation. So, get in there and cut off pieces sticking out or uneven! Don't be shy."
Bring the meat to room temperature
Most chefs recommend bringing your steak to room temperature before you begin cooking it. "If the steak is cold, then the outside will cook much faster than the inside," says Quentin Welch, Executive Chef of Bourbon Steak DC. "This means the outside can get too charred or overcooked before the middle is even med-rare." So long, crust.
Roby recommends letting the steak sit at room temperature for between 30 minutes to an hour. Other chefs recommend 20 to 30 minutes, but it's worth noting that not everyone thinks this step is necessary. Some point out that 20 to 30 minutes at room temperature isn't enough to make much of a difference to the internal temperature of a thick steak. A couple of hours at room temperature might give you a few extra degrees, but that will probably not be enough time to reach a significantly higher internal temperature. If you let it go much longer than that, you're going to start playing bacterial roulette, and no one wants that at a dinner party.
Pat the cut dry
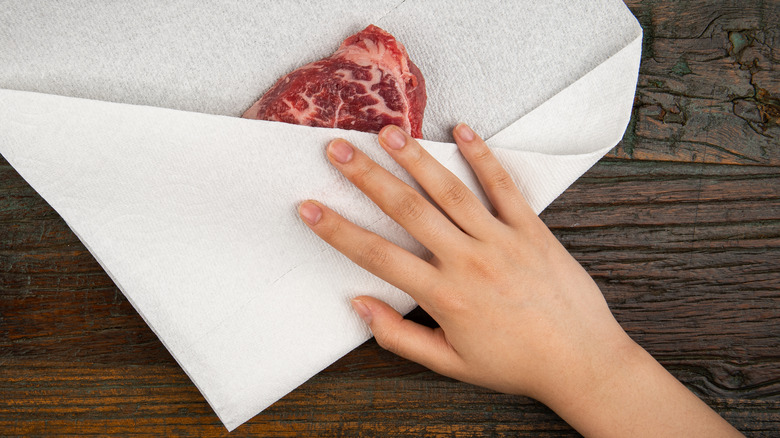
A wet steak simply won't form a great crust, which is one of the reasons why most chefs will advise you to pat dry before cooking. This is vital because excess moisture on the surface of a steak evaporates as soon as it meets a hot pan, producing steam that will prevent a crust from forming.
Granted, that sudden hiss of steam can make you look pretty cool and chef-like while you're standing in front of the stove, but it doesn't do much for the steak itself. Your newfound reputation will suffer as soon as you put your crust-less steaks in front of your dinner guests. Plus, patting the steak dry doesn't just remove excess water. It also keeps any salt you add to the outside from absorbing moisture and soaking into the meat.
Fortunately, this step doesn't require anything special like a 100% cotton steak-patting rag. According to Roby, paper towels will do the trick.
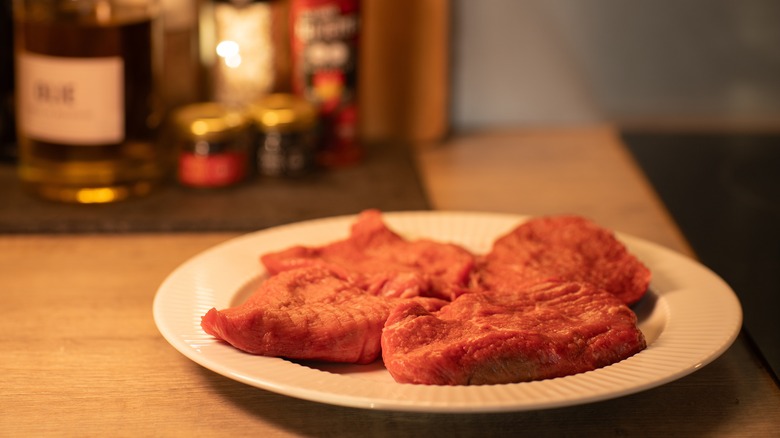
Season the steak
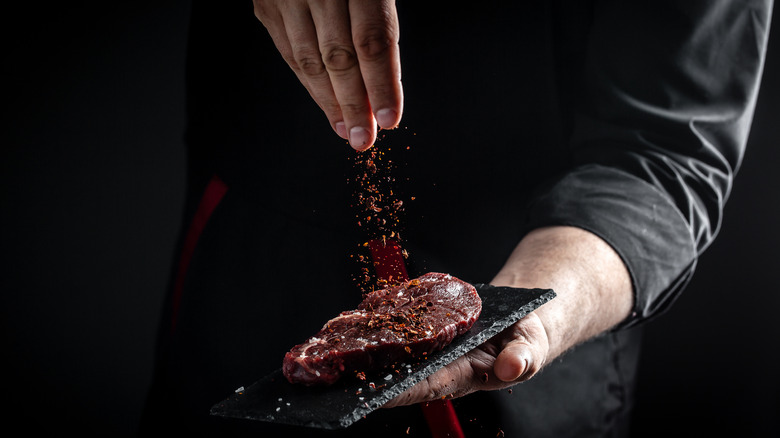
For this step, you get to use a little creativity. Though Welch doesn't suggest anything more than a generous amount of salt and black pepper, you can also use a favorite seasoning blend. "Start with a layer of coarse kosher salt followed by coarse ground black pepper," says Roby. "Then, apply a steak rub for additional flavor. The layering of flavors is important."
Timing is important for this step. Be sure to add the seasoning right before you put the steak on the grill or pan. If you let salt sit on the surface of a piece of meat for too long, it will draw out some of the liquid, effectively producing a brine. Since you don't want to put a wet steak onto the heat, you'll have to wait around 45 minutes for the steak to reabsorb the brine before you cook it.
Some chefs recommend salting the meat well in advance — like 24 hours before cooking — and leaving it in the fridge to marinate in the seasonings. However, while this can certainly still give you good results, it's a more time-consuming process that makes forming a crust all the more tricky.
Preheat the pan or grill
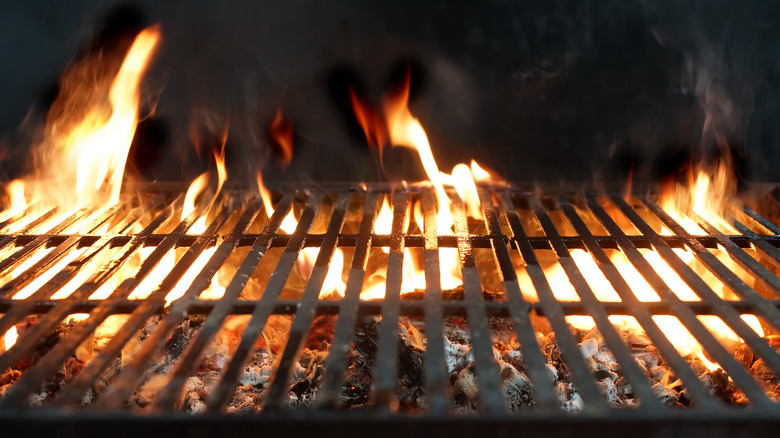
Getting the heat right before your steak joins the party is more important than many people realize. In fact, it's probably the most critical step in the process. If you start with a cooking surface that isn't hot enough, the crust-forming Maillard reaction simply won't happen. "The high heat is crucial for a good crust," says Roby. "If using a grill, preheat your grill to a high temperature. Around 500 F (260 C). The grill needs to be hot enough to sear the steak quickly [...] Aim for a temperature setting that allows the meat to sizzle upon contact, typically medium-high on a stovetop, to ensure an effective sear." You can also use the "brown" setting on your pressure cooker, she adds.
Barry Sorkin, co-owner of Smoque Steak in Chicago, says he prefers to use hot charcoal as a heat source, "whether I am grilling directly over it or using it to heat my cast iron skillet. It is the easiest way to achieve very hot temperatures."
You can also use wood to achieve a very hot fire in your grill. "We use red and white oak wood and get the grill between 500 – 600 F," Welch notes. Raponi says that just about any method of dry heat will work, including broiling. "Moisture is the enemy of browning, and therefore, using dry heat helps to evaporate any existing surface moisture, allowing for better caramelization of the meat."
Add the right oil at the right time
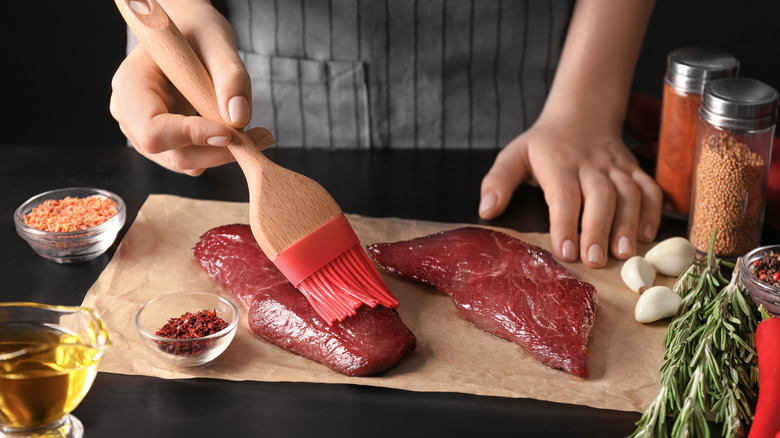
Most chefs agree that oil is a necessary component of creating a good steak crust, but not everyone agrees on how much oil you should use and where you should apply it. Roby says to add a small amount of oil to the pan. Welch directs you to coat a towel in vegetable oil and use that to oil the grill. Other chefs, however, say it's better to oil the steak instead of the pan or grate.
Burnt oil produces a bitter flavor, so it's important not only to choose an oil with a high smoke point but, as many argue, also to put it directly onto the meat so the excess won't burn in the very hot pan. Oiling the steak instead of the pan is also an arguably healthier option because you'll likely use less oil. This also ensures that the oil completely coats the steak and prevents excess oil from splattering and potentially burning you.
Sear the meat
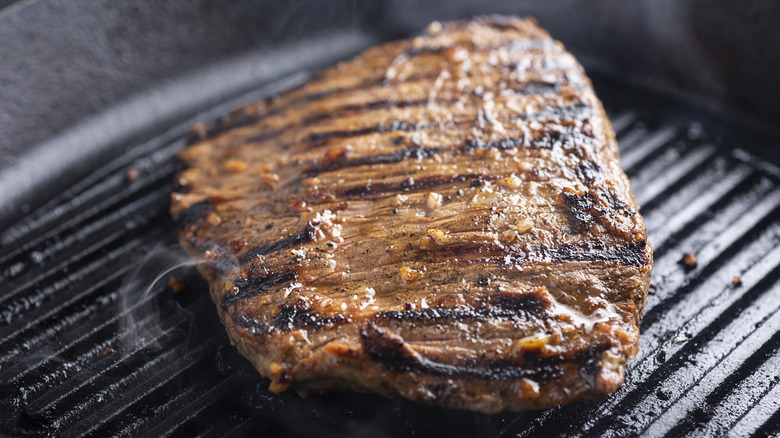
Opinions on the best way to sear a steak vary widely. "Place the steak in the hot pan. Let it cook without moving it for a few minutes," says Roby. "If using a grill, place the steak on the grill and sear it on one side, for about 90 seconds to 2 minutes, depending on the grill's heat. Then, rotate it 45 degrees (without flipping) to achieve perfect grill marks [...] After another 90 seconds to 2 minutes, flip the steak and repeat the process on the other side."
Welch says not to worry about grill marks. "Put the steak on a hot part of the grill. After a minute, rotate the steak slightly," she says. "I move the steak a few more times than that so that a crust starts to develop (not just where the steak is marked). Nearly halfway through cooking, flip the steak over and do the same on the other side."
Sorkin favors a different technique: cooking the steak in a low oven until it's a few degrees below serving temperature. Then, he sears it in a hot pan. "It will take just a minute or two on each side to get a nice hard sear and develop a great crust while bringing the steak up those last few degrees to the perfect serving temperature," he says. Sorkin also claims this will save you time. "Another nice thing about this method is that there's no need to let the steak rest."
Pay attention when flipping the steak
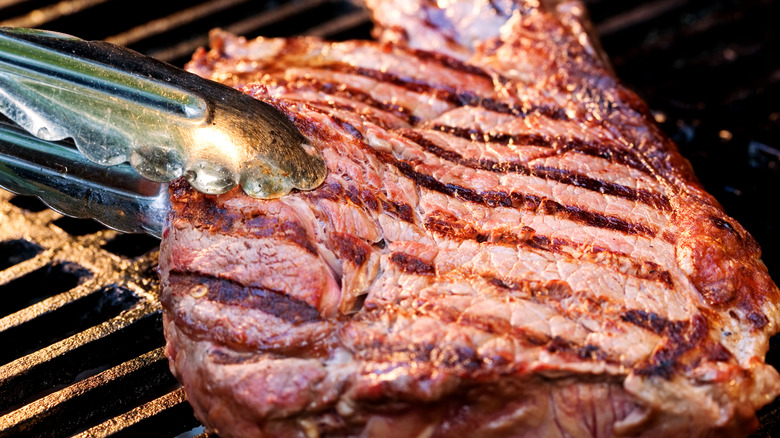
Knowing when to flip a steak can be a bit of a guessing game. If you flip it too soon, you may not end up with a perfect crust. "Flip the steak only once after a good crust has formed on the bottom side," says Roby. "If it sticks, it's not ready to flip. Don't rush the process!"
Raponi agrees that you should be cautious about over-handling the steak, arguing that you only need to flip it once. "Flipping it too often may interfere with crust formation," he says,
Likewise, be careful about how long you keep the steak on the grill or pan. If the crust hasn't formed by the time you're at the right internal temperature, you'll end up with an overcooked steak and an inferior crust. Ideally, you'll make sure that your crust forms before the steak reaches your goal temperature since the meat will continue to cook after you've removed it from the grill.
Take the steak off the heat at the right time
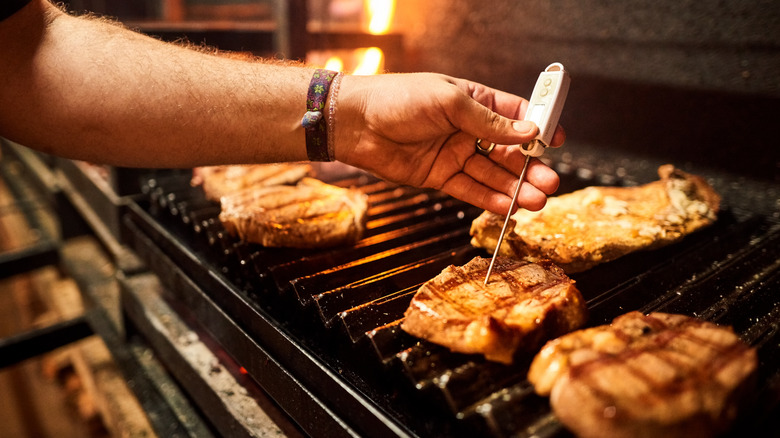
It can be tricky to know when to remove the steak from the heat. For the best results, "use a meat thermometer," says Roby. "Medium-rare is typically around 130-135 F (54-57 C)." Since the internal temperature will continue to rise after you've taken the steak off the pan or grill, time the removal for when the internal temperature is slightly below target. This means that, to get a medium rare steak, you should remove it from the heat when the internal temperature is 116 degrees Fahrenheit.
Now that the steak has a perfect crust, you might be tempted to tuck into it right away, but don't. Resting is an important final step. When a steak rests, the fibers inside the meat relax, which helps to ensure that the juices are evenly distributed throughout the cut. Roby suggests letting the steak rest for about 10 minutes before serving.
Consider adding butter

To be clear, this step is optional, and not all chefs agree on the best time during the steak-cooking process to do it. Yet no one denies that butter can add extra flavor to a finished steak. If you're feeling confident, add it while the steak is cooking or just after you've removed it from the grill. Welch recommends brushing the steak with butter while it's cooking since the butter can help the crust caramelize. "We use red wine shallot butter," she says.
Because butter has a low smoke point, it's important not to add it to the steak before you've put it in the pan. Instead, wait until the internal temperature of the meat is about 20 to 25 degrees below the serving temperature.
Roby suggests adding the butter at the end, after you've removed the steak from the grill. "For added flavor, finish the steak with a homemade compound butter," she says. "This can quickly be made of garlic and clarified butter."
A few extra tips
If you like an extra-crispy steak, Roby says you can add a little flour. "Try lightly rolling your steak in flour before searing," she says. "The thin layer of flour forms a barrier that helps trap moisture inside the cut while allowing the surface to develop a crust during the searing process. This results in the perfect contrast between a crispy exterior and a juicy interior for your steak."
Once you've mastered the art of achieving a perfect crust, don't be afraid to experiment. "Use coffee rubs and other toppings for an elevated crust," says Roby. "[Coffee grounds] not only enhance the taste but also render fat and help to form a rich crust. You can also go beyond traditional rubs by adding ingredients such as crushed nuts, breadcrumbs, parmesan or crushed peppercorns for a crunch that's next level."
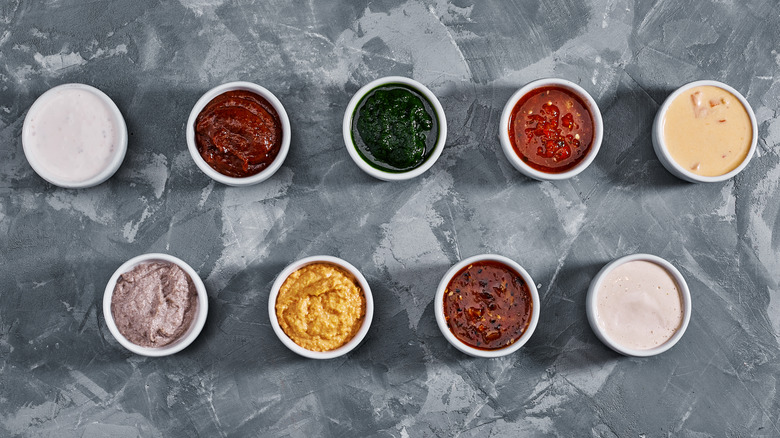
Don't be afraid to experiment with sauces and garnishes, either. These can add flair to your finished steak and ensure your dinner parties are always a new culinary experience for your guests.