This Might Be The Most Unconventional Way To Decorate Easter Eggs
Easter is such a strange holiday. What other time of the year, after all, do we feel compelled to take a basic pantry staple and dress it up? Okay, hauling a dead tree into the house and covering it with tchotchkes is kind of funky, as is inviting random strangers into the yard and bribing them with candy in hope that they'll stay away on the other 364 days of the year. Oh, and don't even get us started on the idea of putting food coloring into beer to celebrate the patron saint of pest control.
Still, though, taking the egg carton out of the fridge where it's been innocently minding its business, then boiling up all the eggs when there are no picnics requiring deviled eggs in the offing before subjecting them to various procedures to make them turn all the colors of the rainbow...It's almost as weird, as, say, biting the heads off chocolate candies shaped like small furry animals.
There are many ways to dye eggs. You can go the easy route and just buy a PAAS kit, or you can go all-natural with DIY vegetable dyes, or you can go full-on Martha Stewart with fancy faux-terrazzo eggs. Or you could always squirt some cream into a cup and dye eggs the fun way!
How to dye eggs with shaving cream
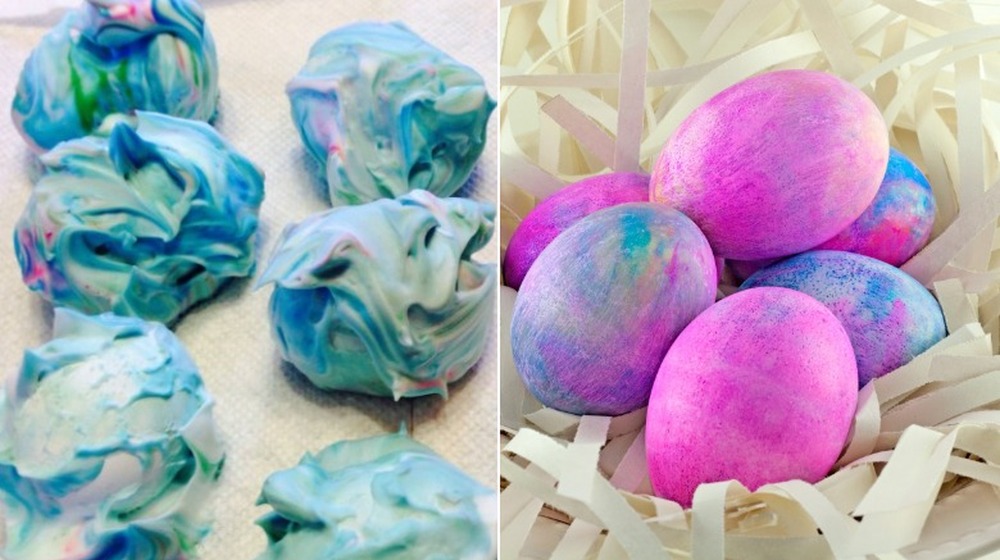
If you've got the foamy kind of shaving cream on hand, time to haul it out of the bathroom and into the kitchen where it's now ready to help create cool, cloudy-looking colored eggs. (Shaving gel users: nope, that stuff's not going to work.) According to this super-simple DIY from The Good Stuff, all you need to do is squirt some shaving cream into a cup, add a few drops of food coloring, and swirl the colors together using a Q-tip (assuming you grabbed some of those from the bathroom, too), a spoon, or just about any other utensil at hand. (Maybe not a machete.)
Mix and match the colors, if you like. Even if you stay monochromatic, though, don't stir the coloring all the way into the cream since you want it to stay streaky. Plunk an egg into the cup, swish it around so it's cream-coated on all sides, then let it sit for at least 10 minutes. Rinse with cold water, then voilà! A painted egg suitable for hiding or placing in Easter baskets.
Whipped cream works, too
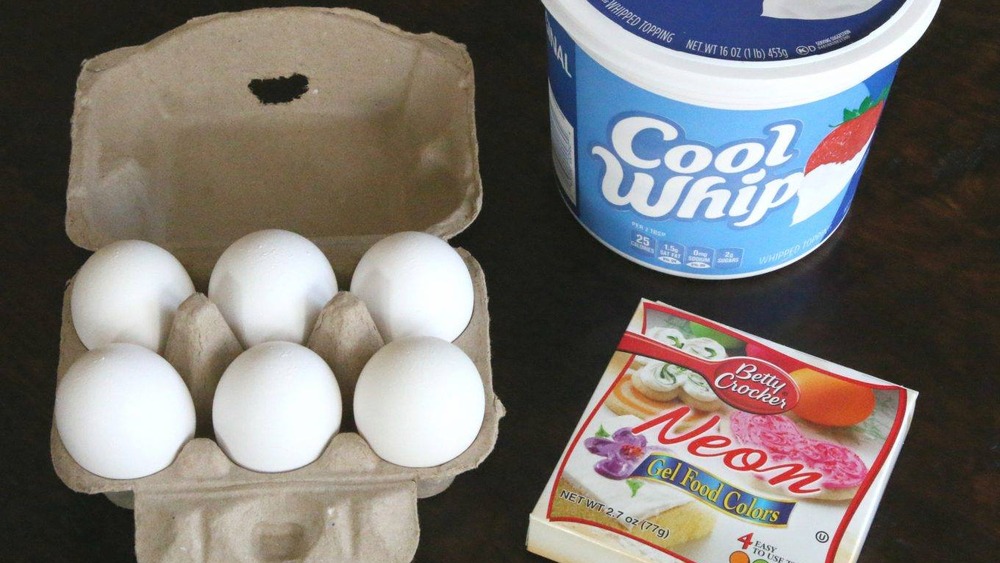
You know what's another awesome thing to do with colored eggs? Bake them into Easter breads such as the Portuguese specialty folares. (Food Network chef Matt Abdoo agrees with this message.) If you're going to be baking these eggs into bread, though, you might want to use something a bit more palatable than shaving cream. Something almost identical, only much, much tastier, kind of like...whipped cream! Yes, this stuff works the exact same way, and if you use whipped cream out of a can, it will look just like shaving cream, as well. There's no reason you couldn't use homemade whipped cream, though, since the cream only needs to stay stable for a short period of time.
Cool Whip (or a generic version of the same) also works great as a DIY egg dye, or so says the Crafty Morning blog. They also suggest soaking the eggs in white vinegar for two minutes before doing the dye-cream dip if you want brighter colors. If you prefer pastel shades (and/or you're just feeling lazy), feel free to skip this step.
Kool-Aid makes another edible egg dye
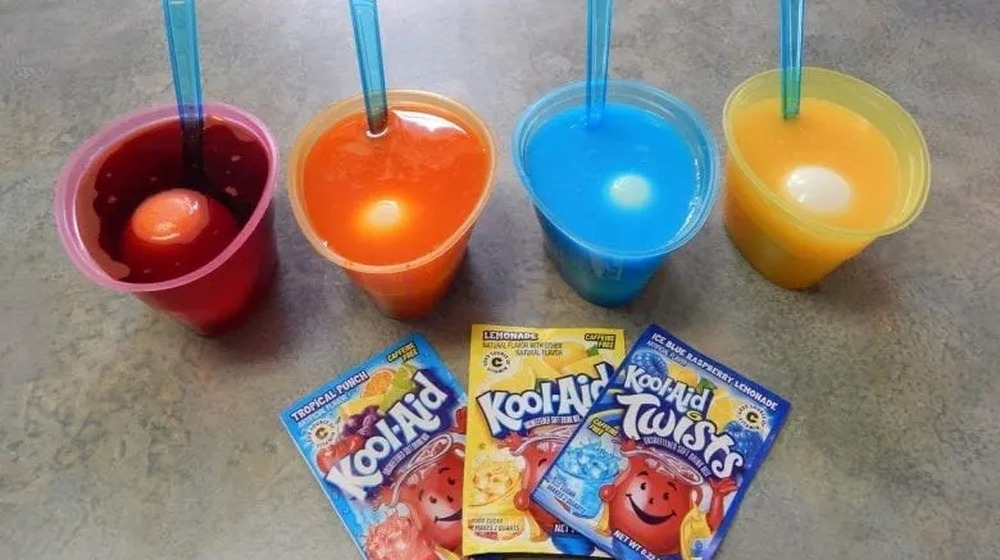
Yet another edible egg dyeing method comes courtesy of the Kraft Heinz My Food and Family blog. It calls for nothing more than Kool-Aid (again, you can substitute a generic version) and water, as well as hard-boiled eggs, of course. For each color you want to make, take 2 envelopes of powdered drink mix and place them into a cup. Use cherry for red, blueberry for blue, lemon for yellow ... you get the idea. Stir 2 tablespoons of water into the powder and stir until the drink mix is completely dissolved.
Now comes the part where the Kool-Aid method breaks away from traditional egg-dyeing since you'll actually be using it more as a paint. Take your plain boiled eggs and place them on a wire cooling rack in the sink and rinse them with cold water. Drizzle a spoonful of one color dye over the eggs, then drizzle on another color, and another – the aim is to make a sort of tie-dye pattern, although you can do whatever you like. Messy and splotchy is good, though, so no need to feel like there's one right way to do it. After you've splotched dye over all the eggs, gently rinse with cold water again to set the dye. Also, remember to rinse your sink, unless you like that tie-dye effect there, too. Using tongs, transfer each egg to a paper towel-covered baking sheet and let them dry completely. Don't they look kool? Ohhh, yeahhh!