Here's The Right Way To Use Your KitchenAid
 Shutterstock
We may receive a commission on purchases made from links.
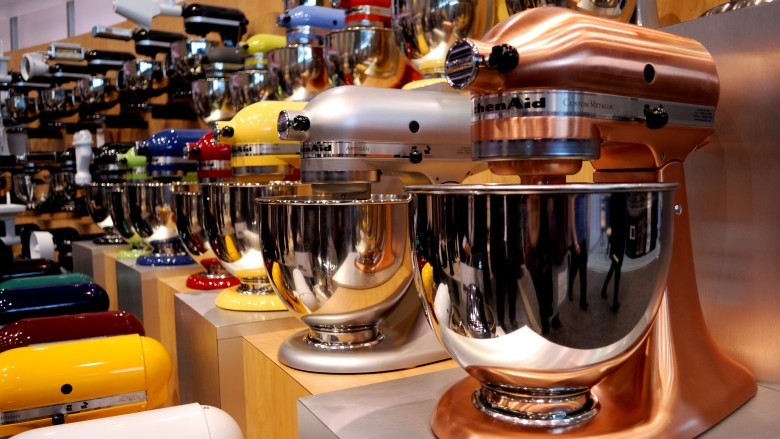
If you're only using your KitchenAid mixer to whip up the occasional batch of cookies or cake, take a closer look; there's a lot more to this appliance than its awesome finishes. Created in 1919 as a convenience to give home cooks some relief in the kitchen, the stand mixer's popularity has grown so much it is now a standard item for wedding gift registries. This mixer is no toy. It's a durable machine that can do some real heavy lifting on recipes for beginning, intermediate, and advanced cooks. It's meant to be used often, so don't put baby in a corner. Give this workhorse a permanent (and easily accessible) spot on your counter, and let it earn its keep. Here are all the ways you should be putting this machine to work.
Get up to (mixing) speed
Knowing your way around a KitchenAid mixer will definitely up your culinary game. The motor (located on top of the machine) powers the beaters and all of the other attachments. The mixer's range of speeds is designed to provide the right amount power depending on the cooking job. The lowest speeds are for stirring and gentle mixing. Use these slower speeds to control the addition of dry ingredients so that they'll stay put in the mixing bowl as they get stirred into a batter or dough. (For added protection, try draping a clean dish towel over the top of the machine to act as a shield.) Muffin and other quick bread recipes that direct you to mix just until dry ingredients are incorporated should be prepared at low speed. Use moderate speeds for beating sugar into liquid or mixing cake batter until it's smooth. For heavy duty beating, such as creaming butter and sugar together, you'll want to use medium speed to help lighten the dense mixture. The highest speeds are for whipping ingredients like cream or eggs to incorporate a good amount of air and increase their volume. Use this speed when making souffles, mousses, or meringues.
The whisk versus the paddle attachment
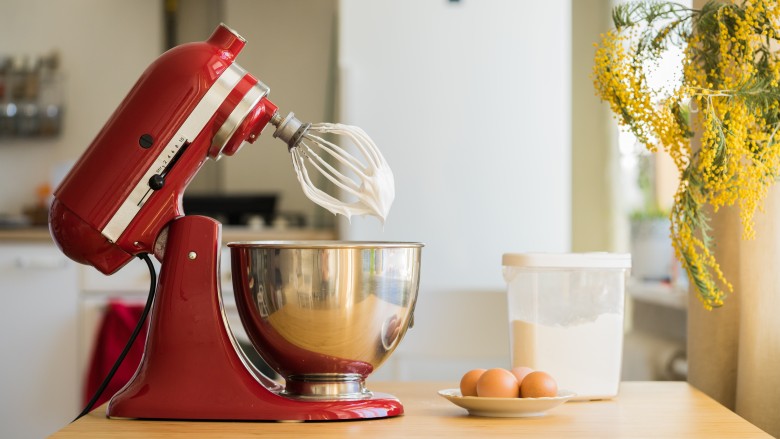
It's easy to get confused about which mixer jobs are right for the whisk attachment and which are best for the paddle. Although the beaters on most hand mixers more closely resemble the KitchenAid's whisk attachment, the paddle is right for most jobs on the stand mixer. It's especially effective for combining heavy cookie batter and doughs, but it's also good at mixing cake batters, muffins, mashed potatoes, and quick breads. The whisk attachment does the same work that a hand whisk would. Use it to incorporate air into whipped cream and beat egg whites to their highest peaks. The whisk attachment can also be used to cream butter and sugar so it's light and fluffy. Whichever attachment you use, make certain it can clear the bottom of the bowl. The height of the mixer can be adjusted if the attachment hits the bowl while mixing.
Be your own butcher
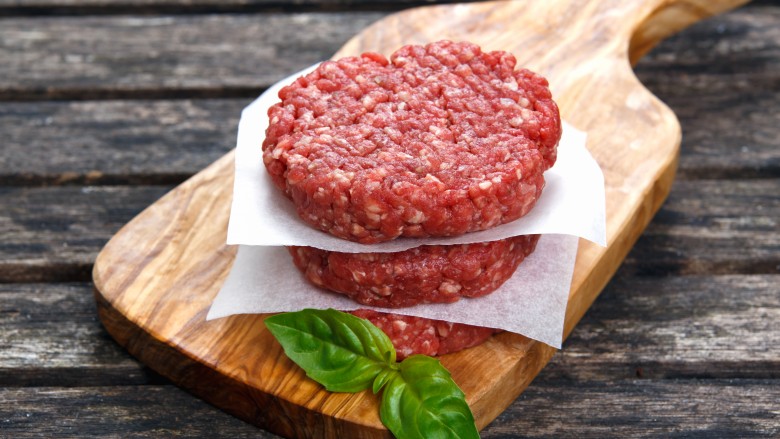
Whether it's beef, chicken, pork, or turkey, grinding your own meat lets you take charge of the quality and freshness. None of that "lean finely textured beef" will wind up in your burgers, nor will you have to wonder which obscure parts of the turkey went into the package or how long it sat on the shelf before you purchased it. Grind meat fresh for delicious burgers, meatloaf, and other dishes that employ ground meat — and fit your stand mixer with the food grinder attachment to do the job. You choose the meat cuts and decide which raising methods are important to you. Organic, hormone-free, grass-fed? You can also set how coarse or fine you want the grind depending on how you'll use the meat. Unlike a manual grinder, the KitchenAid motor drives the mechanism and makes the process quick. Here are some important tips for success:
- Stay clean: Always clean and sanitize the grinder components, cutting boards, bowls, knives, and any other equipment that will come in contact with the meat before and after it's ground.
- Start cold: Freeze the meat for about 20 minutes and cut into small pieces; trim away any tough gristle. Chill the grinder as well to prevent the fat from becoming too warm as it passes through the grinder. You should be able to easily distinguish between the fat and the meat as it extrudes from the grinder.
- Do it twice. Begin by passing the meat through a grinder plate with large holes, then refine the texture by sending the meat through once more using a plate with smaller holes.
- Clean up with bread: After you've finished, pass white bread through the grinder. The bread will grab a lot of the sticky residue from hard-to-reach spaces inside the grinder's works. Then clean thoroughly with soap and water.
Make pasta like a pro

Probably the most popular way home cooks use their KitchenAid, aside from general mixing jobs, is to make pasta using the pasta roller and cutting attachments. Fresh pasta is made with eggs, flour, and water which is mixed together into a soft dough that must be kneaded before it can be rolled or shaped. For ages, plenty of Italian home cooks have completed these steps by hand right on their kitchen tables, but the stand mixer and paddle attachment make pasta production easier. Mix the dough using the paddle attachment on low speed just until it comes together, then switch to the dough hook and let the mixer do the kneading until the pasta dough is smooth and elastic. After the dough rests and the gluten has had time to relax, the pasta will roll out smoothly.
Roll the dough by passing it through the roller attachment several times, tightening the roller gauge at each pass until the pasta reaches the desired thickness. Keep extra flour on hand to lightly dust the dough and prevent it from sticking to the roller. Next, pass the dough through the attachment to cut it as you wish (e.g., spaghetti, pappardelle, or linguine). You can hand-cut wide sheets for lasagna or form ravioli or tortellini. You can also make ravioli using this nifty attachment. For tube pasta lovers, this pasta press can turn your KitchenAid into a macaroni factory.
Extract fruit or vegetable juice
The KitchenAid, along with its juicer attachment, can extract the juice from most vegetables and fruit. If you don't already have a juicer, adding this attachment to the mixer's arsenal can help cut down on the counter space an additional appliance would require. If you've got a lot of citrus fruit to juice, there's an attachment for that, too. Margarita party, anyone?
Make fresh ice cream
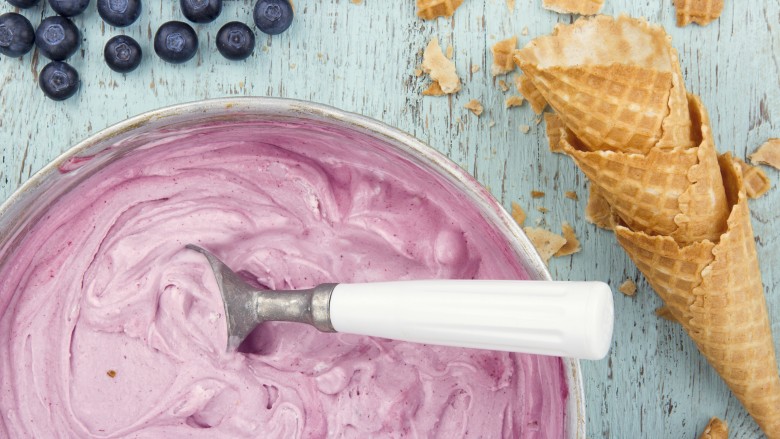
Exchange the mixer bowl with an ice cream freezer bowl attachment to spin a batch of fresh ice cream (or sorbet or gelato) like this Nutella ice cream. Ice cream making doesn't have to be complicated, but it's smart to keep some guidelines in mind. The insulated bowl must be frozen a day ahead so it can transform the liquid base ingredients into a frozen, custard-like consistency. For the smoothest and creamiest frozen treats, keep the ice cream bowl attachment inside a large plastic bag to prevent it from accumulating ice crystals that might effect texture and taste. Chill the ice cream base, too — it will help the ice cream set up quickly. This is an especially helpful step if you want to make two batches before refreezing the bowl. If you want to spike your ice cream, exercise restraint. Too much alcohol will slow or prevent freezing. To churn the ice cream, only fill the bowl about half full. Once frozen, the ice cream will have incorporated air and will take up more volume. Opt for a square, metal baking pan to store the finished ice cream and press plastic wrap or wax paper directly onto the surface to prevent freezer burn.
Create custom sausages
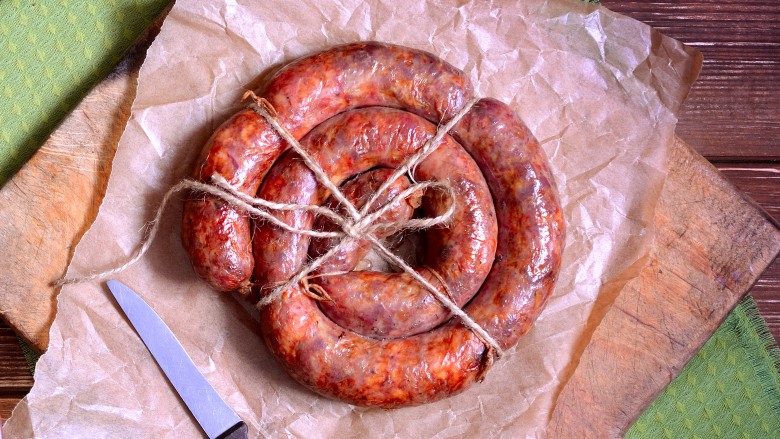
Sausages like bratwurst, kielbasa, chorizo, and breakfast sausage all start as ground meat. A blend of added spices gives each type of sausage its characteristic flavor. With a simple (and inexpensive) accessory that works along with the food grinder attachment, you can make your own sausages. Don't be tempted to grind meat and stuff sausages all at once. Put the meat through the grinder and then add seasonings. Send the seasoned meat through the grinder once again — this time with the stuffing cone attached and threaded with casing to fill the links. Before you begin stuffing the sausages, cook a little of the seasoned meat (especially if you're testing out your own blend or a new recipe) and taste it to determine if you need to adjust the flavor. Leaner meats might also require some measure of additional fat like olive oil, the key to making sure sausages are juicy after cooking. Grill up something like these bratwurst at the next cookout or tailgate party you're hosting. Or for a mild, Italian-style sausage to pair with your favorite tomato sauce, mix up this combination of meat and spices. Making your own sausage will take some time, but you won't regret it.
Mill specialty flours
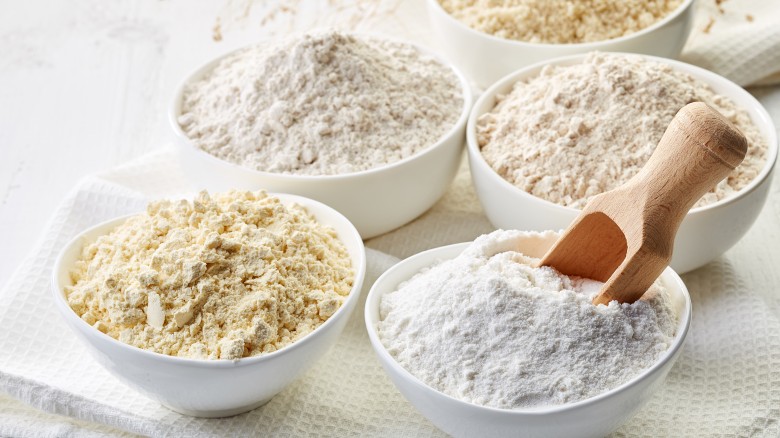
Specialty flours are getting a lot of love lately, but they still don't have a huge mainstream audience. That means the market inventory may not turn over very quickly and some of those flours (especially the whole grain ones) may not be at their peak. Once ground, the oils in whole grains will become rancid more quickly than refined flours will. If you grind your own whole grain flour on demand using this mill attachment for the KitchenAid, only grind as much grain as you need for that recipe. You can even grind your own corn for polenta or pick up some dried hominy to make fresh tortillas. Don't attempt to grind nuts in the mill, though; they're too oily for this process.
Easily knead dough
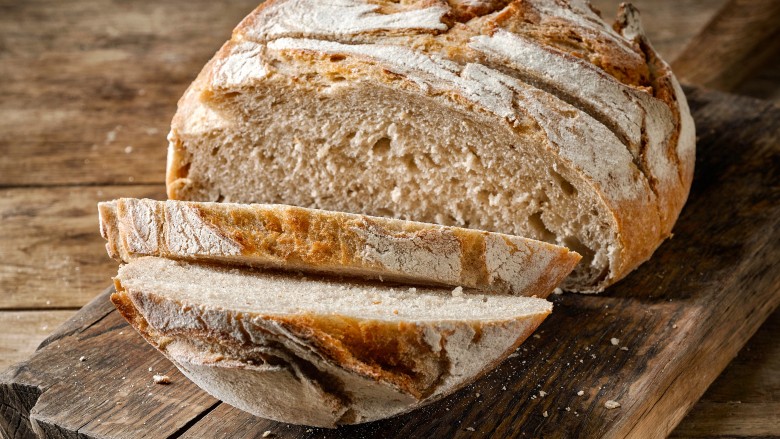
The most popular recipe on the King Arthur Flour website is whole wheat sandwich bread and uses two of the basic attachments that come with every KItchenAid mixer. The dough is mixed using the paddle attachment until it is combined. Then, after switching to the dough hook, the dough gets a hands-free knead. Hands-free kneading doesn't mean you shouldn't connect with the dough. You'll need to test to make sure it's soft and but not too sticky. You can add a little more flour to reduce stickiness.
You can also tackle brioche, which requires a lot of muscle if you make it by hand. You knead eggs and butter into the dough of this rich, buttery bread, and it's a pretty sticky mess. You'll end up with an amazing loaf, a batch of buns, or a decadent cross between breakfast and dessert. By hand you really have to put your whole back into mixing the dough, but if you use the stand mixer fitted with a dough hook you can wrestle that unruly dough into submission with your eyes closed.
Spiralize like there's no tomorrow
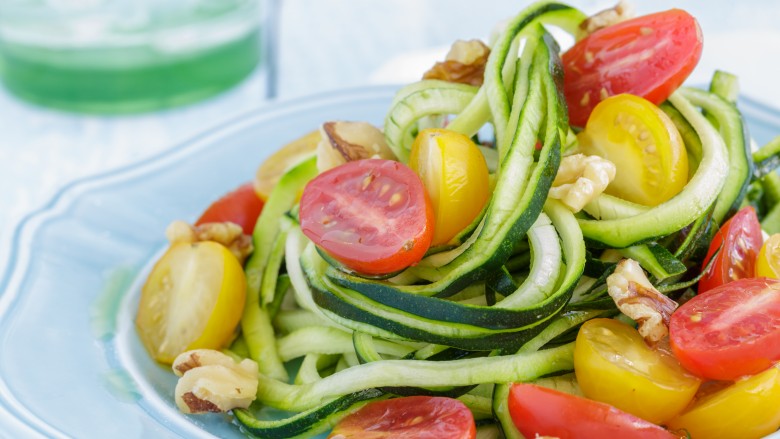
Would you care for a bowl of chicken zoodle soup? If you haven't already latched onto the spiralizer craze, the KitchenAid and this recipe offer a delicious way onto the bandwagon. Using the mixer's spiralizer attachment: thread fruit or vegetables that can be made into "noodles" onto the attachment's skewer. Then just choose your blade and turn on the motor. You'll be hooked, so get some inspiration and start planning more ways to spiralize.
Turn tomatoes into sauce
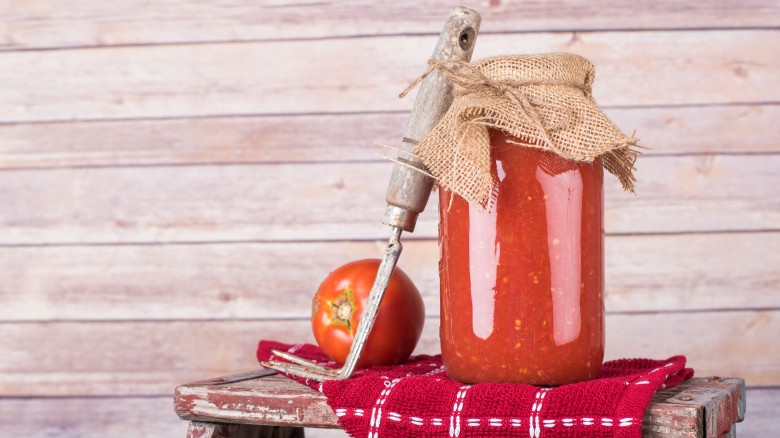
Ground meat isn't the only thing the food grinder attachment is good for. If you've got a large haul of tomatoes, apples, or pears that you want to turn into sauce, the food grinder plus a fruit and vegetable strainer accessory will process it all quickly and spit out the unwanted seeds as it works. For apples or pears, cook the fruit first (no need to core beforehand) and then push it through the hopper. For tomato sauce you can process the raw fruit and then season and cook the puree. Or try this method for a fire-roasted tomato sauce where tomatoes are cooked in the oven until softened and then lightly charred under the broiler (Yum.) before they're passed through the grinder/strainer.
Hack your kitchen with your KitchenAid
Get out the KitchenAid mixer for these timesavers and shortcuts.
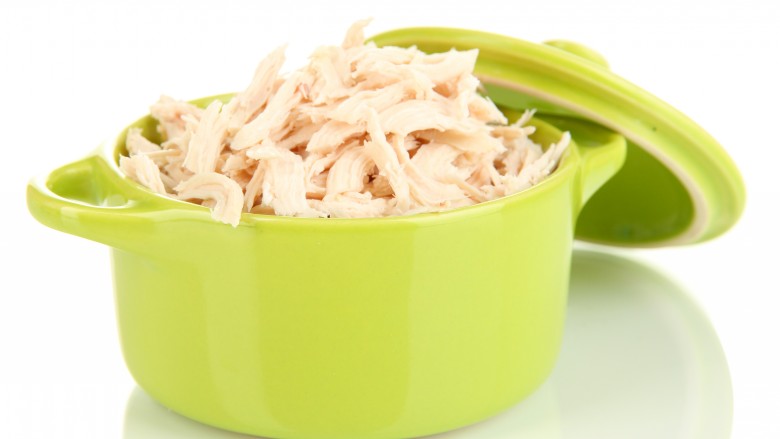
You can use the dough hook on low speed to quickly but gently mix up ingredients for meatballs or meatloaf. Or put cooked boneless chicken into the mixer bowl and shred up the meat with the paddle attachment. Using the mixer will shave several minutes of prep time from dishes like these pulled chicken sandwiches.
Making mashed potatoes? Cooked potatoes need only a spin or two at low speed with the paddle attachment to blend in butter, cream, and seasonings while mixing to the perfect consistency. Don't overmix, though — potatoes can quickly go from creamy and smooth to thick and gluey. Err on the side of caution by stopping the mixer before potatoes are fully mixed and then pulsing one or two times to finish the job.