Instant Pot Rice Recipe
Rice is a staple ingredient in many different cuisines, and it's used in a wide variety of dishes. It also makes a perfect side dish for just about any meal that can use an extra starch boost. If you have ever made rice on the stovetop, however, you know that it's easier to mess up than you may initially think. That's where your Instant Pot swoops in to save the day.
Cooking rice in an Instant Pot leads to grains that are just the right amount of doneness without any difficulty. Plus, there's very little mess to clean up once everything is finished. It also means that, like with other Instant Pot recipes, you don't have to keep a constant eye on the stove, and you can do other things crossed off your to-do list while the rice is cooking.
Even if you've mastered the art of stovetop rice cooking, you'll seriously appreciate this quick and easy Instant Pot rice recipe, brought to you by recipe developer Miriam Hahn of YouCare-SelfCare.
Gather your ingredients to prepare this Instant Pot rice recipe
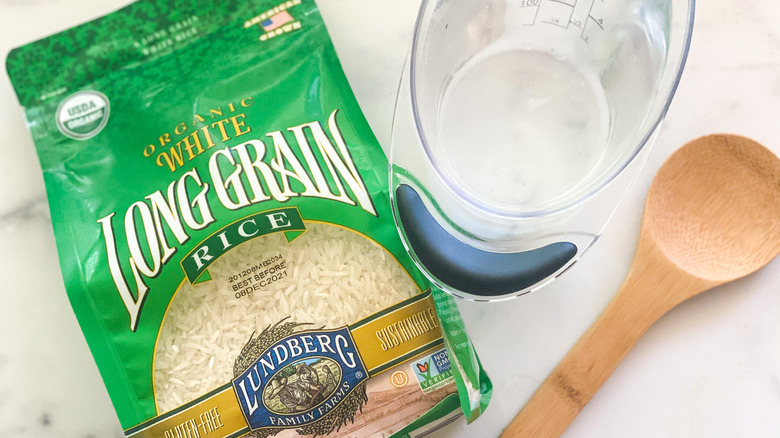
The list of ingredients for this recipe could not be simpler. All you need to round up is 2 cups of rice and 2 cups of water — that's it!
Rinse your rice
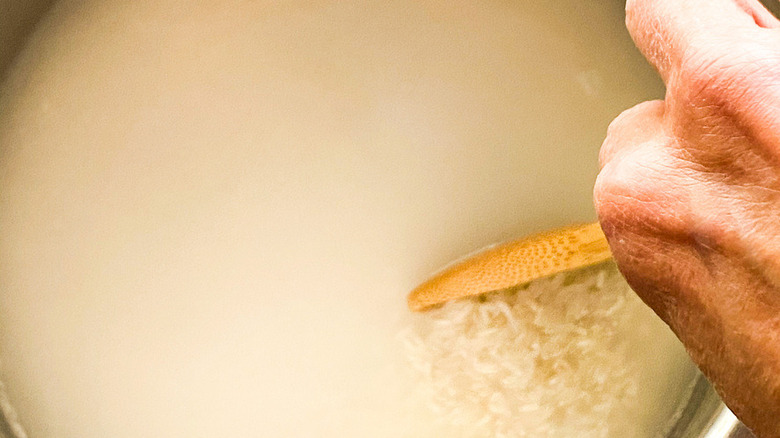
Even people who regularly make rice don't always know how important it is to rinse rice before cooking. Yes, it's an extra step tacked onto the prep work, but it makes all the difference and doesn't take very long to complete.
Rinsing rice washes off some of the starch that's on the outside of the grains. This leads to cooked rice that has clearly separated grains, and skipping this step can often lead to mushy rice that sticks together. It also eliminates any debris left over from when the rice was milled.
There are two ways to rinse rice. According to The Guardian, you can add your rice to a bowl of cold water, making sure the rice is submerged. Then, delicately mix the rice and water with your hand. Pour the water out when it gets cloudy. Do this process until the water is close to clear. Another way is to put your rice in a strainer under running water, and watch until the water coming out of the bottom of the strainer is close to clear (via The Kitchn). The number of rinses you need to do (or how long you rinse the rice, in the case of the strainer method) depends on the kind of rice, but you'll know it's ready when you see it, because the water will not be as cloudy as it was when you first started the rinsing process.
Add the rice and water to the Instant Pot, and start cooking
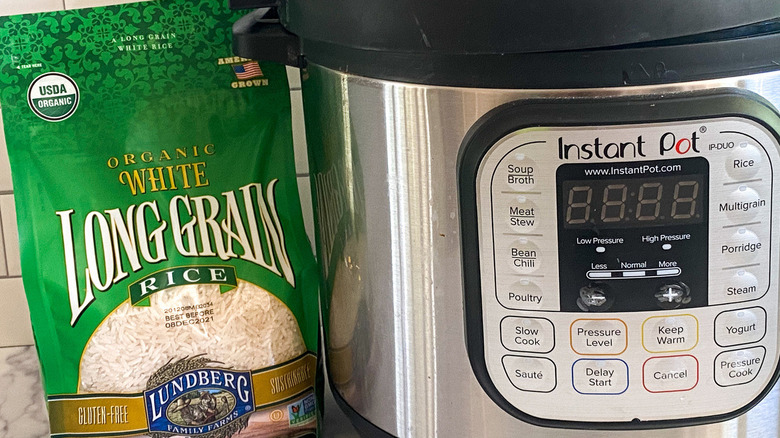
Once your rice is washed, add the 2 cups to the Instant Pot, along with 2 cups of water, and give it a quick stir to evenly distribute the grains.
You've likely noticed that there's a "Rice" button right there on the front of your Instant Pot. According to Instant Pot's website, the button is designed for long grain white rice, and your Instant Pot will alter the cook time depending on how much rice and water you have inside. While it doesn't get any easier than hitting a button and letting the machine do all the work for you, you can also set the cook time manually by setting the timer for four minutes and hitting the "Pressure Cook" button. It will take about 13 minutes for the pressure to heat up, and then you'll see the timer start.
Note that the timing is different when you're using a different type of rice (and if that's the case, you'll also want to avoid using the preset "Rice" button). Instant Pot lists on its website that brown rice, whether it's long or short grain, should cook for 22 to 28 minutes, while wild rice should cook for 25 to 30 minutes.
Allow the pressure to release naturally
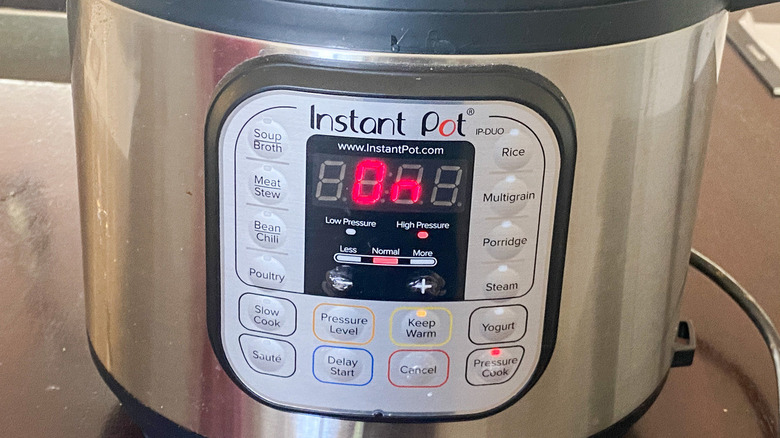
Once your timer is done, it's time to release the pressure. There are two ways to do this on your Instant Pot, but only one is suggested for rice, regardless of the variety you use, and that's Natural Release. This takes a little longer, but you won't end up with the best results if you use the Quick Release. Quick Release wraps up the cooking process rapidly and is used for vegetables and certain types of meat and fish. Natural Release slowly lets the pressure out, as the Instant Pot website describes.
Serve, and store any leftover rice to enjoy later on
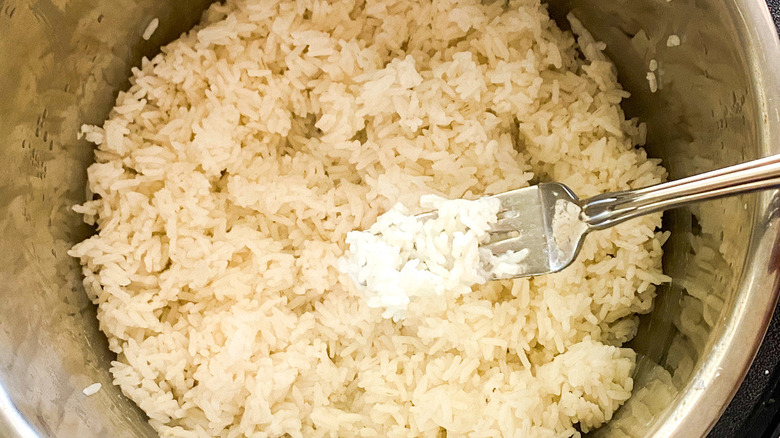
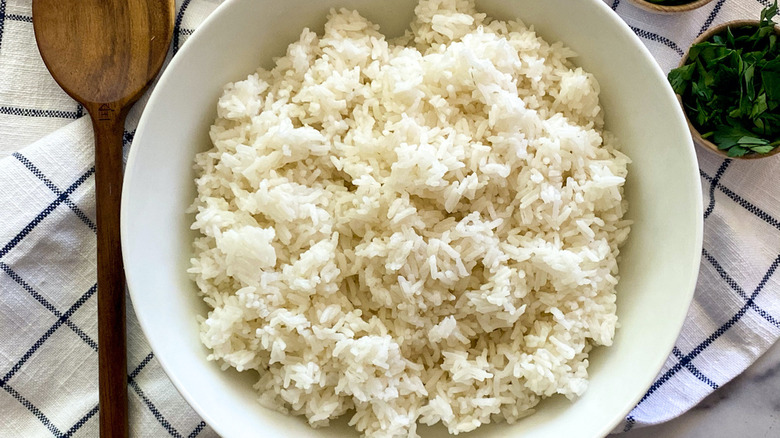
Fluff your rice with a fork as soon as the pressure is released and the lid unlocks to break up the grains and allow any extra moisture to evaporate. After doing that, your rice is ready to serve. The Instant Pot makes cooking perfectly textured rice incredibly easy, and it can be added to whatever your favorite dish is as the ultimate side. There are a number of ingredients from herbs to gravy that work well with rice, if you're looking for some ideas.
Cooked rice is easy enough to store for later if you have leftovers. All you have to do is put it in an airtight container, and stick it in the fridge. If you choose to reheat it in the microwave, one trick is to place an ice cube in a bowl with your rice, then microwave it. This will ensure your rice stays just as fluffy as the first time around. Keep in mind that you shouldn't leave cooked rice sitting out for very long at room temperature, as this can cause bacteria to grow (via Southern Living). Follow these easy instructions for storage, and you'll have rice ready to devour whenever the mood strikes.
Easy Instant Pot Rice Recipe
This simple Instant Pot rice makes the perfect side dish for just about any meal.

Ingredients
- 2 cups long grain white rice (basmati or jasmine)
- 2 cups water
Directions
- Measure out rice, and put it in a fine mesh strainer. Rinse with cold water, and drain.
- Add the rice to the Instant Pot with 2 cups of water, and then stir.
- Check the inner seal on the Instant Pot lid to make sure it is securely in place.
- Set the nozzle on the lid to Sealing, and close lid. Click on the pressure setting, and set time to 4 minutes.
- Vent, and release steam.
- Fluff rice with a fork.
Nutrition
| Calories per Serving | 0 |
| Total Fat | 0.0 g |
| Saturated Fat | 0.0 g |
| Trans Fat | 0.0 |
| Cholesterol | 0.0 mg |
| Total Carbohydrates | 0.1 g |
| Dietary Fiber | 0.0 g |
| Total Sugars | 0.0 g |
| Sodium | 3.2 mg |
| Protein | 0.0 g |