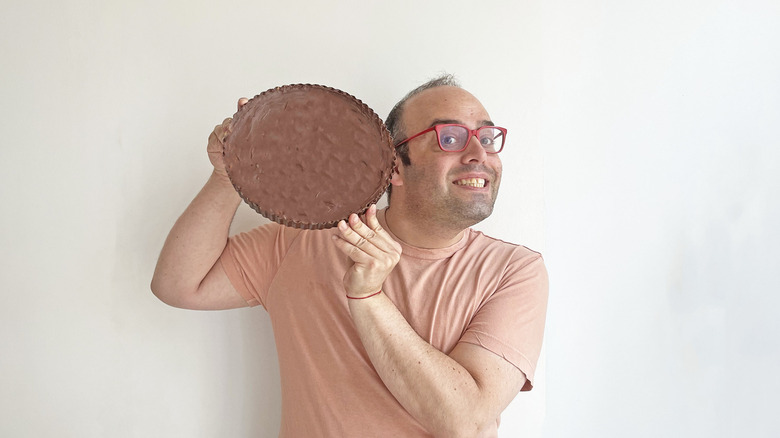
Giant Peanut Butter Cup Recipe
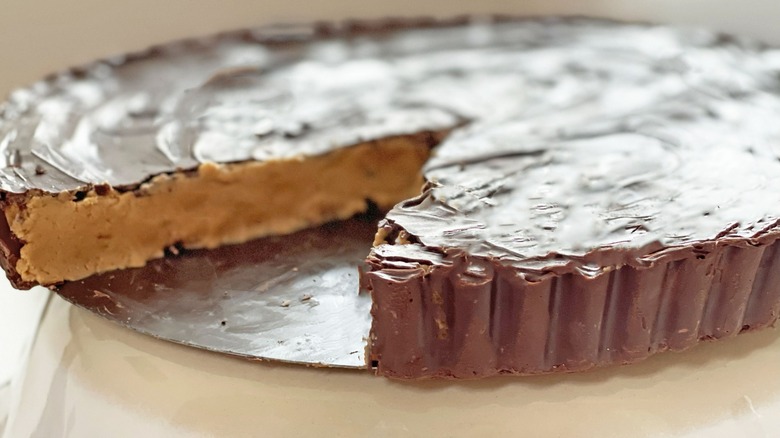
Peanut butter cups are salty and sweet, making them the perfect treat when you fancy something special — and who doesn't love the classic combination of peanut butter and chocolate? While Reese's always hit the spot, it's actually pretty easy to recreate peanut butter cups at home. Once you know how, you'll be able to have them whenever you like. But if you really want to impress your friends with something everyone will adore, recipe developer Jason Goldstein over at Chop Happy is here to help us make an absolutely giant peanut butter cup. Rather than enjoying bite-size amounts of this delectable treat, you'll be able to eat a whole cake slice-size piece of this giant peanut butter cup!
Gather up the ingredients
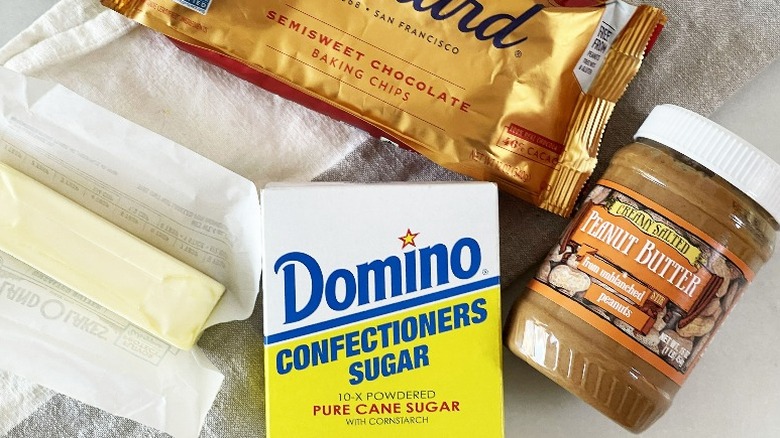
While a giant peanut butter cup may sound involved and impossible to make, this recipe is blissfully simple. The first thing you'll want to do is get all of your ingredients together and make sure that you have the utensils you need. You'll need semi-sweet chocolate chips, unsalted butter, smooth peanut butter, and confectioners sugar — that's it! You'll also need a tart pan, some cooking spray, a microwave-safe bowl, and a warm spoon or spatula.
Gradually melt your chocolate
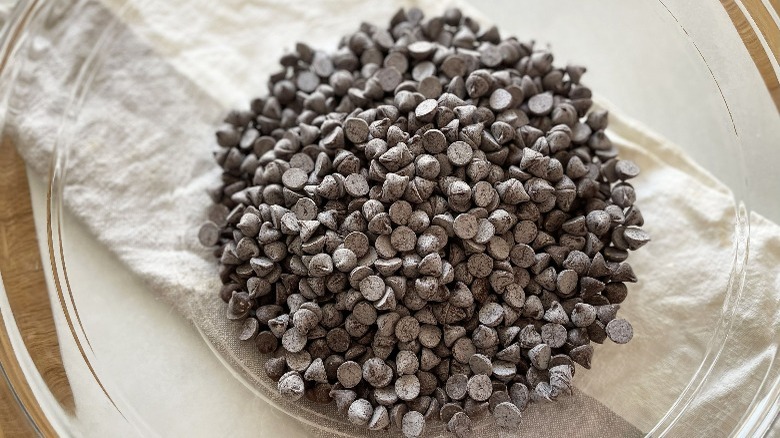
To start making your giant peanut butter cup, you'll need to pour your semi-sweet chocolate into a microwave-safe bowl. If you're vegan or have dietary requirements, then it's totally fine to use alternative chocolate. Dairy-free products or all milk chocolate will work just as well so long as you follow the rest of the recipe as recommended. You can adapt it to fit your requirements.
Add the chocolate in a few smaller portions, melting for 30 seconds at a time and mixing to incorporate together. By stirring the mixture in between melting it will ensure that all of it melts properly and you won't have any lumps.
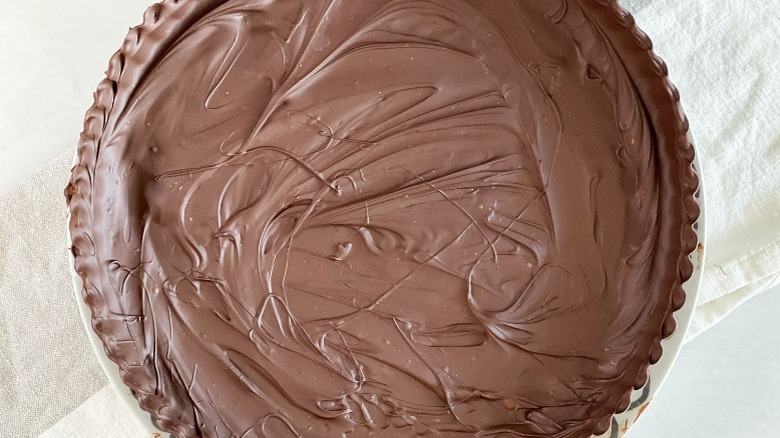
Spray your tart tin with cooking spray and pour in chocolate
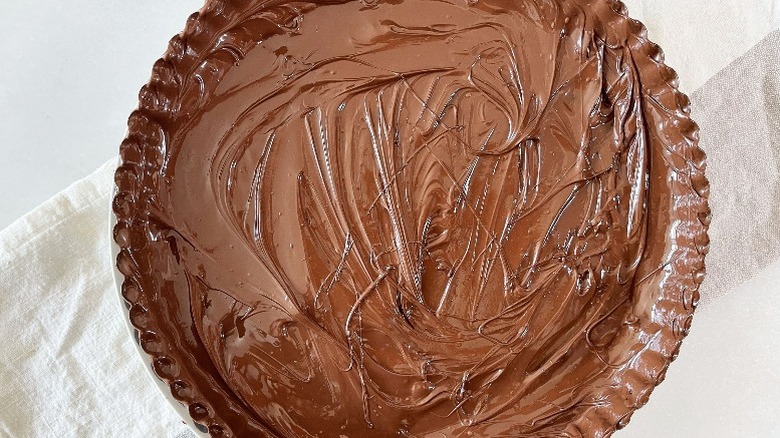
Once all of your chocolate is melted, take your tart pan and spray it with cooking spray. This may seem like an insignificant step, but Goldstein explains that this could be the difference between you easily popping out your peanut butter cup and having it stuck to the sides of your tin.
Once your pan is covered, pour half of the melted chocolate in. You don't need to use scales to weigh out half; you can be the judge of when to stop. However, when you're pouring your chocolate in ensure that it spreads over the bottom of the tin in an even layer. You'll also want it to cover the sides of the tin too in order to achieve the delicious, thick, chocolatey outer shell that Reese's peanut butter cups are famous for.
If you're struggling to achieve the coverage equally you can use the back of a warm spoon to spread the chocolate out and create a smooth top.
Put it in the fridge to set
Once the chocolate is spread evenly and smoothly across your pan, covering the sides, you can put it in the refrigerator to set. This should take around 30 minutes. However, it can vary slightly depending on how cold your fridge is and how thick the walls of your tin are. You're looking for the chocolate to be hard and stable enough for you to add the filling. If you need to leave it in the fridge for a little longer to ensure that it's properly set, then that's totally fine.
At this stage, you want to make sure that you have a thick chocolate case that will be able to hold your peanut butter filling without melting or collapsing.
Make the peanut butter filling

While your chocolate is hardening, you can get on with the filling. Add your peanut butter to a bowl with butter and powdered sugar and stir everything together. If you don't like peanut butter or have allergies, then you can swap it out for any other nut butter. The taste may differ ever so slightly, but you'll still get that same salty and sweet combination.
Goldstein tells us "This is totally an easy dish to make any replacements. Just make sure you follow the same steps with hardening the shell before putting nut butter in."
Cover your chocolate base with peanut butter
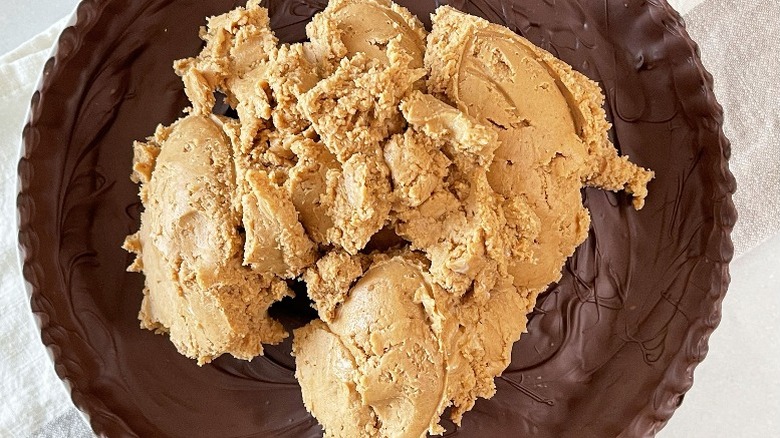
Once your peanut butter filling is mixed together, taste it to make sure it's exactly the flavor you had in mind. Then check how hard your chocolate shell is in the fridge. If it feels totally set and ready for the filling, take it out and place it on a hard surface.
Due to the consistency of the filling, it can be quite tough to spread the peanut butter across the chocolate. You want to make sure that you get an even layer across the top of the chocolate base. You can do this by spooning the peanut butter mixture into little mounds all over the base and then spreading them out with a spatula.
Spread chocolate on top
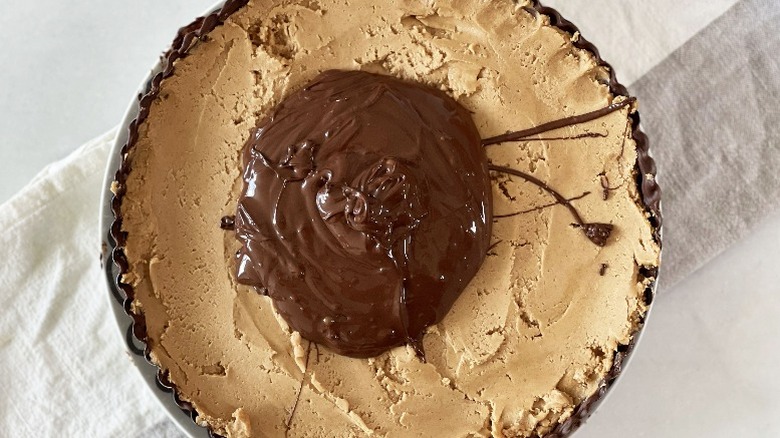
After you've spread the peanut butter filling as evenly as possible across the base, take the rest of your melted chocolate and pour it across the top. Again, you want to make sure that there's minimal filling poking through your chocolate topping so before you pour it on, make sure there are no uneven lumps of peanut butter sticking up.
Spread the chocolate lid across the filling with a spoon and try to create as smooth a top as possible. This part doesn't need to be perfect, but by smoothing out your chocolate, you should avoid any gaps after you've chilled it.
Chill in the fridge for 30 minutes
This recipe doesn't require any baking in the oven. All you need to do, when you've smoothed your chocolate topping out, is put your giant peanut butter cup back in the refrigerator for 30 minutes.
Again, everyone's fridge is different. Before taking out your peanut butter cup, you want to ensure that it's totally set and hard. Taking it out too early will mean the top isn't set and when you come to take it out of the tin, it will fall apart. You can judge how ready your treat is by taking a fork or a toothpick and poking the surface of the top. If it comes away covered in chocolate, it needs a little bit more time. Once it's ready to eat, cut it into 10 slices and serve it up!
If you have leftovers once you've sliced and feasted on this giant treat, keep in mind that it will melt if kept at room temperature for longer than a day. You should store it in the fridge or the freezer. If kept cold, it can last up to one month, and if frozen, it'll be good to eat for up to three months!
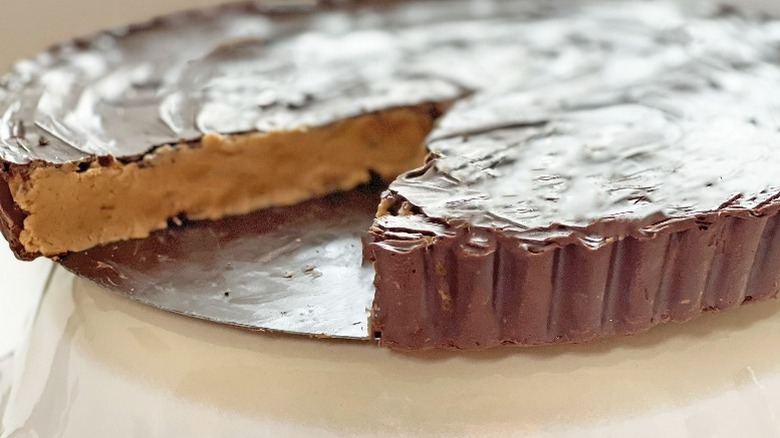
Giant Peanut Butter Cup
Why settle for bite-size peanut butter cups when you can make this enormous one that will serve you and 9 of your friends?
Ingredients
- 2 1/2 cups of semi-sweet chocolate chips
- Cooking spray
- 2 cups (16 ounces) of smooth peanut butter
- 1 stick of butter (unsalted)
- 2 1/2 cups powder sugar
Directions
- Melt the chocolate in a large microwave-safe bowl for 30 seconds at a time until the chocolate melts, stirring after each 30-second increment.
- Spray a tart pan with cooking spray.
- Pour half the melted chocolate into the pan and make sure the chocolate covers the bottom sides evenly.
- Put the pan in the refrigerator for about 30 minutes, until the chocolate hardens.
- While the chocolate is chilling, in a large bowl, mix the peanut butter, butter, and powdered sugar.
- Once the chocolate has chilled enough to set, take the tart pan out of the refrigerator. Add the peanut butter mixture to the chocolate-lined tart pan and spread in an even layer over the hardened chocolate.
- Pour the remaining melted chocolate on top of the peanut butter and smooth into a thin layer, so that there are no gaps.
- Place the tart pan back in the refrigerator for another 30 minutes, until the peanut butter cup hardens.
- Once it has hardened, slice the peanut butter cup into 10 slices and serve!
Nutrition
| Calories per Serving | 770 |
| Total Fat | 47.0 g |
| Saturated Fat | 18.3 g |
| Trans Fat | 0.4 g |
| Cholesterol | 24.3 mg |
| Total Carbohydrates | 88.2 g |
| Dietary Fiber | 4.8 g |
| Total Sugars | 78.2 g |
| Sodium | 15.4 mg |
| Protein | 12.0 g |