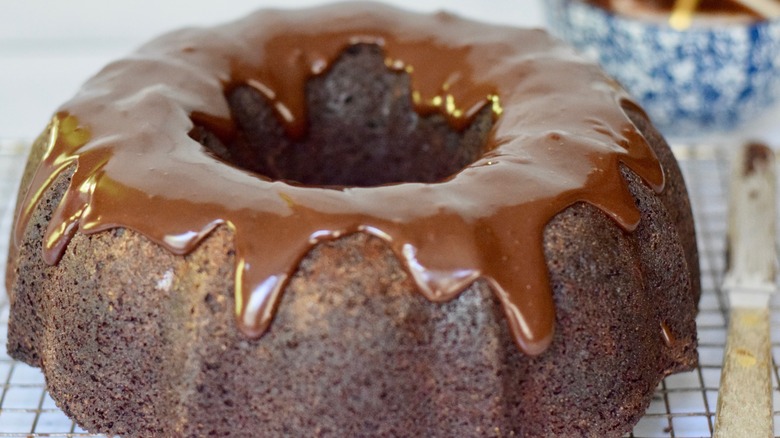
Best Tunnel Of Fudge Cake Recipe
The history behind the Tunnel of Fudge Cake is nothing but fascinating. It all started right after WWII when David Dahlquist came back to his home in Minneapolis and established a bakeware company, which he named Nordic Ware (via American Table). Sounds familiar, right? That's because the company still makes amazing bakeware to this day — and all because of the Tunnel of Fudge Cake!
See, Dahlquist started making bundt cake pans in the 1950's, but not with much success. It wasn't until 1966 when Ella Helfrich entered the Pillsbury Bake-Off with her Tunnel of Fudge Cake — which was made using Nordic Ware's bundt cake pan — and took 2nd place. Following that, both Dahlquist's bundt cake pans and the Tunnel of Fudge Cake recipe took off. Nordic Ware couldn't keep up with the demand for their pans, and Pillsbury received more than 200,000 letters asking for the cake recipe (via American Table).
Pillsbury eventually discontinued the most important ingredient in Helfrich's Tunnel of Fudge Cake recipe — their Double Dutch Fudge Buttercream Frosting Mix — but provided their customers with an adapted recipe using powdered sugar and cocoa powder. And that's the recipe many home chefs still use today.
Though a tried and true recipe, this cake isn't for the faint of heart. Follow along as recipe developer and chef Tara Rylie breaks down each step to ensure you can make the most marvelous Tunnel of Fudge Cake right in the comfort of your own home kitchen.
Gather your ingredients to prepare this Tunnel of Fudge Cake recipe
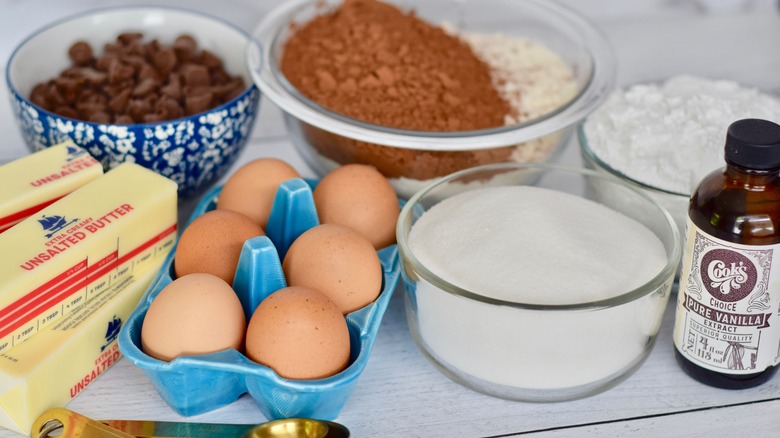
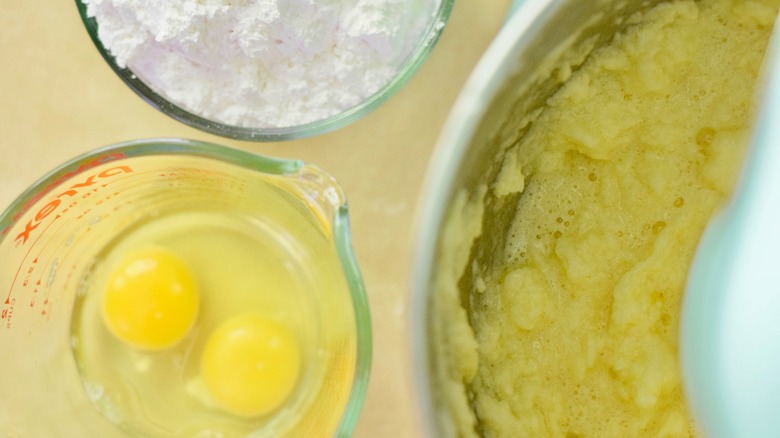
Baking is a science. It's all about being prepared and being precise. So, to begin this recipe, gather all your ingredients together, and measure them all out before you actually start preparing the batter. You'll need to grab cocoa powder, butter (at room temperature), sugar, eggs, vanilla extract, powdered sugar, all-purpose flour, chocolate chips, and milk. While you're getting organized, you can also preheat your oven to 350 F so it's ready for your cake when you're ready to bake!
We recommend using room temperature eggs here, if you can remember to remove them from your refrigerator in advance. Room temperature eggs emulsify better, allowing them to mix more easily with the other ingredients in the batter. This emulsion will trap air in the batter that expands when baking, helping to give your cake structure and texture. If you want a beautiful, velvety batter, plan to use room temperature eggs.
Prepare your pan
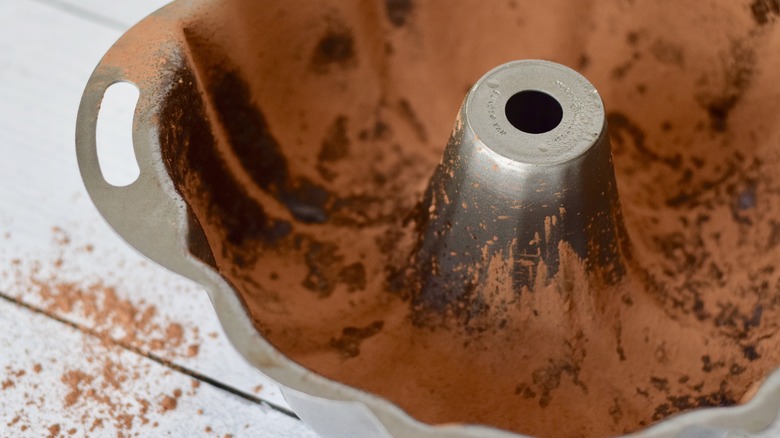
Like many cakes, the best way to get them out of the pan is to invert them. The problem is, this little process can be easier said than done. If the top of your cake is stuck to the pan when you invert it, you'll tear your cake in half. The bottom half will be on your counter and the top half still in the pan. This scenario is truly every baker's worst nightmare. So, to make sure this does not happen, coat your 12-cup fluted tube cake pan (bundt cake pan) with cooking spray, and then sprinkle 1 tablespoon of cocoa powder over the bottom and sides of the pan. Tap the sides of your pan lightly to spread the cocoa powder around, and then dump out any excess cocoa.
Cream your butter and sugar
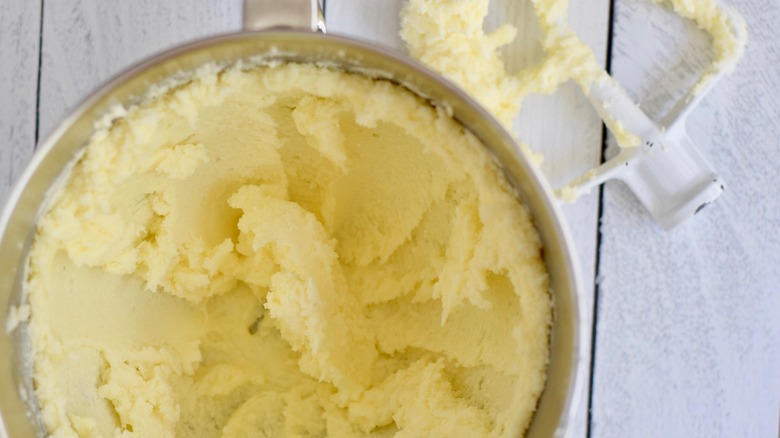
Next in the process, you will need your stand mixer fitted with a paddle attachment. You need to cream your butter and sugar until it's light, fluffy, and nearly doubled in size. Room temperature butter makes creaming your butter and sugar easier and faster. However, if you're in a pinch and using cold butter, no worries. Simply whip up your butter alone to begin with until it has softened. Then, add your sugar, and cream them together really well.
Scrape down the sides and bottom of your bowl with a spatula before moving on to the next step. This will help create a seamless batter in the end.
This all may seem like a lot of steps, but they will go by pretty quickly. The end result will be amazing, so it's worth every bit of work that you put into preparing the recipe.
Add your eggs one at a time
Add your eggs in one at a time, beating well in between each addition, approximately 20 to 30 seconds. Do not underestimate the power of this process. Beating your batter well in between the addition of each egg will give your mixture time to thicken and emulsify, creating a more stable batter over time and lending structure to the cake while it bakes. Hence, it's important to do this step right!
With your last egg, add in the vanilla extract. Then, scrape down the sides and bottom of bowl with a spatula again. Adjust your mixer speed to low and slowly add in your 2 cups of powdered sugar until combined nicely.
Fold in the dry ingredients

In a small bowl, whisk together your flour and ¾ cup of cocoa powder. Pour your dry ingredients over your wet ingredients, and fold them in by hand with a spatula. When your dry ingredients are nearly incorporated, add the chocolate chips, and continue to fold your batter until everything is well incorporated. Use caution and be sure not to over-mix your batter here. Over-mixing cake batter can lead to tough or gummy cakes. Once your batter appears seamless, stop folding and set down the spatula.
One thing to note here is that a 100% traditional Tunnel of Fudge Cake uses nuts instead of chocolate chips. However, we felt if we were going to make a Tunnel of Fudge Cake, it needed to be the most ultimate, chocolate lover's dream — and that meant more chocolate!
Bake your cake
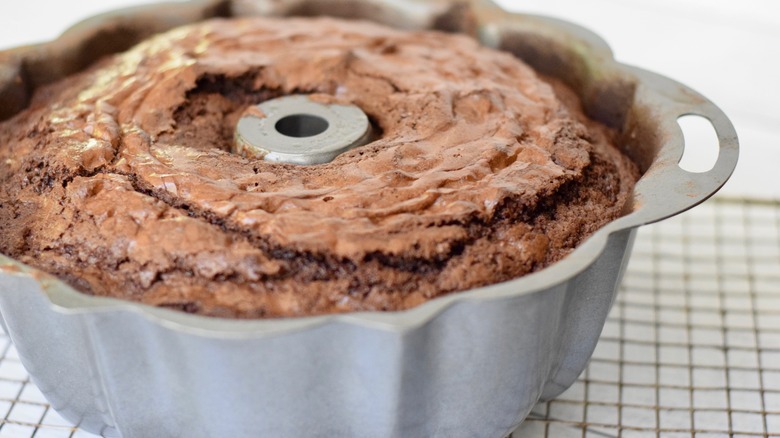
Now it's time to pour your batter into the prepared pan, and bake for one hour until the top is set and the edges of your cake are pulling away from the sides of the pan.
Because this cake is loaded with eggs, which as you'll recall, will help give stability to the cake as well as structure, the cake needs to bake long enough for the eggs to set. If the cake is under-baked, it will collapse on itself because its center will be gooey rather than fudgy. However, if this cake bakes too long, because it has so many eggs, the texture will be spongy. Make sure your oven is calibrated so that your cake bakes at the right temperature for just the right amount of time.
When your chocolate masterpiece is ready to take out of the oven, plan to cool your cake for one and half hours on a wire rack. After it has sit for that time, then you can invert and let it cool for another hour.
Nothing but icing

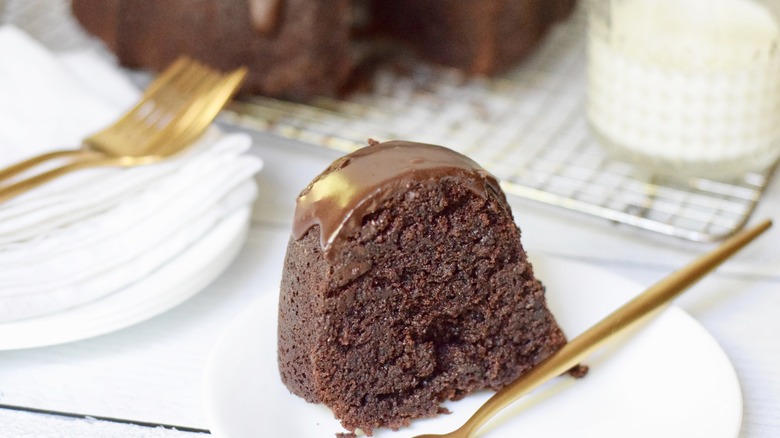
When your cake has cooled completely, combine the remaining ¾ cup of powdered sugar, remaining ¼ cup of cocoa powder, and milk in a small bowl. Whisk the ingredients together until your desired consistency is reached. If you prefer to have thinner icing, add a little more milk to loosen your icing up. If you prefer thicker icing, leave the mixture as-is, or add a little extra powdered sugar. Spoon your icing over the top of your cake, making sure some of it runs down the sides for that ooey-gooey-delicious effect.
Enjoy a proud baking moment, because your Tunnel of Fudge Cake is all iced up and ready to go! It goes so well when served with a glass of cold milk (or milk substitute). Get ready for tons of compliments, because your crew or guests will be completely impressed with this divine dessert.
We're pretty sure you won't have leftovers, because this is sure to get eaten up pretty quickly once served. But if you do, plan to store your cake in an airtight container. It does not need to be refrigerated.
This recipe is sure to be an all-time favorite, one to be made and shared for a long time to come.
Best Tunnel Of Fudge Cake Recipe
This Tunnel of Fudge Cake is nothing short of decadent. You'll want to have this recipe on hand for birthdays, cocktail parties, and everything in between.
Ingredients
- 1 cup + 1 tablespoon cocoa powder, divided
- 1 ¾ cups butter
- 1 ¾ cups sugar
- 6 eggs
- ½ teaspoon vanilla extract
- 2 ¾ cups powdered sugar, divided
- 2 ½ cups all-purpose flour
- 1 cup chocolate chips
- 2 tablespoons milk
Directions
- Preheat the oven to 350 F.
- Coat a 12-cup fluted tube cake pan with cooking spray, and sprinkle 1 tablespoon of cocoa powder over the bottom and sides of pan. Tap the sides of the pan lightly to spread cocoa around, and dump out any excess. Set aside.
- In stand mixer fitted with paddle attachment, cream the butter and sugar until light, fluffy, and nearly doubled in size. Scrape the sides and bottom of the bowl with a spatula.
- Add eggs one at a time, beating well in between each addition. Add the vanilla extract with the last egg. Scrape the sides and bottom of the bowl with a spatula.
- Adjust the mixer speed to low, then slowly add 2 cups of powdered sugar until combined.
- In a small bowl, whisk together the flour and ¾ cup of cocoa powder. Pour over the wet ingredients, and fold in by hand with a spatula. When the dry ingredients are nearly incorporated, add in the chocolate chips, and continue to fold batter until seamless.
- Pour the batter into the prepared pan, and bake for 1 hour until top is set and edges of cake are pulling away from sides of the pan. Cool for 1 1/2 hours on wire rack, then invert and let cool for another hour.
- When the cake has cooled, combine the remaining ¾ cup of powdered sugar, remaining ¼ cup of cocoa powder, and milk in a small bowl. Whisk together until desired consistency is reached. If icing is too thick, add a little more milk to loosen it up.
- Spoon icing over top of cake, making sure some runs down the sides.
- Slice, serve, and enjoy!
Nutrition
| Calories per Serving | 696 |
| Total Fat | 34.6 g |
| Saturated Fat | 21.1 g |
| Trans Fat | 1.1 g |
| Cholesterol | 154.2 mg |
| Total Carbohydrates | 94.0 g |
| Dietary Fiber | 4.0 g |
| Total Sugars | 68.1 g |
| Sodium | 50.9 mg |
| Protein | 8.1 g |