13 Mistakes Everyone Makes When Baking Apple Pie

The ultimate patriot dessert, there's a reason why Americans associate apple pies with the fourth of July. In fact, the phrase "as American as apple pie" has been around for centuries (via Priceonomics). So, how did this flaky dessert become so popular in a country where neither apples, the specific spices (cinnamon and nutmeg), nor pies are native to the land?
Well, per Better Homes & Gardens, the origins of this baked goodness can be traced back all the way to the 1600s. As pilgrims set sail to America, they started disassociating themselves with everything British, from bread and butter pudding and scones to treacle tart and banoffee pie. Towards the end of the 18th century, the pilgrims combined the techniques of the Dutch immigrants for preserving apples and the flaky, pastry crust brought by the German immigrants. And this gave rise to the now-classic American dessert (drum roll, please), the apple pie. The hype surrounding apple pies on the fourth of July is a tribute to the early colonists and celebrating their independence from the British.
Though it's a recipe that's popular and inexpensive to make, there are a bunch of things that can go wrong with your apple pie. We've compiled a list of some of the most common apple pie mistakes people make. Avoid these, and you'll be much closer to perfectly baking what many consider to be the ultimate symbol of American prosperity and national pride.
Using the wrong type of apples
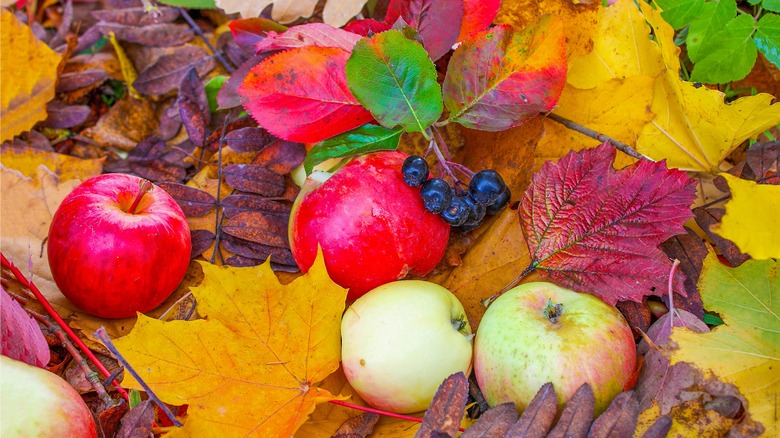
Perhaps the most common mistake people make when baking an apple pie is using the wrong type of apples. While all apples are delicious and a juicy treat for the tongue, there are a few types of apples that are seemingly incompatible with this baked goodness.
For starters, you want tart apples, so they balance out the sweetness from added sweeteners. However, besides flavor, there are other elements at play as well. While apples like Macintosh are delicious, they aren't suited for baking. Macintosh has a softer bite and won't hold up too well in the oven (via The Washington Post). So when you use them in your baking endeavors, the oven heat will turn them into mush.
When it comes to the best apples for your pies, you want ones with firm flesh that won't collapse under high heat. So, Gala and Red Delicious apples are a big no-no. Another feature you have to look out for is juiciness. While juicy apples make for a wonderful snack, they can turn your filling into a soupy consistency when used for apple pies. You're better off picking apple varieties with a low juice content, including Golden Delicious Apples, Pinata Apples, Granny Smith, and Rome Beauty Apples (via Stemilt).
Not using a thickener in your filling
Runny and loose consistency is a big no for your pie filling. Besides turning your pie into a hot mess, it will completely destroy the aesthetics of the food as well as the flavor. Even worse, you won't get that perfect slice of heaven with a wet apple pie.
Science of Cooking notes that thickeners add viscosity and body to your food without altering other properties. These substances work by binding to water molecules and absorbing all the moisture. Every baker's pantry is sure to be stocked with cornstarch. It is perhaps the most popular choice among chefs, patissiers, and bakers alike. It works faster than flour and forms a smooth, clear filling, according to Martha Stewart.
Besides cornstarch, you can also use tapioca, flour, arrowroot starch, and potato starch. Agar-agar is another good alternative. A reviewer on Reddit recommends adding agar to your pie filling for a firmer consistency. Baking Kneads also recommends using instant pudding mix as a pie thickener. Besides improving the consistency of your pie, adding instant pudding mix can also enhance your apple pie's flavor.
Using warm butter
An award-winning pie needs to have the perfect crust: balanced and buttery, flaky but tender. More importantly, it should be a beautiful golden brown that holds up the apple filling perfectly. A patisserie maestro knows that the art of manipulating the pie crust is down to one important ingredient — good ol' butter.
While butter is incredibly versatile, it's still tricky to work with, especially when it comes to achieving the perfect temperature for pastries. When making pie crust, the temperature of butter needs to be spot-on (via King Arthur Baking). It would help if you worked with chilled butter when making your dough. Warm butter will harden the dough and make it challenging to work with, resulting in a hard crust.
Conversely, using chilled butter will help puff up the dough beautifully. Once you've rolled and folded your dough, your crust will have bits of butter that will create pockets of air in the oven due to the heat exposure. The dough will rise into distinct layers, creating flakiness and giving you a praise-worthy crust that will have you cleaning the crumbs from your plate. You don't want the butter to be too cold either, per Quartz, because it won't be able to mix in the flour properly.
Forgetting to chill the pie dough
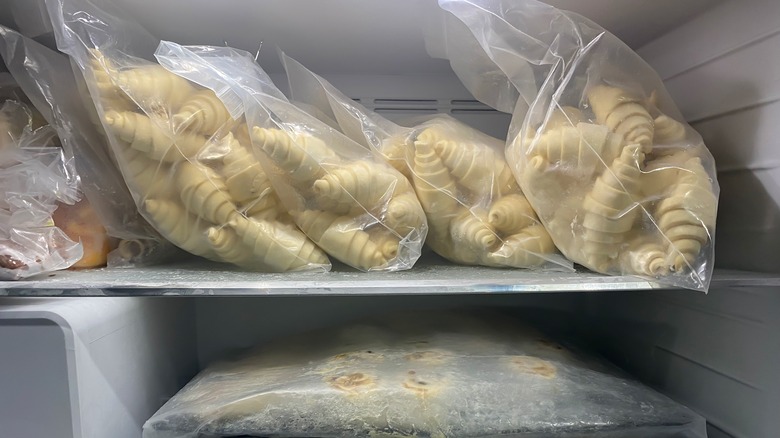
The next time you are in a time crunch and decide to leave the dough out on the counter, think again. This single mistake might jeopardize the entire integrity of your crust. It will come out soggy and soft and won't be able to hold the pie filling together.
Now, why's that? If you don't chill your dough in the fridge, the butter in the dough will start to melt. The dough will thaw and cave in instead of rising in the oven. As the New York Times notes, it needs to be chilled to remain firm when it goes in the oven. Moreover, chilling the dough makes it easier to roll out because the gluten has had time to relax (via Noble Pig).
The key really to baking a perfectly crisp, flaky pie crust lies in chilling the dough while you work with the filling. According to a former baker extraordinaire on Quora, you should let the dough rest for 2 hours in the fridge. Make sure the dough is round with smoothed edges and wrapped airtight before you place it in the refrigerator.
Overworking the dough
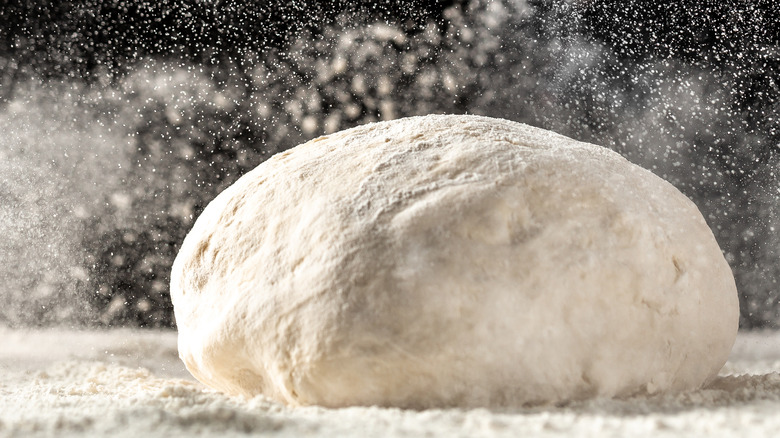
If your apple pie has a hard and crumbly crust, chances are you have overworked the dough. You only need to knead it lightly until you have a smooth pie dough. According to Culinary Choice, overworking the dough forms gluten. While it's excellent for baking loaves of bread, it's bad news for pastries. The result will be a pie crust with a hard, chewy, and crumbly texture that will fall apart in your hands.
You can easily tell if the dough is over-kneaded just by touching it. It will feel hard to touch and tight to work with. So when you're rolling it, it won't stretch the way it is supposed to; instead, it breaks apart under duress of the rolling pin. Keep in mind that you need to have bits of butter scattered across the dough to create that beautiful flaky texture. Also, make sure you use cold water and chilled butter to relax the gluten. Over-kneading typically occurs when your dough is sticky. You're probably rolling it too much because the dough keeps sticking to your rolling pin.
Cookbook author and recipe developer Erin McDowell recommends chilling the dough and rolling it with additional flour to balance the excess liquid so the dough doesn't stick to your rolling pin (via Food52). Or you can try our tried and tested method of rolling the dough between two pieces of parchment paper. Once done, take the parchment paper off and transfer the dough to your baking dish.
Not cutting vents in the crust
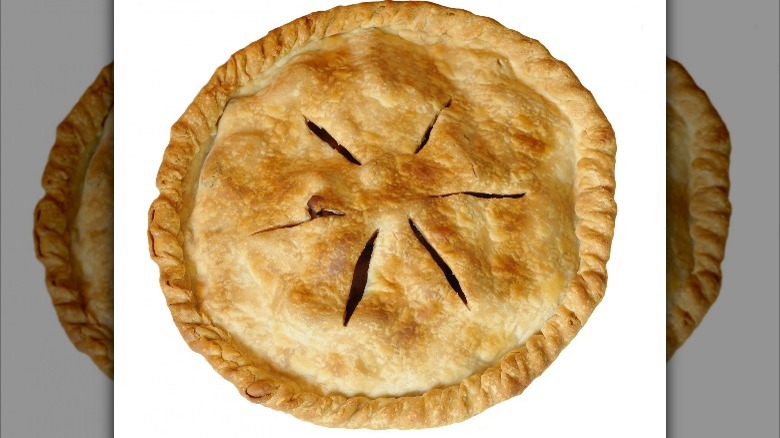
Probably the worst-case scenario when baking an apple pie is nothing short of a horror scene. The filling in your pie has shrunk, but the crust remains in its former shape, tall and proud. There is a disappointing gap between the apple filling and the crust. The mistake lies somewhere between choosing the wrong apples and forgetting to cut vents in the crust.
Erin McDowell notes that your pie crust needs to be vented to avoid the pie gap. As your pie bakes in the oven, the apples shrink and create a void full of hot air. Once you cut into the pie, the top crust is bound to collapse. The best way to avoid this disaster is by making vents in the top layer. Thus, as the apple cooks and the filling shrinks, the top crust will settle as it bakes, and the steam will have a chance to escape through the vents.
Simply use your good ol' fork or a knife to cut slits on the crust. You can start from the center and work your way in circles towards the edges. Make around 4 to 5 slits that are 2 inches apart. You can widen the gap with your fingers if need be. If you want something more aesthetically pleasing, use a pastry cutter in cute geometric shapes, including stars, hearts, flowers, and diamonds (via King Arthur Baking).
Not cooking your apples first
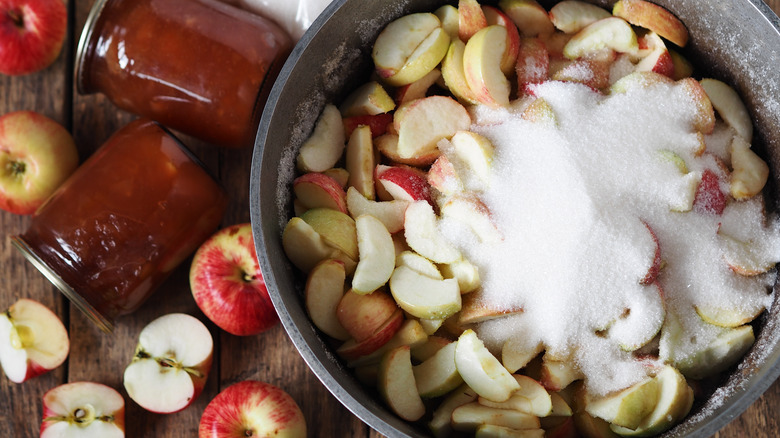
When baking an apple pie, there are two ways you can go about it: Use raw apples or cook them first. While both these methods yield finger-licking pies, the former often gives you a pie gap.
According to the Detroit Free Press, using raw apples means they will shrink down in the oven as they cook. As they decrease in volume, this will allow for air to get trapped between the crust and the filling, which leads to the unfortunate pie gap that you definitely want to avoid. Conversely, cooking your apples beforehand means the process has already occurred prior to placing the pie in the oven.
Per the infamous chef Gordon Ramsay, the secret to a great apple pie lies in caramelizing apples with sugar and cinnamon in the pan before adding them to the pie (via Insider). Well, if it's good enough for Gordon Ramsay, it's definitely good enough for us.
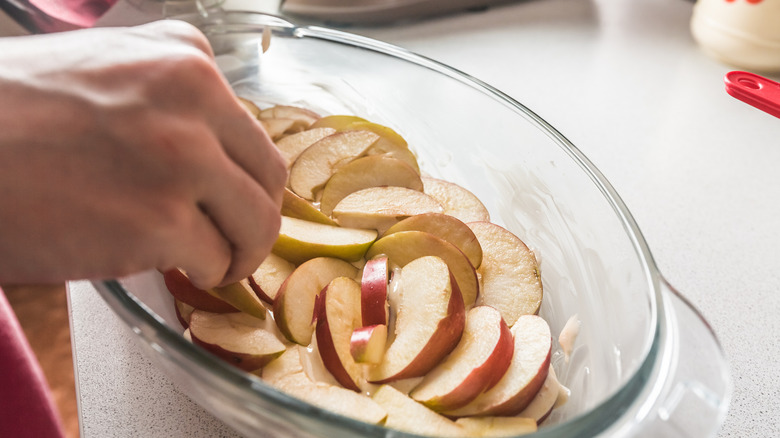
Cutting your apples unevenly
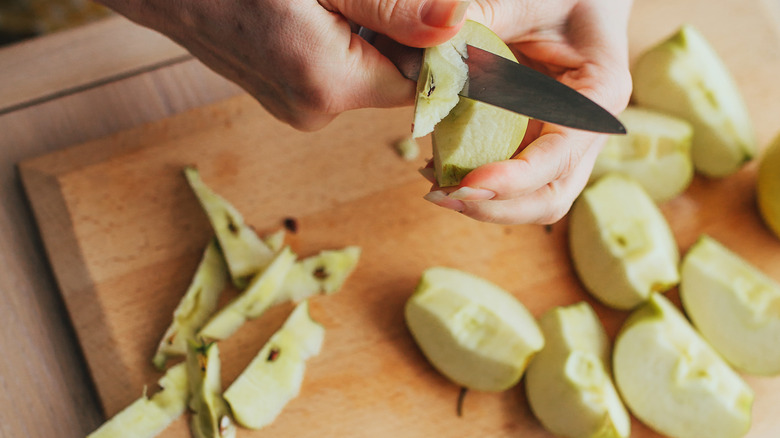
If you don't cut your apples evenly for the pie, you're setting yourself up for failure right from the start. Besides the fact that the irregularly-cut apples will ruin the texture and the balance of your pie, they will also destroy the overall aesthetics.
Baking a perfect pie is not just about the play of flavors. It's about the balance between all the elements. And if you have cut your apples unevenly, they won't cook at the same rate. The smaller pieces will cook first, and the larger ones will cook late or remain raw. Imagine delving into the apple pie: the crust is flaky and buttery, but the filling is oh-so-disappointing. We definitely don't want that.
Granted, peeling and slicing apples uniformly can be a nuisance. However, per Shelly from Frugal Family Home, there's an easy way. Start by cutting off the top part of the apple. Next, use a peeler to peel your apples circularly. And remember, no cheating. Don't leave the skin on to save some time. It won't cook properly, and trust us: You don't want to sink your teeth into a scrumptious slice of your pie and accidentally bite on a tough piece. Once you're done with the peeling, cut four large chunks close to the core. Lastly, slice the apples to about 1/4th of an inch thick. You can also use a vegetable slicer to do the job. And voila! You're good to go.
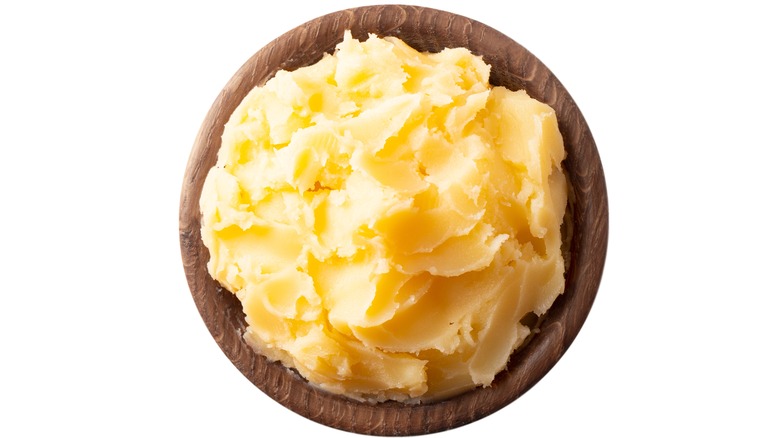
Choosing the wrong butter alternative
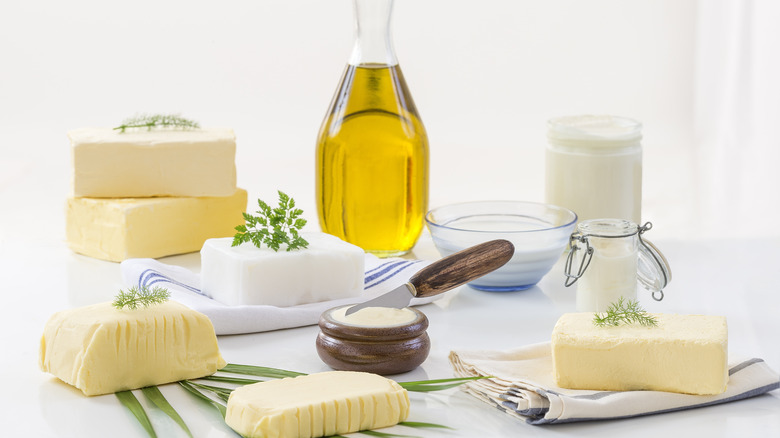
Pie recipes typically contain butter for a light and flaky crust. However, you might be interested in swapping butter with alternatives. Whether you're short of butter or want to try a new method, it's important not to mistakenly pick up the wrong type of fat to use for the pie dough.
According to Cooking Light, while butter is classic and the best choice for pie crust, if you swap it with vegetable shortening, you'll be delightfully surprised by the results. Although using vegetable shortening will lead to a dough that is a little darker than its butter-based counterpart, the crust will still turn out quite flaky. Plus, since shortening has little to no taste, it will not affect the flavor profile of apple pie in any way.
On the other hand, vegan shortening has a pungent plant-like flavor and is quite crumbly in texture, so you're better off avoiding it altogether. Unrefined coconut oil adds a strong flavor to the pie dough, but it does lead to a nice golden and flaky pie crust. If you can balance the coconut flavor with the apple pie filling, you can use it for your big bake. Meanwhile, palm oil is definitely not a great option due to its unpleasant flavor. Plus, the dough is really hard to work with and requires a lot of water.
Not baking your pie on the bottom rack
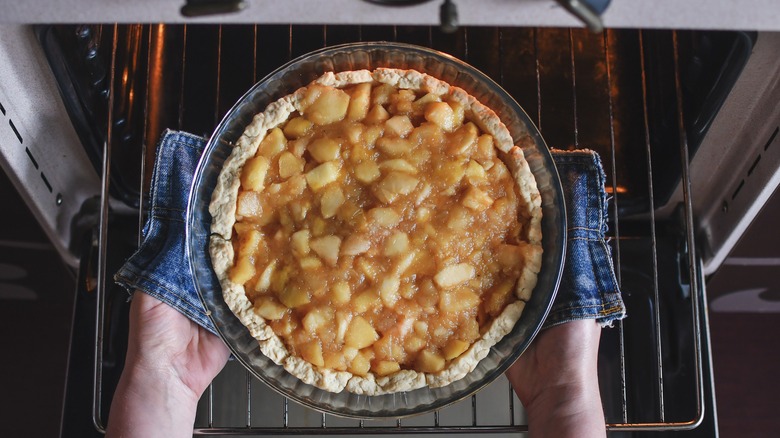
If you've been scratching your head trying to determine why your apple pie is always burnt or undercooked when you take it out of the oven, there's a good chance that you're placing it on the wrong rack. Some folks like to put everything in the middle rack of the oven, seeing it as a neutral zone and a safe bet. But for pie, there is only one spot to put it. It's not at the top, since this tends to be the hottest part of the oven, resulting in extra browned top layers to your baked goods.
However, since most of the crust is at the base of the pie, you want the heat from the bottom of the oven to cook the crust. This is why you should place the pie on a lower oven rack. According to Cook For Folks, you can use a glass pie dish and place it on the bottom rack to bake a beautiful golden pie crust that properly holds your filling. And if you find that your pie crust is browning or burning from the bottom, you can move the pie up a level or two. After all, you know your oven better than we do.
Not brushing the pie crust with an egg white wash
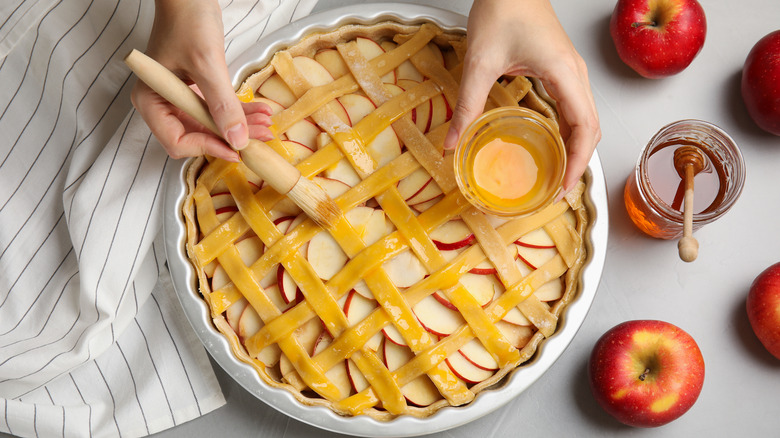
The best part about baking a pie is cutting it into pieces and lifting out a slice of heaven to devour. But imagine the horror when the bottom is soggy and the pie starts falling apart, creating one hot mess: That's nothing short of a beautiful disaster. But fret not fellow pie-lovers, there's a simple solution. You should brush the bottom of your pie crust with an egg white wash. Yes, you heard it right. While brushing the top of your baked goods is relatively common, an egg white wash is also the perfect solution to preventing a soggy pie crust bottom.
According to The Pioneer Woman, to make an egg white wash, you simply need to add one tablespoon of water and whisk it with an egg white until well combined. Then, you can use a silicone pastry brush to apply the mixture to the bottom of your crust. Live Well Bake explains that the proteins from the egg whites work as a non-permeable barrier that prevents the moisture in the filling from seeping through and making the crust soggy. While this goes one step further than many recipes, it's better to take precautions.
Eating your pie while it's still hot
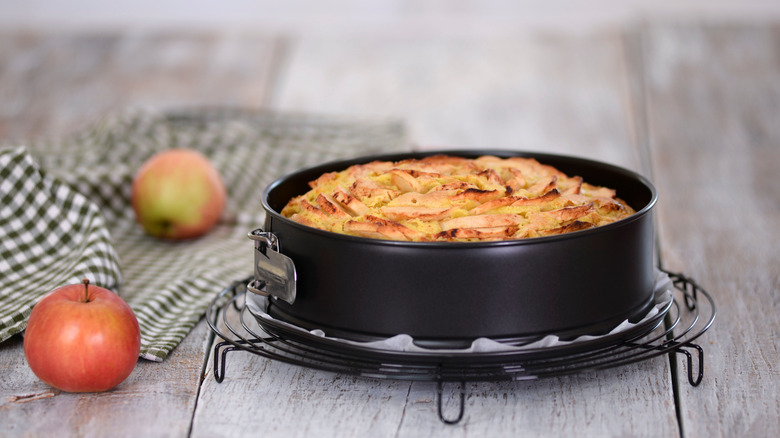
Who wouldn't want to dive right into a freshly baked apple pie? But, all good things come to those who wait, and it is imperative that you let the pie rest when you take it out of the oven until it is cool (via Taste Cooking). You'll be rewarded once the pie has fully cooled down and you can enjoy a slice.
We know you wouldn't mind burnt fingers just to satisfy a craving. After all, the baking pie's sweet aromas are tempting, and it's normal to want immediate gratification. We get it, really. But it's not about the pie being too hot to eat. Rather, you must wait so that the filling has a chance to cool down and set properly. Cut it when it's too hot, and you'll be eating a runny filling that you'll have to scoop up with a spoon.
The pie filling is loaded with sugar, which takes a long time to cool down and set into a firmer consistency. According to Cake Decorist, you need to let the pie cool down for at least four hours before slicing it. That's a long time to wait for pie, but a benefit of living in the modern world is that every kitchen is equipped with a refrigerator. So why not use it? Let the pie cool in the fridge for at least 30 minutes before devouring a slice.
Not using cold water for pie dough
Knowledge is power. And in this case, every baker must be equipped with the information that cold water is a must in order to bake the perfect flaky pie crust (via Martha Stewart). When making pie, it's essential to work with cold butter to create pockets of air that puff up the crust, as King Arthur Baking explains. Similarly, ice water is also important since it interacts with both the fat and flour: first by keeping the fat like butter or shortening from melting and second by preventing gluten from developing.
When making pie crust, we don't want the gluten to develop, or else the crust will become too hard and chewy. Unlike warm water, cold water is not so easily absorbed by the flour. This also prevents over-hydration, which tends to cause the pie to shrink in the oven. Plus, ice cold water ensures the dough remains tender. A Reddit user recommends keeping all your ingredients cold, including butter and ice water, when making a pie crust.