How To Cook The Perfect Ham Every Single Time
We may receive a commission on purchases made from links.
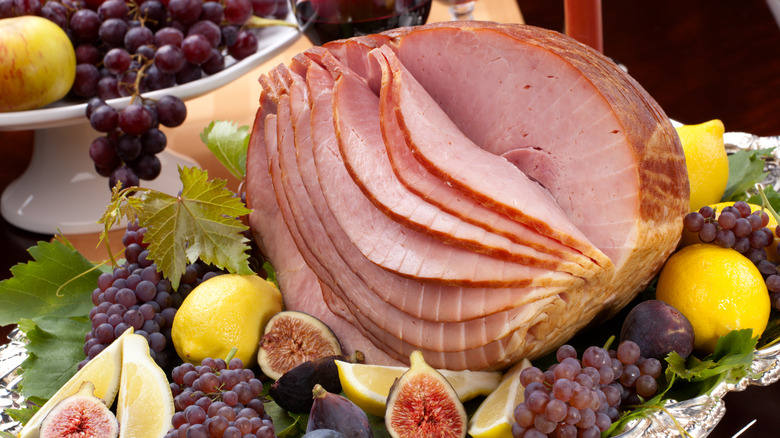
When we envision a cheery Easter or Christmas feast, usually it involves a monstrous, rich ham — the ideal choice of meat when it comes to feeding large, ravenous crowds. It's especially luscious when it's marinating in a sweet brown sugar or pineapple glaze, and effortlessly falls off the bone. Ham is particularly easy to devour, but definitely daunting to prepare. If you're tasked with assembling it at your next family feast, your head might be imploding with a million burning questions — do I buy a precooked ham? Country or city? How do I ensure it's tender and doesn't dry out? What's the best recipe that doesn't require an acclaimed culinary degree?
We're not going to deny the fact that cooking a ham is a formidable responsibility. However, it doesn't have to be challenging to the point where we're paralyzed in the kitchen. Today, we're outlining tried and true tips to ensure you cook a perfect ham every time.
Select the right type of ham
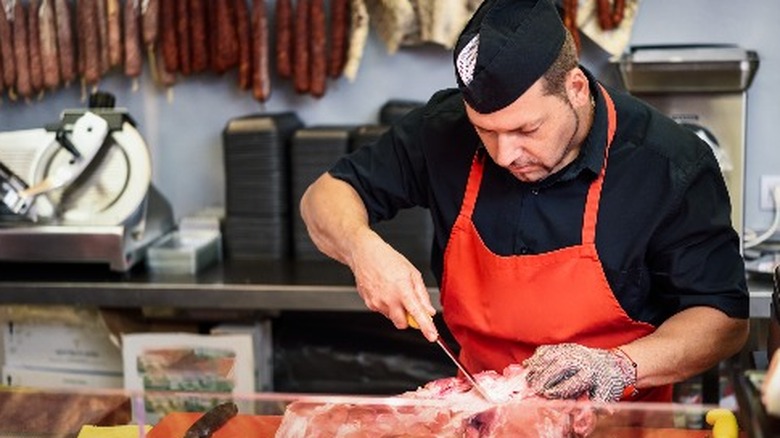
First off, if you're looking for "cream of the crop" quality, always try to visit your local butcher versus a chain supermarket. Oftentimes, your typical grocery store will only offer mass-produced hams that might display a palatable price tag, but they're typically injected with obscene amounts of water during the curing process. This completely alters the taste, according to MidwestLiving. If you see any "manager's special" stickers, turn the other cheek.
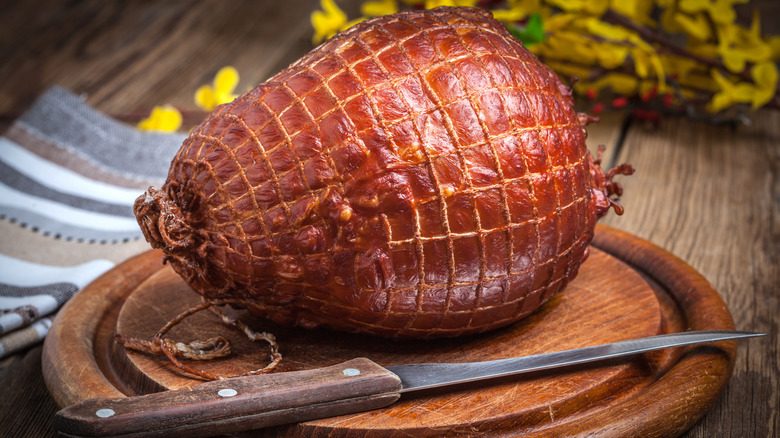
When it comes to the exact style of ham, you'll most likely choose "city," which is very accessible, cured by a brining process and fully cooked. A "country" ham is cured with a dried rub and hung for sale completely uncooked — usually resulting in less tender and juicy meat. A "fresh ham" is simply a rarity, so chances are, this won't be a viable alternative. No matter what the circumstances are, always choose bone-in ham, versus boneless or spiral. According to Reader's Digest, the bone serves as a "flavor hub" and also retains moisture, which you'll definitely lose in a boneless ham. You can also use the bone to create savory soups and broths, serving as the best, multipurpose option available.
Buy the right cooking tools
The last thing you want to do on Christmas Eve is bolt to the store frantically to stock your kitchen with appropriate "ham" gear. Do yourself a favor and make sure you're equipped with the most optimal gadgets way ahead of time. No matter what recipe you choose, you'll definitely need 4 convenient tools to guide you along the way.
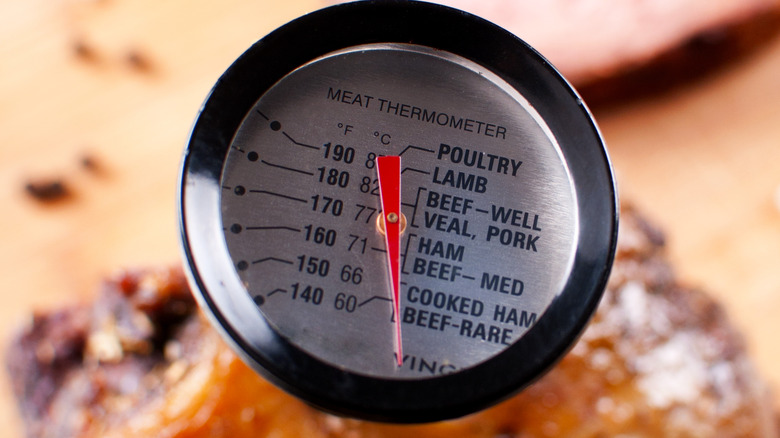
Even though your ham will most likely be cooked, you'll need a thermometer to check the internal temperature while it sizzles in the oven. This Kizen Digital Meat Thermometer is labeled as "ultra-fast" and detects temperatures in less than 3 minutes. Next, you'll want a roomy roasting pan like this sturdy, "V-shape" carbon steel option to house and support your ham from inception to end. For the best glazing experience, pick up a sizable basting brush that will fully cover your ham with ease. Lastly, once your ham is ready to carve, we don't advise using an ordinary kitchen knife for a "neat" presentation. Invest in a reliable, razor-sharp carving set so you won't break a sweat.
Find a credible recipe

One of the biggest mistakes when it comes to baking ham is using the salty, pre-made glaze that comes with the ham. This oftentimes ruins the essence and natural flavors a ham emits. However, it's helpful to know that glazing is a critical step — it adds to the ham's succulence while also amplifying its color and "glossy" texture. There are a plethora of scrumptious, homemade glaze recipes circulating around on the internet, usually ranging drastically on the sweet/savory pendulum, from caramelized brown sugar and pineapple to tangy honey and mustard.
This simple, 5-star glaze recipe combines ground mustard, honey, salt, ground cloves, and fresh parsley. It's an impeccable balance of salty and sweet, guaranteeing a perfect ham every single time. All you have to do is thoroughly mix these ingredients up to glaze toward the end of the baking process, and then sprinkle the parsley on top of the ham. If something more simplistic is calling your name, try out Trisha Yearwood's 3-ingredient baked ham recipe that only requires brown sugar, clover honey, and of course, your ham.
Score the ham
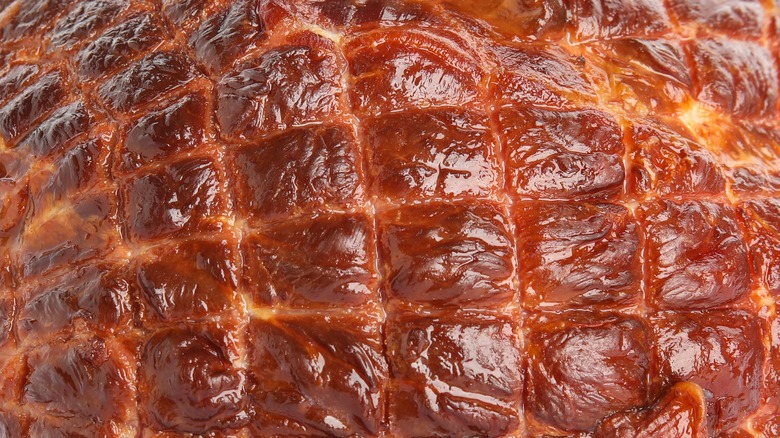
Chances are, you've seen the beautiful score marks on ham, intensifying its almost glassy texture. However, these micro demarcations aren't just for aesthetics — they serve a substantial purpose. According to Spend With Pennies, scoring a ham is absolutely pivotal to safeguard all of the overflowing juices and flavors. If we want to get a bit technical, hams consist of several thick layers of fat that "baste" the meat while it cooks. By fragmenting these layers, it enables your glaze to ooze through the cracks and infiltrate past the most outer surface. You'll also get that sought after "golden brown" sizzling crust.
Scoring might look intricate, but it's super easy. Just start from the bottom, cut a line one-third of an inch in a line, and repeat. Rotate the ham and then duplicate this process diagonally. Remember to have an ultra-sharp carving set handy to get the most precise scoring lines.
Tightly cover with foil
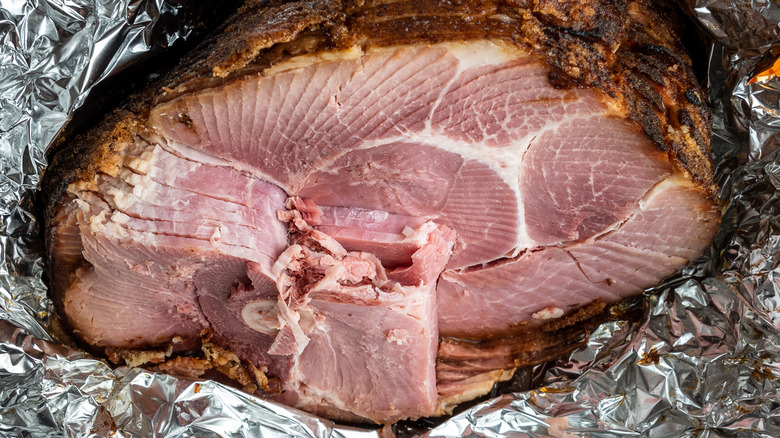
One of the most detrimental mistakes when it comes to cooking ham is not covering it tightly with aluminum foil. If you don't want your guests to dive into a repulsively dry piece of meat, this step is absolutely essential. According to Livestrong, this is one of the best ways to retain moisture, tenderness, and ultimately, the maximum amount of flavor. If you think you can tear off 1 sheet of aluminum foil to cover the entire ham, think again.
There's an intentional method to the madness. You'll want to tear off t2wo large pieces of foil to form a sort of "x." Then, center the ham and tightly wrap the foil around the entire body. You'll want to create a little bowl around the base since some of the juices will seep through. Think of this as a mini tent or sauna for your ham to bask in.
Cook it low and slow
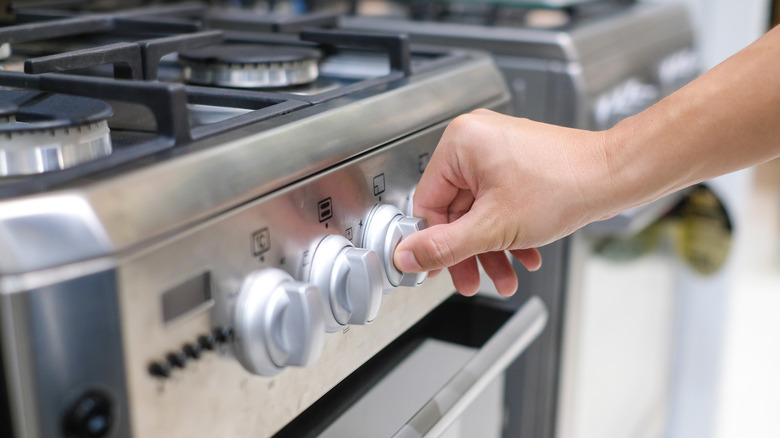
In our opinion, the most perfect ham should be irresistibly tender, delicate, and practically fall off the bone for the full "melt in your mouth" effect. To achieve these results, you should never cook your meat at a high temperature. According to Livestrong, this causes the protein molecules to rapidly reduce in size and toughen. Low and slow is the golden rule. Chemically, this elongated window of time will allow the fat to render and the connective tissues to transform into natural gelatin, creating a tender piece of meat.
Typically, most recipes call for cooking your ham in the oven between 250-325 degrees Fahrenheit — the magical sweet spot for cooking the perfect ham. For bone-in hams, the cooking time is about 20 minutes per pound, and for boneless or spiral hams, it's about 15 minutes per pound (via Rachael Ray). Note: you can always add a bit of boiling water at the bottom of your roasting pan during the cooking process to give your ham a cozy steam bath. This will help retain moisture.
Glaze the right way
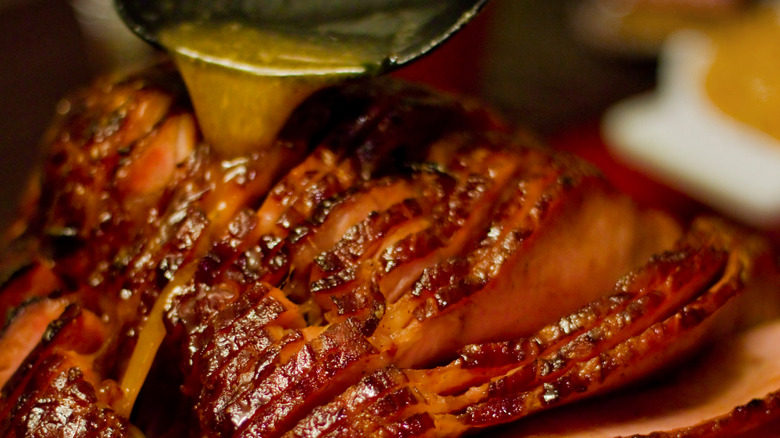
Most glazes, especially containing brown sugar, honey, or fruit jams, contain high sugar content. For this reason, you should be extra methodical when glazing your ham. According to Better Homes & Gardens, you should always glaze your ham toward the last 15-20 minutes of cooking. If you glaze earlier on in the process, the sugar will likely burn, turning your delectable crispy crust into a charred disaster.
Moreover, you should be cognizant of how much glaze you apply to the ham with your basting brush. Too much glaze might overpower the ham's intrinsic flavor. The rule of thumb is to make 1 cup of glaze for every 5-10 pounds of ham (via Better Homes & Gardens).
When it comes to actually glazing your ham, remove your ham and place it on a cooling rack. With your handy basting brush, gently coat your ham with the glaze and return to the oven to finish out the allotted cooking time.
Do not overcook it
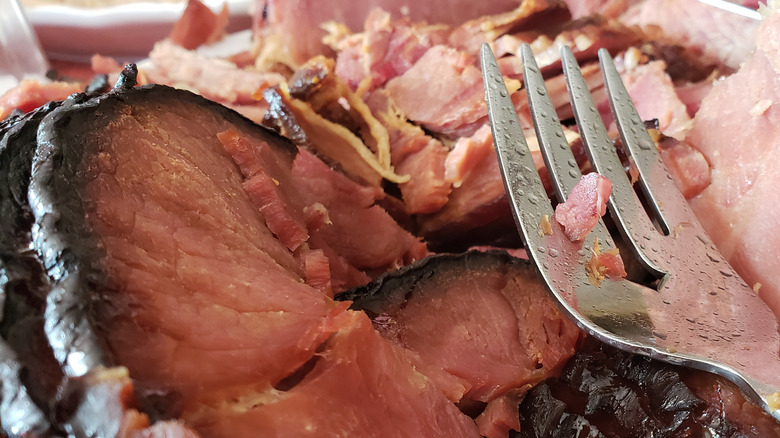
It's always a dreadful moment when you bite into ham that's discernibly rubbery and downright tough. Oftentimes when this situation arises, we feel obligated to overcompensate and drown the ham in extra glaze, or hope it melds into the side of mashed potatoes.
Since your ham will likely be precooked, you really don't need to roast it past 135 degrees Fahrenheit. Ideally, you'll want the internal temperature to rise to 145 degrees Fahrenheit, which is considered to be a safe temperature, per the U.S. Department of Agriculture. Once you take out the ham to rest, it'll rise to this point. Beware that anything past 145 degrees Fahrenheit is considered dry territory.
Also keep in mind that to get that crispy, brown crust, you may need to crank up the heat during the last 5 minutes of cooking to a full broil. This will also ensure the glaze bubbles nicely, doesn't burn and gets you to a satisfying point of appreciable caramelization.
Let it take a snooze before carving
Once your ham is cooked to perfection and you remove it from the oven, use all of your willpower to not dive in immediately, no matter how tantalizing that bubbly delicious glaze looks. Letting your ham take a brisk nap before digging in is absolutely critical for retaining all of those pungent flavors your dinner guests are looking for.
You might be wondering, what's happening to my ham internally? My guests are starving! Well, according to Martha Stewart, when meat reaches its hottest point, the juices are intensely liquified. If you cut into the meat in a lickety-split, all of those precious juices will quickly disperse and dissipate. Letting the meat take a 10-15-minute siesta will allow those juices to recirculate throughout the ham, leaving you with 1 tender bite. Resist the urge to serve right away — it pays off in the end!