Mistakes Everyone Makes When Cooking Christmas Ham
intro
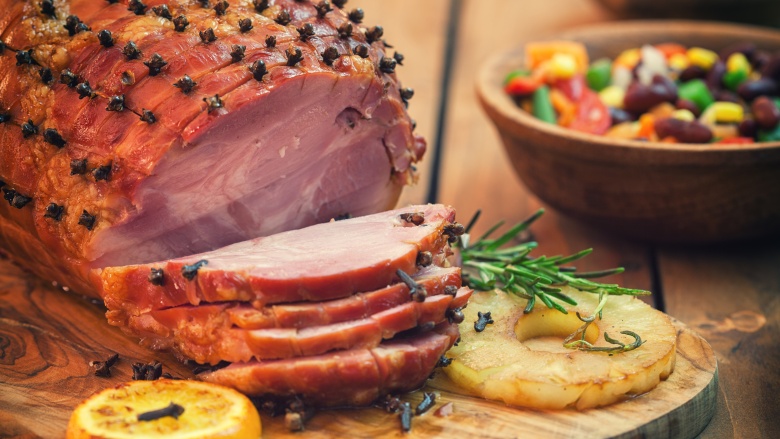
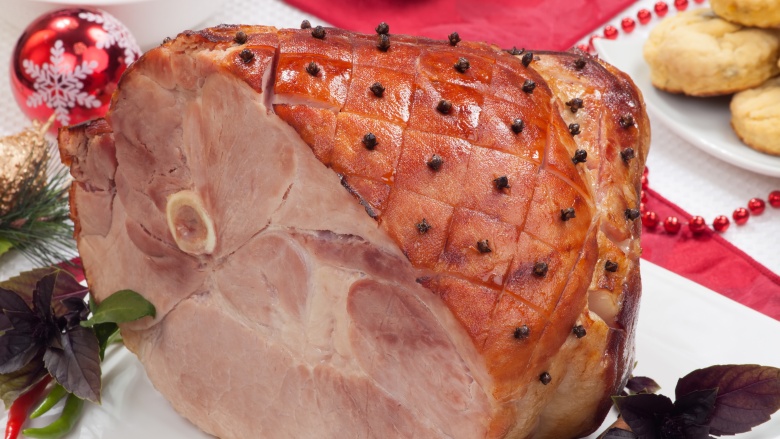
A shiny, festive, swoon-worthy centerpiece ham is a showstopper, that's for sure. And they're not just for holidays — you can eat ham any time of the year. However, you may find it surprising to learn that this classic meat is easy to make. Much less finicky than whole turkey, baked ham is actually a lot of fun to prep.
Even though preparing a delectable baked ham worthy of celebration is relatively simple, you might still wonder what you should avoid doing, especially if this is your first time baking one. From choosing the right hunk of meat and buying enough of it, to figuring out how to cook the darn thing and when to glaze, there's no shortage of factors to consider as you begin your meaty endeavor. Here's a down-and-dirty list of common pitfalls and how to steer clear of them. Roll up your shirtsleeves and get ready for your kitchen to smell like the best meal you ever cooked.
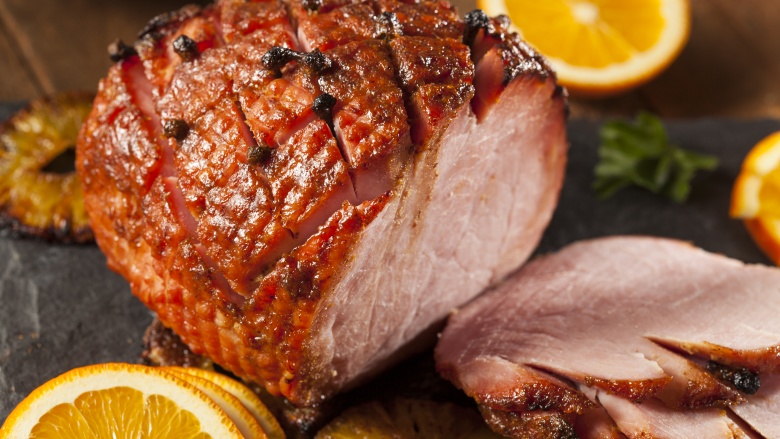
Getting just any old ham
Supermarket hams are hit-and-miss. There's a small chance you might find one that tastes decent, but more often than not, this store-bought variety tends toward disappointing.
Since rubbery and bland ham isn't what you want to risk for an occasion as special as Christmas dinner, take the time to plan ahead. Call your local butcher to order a smoked bone-in ham in advance, or order one from an online specialty shop. If you do go the grocery store route, don't opt for the cheapest option. According to Midwest Living, the lower priced hams are often injected with water, which doesn't do a lot for the taste (or texture). Check the label for "Ham, water added" or "Ham and water product," which indicates this is the case.
Note that whether you buy your ham from the butcher or from a national vendor, you'll most likely be purchasing a cooked or partially cooked one, as raw hams are uncommon.
Going with a boneless ham
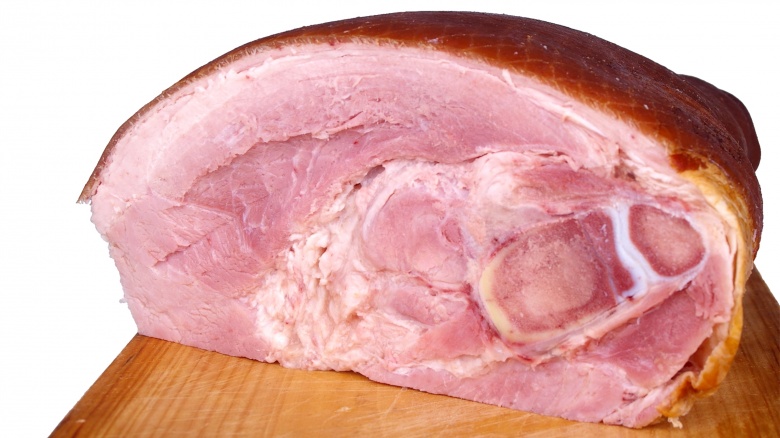
While choosing a boneless ham seems more convenient for eating (and carving), opt for bone-in for better-tasting results.
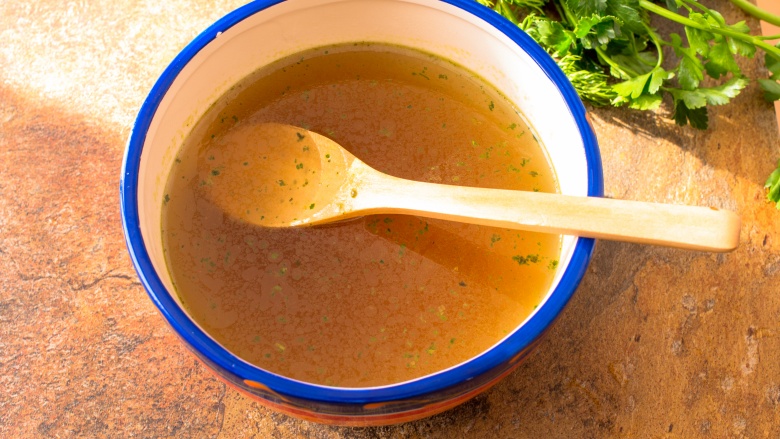
The bone helps give the meat more depth of flavor during cooking, and makes for a more dramatic presentation come serving time. There's also the added benefit of being able to use the leftover bone to flavor broths, soups, and braises in the future.
For the best of both worlds, Taste of Home recommends a semi-boneless ham. The shank bone is removed but the leg bone is still there. This means it's easier to carve, but still gets all that tasty flavor.
Not buying enough ham

Don't underestimate how much you and your family can devour when it comes to a delicious ham. Since everyone has probably been smelling your ham cook for hours and arrived at the table ready to feast, expect to prepare about 3/4 pounds of bone-in ham per person, according to Martha Stewart. If you opted for a boneless ham, you can adjust that to about 1/2 pound per person.
And don't forget to leave enough for leftovers! Leftover ham is a delicious benefit of the ham-cooking process. Think overfilled sandwiches, hearty omelets, and meaty soups.
Cooking the ham in too much liquid
While it may be intuitive to add tons of liquid — whether it be wine, stock, water, or some combination thereof — to cook your ham in order to keep the meat moist, don't go overboard. While some chefs suggest adding about ½ cup of liquid to the bottom of the pan to prevent the ham from sticking, it's not intended for basting. The fat from the ham will melt during cooking, keeping the meat plenty moist. If there's too much liquid in your pan, your ham will boil instead of baking... and that's not what we're going for here.
Not covering the ham during cooking
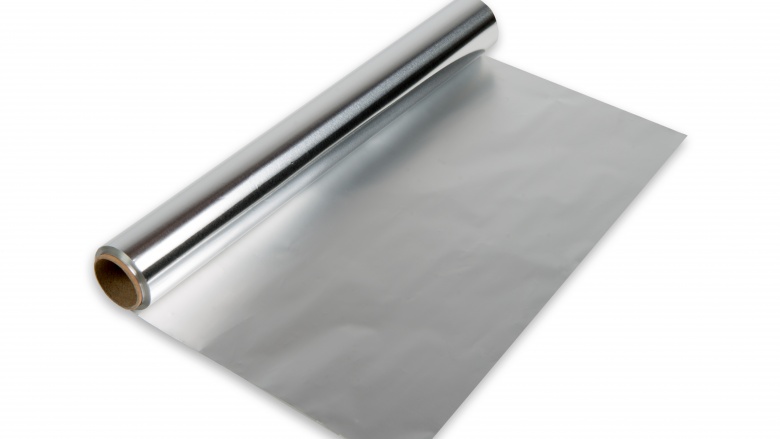
While we're on the subject of moisture, don't neglect to cover your ham with aluminum foil while it cooks. Since ham is large and cooks at a lower temperature for a longer period of time, covering it helps the meat retain its natural moistness. It's an easy step to take, but crucial nonetheless. If you don't, you can almost guarantee your ham will be dry and unappetizing.
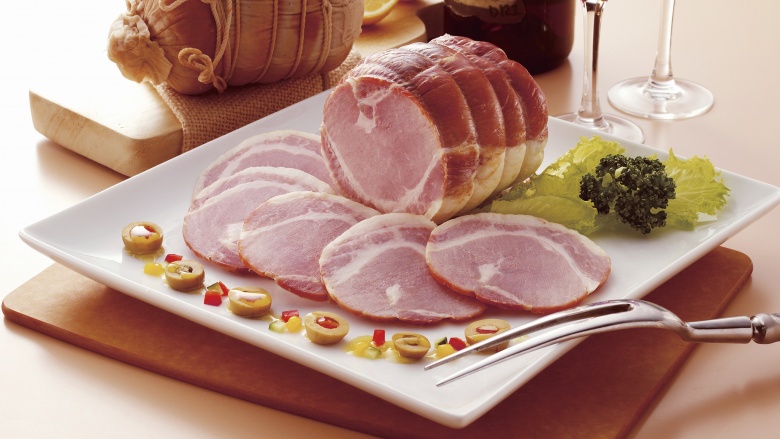
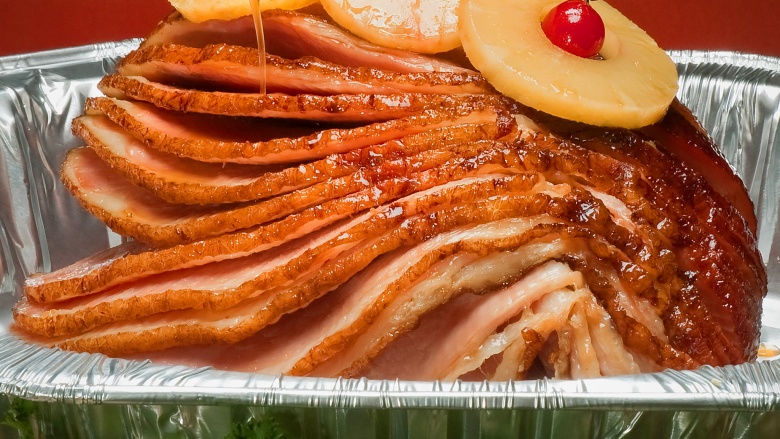
Using sad, pre-made glaze for your ham
Oftentimes, when you buy a ham it comes with a little packet of pre-made glaze to make things easy. Do us a favor and throw that packet directly in the trash can.
Avoid using salty, unappetizing store-bought glaze that's been pre-made. A home-cooked ham is a special occasion, so go all out and make your own glaze. Traditionally tasty options meld sweet and salty flavors to produce the perfect shiny lacquer for your holiday ham. It's easier than you think. For a basic glaze, start with brown sugar and honey, then add mustard to taste.
Glazing the ham too early
Glaze the ham and throw it in the oven, right? Wait, no! Avoid brushing your homemade glaze onto your ham too early as it will surely burn over the long course of cooking. The last thing you need after all your hard work is the faint taste of burnt meat in every bite. Yikes. Instead, brush on the glaze about 15-20 minutes before your ham is finished cooking. Doing so gives it enough time to set, but not so much time that it burns.
Roasting the ham at a too-low temp the whole time
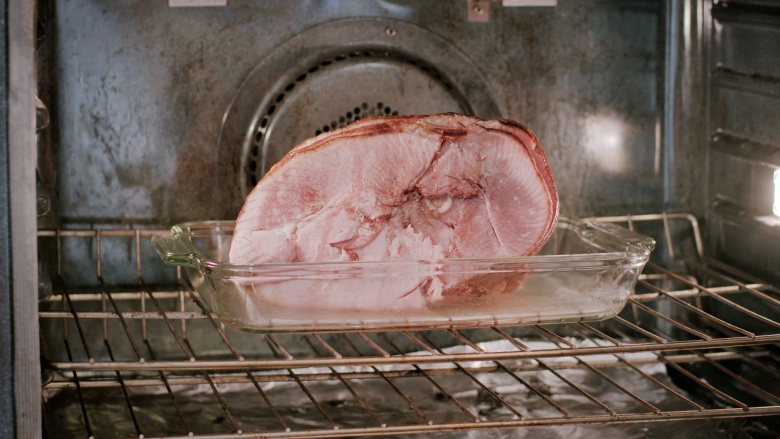
Low and and slow is definitely the way you want to cook your ham — well, for most of the time at least.
While you want the meat to heat through evenly at a low oven temperature over a long period, you still want the glaze you brushed on to caramelize, bubble, and harden to become shiny. In order for the glaze to transform into a beautiful hardened outer shell, you'll need to increase the temperature to about 450 degrees for the last 15-20 minutes. Since burning is a risk, be sure to keep an eye on the ham during this crucial time.
Relying solely on the recipe's timing when cooking your ham
Keep in mind that most hams you bring home are already fully or partially cooked; you're essentially reheating the ham. That said, you want to cook it in the oven only until the internal temperature reaches a safe 145 degrees — and how long that takes depends on both your oven and the size of the ham. If you cook it too long, you risk drying it out beyond repair. Insert the thermometer into the meat near the bone a few minutes before the recipe indicates. You should remove the ham from the oven when the thermometer shows an internal temp of about 140 degrees since the meat will continue to cook outside the oven.
Not letting the ham rest before serving
Once you're done cooking your ham, you want be sure to rest the meat properly. Set the ham aside for about 15 minutes, once its been removed from the oven. Doing so allows the ham to finish cooking, and the juices to re-incorporate themselves, rendering the meat moist and juicy.
Now that you know what to look out for, there's nothing stopping you from preparing a dazzling and memorable ham. Enjoy!