Easy California Roll Recipe
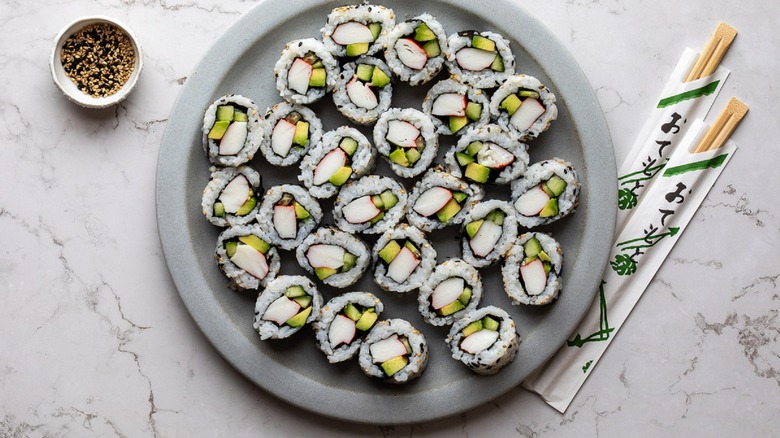
While the combination of artful construction and delicious ingredients may make most people think they have to order sushi, creator Molly Madigan Pisula has put together a recipe that will allow you to wow your friends and family by making the ever-popular California roll at home. Madigan Pisula, whose culinary adventures can be followed on Vanilla Bean Cuisine, walks us through the process step by step, turning it into a relatively simple task.
Pretty much all California rolls have the same core ingredients on the inside. But no matter what you heard as a child, looks matter on the outside, too. "Sesame seeds are the special ingredient," explains Madigan Pisula. "The combination of toasted plain sesame seeds and black sesame seeds add crunch and a slight nuttiness to your California roll. They also add a very delicate sesame aroma. Not to mention that they look stunning, too!"
Before we start, let's get one thing off our chest: California rolls are ... not from California. Phew. Now that that's cleared up, let's get rolling.
Grab your California roll ingredients
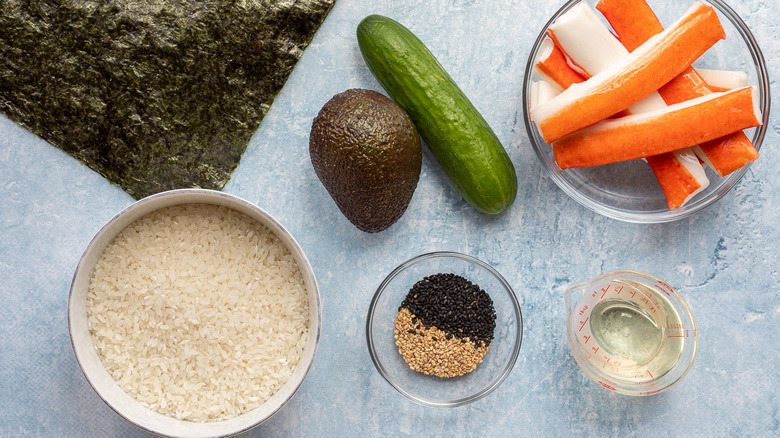
Of course the essential ingredient to sushi is rice, so pick up a bag of sushi rice and a bottle of seasoned rice vinegar. For the filling, you'll need leg-style surimi (imitation crab), an avocado, and a small, seedless cucumber. For assembling the rolls, you'll need a package of nori seaweed sheets, black sesame seeds, and toasted white sesame seeds. "If you can only find plain sesame seeds (not pre-toasted), you can toast yours in a dry skillet over medium-low heat until they are lightly browned," suggests Madigan Pisula.
To serve alongside the rolls, consider the classic sushi trinity: soy sauce, wasabi paste, and pickled ginger.
Prep your rice
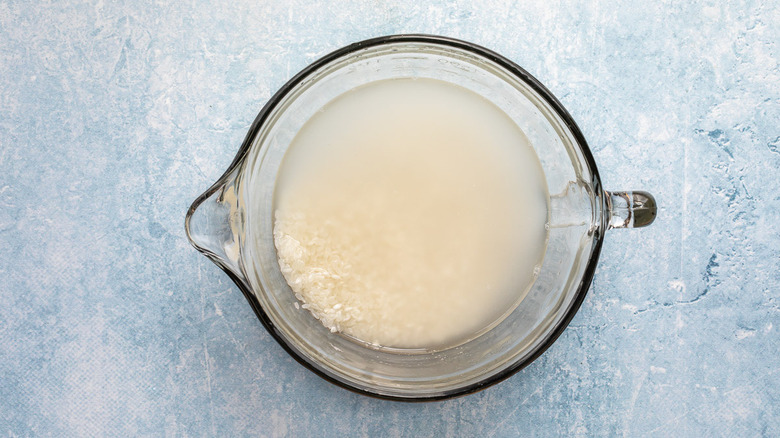
For sushi, you want to make sure your rice is perfect, and the first step to ensuring that is washing it. "Washing the rice is helpful for two reasons: You rinse away any small debris that may be hiding in your rice ... and you rinse away extra starch, which can turn your rice gummy," explains Madigan Pisula. "Yes, sushi rice is meant to clump together, but too much starch makes it sticky and chewy."
Start off by putting the rice in a bowl and covering it with cool water. Swirl it with your fingers, then drain the water. Repeat this process several times until the water starts pouring off much clearer. Once your rice is cleaned and rinsed, let's go ahead and cook it.
Cook the rice
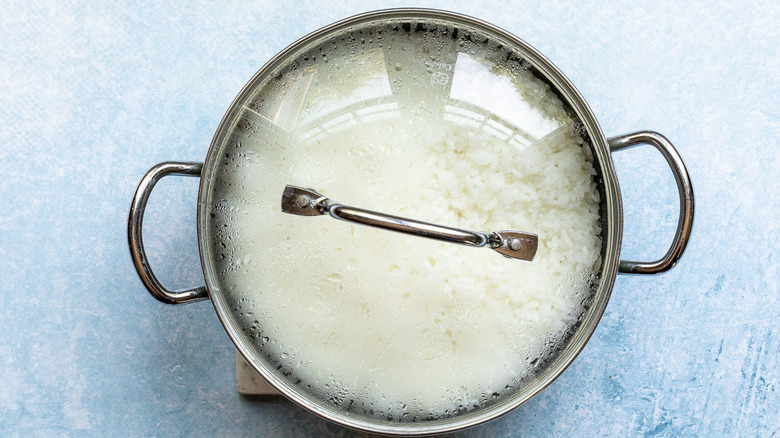
Add the rice to a heavy saucepan, add water, and bring it to a boil over medium heat. Once the rice is boiling, give it a stir, then cover it and reduce the heat to low. Cook for 20 minutes, then turn off the heat and let it sit (without opening the lid!) for 10 minutes.
After the rice has sat off the heat, open the lid and stir in the rice vinegar. Pour this all into a large shallow pan and gently stir, until the rice stops steaming. Ideally, you'll use the rice immediately, though you can alternatively cover it with a clean kitchen towel and let it sit at room temperature for an hour or so.
Line your nori with rice
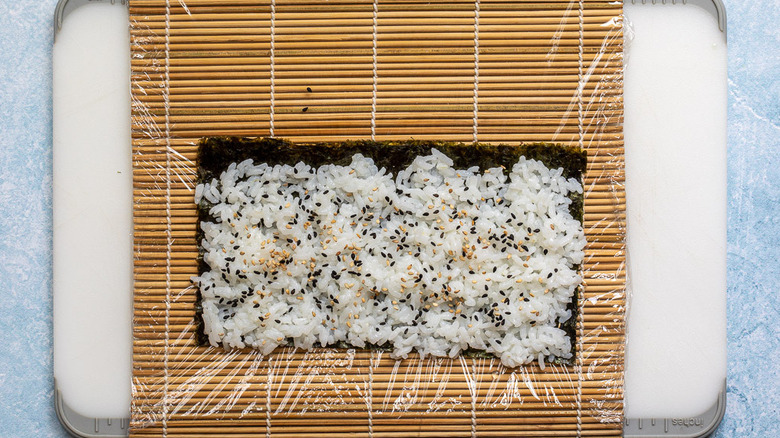
Start your construction by wrapping a bamboo sushi mat in plastic wrap. (If you don't have a bamboo sushi mat, no worries: Try using a sheet of parchment paper.) Slice a sheet of the nori in half and place it shiny-side down on the plastic-wrapped mat. Press about ½ cup of the cooked rice evenly over the nori, leaving just about ½ inch empty on the top edge of the nori. Find that the rice is sticking to your fingers too much? "It's useful to dampen your fingers when pressing rice onto the nori sheets," Madigan Pisula suggests, adding, "just make sure they are not dripping wet and drip onto your sushi roll."
Sprinkle the rice with the two types of sesame seeds. "The sesame seeds should be evenly distributed across the rice, but you're not looking to cover the rice entirely," explains Madigan Pisula. "Just enough so that each piece has some of both types of sesame seeds on it."
Stuff your roll
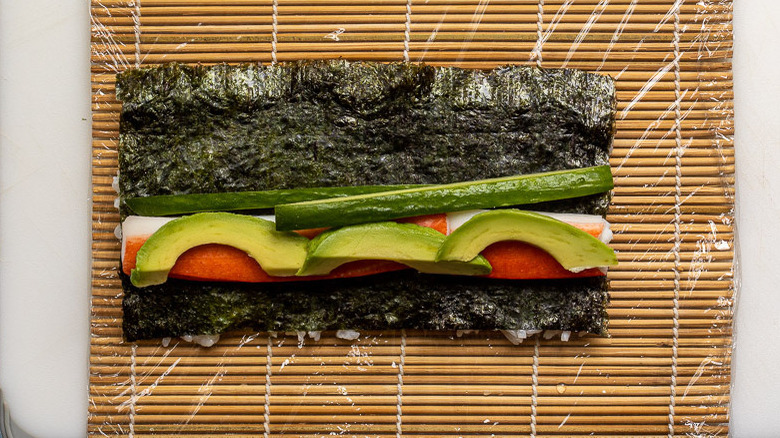
Being careful to keep everything together, flip over the rice and nori so it's rice-side down on the plastic wrap. Add the surimi in a horizontal line about ½ inch from the bottom edge. "Depending on the size of the surimi, you will probably need to cut them to fit the width of your roll," adds Madigan Pisula. "For mine, I ended up cutting 4 surimi in half and lining each roll with 1 ½ surimi. Just slice them in half or use your fingers." Place a couple of avocado slices and the cucumber sticks on top of and next to the crab.
Roll, cut, and serve your sushi
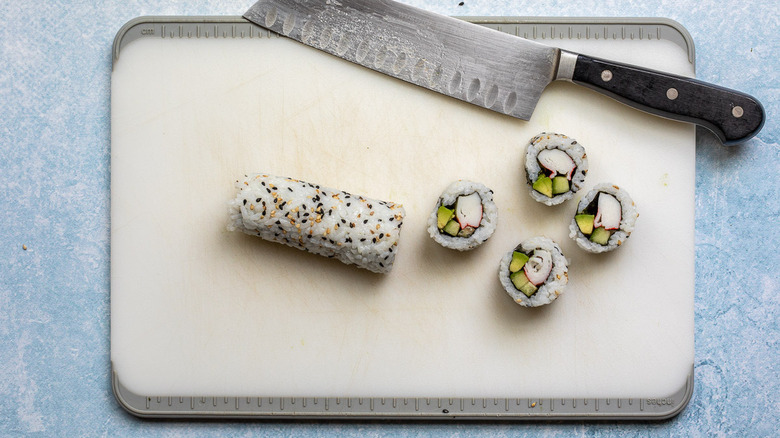
Roll up the mat to create the sushi cylinder, tucking the filling in with your fingers as you roll. As you wrap the roll up, press down firmly and evenly on the mat until it makes a tight sushi roll. Then place it on a cutting board, seam-side down, and use a sharp knife to slice the roll into pieces.
"When it is time to cut the sushi, it can be helpful to wet the knife before cutting," suggests Madigan Pisula. "Knock off any drips before cutting the sushi. Wipe the knife and wet again if it begins to stick."
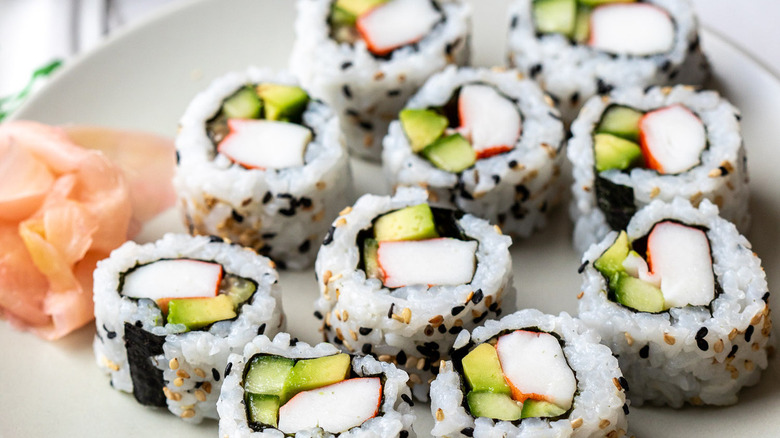
If you have them, serve the rolls with wasabi, soy sauce, and ginger, as everybody is accustomed to. You'll get 8 rolls of 8 pieces each. Once you get the hang of the process, you can experiment with different flavor combinations. For instance, Madigan Pisula suggests applying a thin layer of wasabi in the roll itself, or making a crab salad with the surimi and some kewpie mayonnaise and using that as the main filling instead of the sticks of surimi.
Easy California Roll Recipe
While sushi's artful construction may make most people think they have to order it, you can wow company by making the ever-popular California roll at home.
Ingredients
- 2 cups uncooked sushi rice
- ¼ cup seasoned rice vinegar
- 12 ounces leg-style surimi (imitation crabmeat)
- 1 avocado, peeled, pitted, and thinly sliced
- 1 small seedless cucumber, cut into sticks
- 4 nori seaweed sheets
- 3 tablespoons sesame seeds (blend of black and toasted)
Optional Ingredients
- soy sauce, for serving
- wasabi paste, for serving
- pickled ginger, for serving
Directions
- Put rice into a bowl and cover with cool water. Swirl rice around with your fingers, then drain the water. Repeat 3 to 4 more times, or until the water is much less cloudy.
- Add rice to a large, heavy saucepan. Add 2 ½ cups water. Bring water to a boil over medium-high heat. Stir rice, then cover pot and reduce heat to low.
- Cook rice for 20 minutes, then turn off the heat and let sit for 10 minutes before opening the lid.
- Stir the vinegar into the rice, then pour rice into a large shallow pan or bowl. Stir rice gently until it has stopped steaming. Use the rice immediately, or cover with a clean kitchen towel and let it sit at room temperature for up to 2 hours.
- Slice a sheet of nori in half and place one half-sheet, shiny-side down, on top of a bamboo sushi mat wrapped in plastic wrap.
- With the nori sheet in front of you horizontally, press about ½ cup rice evenly over the nori, leaving about ½ inch empty on top edge.
- Sprinkle rice with approximately 1 teaspoon sesame seeds
- Carefully flip over the rice-covered nori sheet so that the rice is now on the bottom.
- Add the surimi in a horizontal line about ½ inch from the bottom edge. Place a couple of avocado slices and cucumber sticks on top of and next to the crab.
- Use the mat to help you roll up the sushi, tucking the filling in gently with your fingers as you begin to roll. Continue to roll, using the mat to press evenly but firmly until you have made a tight cylinder.
- Place the roll on a cutting board seam-side down and use a sharp knife to cut into pieces.
- Serve sliced rolls alongside soy sauce, wasabi paste, and pickled ginger if desired.
Nutrition
| Calories per Serving | 285 |
| Total Fat | 6.1 g |
| Saturated Fat | 0.9 g |
| Trans Fat | 0.0 g |
| Cholesterol | 12.8 mg |
| Total Carbohydrates | 46.0 g |
| Dietary Fiber | 2.3 g |
| Total Sugars | 0.8 g |
| Sodium | 65.2 mg |
| Protein | 11.1 g |