Tips To Make Mouth-Watering Faux-Tisserie Chicken
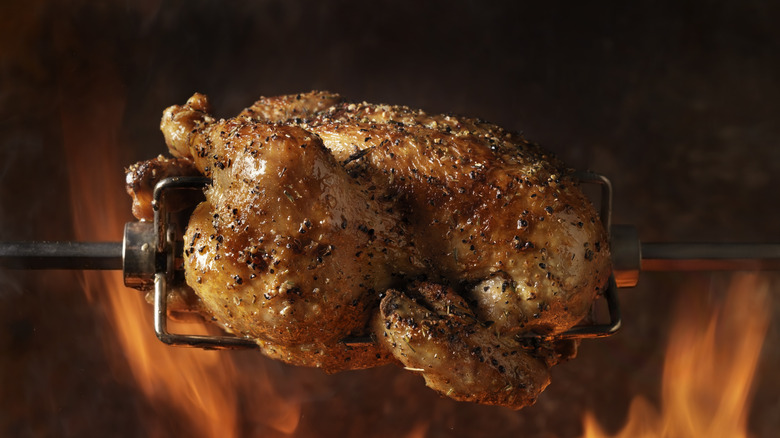
It's not for nothing that Costco's rotisserie chicken is one of its best-selling items. That roast chicken is a nostalgic comfort food classic that many associate with Sunday evenings at home. A roast chicken is a great way to feed a large family, with loads of choices from the mild, tender white meat to the rich, dark thighs, from the crispy skin to the delicious gravy. And when you source your rotisserie chicken from a store, it's perhaps the easiest meal many can imagine.
While it's tough to beat a true rotisserie chicken, rendered crispy on the outside and tender within thanks to an hour or more of slow turning on a spit that renders the chicken immaculately and evenly cooked, this poultry perfection is indeed within the purview of home cooks — no spit required. With a few tips and nothing more or less than a good old-fashioned home oven, you can make mouth-watering faux-tisserie chicken right at home.
Learn to dry brine
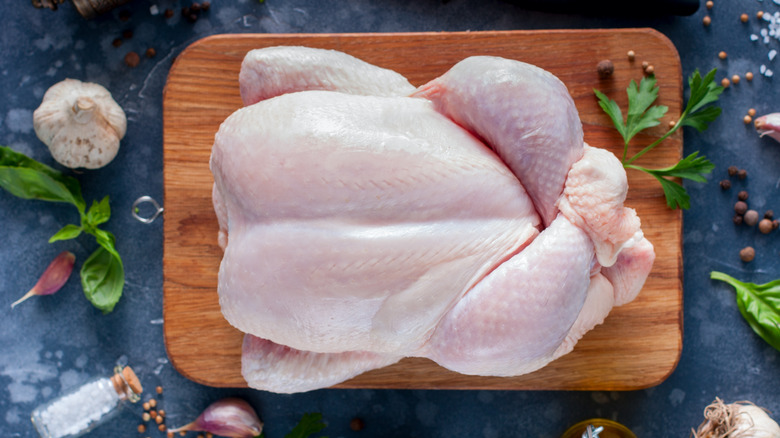
Brining is a great way to infuse meat or poultry with even more flavor, but it can take up a lot of space in your fridge, especially when it comes to whole birds like chickens or turkeys. Luckily, there's another solution that doesn't require refrigerating a massive tub of liquid: Dry brining is even easier than wet brining — and it's more effective to boot. Dry brining essentially consists of seasoning meat generously hours or even a day ahead of cooking, which allows the cook to take advantage of the natural moisture in the meat. With enough time, the salt and seasonings mix and mingle with this moisture before being absorbed back into the meat itself, resulting in a less waterlogged (and far tastier) chicken.
While many dry brines begin with salt and perhaps a few other seasonings, baking soda is a secret weapon addition that helps the chicken brown even more deeply in the oven for that crispy, caramelized skin rotisserie chicken fans crave. It works thanks to the alkaline properties of the ingredient, which helps the protein of the chicken skin to break down over the course of ten hours in the fridge. The resulting chicken will be incredibly flavorful inside and oh-so-crispy on the outside.
Reduce moisture for crispy skin
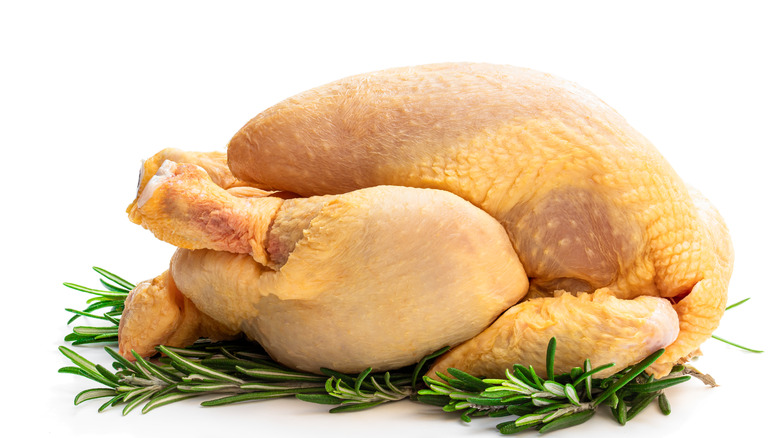
Speaking of crispy skin, if a burnished, brown exterior to your faux-tisserie chicken is what you seek, then you'll want to encourage the Maillard reaction, a natural conversion of the breakdown of certain chemical bonds in foods that occurs at high temperatures. It's responsible for the charred, caramelized, and roasted flavors you get when cooking over high heat — and too much moisture is its number one enemy. This is why you're always encouraged to dry off any ingredient, be it mushrooms or steak, before searing, grilling, or roasting. The same holds for a chicken, whose skin will only grow crispy and golden if as much moisture is removed from it as possible.
If you're already dry-brining, some of the work is done for you, but for the crispiest faux-tisserie chicken, you can take things a step further. After a dry-brine, pat the entire chicken dry with paper towels and place it on a rack set over a baking sheet. Stick it back into the fridge, uncovered, for an hour or two to dry it out, and you'll be rewarded with ultra-crispy, golden-brown skin.
Lower the oven temp
There are two schools of thought when it comes to roasting chicken. Some let the oven temperature rip, like the inimitable Julia Child, whose chicken roasts at 425 ºF. But Bon Appétit's Carla Lalli Music prefers a far lower temperature at 300 ºF, which she says "yields a meltingly tender, shreddable texture."
The New York Times touts the benefits of both approaches, noting that the technique you choose will govern the resulting texture of the chicken. Lalli Music's low-and-slow method will indeed give you tenderer meat, but it may mean you sacrifice a bit of crispiness. A higher temp, meanwhile, will give you more chew and texture, not to mention a crispier, more burnished skin. While the former takes up to three hours, the results are well worth it, especially if you're planning on shredding any of the leftovers for use in recipes like chicken salad.
Season the chicken simply but well
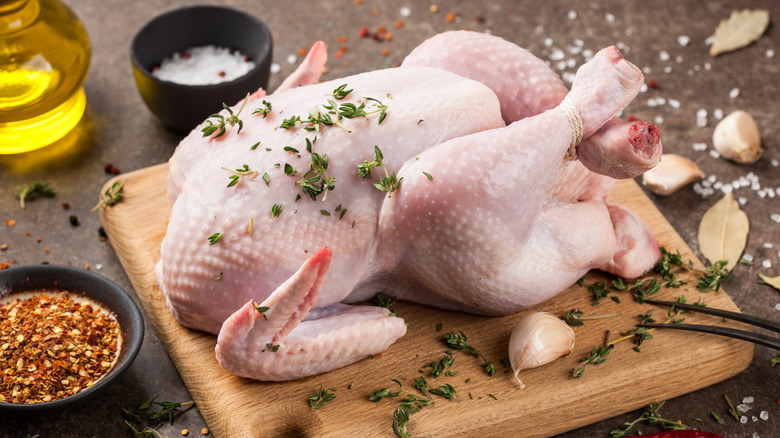
When it comes to seasoning, rotisserie chicken is not a less-is-more sort of endeavor. You'll want to season the chicken liberally inside and out to ensure that you get the best flavor, especially as, despite the dry brine, much of the seasoning on the outside will also be what flavors the meat within. And while you certainly can go whole hog on herbs and spices, like Carla Lalli Music, who seasons her chicken with fennel, crushed red pepper, marjoram, pepper, and thyme, sometimes the simplest combos — salt, pepper, and perhaps a touch of Italian seasoning — are what let the chicken do all the talking.
While you're seasoning the outside, consider seasoning the cavity, too, not just with salt and pepper but also with aromatics that will essentially steam in the oven, impregnating the chicken with even more flavor. Lemon, garlic, and fresh herbs are popular contenders, though some experts claim that, more than flavor, these additions add aroma to the chicken when it emerges from the oven. To add garlic flavor to the chicken itself, you'll need to get a bit more creative.
Butter is your friend
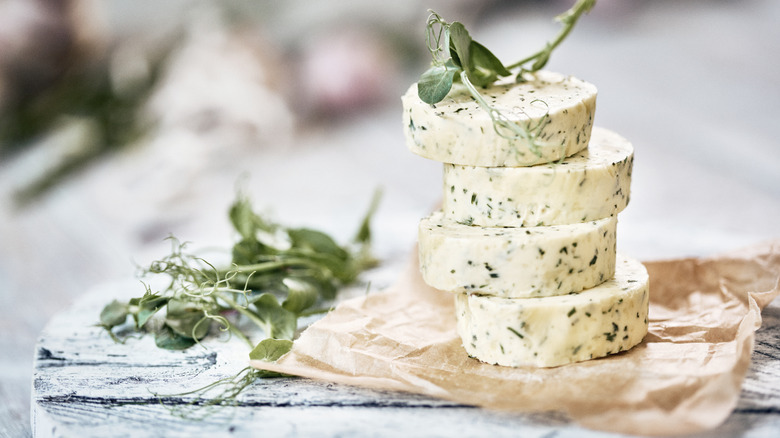
If you want even more flavor on your roast chicken, don't neglect the butter. Butter doesn't just add flavor and juiciness to the chicken itself, but it's also a great carrier for other flavors like garlic, herbs, or spices. You can work these ingredients into the butter just before making the chicken, or you can even make a homemade compound butter to use in this and other recipes.
While some recipes call for seasoning the outside of the chicken with seasoned butter, others go even further and have you stuff the butter in between the skin and the breast meat of the chicken. To do this, you'll want to proceed carefully lest you risk tearing the skin. Use a dessert spoon to loosen the skin first, then stuff an even layer of seasoned butter underneath it, patting it down so that it adheres to the breast evenly. The butter will melt as the chicken roasts, infusing the breast meat with flavor and moisture.
Don't forget to truss
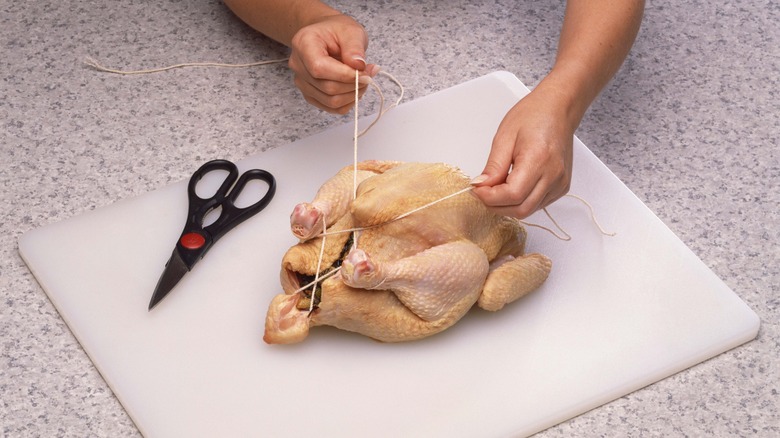
Trussing is a fancy word for tying up a chicken in kitchen twine, which helps prevent too much heat from circulating inside the cavity of the chicken, ensuring not only that the legs and thighs cook evenly but also that the breast doesn't dry out too much while the legs cook through. And while at first glance, trussing might look a bit complicated, it is relatively simple to do at home.
To truss your faux-tisserie chicken, first arm yourself with a bit of cotton kitchen twine. Thread it around the wings and along the sides of the breasts to hold the wings securely to the chicken's sides. Tie the chicken's ankles together, closing the cavity to ensure the legs sit snugly against the body of the chicken, and you're done. Once the chicken is roasted, the twine can be removed with a simple snip of the scissors before carving and serving.
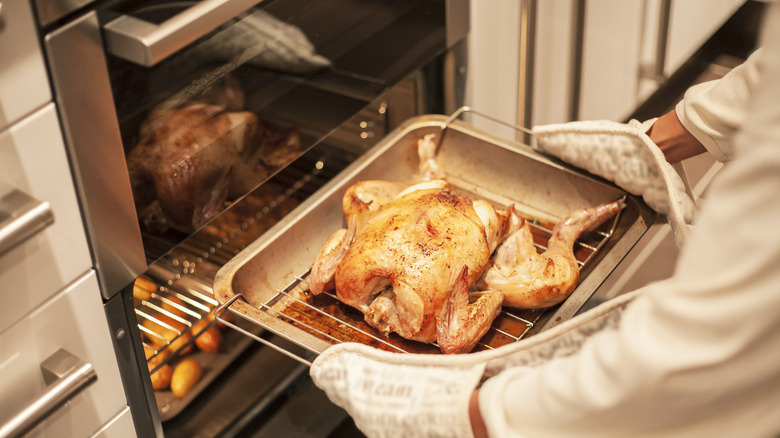
Be sure you roast on a rack
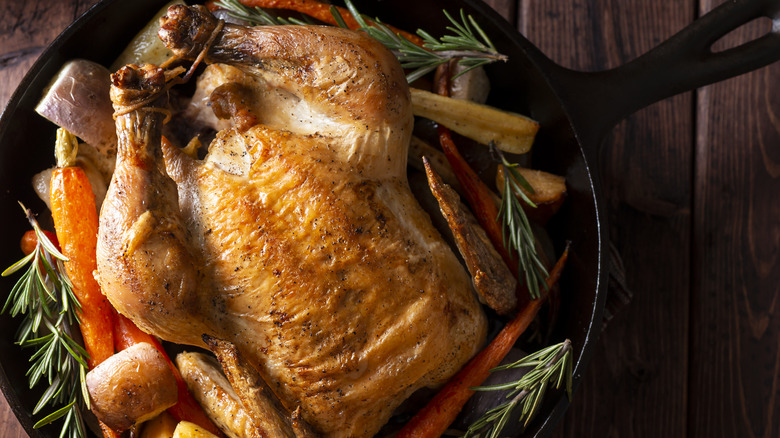
Tempting as it may be to put your chicken directly in the roasting pan to cut down on dishes, a rack will really make all the difference, particularly if a crispy skin is what you seek. A rack allows air to circulate all over the bird, not just on top, ensuring that the skin on the back of the bird is just as crispy and golden as on the breast. It also makes it easy to remove the bird from the pan and pick up all of the delicious drippings for making your own homemade gravy.
If you don't have a rack, however, some experts note you could also create a bed of aromatics like garlic and onions to elevate the chicken from the bottom of the pan in the same fashion. While you won't get the same air circulation as with a rack, you will have the added benefit of lending even more flavor to the chicken and the rendered juices. And if you use a high-heat conductor, like cast iron, you may still be able to get some semblance of the crispiness you'd get with a rack.
Flip the chicken partway through
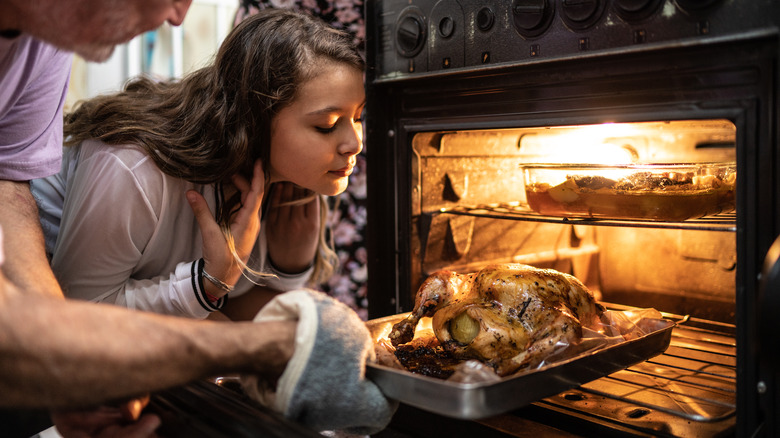
Most roast chicken recipes call for roasting the chicken breast side up for the entirety of the cooking process. And why not? It's simple, and it works, plus it makes for an impressive final presentation. But other cooks add one more step that may make all the difference — especially if you want the true faux-tisserie experience. Roasting the chicken breast side down for the first part of the cooking process allows the thighs and legs to cook through thoroughly, all the while preventing the breast from drying out due to the direct heat from the top. The skin on the bottom will be far crispier, as with a true rotisserie chicken, and once you've flipped the chicken — for the last 30 minutes or so — you can take advantage of the broiler setting on your oven to get that truly burnished finish. Just be careful when flipping the chicken, as the hot fat can lead to burns. For the best results, insert a long roasting fork into the cavity of the chicken, and use a pair of kitchen tongs to carefully rotate the chicken, returning it to the rack, and the oven, for the last half hour.
Consider the Instant Pot

Most faux-tisserie chickens are made in the oven, but there's another option at your disposal as well: the Instant Pot. The pressure cooker method might require a few extra steps, but you'll cut down on cooking time significantly and enjoy a tender, juicy result.
Making a faux-tisserie chicken in the Instant Pot starts much in the same fashion as any oven-based recipe. Begin by seasoning your dry-brined chicken with the seasonings of your choice, including that garlic-infused butter. Then pressure cook it for about 30 to 45 minutes (the general rule of thumb is six minutes of high-pressure cooking per pound plus 15 minutes of natural release. Finish it off under the broiler to crisp the skin, and while you wait, you can make a simple gravy with the drippings. The resulting chicken cooks up in a fraction of the time, remaining super juicy and tender.