Chocolate And Salted Caramel Ice Cream Cake Recipe
Cakes are always delicious — it just comes with the territory — but if you're the type of person who prefers ice cream to baked goods, ice cream cakes are about as good as they come. "I have this silly nostalgia associated with ice cream cake. Having ice cream cake as your birthday cake was the ultimate flex move when I was a kid," shares recipe developer Patterson Watkins. "Even though I have matured (slightly), I still get ridiculously excited over this style of cake. This moderately matured version with its salted caramel topping and swirl, crunchy cookie crust, and dual-level deliciousness still invokes that same excitement for me."
The actual hands-on prep time for this ice cream masterpiece is only 15 minutes, though it does require a bit of planning ahead. For example, remember that the cake has to set in the freezer for proper slicing and serving. You'll also need to allow time for the two different types of ice cream to thaw enough to build your cake — you'll want to remove the first container of ice cream from the freezer 1-2 hours before you start making your creation. "Stagger the ice cream thaw (in the refrigerator) with the layering and setting," advises Watkins. "Once you've placed one layer and returned the pan to the freezer, remove the next layer of ice cream to thaw."
Gather the ingredients for chocolate and salted caramel ice cream cake

The ingredient list for this cake is refreshingly simple. All you need are chocolate wafer cookies, melted butter, 1 ½ quarts each of chocolate brownie ice cream and vanilla ice cream, soft candy caramels, and flaky sea salt. According to Watkins, it's this last ingredient that is especially important for the finished result. The roughness of the large salt crystals, she says, "provides a balanced and subtle distribution of saltiness (plus a pleasant little crunchy texture), without overwhelming your sweet, frozen treat."
Prep the pan
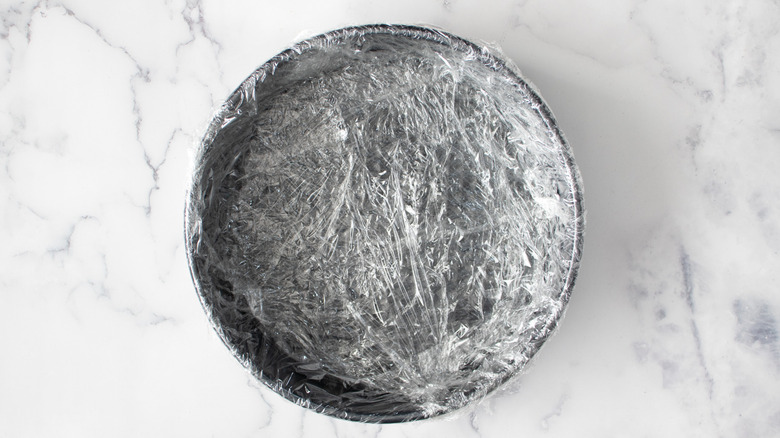
There's no need to preheat an oven to make an ice cream cake, but you still need to prep your cake pan. Using a spring-form pan, drape it with plastic wrap and fully line the bottom and sides of the pan. Smooth it down as much as you can and tuck the wrap into the pan's sides to keep it in place.
Make the crushed cookie crust
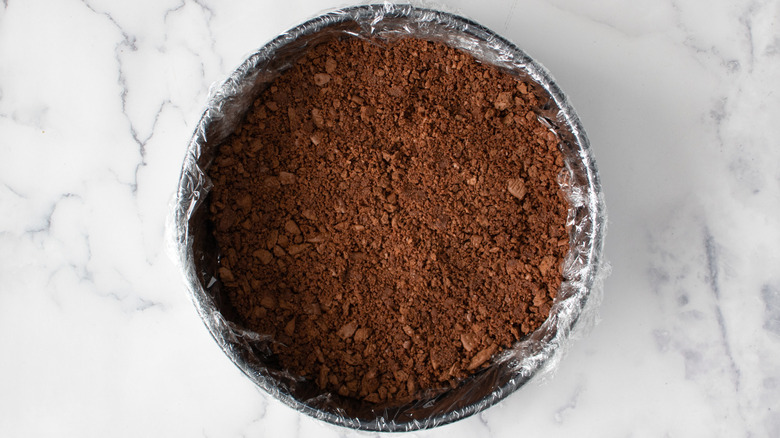
Crush your wafer cookies and mix the crushed cookies with the melted butter in a bowl. Stir until the cookie crumbs are well combined and coated with butter. Transfer the cookie mixture into the bottom of the pan to create the cake's base. Spread it across the pan evenly and press down — a spoon works well here — until the cookies form a crust.
Add a layer of softened chocolate ice cream
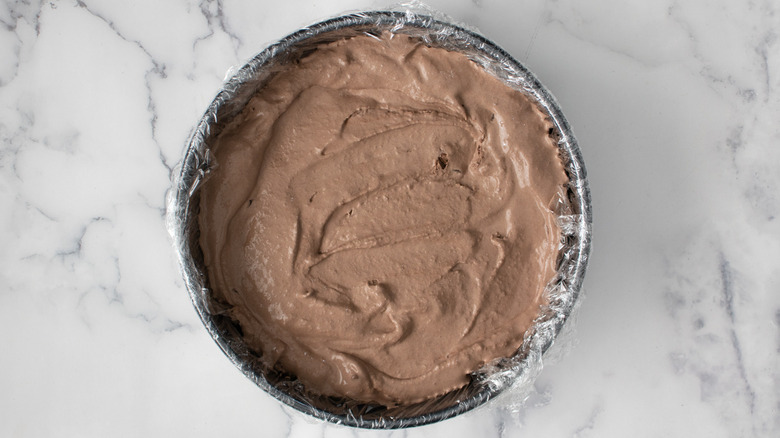
When the chocolate ice cream has thawed enough to work with and spread, spoon it on top of the cookie crust. Spread it out until you've created a layer that's nice and even. Place the pan in the freezer and leave it there for an hour to partially set. When you do so, remove the vanilla ice cream from the freezer and place it in the fridge to start thawing.
Make the caramel sauce

Grab a small saucepan to start making this easy version of homemade caramel sauce. Take ¼ cup of vanilla ice cream from the carton and add it to the saucepan, heating it until it melts over medium-low heat. Put the caramels in the pan with the melted ice cream and stir constantly as the caramels melt. When the two have combined completely, set the silky sauce aside.
Add a layer of vanilla ice cream to the cake
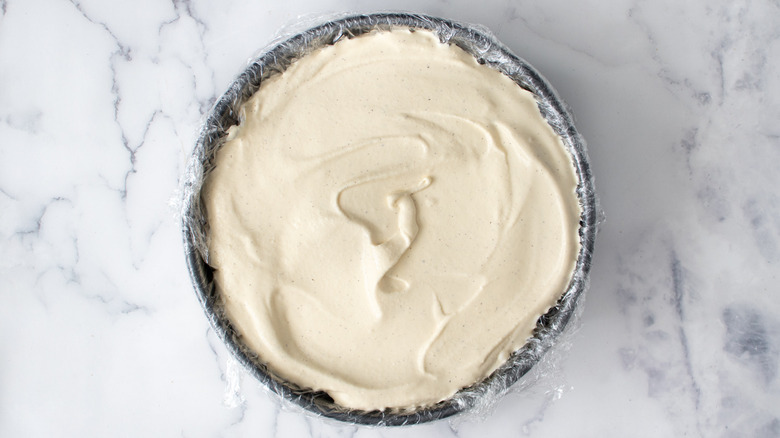
After allowing the chocolate ice cream to set for an hour, remove it from the freezer. Add the remaining softened vanilla ice cream on top of the chocolate ice cream. Again, spread it into an even layer. To help release any air bubbles, tap the pan on the counter a few times.
Add swirled caramel sauce on top and freeze
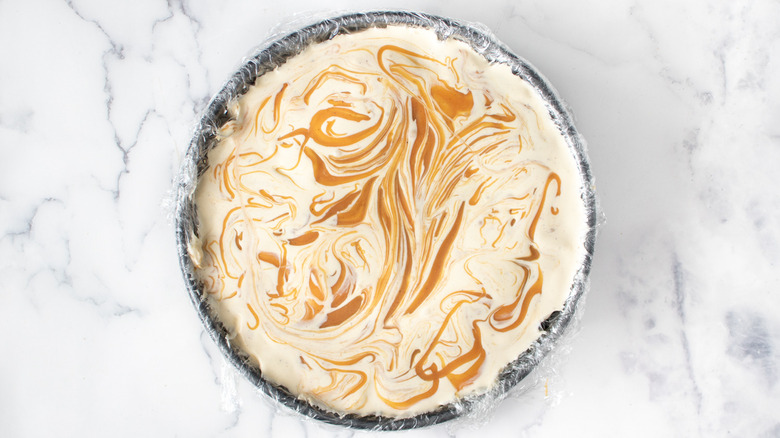
Before popping the cake back in the freezer to set, take the caramel sauce and drizzle half of it over the top of the cake. Use a toothpick to swirl the caramel into a marble pattern.
Put the cake in the freezer and allow it to freeze completely — you should give it at least 8 hours, or just let it set overnight.
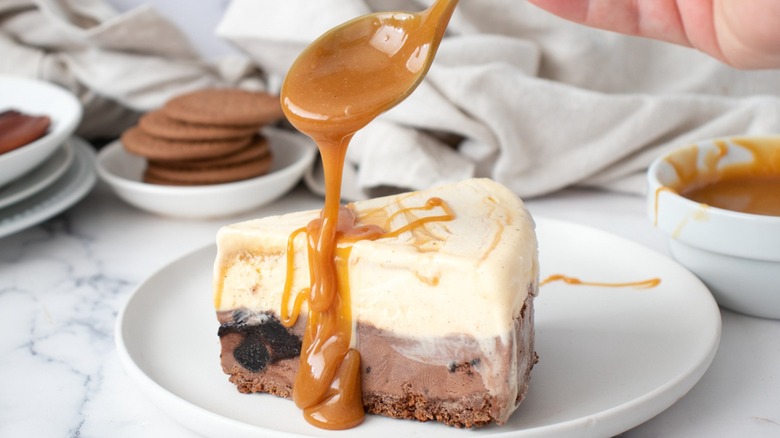
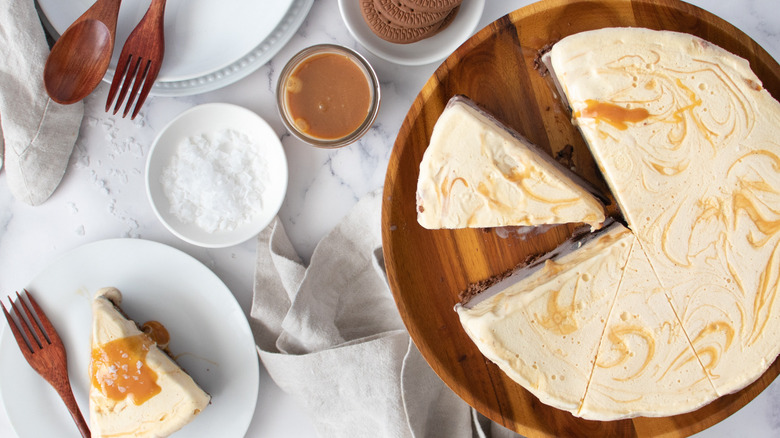
Top with more caramel sauce and flaky sea salt before serving

When the cake has set, it's ready to enjoy. Release the cake from the pan and remove the plastic wrap. If the wrap has left ripples or creases on the side of the cake, smooth out the sides before slicing. Use the remaining caramel sauce and drizzle it on top of each piece of cake before sprinkling it with flaky sea salt and serving.
Once you've made the cake, Watkins says you can use the basic "formula" and get creative about ice cream flavors. "Experiment away...just be mindful that the caramel sauce is a sweet topping, so avoid super-sweet styles of ice cream (like birthday cake, cotton candy, etc.). This could even be fun with fruity ice cream flavors, too," she says. And if you want to decorate the cake with icing, she suggests using gel-style icings for writing out messages, or if you want to frost it all over, stick to a whipped topping, which works best with ice cream.
And if you don't plow through the whole cake in a single sitting, it does keep well — you can enjoy it for up to 3 months if you prefer to save sweets for special occasions. "I recommend scoring or pre-slicing your cake before deep freezing, just to help with portioning and serving quickly," Watkins advises.
Chocolate and Salted Caramel Ice Cream Cake Recipe
You can taste the nostalgia in this ice cream cake, the ultimate no-bake dessert. This version is multi-flavored with salty caramel and a chocolaty crust.
Ingredients
- 2 cups crushed chocolate wafer cookies
- ¼ cup melted butter
- 1 ½ quarts chocolate brownie ice cream (store in the refrigerator for 1-2 hours to melt slightly)
- 1 ½ quarts vanilla ice cream (store in the refrigerator for 1-2 hours to melt slightly), divided
- 1 cup soft candy caramels
- 1 tablespoon flaky sea salt (or more to taste)
Directions
- Drape a spring-form pan with plastic wrap, making sure to cover it completely and tucking the wrap into the sides.
- Place crushed wafer cookies and melted butter in a medium bowl and stir to combine.
- Transfer the crushed cookie mixture to the prepared pan, pressing it into an even layer to form a crust.
- Once the chocolate ice cream has softened, add it to the pan and spread evenly over the cookie crust. Then, place the pan in the freezer for 1 hour to partially set.
- While the chocolate layer is setting, remove ¼ cup of vanilla ice cream from the tub and place in a small saucepan. Melt over medium-low heat.
- Add the caramel candies to the saucepan and stir constantly until melted, creating a caramel sauce. Remove from the heat and set aside at room temperature to cool.
- Once the chocolate ice cream layer has partially set, add the softened vanilla ice cream to the pan, spreading it out in an even layer and tapping the pan a couple times to remove any trapped air bubbles.
- Drizzle the vanilla layer with half of the caramel sauce and, using a toothpick, swirl it into a marble pattern.
- Return to the freezer and chill until the ice cream cake is completely frozen and firm, about 8 hours or overnight.
- To serve, release the spring holding the pan and remove the plastic wrap. Smooth out the sides if necessary, and slice.
- Drizzle the cake slices with some of the reserved caramel sauce and sprinkle with flaky sea salt before serving.
Nutrition
| Calories per Serving | 587 |
| Total Fat | 31.6 g |
| Saturated Fat | 18.2 g |
| Trans Fat | 0.0 g |
| Cholesterol | 103.0 mg |
| Total Carbohydrates | 68.1 g |
| Dietary Fiber | 2.3 g |
| Total Sugars | 53.3 g |
| Sodium | 545.0 mg |
| Protein | 8.9 g |