3-Ingredient Fudge Recipe
A well-made fudge is rich, chocolaty, and smooth. It's firm enough to hold its texture but soft enough to melt in your mouth as you eat it. Traditional recipes require the use of a candy thermometer to heat the sugar to the perfect temperature, a process that's often more fuss than it's worth. Luckily, there are several 3-ingredient fudge recipes out there that promise to make the fudge-making experience quicker and easier. These no-bake recipes can be made with nothing more than a medium-sized bowl, a microwave or double boiler, and an 8x8 baking dish to set the fudge. It sounds like a pretty easy way to make dessert for a potluck, backyard barbecue, or holiday dinner treat.
But is it too good to be true? Can a recipe this simple taste as good as fancy, store-bought fudge? We put several 3-ingredient fudge recipes to the test, and we have good news. This recipe is not only easy to make, but it's also super customizable. You can change it up depending on your mood and dietary preferences. The base recipe is naturally gluten-free and it can be modified to make it dairy-free and vegan-friendly — with or without chocolate.
Gather your ingredients for 3-ingredient fudge
Fudge-making is a little bit different from other types of baking, like cookies or brownies. That's because, technically, fudge is a type of candy. It's traditionally made by cooking milk and sugar to what's known as the "soft ball stage," or between a temperature range of 234 to 240 degrees Fahrenheit. If the temperature is off, the sugar crystals can become too large and create a grainy-textured fudge, so you really want to use a candy thermometer to keep things as precise as possible. Since the process sounds like a bit of a pain, and most home cooks don't own a candy thermometer, we thought we'd try a recipe that simplifies the process.
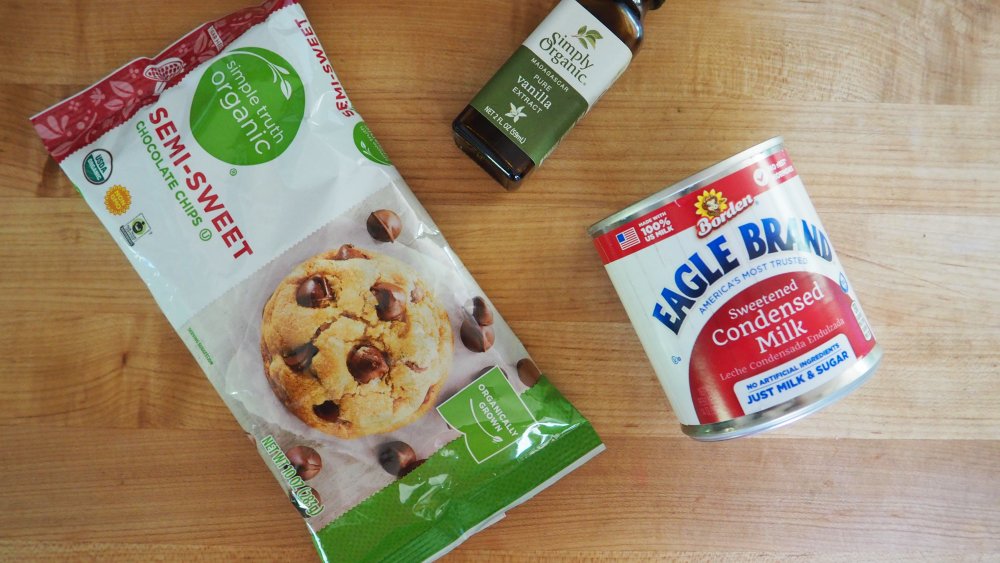
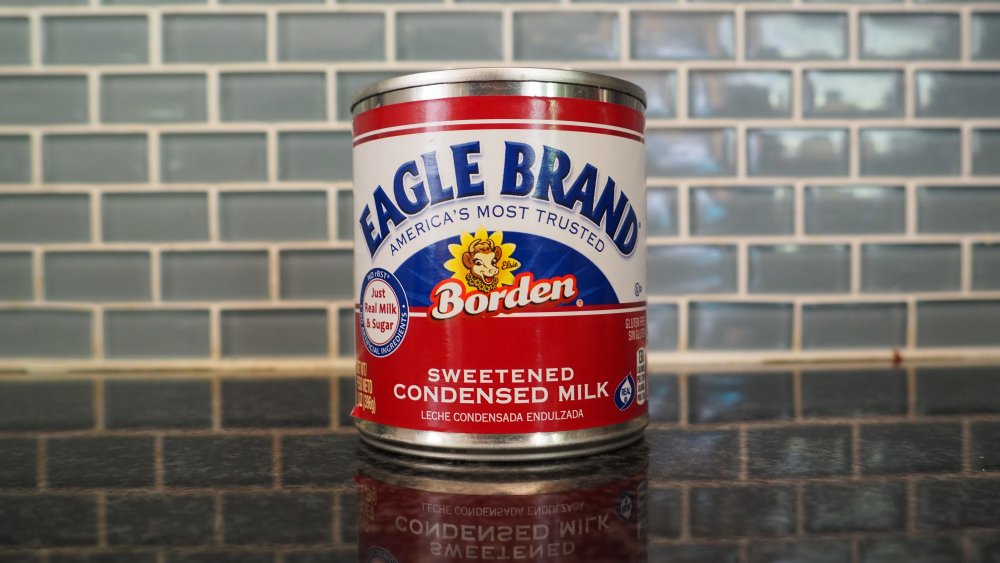
Our 3-ingredient fudge recipe uses sweetened condensed milk as its base. This shelf-stable product takes care of the first step of fudge-making, cooking the milk and sugar together until they're reduced into a sticky, sweet solution. From there, all we need to add are chocolate chips and vanilla extract to make a sinfully delicious, super-easy fudge.
For the full list of ingredients, including the quantities and step-by-step instructions, scroll down to the bottom of this article. We'll also offer some suggestions for optional additions and substitutions to customize this fudge and make the recipe your own.
Is it possible to make a dairy-free 3-ingredient fudge?
Modern-day fudge is made with a base of sweetened condensed milk, and traditional fudge is made from butter, milk, and sugar. What do these two recipes have in common? Dairy. The addition of dairy turns a crunchy, snappy bar of chocolate into a creamy, soft bite. That said, we've identified a few workarounds that don't include dairy if you're following a plant-based vegan or dairy-free diet.
The easiest way to make this 3-ingredient fudge recipe without any dairy is to use nut butter. Start by melting the chocolate chips following the recipe's instructions. For a true dairy-free experience, look for vegan chocolate chips like Enjoy Life. Once the chocolate chips are melted, fold in the vanilla extract and one cup of nut butter instead of the sweetened condensed milk. Any type of nut butter works here: peanut butter, almond butter, cashew butter, or any variety you have in the pantry. Depending on your taste and propensity for sweetness, you may want to add a liquid sweetener like honey, maple syrup, or agave syrup.
You can easily add flavor variations to this 3-ingredient fudge
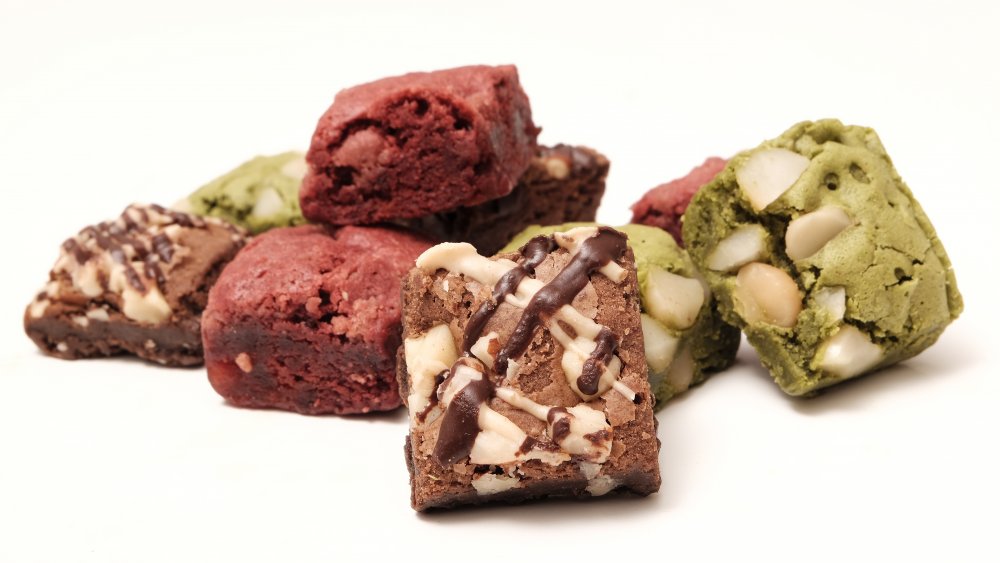
While fudge is usually made with chocolate, it doesn't have to be. Our 3-ingredient fudge can be flavored with any number of additions, so don't be afraid to have some fun with this recipe. Feel free to substitute one cup of your favorite creamy peanut butter instead of the chocolate to make peanut butter fudge. Or, keep the chocolate and add one cup of creamy peanut butter into the chocolate mix before refrigerating. You can even create a marbled effect by dropping globs of peanut butter into the chocolate mix and swirling it with a knife. Adding chopped nuts to the mix is another great way to add nutty flavor while also creating contrasting textures.
For white fudge, use white chocolate instead of semi-sweet chocolate. After the chocolate is melted, you can fold in 10 to 12 chopped Oreo cookies to create cookies-and-cream fudge. Or color the fudge by adding food coloring to your white chocolate base. For natural food colorings, look to matcha powder, beet powder, turmeric, or blueberry powder.
You can use a microwave or a double boiler to make 3-ingredient fudge
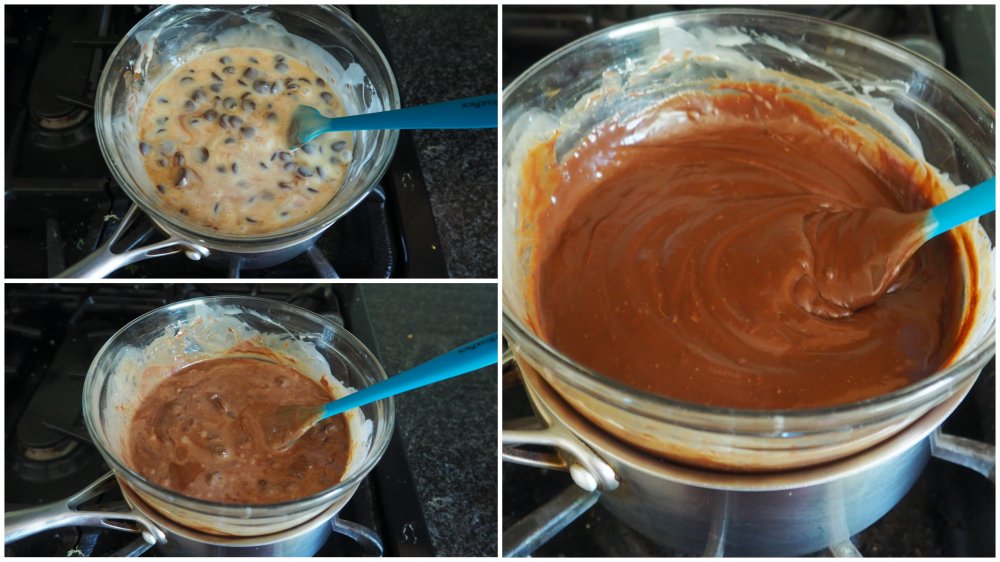
You have two options when it comes to making 3-ingredient fudge: the microwave or the stovetop. The microwave is arguably the easiest way to make fudge. You simply plop the sweetened condensed milk and chocolate chips into a microwave-safe bowl and cook them on high for one minute. Then, remove the bowl from the microwave, keeping in mind that it may become hot. Stir the chocolate mixture and continue heating and stirring in 30-second intervals until the chocolate is super smooth.
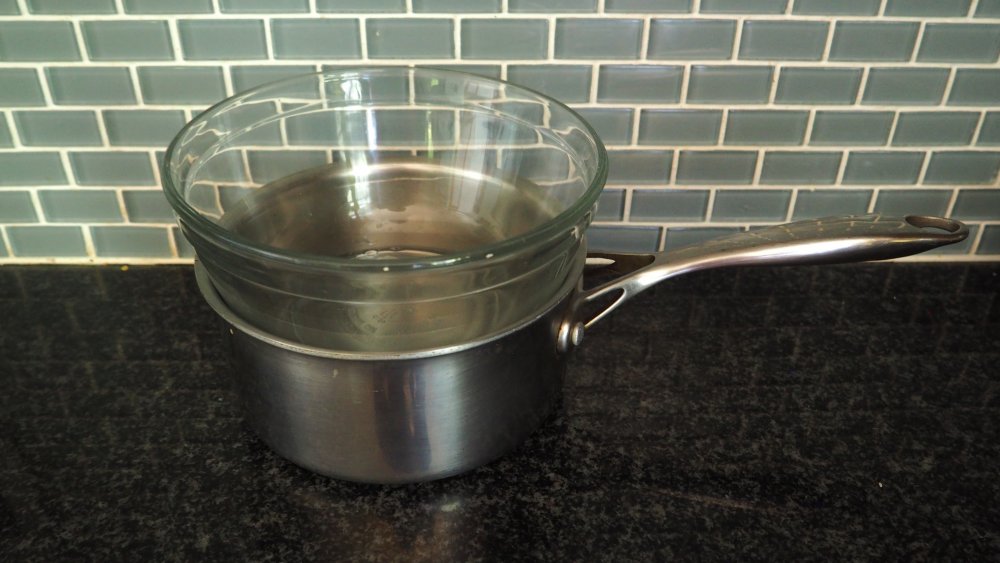
If you don't have a microwave or want to do things the old-fashioned way, you can create a double-boiler. Add one to two inches of water to a small saucepan and place a heat-proof bowl on top, making sure that the bottom of the bowl doesn't touch the water or the bottom of the saucepan. Heat the water over medium heat to create steam, maintaining a gentle simmer and checking from time to time to ensure that the water has not boiled off. The steam will gently melt the chocolate, just like the microwave.
Melt the ingredients to make 3-ingredient fudge
Regardless of whether you choose the microwave or the double boiler, the process is fairly similar once you start cooking. As you melt the chocolate and heat the sweetened condensed milk, stir every 30 seconds or so with a heat-resistant rubber spatula. This helps the chocolate chunks melt and incorporate into the sweetened condensed milk to become a homogeneous mixture. When the mixture is completely smooth, you can fold in the vanilla extract.
At this point, the fudge is ready to go. If you're adding in any optional additions like chopped nuts, nut butter, or cookies, fold them into the melted chocolate mixture before you pour them into the pan. You could totally sprinkle these types of additions on top of the 3-ingredient fudge if you prefer to use them as a decorative garnish. Just make sure to add them before the fudge sets or they won't stick to the top as well as you'd like.
Prepare the pan and let the 3-ingredient fudge set in the fridge
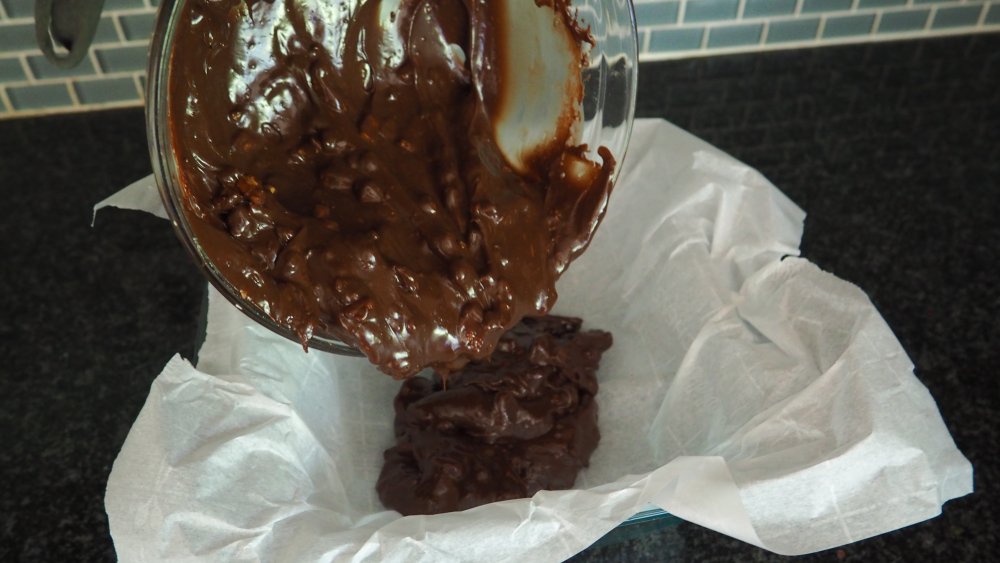
Once your fudge mixture is melted, it's time to let it set. Grab an 8x8 baking pan and line it with parchment paper or wax paper. You could also use plastic wrap as a liner, but it's a little bit thinner and can be too flimsy. Basically, you want to use a liner that keeps the fudge from sticking to the bottom of the pan while also creating "handles" that will help you lift the fudge out of the pan when it's finished. As a last resort, you can grease the pan with butter or cooking spray, but we really recommend using a liner to make this process less frustrating.
After pouring the fudge into the prepared baking pan, smooth out the top using a silicone spatula. Chill the fudge in the refrigerator for an hour, until it's completely firm. If you're chilling the fudge overnight, you can lightly press a piece of plastic wrap on the top to keep it from drying out. When the fudge is set, remove it from the pan by pulling up on the parchment paper edges. Cut the fudge into one-inch square pieces and store it in an airtight container. Your 3-ingredient fudge should last one to two weeks on the counter, about three weeks in the refrigerator, or up to three months in the freezer.
How did our 3-ingredient fudge taste?
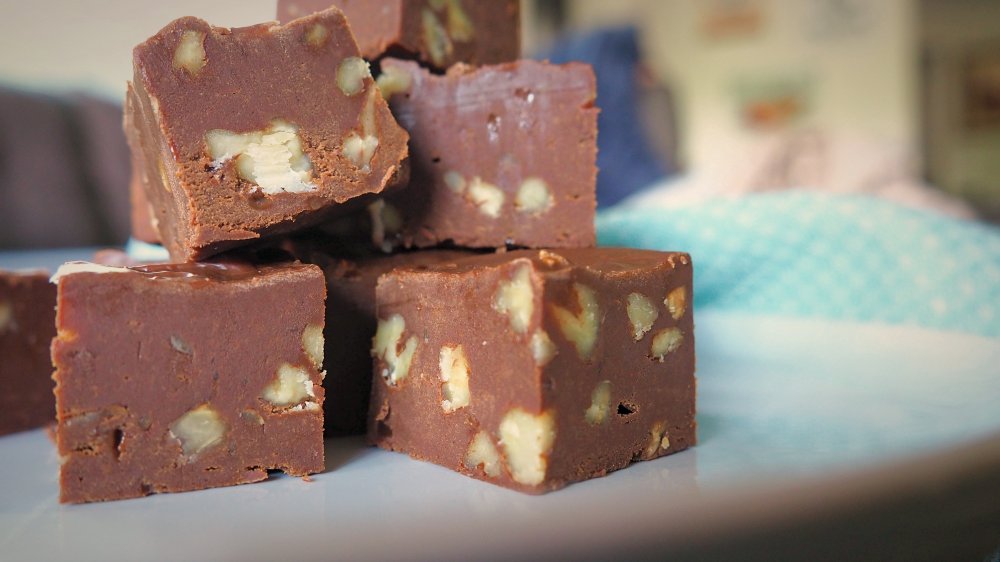
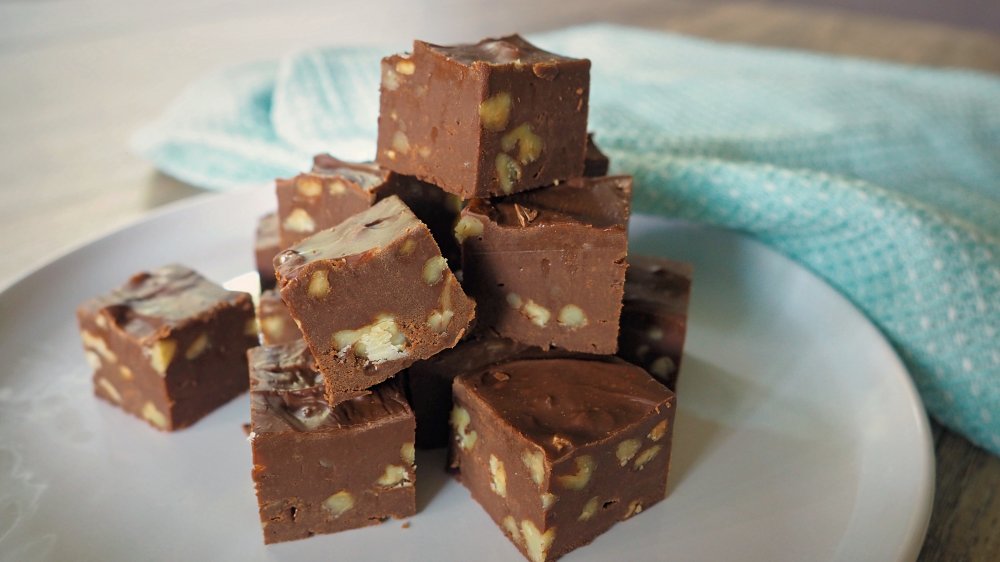
This 3-ingredient fudge recipe absolutely exceeded our expectations. We thought it would be good, but we didn't expect it to be as stellar as the fudge we've bought at specialty stores. It's definitely rich and sweet, but the addition of the vanilla extract went a long way to smooth out the flavors and give it a level of complexity. The texture was firm, and it started to melt as soon as we started chewing, leaving our fingers free of melted chocolate but our taste buds happy.
We were pretty excited at how versatile this recipe was, too. We made the first batch pure without any additions. Then, we expanded to make a batch with chopped pecans and another with creamy peanut butter. No matter what we changed about it, this fudge always turned out fantastic. Since we made so much, we had to start giving it out to friends and family, and everyone was pretty impressed when we told them how easy it was to pull off. This recipe is definitely going on our regular rotation, especially during the holiday months when fudge makes a perfect gift.
- 1 (12-ounce) bag semi-sweet chocolate chips, white chocolate chips, or chopped chocolate
- 1 (14-ounce) can sweetened condensed milk
- 1 teaspoon vanilla extract
- 3/4 cup chopped nuts, like walnuts, pecans, or pistachios
- 1 cup creamy nut butter, like peanut butter, almond butter, or cashew butter
- 10 to 12 chopped Oreo cookies
- Line an 8x8 baking pan with parchment paper or wax paper and set aside. If you don't have parchment paper, you can use plastic wrap, but it's best to use a liner that creates "handles" to lift out the fudge as opposed to greasing the pan with butter or cooking spray.
- In a microwave-safe medium bowl, combine the chocolate chips and sweetened condensed milk. Microwave the mixture for 1 minute. Remove the bowl from the microwave and stir. Continue heating in 30-second intervals until the chocolate is smooth.
- Alternatively, place a heat-safe bowl over a saucepan with 1 to 2 inches of water in the base. Be sure the bottom of the bowl does not touch the bottom of the saucepan. Heat the water over medium heat, stirring frequently to melt the chocolate evenly. When the mixture is smooth, carefully remove it from the heat.
- Fold in the vanilla extract. If you're adding chopped nuts, nut butter, or cookies, fold them into the mixture now.
- Pour the fudge into the prepared baking pan and smooth out the top using a silicone spatula. Chill in the refrigerator for 1 hour, until the fudge is firm. If you're chilling the fudge overnight, you can lightly press a piece of plastic wrap on the top to keep it from drying out.
- Remove the 3-ingredient fudge from the pan and cut it into 1-inch square pieces. Store the fudge in an airtight container on the counter for 1 to 2 weeks, about 3 weeks in the refrigerator, or 3 months in the freezer.
Nutrition
| Calories per Serving | 117 |
| Total Fat | 5.5 g |
| Saturated Fat | 3.3 g |
| Trans Fat | 0.0 |
| Cholesterol | 5.4 mg |
| Total Carbohydrates | 17.4 g |
| Dietary Fiber | 0.8 g |
| Total Sugars | 16.1 g |
| Sodium | 21.7 mg |
| Protein | 1.8 g |
