Mistakes You're Making When Cooking Ribs
You should never wear white if you are going to eat them and it's recommended to avoid this dish if you're going on a first date. They are messy, juicy, and sticky, but these are also all their best qualities. Nothing screams barbecue, beers, and laughter among friends quite like a good rack of ribs. And while many people enjoy the meaty meal, anyone who dares to cook them will probably make several mistakes along the way.
Whether you go for corn on the cob, potato salad, mac and cheese, beans, slaw, or even fries, there are a plethora of easy side dishes to pair with your ribs. However, none of the extras will really matter if you don't get the main event right. Fortunately, although mistakes are easy to make, they are just as quick to correct. With our top tips, you'll be the greatest grillmaster serving up ribs before you know it.
Not purchasing the right meat
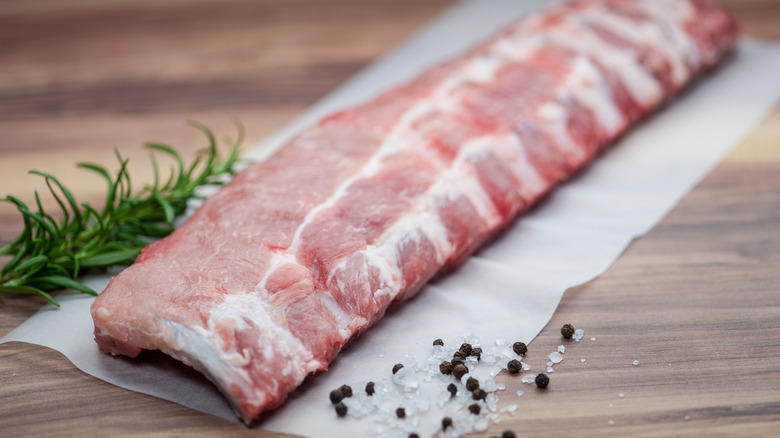
According to The Virtual Weber Bullet, there are a few key elements to be aware of when you purchase your rib racks. Firstly, if you're going for pork ribs, you'll likely be getting one of two common types: spare ribs or back loin ribs. Spare ribs come from the belly just like bacon, while loin back ribs (more commonly referred to as baby back or back ribs) are cut from the loin, where you also get pork chops. Loin back ribs are smaller, tender, and cook faster, while spare ribs are meatier, fattier, and thus able to retain more flavor.
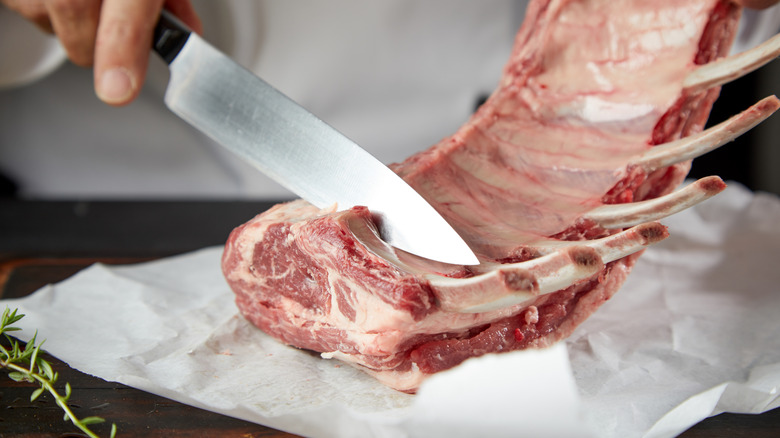
Beef ribs also comprise two common types: short and back ribs. Per BBQ Champs, short ribs are cut from the chuck, brisket, plate, and rib areas of the cattle, while back ribs are cut from behind the shoulder. Not only do short ribs vary based on the specific area from which they are cut, but how they are cut also matters. Nevertheless, what really sets them apart is that they have a lot more meat on the bones, as back ribs are what you get after the rib roast has been removed.
Regardless of which ribs you purchase, you want to ensure that the bones on the racks are well covered with meat, avoiding those with surface areas only covered with fat. When it comes to quality, you'll see that fresh ribs rather than frozen ones are your best bet.
Forgetting to remove the membrane from the back of the ribs
First of all, you'll want to remove the membrane from the back of the ribs. This is the layer of white skin, also known as silverskin, caul fat, or peritoneum. Per Food Fire Friends, this layer is made of elastin and helps hold the organs in place. While this membrane can be found on various cuts and on all ribs, you'll especially want to remove it from baby back ribs (via BBQ Host). Since back ribs are located close to the spine, the membrane here is often thicker and thus much tougher than on other cuts — it's also not as aesthetically pleasing once the ribs are cooked.
There are a few basic methods to remove the membrane: using a paper towel, knife, or chopstick. With the paper towel method, use paper towels to hold on to one end of the rack of ribs. Then with your dominant hand, start to peel the membrane away from one corner of the rack as you gently slide your fingers between the bones and membrane, working your way across to remove it in one piece. The knife method involves inserting a butter knife beneath the membrane and sliding it across the rack of ribs. Finally, the chopstick method works similarly to the knife method, except using a metal chopstick. It's even been found to be more effective.
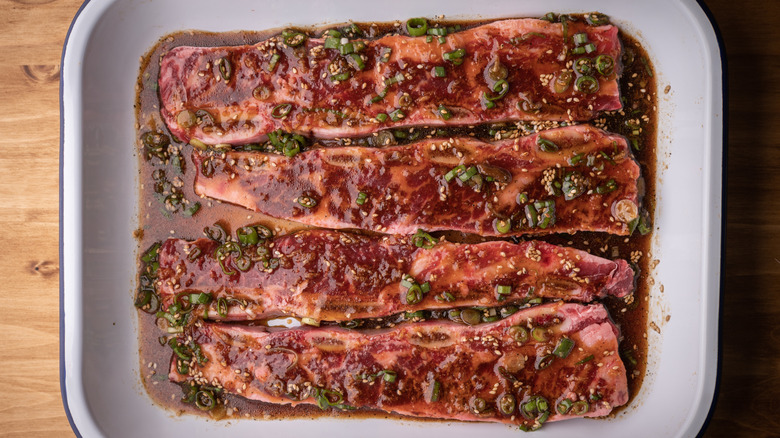
Not matching your coating style to the type of ribs
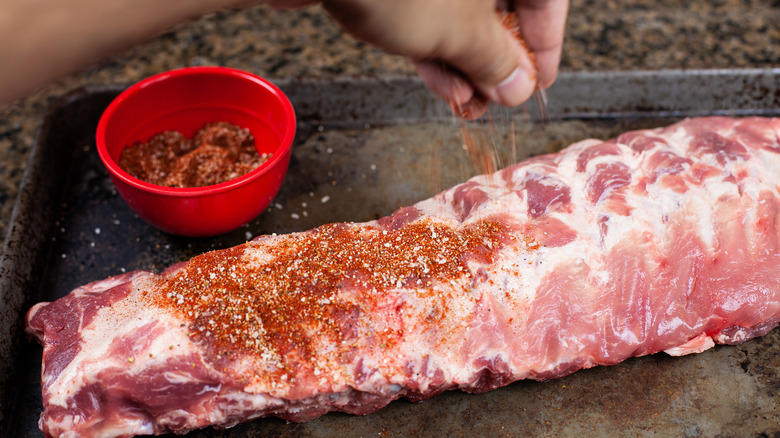
Most people associate ribs with basting, which some might assume entails simply marinating them to produce the best flavor. However, a wet or dry coating has different effects on the flavor and texture of your ribs, and certain coating styles are best for specific types of ribs. According to BBQ Host, wet marinades make the meat tender, while dry rubs are better at intensifying flavor and creating a crispy layer on the exterior.
Since back ribs are often leaner, they benefit most from dry rubs, while other types of ribs can be marinated. Besides these tips, the way you season and coat your ribs is really up to you. The most important aspect to keep in mind is to avoid marinating ribs for more than 24 hours as the acid in the marinade can break down the proteins in the meat and result in an unpleasant texture.
If you forget to marinate them entirely, you can simply use a dry rub and add moisture by basting the meat during the cooking process. If you're feeling especially experimental, you can also brine the ribs, which entails placing them in a saltwater solution and leaving them to soak for four to 24 hours. If you do brine them, it's important not to marinate them as well as they may become too salty.
Grilling the ribs without pre-cooking them first
Ribs are best cooked slowly and at a low temperature. For optimal results, part of this entails pre-cooking them. Per Leaf, pre-cooking the ribs a day or two before shortens their eventual cooking time. However, more than that, it also develops the complexity of the flavor you'll enjoy later. This is because partially cooking and leaving the ribs in the refrigerator allows them to marinate with the bone marrow and melted connective tissues that are released in the first step. Ultimately, this becomes the base used to layer more flavor during the final cook.
To pre-cook the ribs, you can either bake or boil them. With the first method, simply preheat the oven to 350 F, season the ribs with a spice rub of your choice (ensure the membrane is already removed), and then wrap each rack in aluminum foil before baking them for about 2 to 3 hours in a roasting pan until tender. Once done, collect the juices (you can use these in a sauce), rewrap the ribs in foil, and grill them for 30 minutes.
Boiling is a better option when you don't have as much time. Simply place the ribs in a large pot, cover the meat with water and bring it to a light boil on medium heat for about 25 to 30 minutes (via Gourmet Grill Master). Then, simply season and grill the meat to finish.
Overcooking the ribs
When it comes to overcooking ribs, a slow cooker is the only appliance that does the work for you. Otherwise, you'll need a meat thermometer to produce perfectly cooked ribs. Per Lacademie, there are several tests to figure out whether or not your ribs are done. The time test is clear and simple and uses the help of a good old-fashioned kitchen timer. The general rule of thumb is to cook the ribs in the oven at 225 F. Baby back ribs will take approximately three to four hours, while meatier cuts will take five to six hours.
A toothpick test will tell you that the ribs are done if you can skewer the rack in different spots with no resistance. The pop-up test is quite subjective, as it stipulates that the ribs are done if the meat has contracted enough that only ¼-inch of the bone is sticking out. The flexibility test simply means that the meat comes off the bone easily, while the bend test involves picking the rack up with tongs and seeing whether the ends start separating. If all else fails, there's the tried and trusted peek-a-boo and taste test: cut a slice, and let your taste buds do the talking.
Not minding the internal temperature during cooking
If you're baking the ribs in the oven, the ideal temperature is between 225 and 300 F, per Kitchen Seer. This not only allows the meat to cook slowly, but it keeps it tender and succulent as it bakes. While a lower temperature may take longer, it's always worth it if you have the extra hour or two to spare.
The rules are a little different if you're cooking the ribs on the grill, and a properly calibrated thermometer is your best bet. You'll need to probe your rib racks to determine if the internal temperature is just right. Ribs are considered done as soon as the internal temperature hits 145 F, however, between 190 and 200 F, the meat should fall off the bone. If you prefer to leave them on the grill for a while longer, just note that as the internal temperature increases beyond 200 F, the texture of the meat will shift toward the leathery end of the spectrum.
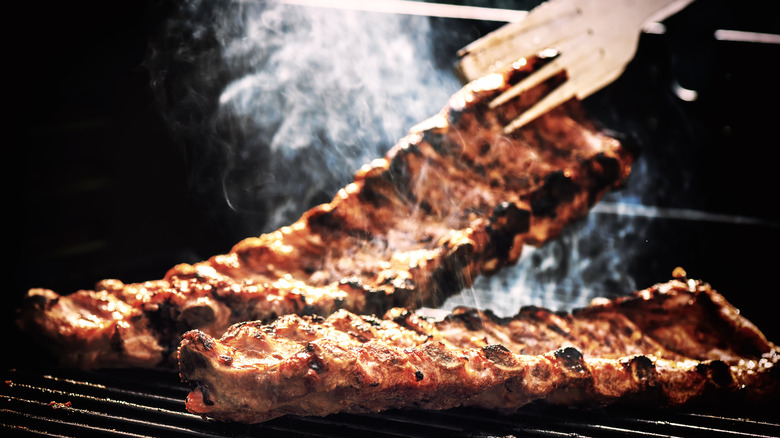
Using a fork instead of tongs to flip the ribs
There are plenty of convenient uses for a set of tongs, but sometimes it seems easier to simply reach for a fork in those moments when the tongs are too far. Because hey, what does it matter when all you're doing is flipping a little meat on the grill, right? Unfortunately, when it comes to flipping ribs, this is a detail that matters more than you might realize.
According to the Los Angeles Times, using a pair of quality tongs will not only ensure you have a good grip on the rack of ribs for every flip, but it also means you won't have to keep puncturing holes in the meat. Poking it once with a toothpick or a probe to determine the internal temperature may be inconsequential, but ongoing punctures throughout the cooking process let moisture and flavor seep into the grill rather than remain locked in the ribs.
If you have to go out and get your first pair of tongs, spring-loaded and flexible tongs are recommended as they allow for a firmer grip and ease of use. In addition, be sure to consider the size in accordance with your preferences too.
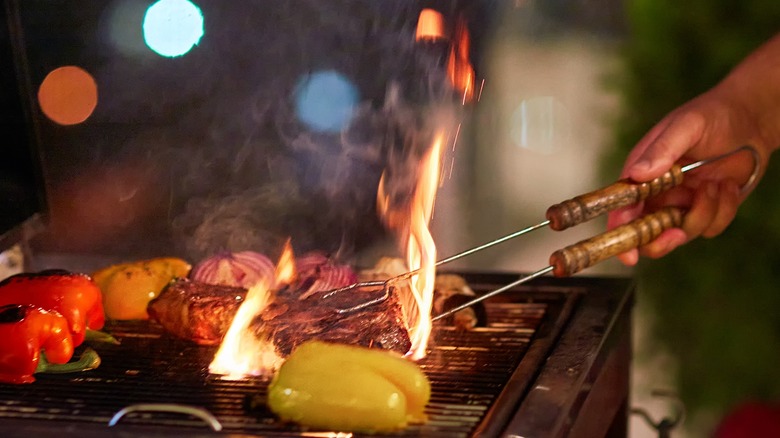
Not putting hot coals to the side
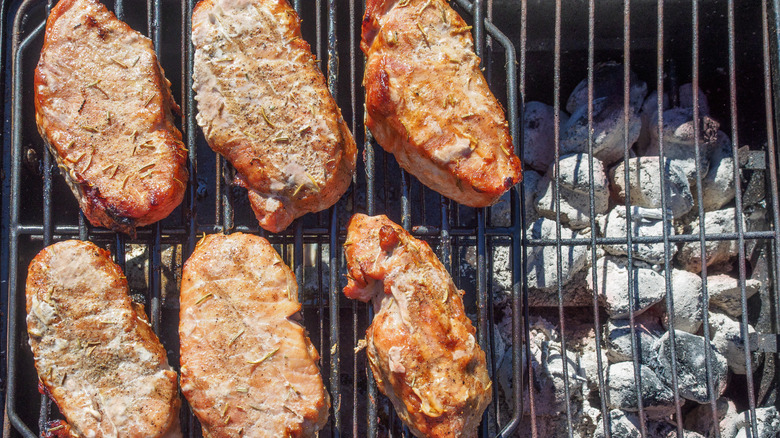
When it comes to grilling ribs, the holy grail is a two-zone method. According to Food Fire Friends, two-zone grilling is an underrated albeit simple grilling procedure that entails dividing up the surface of your grill into two sections: one for high heat and another for low heat. This can be done on electric, gas, and charcoal grills. All you have to do is position your grates directly over the heat source for the high heat section and keep the low heat area away from direct heat.
While direct heat is great for quickly grilling meat, indirect heat is better for meats that require slow cooking over an extended period of time. The benefits of this division are threefold: flexibility, control, and flavor. If you're grilling for a number of people who have varying preferences for how well their meat is done, you're able to use the appropriate heat for each. You have a designated safe grilling if your fire flares, a hot zone if you need a little extra crisp, and you can even keep everything warm while the slower cooking items are doing their thing. Lastly, you are able to match particular foods with the level of heat they need to enhance their flavor — which, in the case of ribs, is especially important.
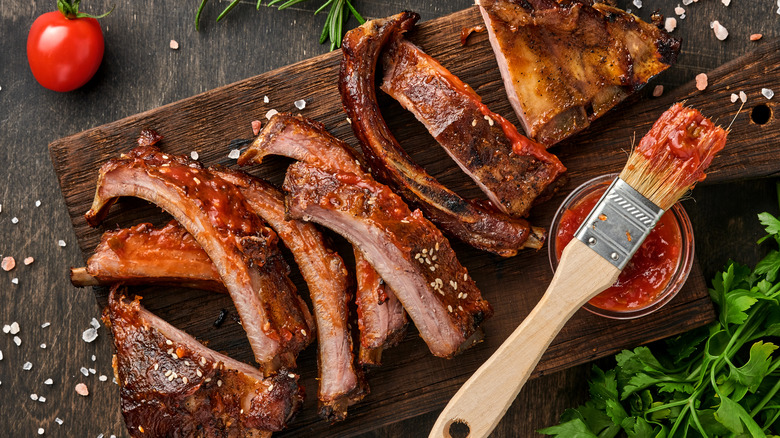
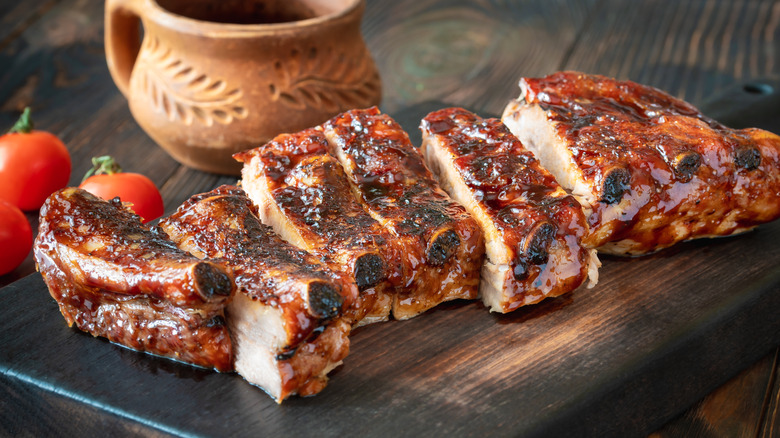
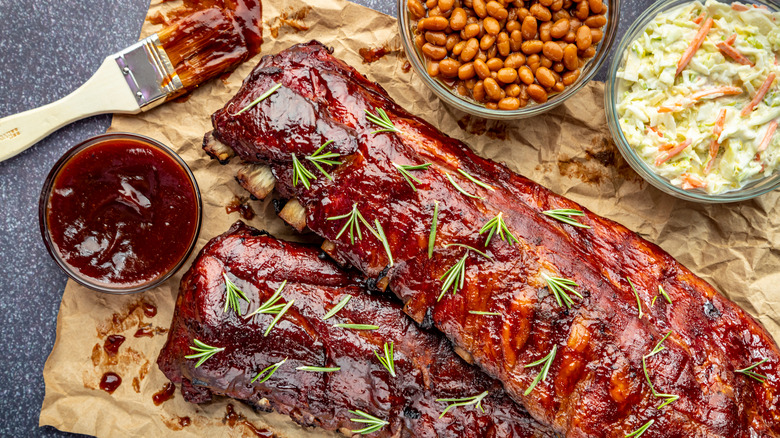
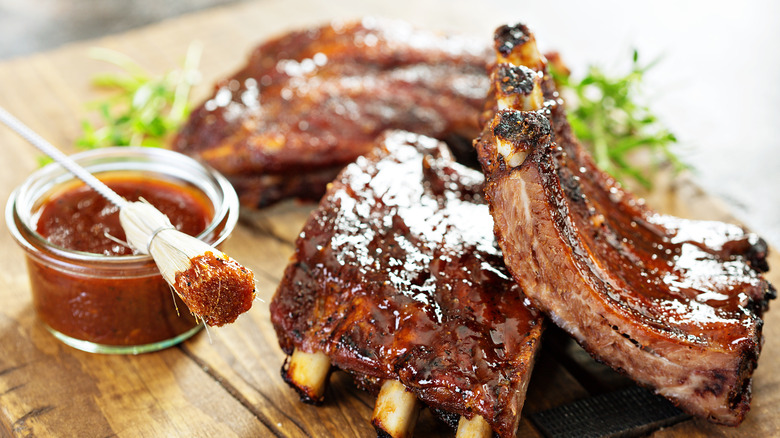
Putting extra sauce on the ribs too soon

There's just something about that sticky sauce on ribs. It's messy, delicious, and quite frankly one of the parts many people most relish about digging into a rack of ribs. While you may see some cooks brushing on the sauce as they grill, it's vital to note that not all sauces are made the same. According to Smoker Cooking, mopping sauce is different from the barbecue sauce you brush onto the meat toward the end. It also has very little or no sugar, hence it won't cause the ribs to burn or have any foul flavor if you add it during the cooking process.
Per Chad's BBQ, when you start basting your meat with barbecue sauce largely depends on the type of meat you're grilling. While you can apply barbecue sauce to chicken about 10 to 15 minutes into cooking, beef can be sauced before you start cooking it, and pork should wait toward the end.
However, the absolute best time to add sauce to ribs is 10 to 15 minutes before they are done if you're using a tangy sauce. If you're using barbecue sauce, you can go up to 30 minutes before they are ready. The crucial point is not to mop them too early, as the sugars in the sauce can crystallize and burn, which almost always ends up with an unpleasant flavor that cannot be masked.
Not letting the ribs rest before serving
It turns out that letting food rest before serving it is not so much about the cook taking a moment to behold the wonders of their hands before it is all devoured; there's actually a science to it. According to BBQ Host, letting ribs — and other meat in general — rest rather than serving them as soon as they come off the grill is all about locking in flavor. Resting relaxes the protein fibers in the meat which allows the moisture that was released during cooking to be reabsorbed.
When this step is skipped, most of the moisture and juices in the meat will seep out as soon as you plunge a knife in, and there's nothing you can do to get it back in there. Additionally, the how is just as important as the why. Per Carnivore Style, pork ribs should be left to rest for about 10 to 15 minutes before serving, though generally, thicker cuts of meat should rest longer than thinner cuts. Because beef ribs are usually thicker than pork ribs, they should be left for about 30 minutes, regardless of the type. Make sure you wrap your ribs in aluminum foil while they are resting, and for beef ribs, place them in an empty cooler box to increase the insulation.
Not cooking enough ribs
You've taken all this time, care, and effort to prepare succulent slabs of ribs that are now waiting to be dug into. The worst thing that could happen at this point is finding out that you haven't made enough to go around! You want your family and friends to get their share, but more importantly, because you have created an absolute masterpiece, you want them to have enough for the countless requests for seconds that will obviously follow.
Fortunately, this is an issue you can make sure to prevent while you're at the meat store. Per Smoked BBQ Source, there are two factors to consider; the type of meat you're serving, and secondly, whether you're making ribs as the primary or secondary meat in your overall meal. If they are the star of your meal, you'll want to prepare about four or five spare beef ribs per person, or two to three beef back ribs per person, and of course, more if it's pork since they're smaller. This is highly subjective though, so actually, just get all the ribs you want — especially now that they are bound to be utterly delicious.