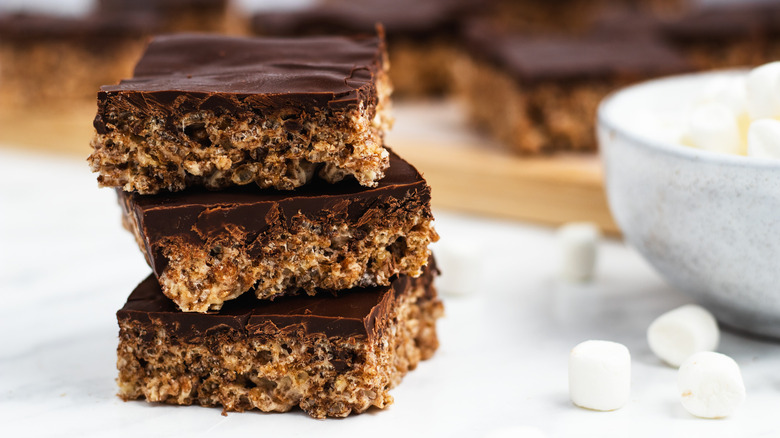
Easy Chocolate Marshmallow Crispy Bars Recipe
Say, do you want to know how to make a dessert treat that will look and taste as if it came from a professional pastry shop? But you also want a result that actually requires next to no kitchen competence, uses basic ingredients you can find in any grocery store, and requires all of about 15 minutes of hands-on prep and cooking work? The answer is yes, of course, right?
If you follow the steps laid out here by chef and recipe developer Catherine Brookes of Blue Sky Eating, then all of those aforementioned factors will come together in the form of these delightful chocolate marshmallow crispy bars. These bars are the ultimate sweet dessert because they will satisfy anyone who takes a bite — kids and adults alike. Also, they really are a snap to make, given that you only really need some basic kitchen equipment, a microwave, and a bit of time to let everything chill. "It's a pretty foolproof recipe," says Brookes. "No baking required and [they're] great for making with kids!"
And once you have tried your hand (and taste buds) at the basic recipe, the sky is the limit for your own customization. We'll touch on a few ideas there when we talk ingredients, but for your very first go at these, we recommend that you go with Brookes' recipe. You won't be disappointed.
Gather the ingredients for marshmallow crispy bars
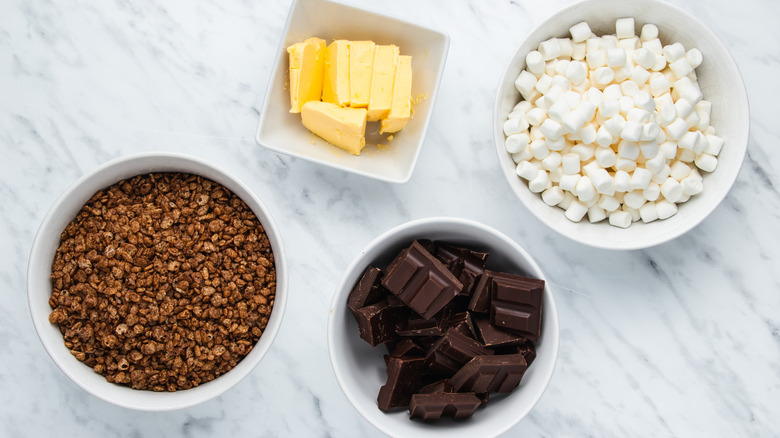
Sometimes — often, in fact — simple is better. And it does not get much simpler than the ingredients needed for this recipe, which are Cocoa Krispies (yes, the breakfast cereal, or some non-name brand version of chocolate-infused puffed rice cereal), mini marshmallows, butter, and dark chocolate. That dark chocolate can take the form of chocolate baking bits or just a broken-up dark chocolate bar.
That all said, once you have tried this excellent dessert made using only those four ingredients, feel free to experiment a bit further. For example, you can try mixing in some crushed nuts, coconut flakes, and using traditional rice cereal to reduce the sweetness if your sweet tooth isn't incredibly strong. If you've got a really intense sweet tooth, on the other hand, you can always take things a bit further and add in other candy bits, like peanut butter and chocolate-rich Reese's candies.
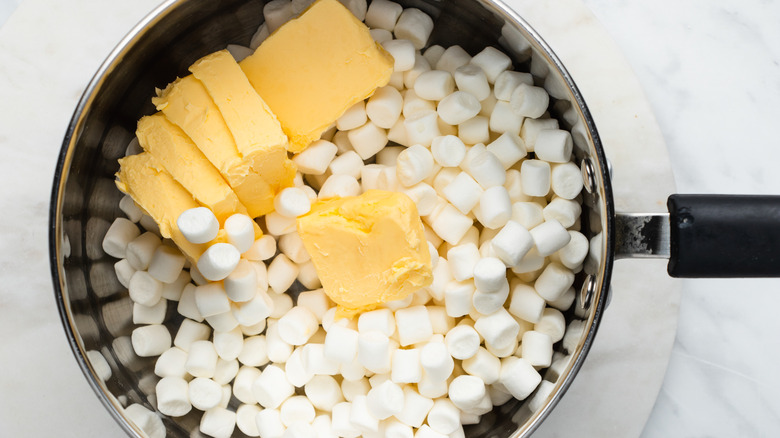
Prepare a pan and melt the butter and marshmallow
Start things off by greasing and then lining a 9x9-inch baking pan with parchment paper. Set your prepared baking dish to the side.
Then, add the butter and mini marshmallows to a large saucepan. Ideally, you'll use a nonstick pan here. Otherwise, you can use a bit of oil to grease up the pan beforehand, as you'll be using super-sticky marshmallows inside. Either way, heat this mixture on a low to medium setting. Stir the butter and marshmallows together until they have fully melted together into a smooth and sweet texture. Don't get impatient and turn up the heat, however, as you don't want to burn any of your ingredients — just a little patience is key here.
Stir in the cereal and transfer to the pan
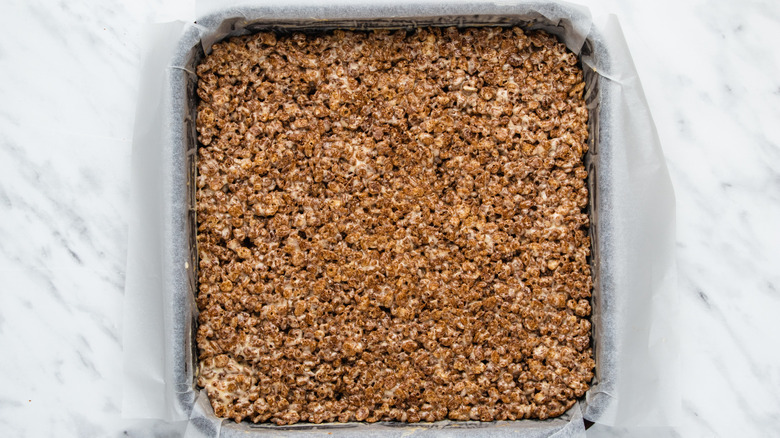
To the pan with the melted butter and marshmallows, add the Cocoa Krispies. Now, stir the cereal in until it has been completely coated in the melted buttery marshmallow mixture.
Next, transfer the mixture to the lined baking pan, spreading it all out evenly. Given how sticky everything is, we recommend using a silicone spatula or similar tool that won't allow the coated cereal to cling to your spoon. Push the mixture down with the back of a spoon or a spatula to compact everything, making sure that it's flat against the bottom of the pan and well into the corners.
Melt the chocolate then form and chill the bars
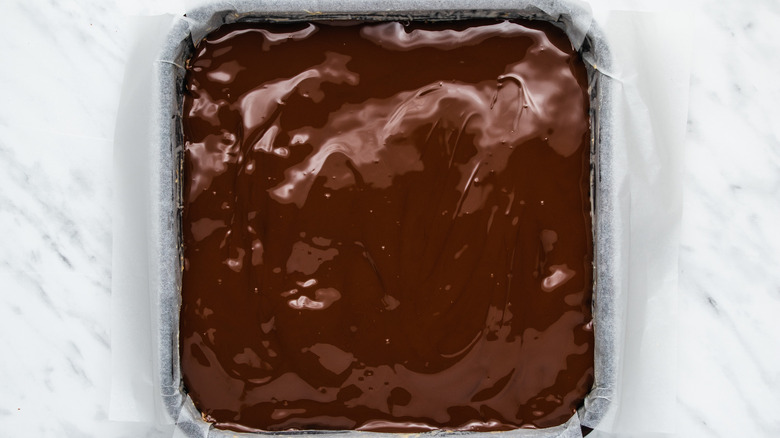
Heat the dark chocolate in the microwave in 30-second bursts, stirring in between cook times until it is fully melted. If you don't want to use a microwave for whatever reason, you can also use a double boiler on the stove to gently melt the chocolate. Don't rush the process, however, lest you burn the chocolate. When it's ready, pour the melted dark chocolate over the coated Cocoa Krispie base. Spread it out with a spatula, making sure that it's evenly coating the mixture below.
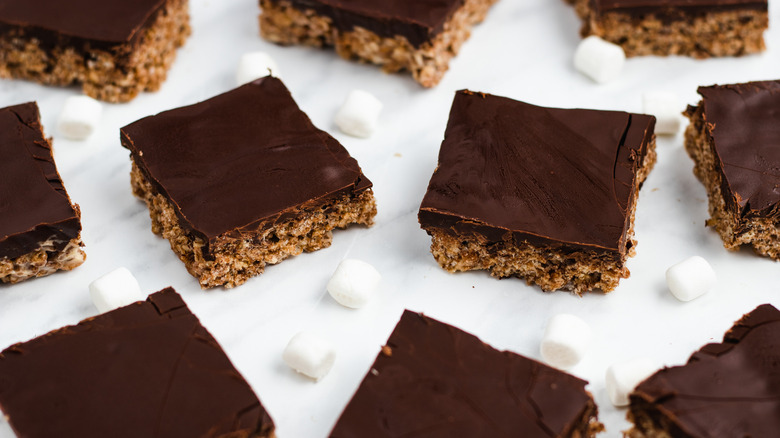
Now chill the pan in the fridge for at least one hour, allowing all of the ingredients to set — this will make portioning it out later much easier. When it's fully cooled, ease the entire square out of the pan, slice it into bars, and enjoy!
If you happen to have leftovers, have a container handy. "They should keep well for up to three days and can be kept in an airtight container, either in the fridge or at room temperature depending on your preference," says Brookes. "They'll be much firmer if refrigerated."
Easy Chocolate Marshmallow Crispy Bars Recipe
These delightful chocolate marshmallow crispy bars are the ultimate sweet dessert that will satisfy anyone who takes a bite, and all with minimal cook time.
Ingredients
- ½ cup butter
- 3.5 ounces (100 grams) mini marshmallows
- 5.25 ounces (150 grams) Cocoa Krispies
- 10.5 ounces (300 grams) dark chocolate
Directions
- Grease and line a 9x9-inch baking pan with parchment paper.
- Add the butter and mini marshmallows to a large saucepan. Heat on a low to medium setting, stirring until the ingredients are melted together.
- Add the Cocoa Krispies to the pan. Stir until completely coated in the melted marshmallow mixture.
- Transfer the coated Krispies to the lined baking pan. Spread them out evenly and push them down with the back of a spoon to compact everything into the pan.
- Melt the dark chocolate in the microwave in 30-second bursts, then pour over the Krispie base and spread out evenly.
- Chill in the fridge for at least 1 hour, then slice and enjoy!
Nutrition
| Calories per Serving | 203 |
| Total Fat | 15.0 g |
| Saturated Fat | 9.0 g |
| Trans Fat | 0.2 g |
| Cholesterol | 15.8 mg |
| Total Carbohydrates | 19.0 g |
| Dietary Fiber | 5.5 g |
| Total Sugars | 8.2 g |
| Sodium | 11.4 mg |
| Protein | 3.4 g |