How To Perfectly Temper Chocolate In The Microwave
Chocolate is one of the most ubiquitous ingredients in the world. It has a place in both a myriad of desserts and even in some select savory recipes. Whether eating a chocolate bar, dipping candied fruit into dark chocolate, or stirring some into a deeply complex mole, chocolate lends amazing flavor profiles to countless dishes. Melting chocolate prior to using it in a recipe, though, can be a challenging and complicated feat, especially since burnt chocolate is essentially irredeemable and can render a dish inedible, according to Food & Wine.
But it's worth knowing how to get it right, as a lot of sweet recipes call for this type of skill. The viral, super-popular hot chocolate bombs use tempered chocolate, as well as the always iconic chocolate-covered strawberries, truffles, any type of chocolate-dipped cookie, pretzel, chocolate-coated candied fruit, or other similar snacks. Kitchn defines chocolate tempering as the "process of melting and then cooling chocolate that gives the chocolate a hard, snappy, shiny finish." Lake Champlain Chocolates notes that when done correctly, the chocolate should be smooth, look "glossy," and snap when shattered.
In addition, Kitchn says that chocolate doesn't need to be tempered for baking, but it is necessary for baking activities that require any kind of dipping. But how does one go about tempering chocolate? Interestingly enough, one wildly simple way to temper — or properly melt — chocolate is to use the microwave.
How do you temper?
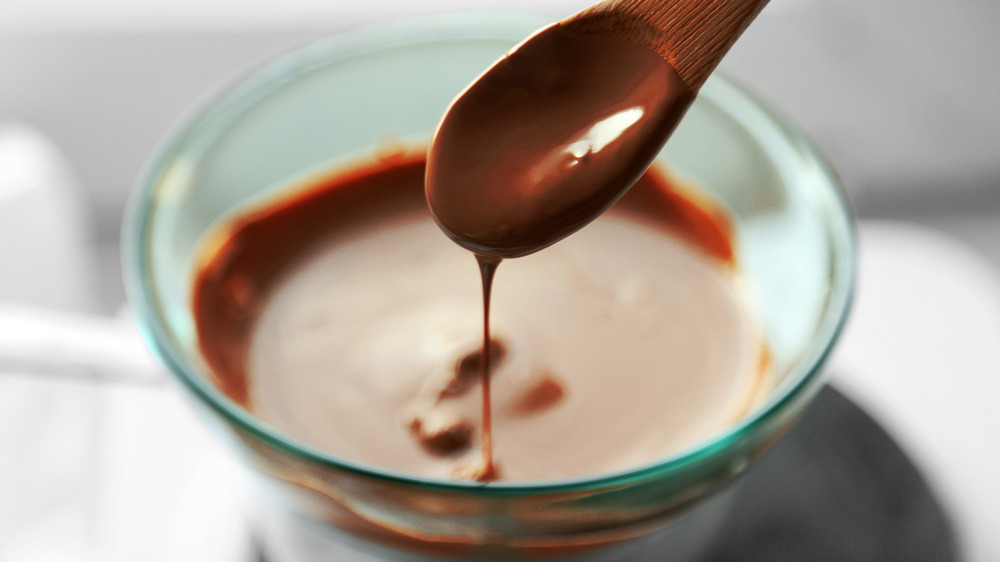
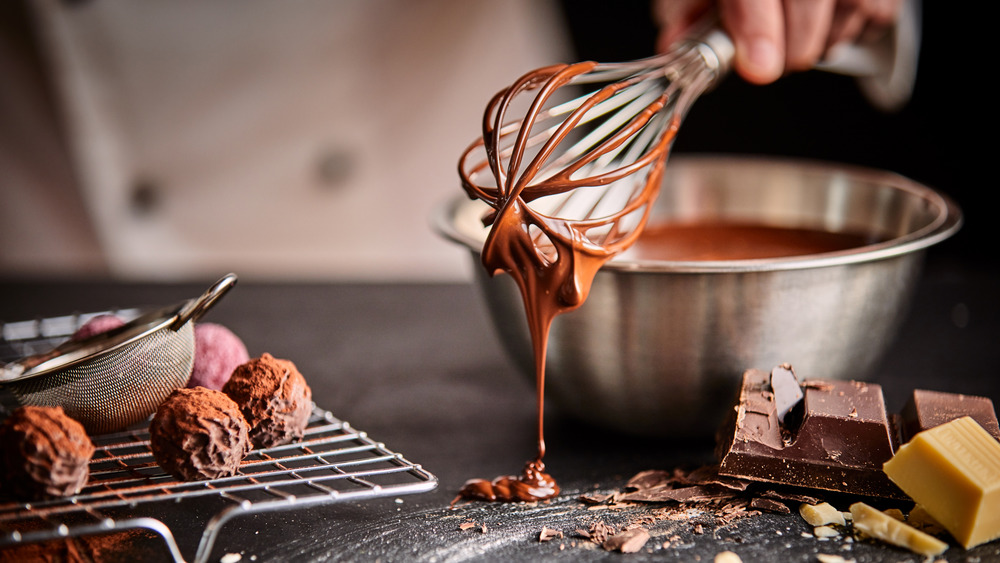
The microwave option requires the chocolate to be heated in short increments of 15 to 30 seconds, which will effectively melt the chocolate to the proper temperature of 90 degrees Fahrenheit, explains Kitchn. While there can be certain issues depending on the quality of chocolate, the accuracy/age of the microwave, and the bowl that is being used, this is a relatively reliable method that often scores high points from restaurant chefs and home cooks alike (via Kitchn). It's also important to use a spatula when mixing, as well as a reliably accurate thermometer. If not using chips, be sure that the chocolate is chopped well (via Food52).
Callebaut notes that tempering is the process of "pre-crystallizing the cocoa powder," which helps to stabilize the crystals and ensure the end result is satiny, smooth, and hardens properly on the dipped product. Essentially, you're safely melting the chocolate and then bringing the temperature down a few degrees prior to coating or glazing. If you don't have a super-sharp knife or chocolate chips, another great tool to have on hand is a food processor, according to Food & Wine, which will help to make relatively uniform tiny shards of chocolate that'll melt more easily. Also, there are different temperatures depending on the kind of chocolate you select.
Tempering in the microwave

There is also a process called "seeding," which involves adding unheated chocolate pieces into the melted chocolate in order to further regulate and stabilize the temperature and ensure it is properly tempered — but it is not always necessary to do this. Ghiardelli also states that properly tempered chocolate won't easily melt on your fingers, which is another great aspect of treats that have been dipped in tempered chocolate.
The company adds that because of chocolate's sensitive nature, burning and clumping is a very real risk. This is why it's so important to keep a close eye on the chocolate in the microwave and to only heat it in short blasts. Of course, the microwave isn't the only option (many swear by the double boiler method), but for many, it is the most convenient choice.
If you're looking to enjoy a chocolate-dipped confection, try out this method. It's relatively straightforward and we're confident it'll work out perfectly for you!