Tips For Making The Crispiest Chicken Thighs
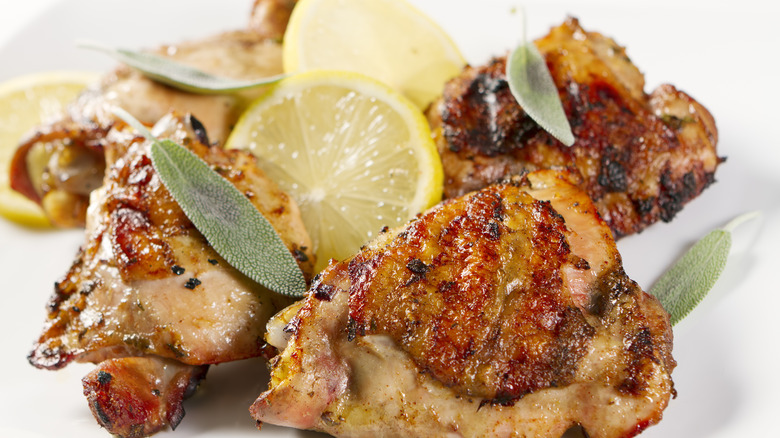
Are you lookin' to cook up the crispiest, juiciest chicken thighs you've ever sunk your teeth into? If so, you've come to the right place. We've all seen those irresistible crispy brown edges on chicken thighs in recipe books, but can you achieve the same results at home without breading or deep frying? Actually, you can! In this post, we've got 14 amazing tips for you to try that can help you to acquire perfectly crunchy yummy chicken thighs in next to no time.
So, how's it done? Using a combination of skillful technique, a few tools, and even some unexpected ingredients, you can recreate crunchy chicken thighs that look and taste better than you could ever imagine. So, if you're ready, lend us your ear. We've got a curated list of tried and true methods that will deliver awesomely crispy thighs without ever having to bread or deep fry your meat. Let's get into it.
1. Use baking powder with salt
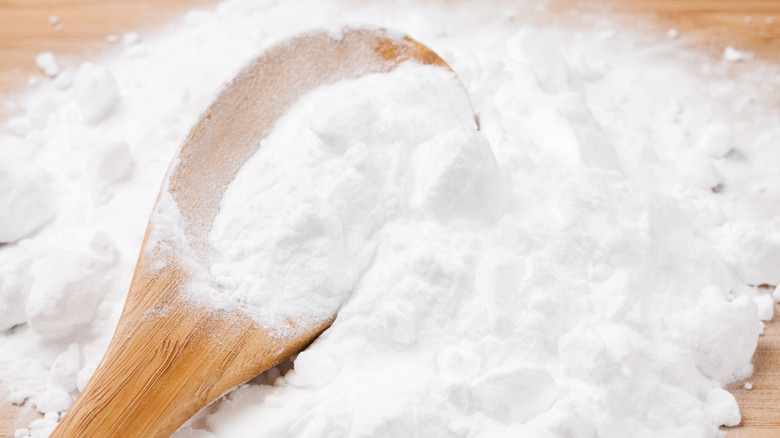
Baking powder on chicken? Sounds weird, but hear us out. Adding baking powder to your chicken isn't as strange as it sounds. In fact, you'll get some pretty stellar results by adding it the next time you cook chicken thighs. Simply add salt and baking powder to your typical chicken seasonings and coat the chicken thigh skin in it prior to cooking. And there you have it! The chicken skin ends up extra crispy, almost like you've fried it, using virtually no oil at all.
So, how does it work? Because salt and baking powder draw out moisture, using both together effectively renders your chicken nice and crispy on the outside and juicy on the inside when applied to chicken skin. One thing to note about using this method is that it works best when roasting or baking rather than cooking the chicken on the stovetop. You'll also want to steer clear of adding any liquid on or around your chicken thighs when cooking using this method. But don't worry ... there'll be more details on that subject later!
2. Be generous with the oil
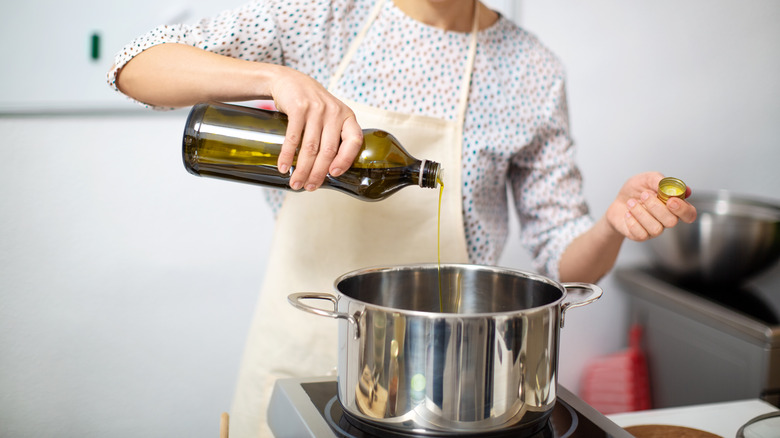
Cooking in oil is one of the quickest and easiest ways to attain deliciously brown and crispy results on chicken thighs. The high temperature of the oil allows the rapid evaporation of water in the chicken skin, leaving behind that irresistibly delicious crunch that leaves you (and others) yearning for more.
To get chicken thighs properly crisp, you'll want to make sure you use a generous amount of oil to truly get the job done. How much you will use will largely depend on your cooking method and how many chicken thighs you are making at one time. If you plan to roast your chicken in the oven, aim to coat each of your chicken thighs with at least a teaspoon of oil before adding seasonings.
If you're trying to crisp your chicken thighs over the stove, put at least 4 teaspoons of oil at the bottom of the pan, maybe even more, in order to ensure proper results. Whatever you do, just be sure that you never skip your oil entirely. Though leaving out the oil may seem like the healthier thing to do, if it's crispy chicken thighs you desire, you'll have to use oil, and plenty of it, to achieve the outcome you seek.
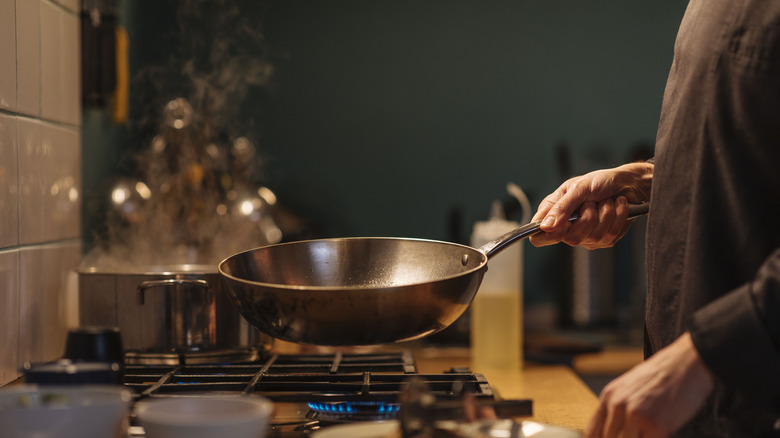
3. Crank up the heat
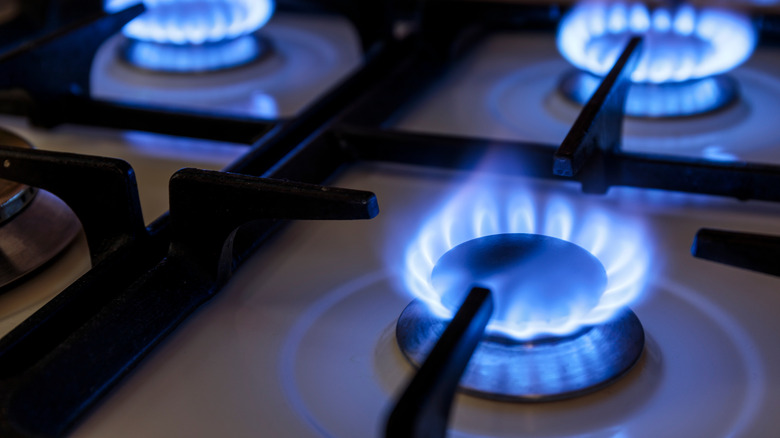
Despite your very best efforts, it's important to know that you'll never achieve crunchy, crispy results on chicken using a low cooking temperature. When oil is added to a pot or pan, it is imperative that you first heat the oil to a reasonable level before adding the chicken to the pan. If you don't, not only is your chicken unlikely to reach the desired internal temperature (hello, food poisoning), but it also will leave you with soggy or pale-skinned results.
How to avoid this conundrum? If you're pan-searing your chicken, be sure to get the oil to at least 375 degrees Fahrenheit before moving forward. Some cooks also vouch for using a wooden spoon or a small piece of bread to test for oil readiness — look for steady, not vigorous, bubbling – but a food thermometer is likely to give the most accurate result.
The only catch to this is that you'll want to make sure that your oil isn't so hot that it actually burns the outside of your chicken thighs and leaves the inside raw. To prevent this, try warming your oil on medium-high heat until it reaches the desired temperature. Also, make sure your chicken is fully thawed before you add it to the hot oil. If you add frozen (or wet) chicken to hot oil, you're unlikely to get the crispy results you need due to the added moisture.
4. Skip the boneless skinless meat
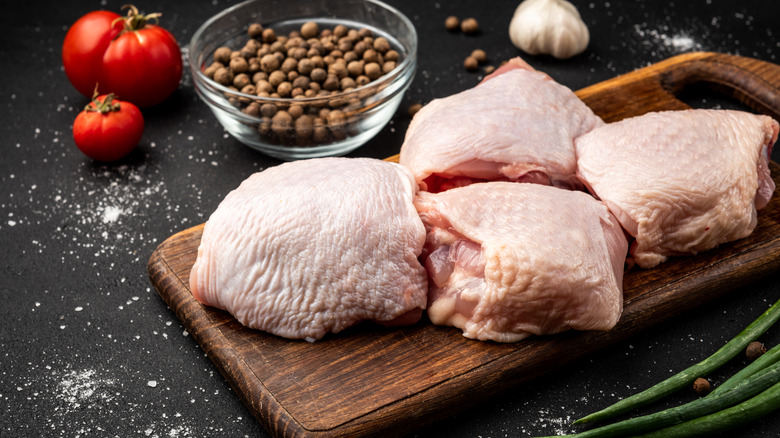
While using boneless skinless chicken is often touted as the healthier option when compared to chicken with skin, the truth of the matter is that if you want the crispiest chicken thighs you could ever imagine, you'll need to select the chicken thighs that still have their skin.
Unlike boneless skinless thighs, you can count on skin-on chicken to render crispy, juicy results. As it's heated up, the chicken skin dries out, which encourages browning and crisping as it is surrounded by hot oil (or hot oven air). As it cooks, the skin gets crunchier and more delicious, making cooking chicken with the skin on a no-brainer when it comes to achieving crispy chicken.
Remember also that crackly chicken skin does not require breading to make it crunchy and delicious. In fact, this is what makes selecting skin-on chicken thighs over skinless chicken thighs so much more appealing ... you can still achieve crispy results without ever having to add breading or deep frying to your cooking routine. Nice!
5. Don't flip so fast
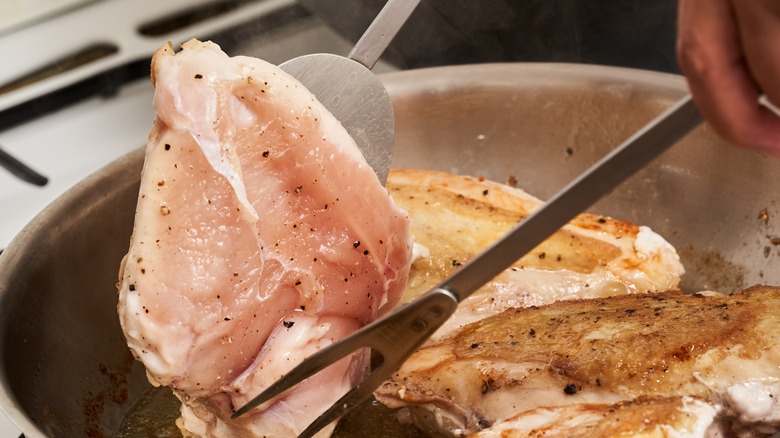
Got somewhere to be, something to do, or just feeling downright hungry? Sorry, but your impatience isn't going to do you any favors if it's crunchy chicken thighs you're after. Because you aren't relying on breading or deep frying oil here, you'll need to pay very close attention to your technique when cooking crusted chicken thighs. One of the most important methods you'll need to learn for achieving a crispy skin is this: You must allow the chicken to cook a few minutes before you flip it.
Yes, we know, it's hard to wait, but ya gotta do it if you want to get this done right. Assuming that you're pan-searing your chicken, you'll want to leave it in the pan for at least five-10 minutes before using a spatula to gently lift and check for browning. Once you see some good color, you're free to flip and wait the same amount of time for the other side. Note that your chicken will brown further if you are following up your pan sear with an oven roast or broil, so keep that in mind as well; you don't want to end up with an overly browned (i.e. burned) piece of chicken once all is said and done. Oh, and don't forget to check that the inside is fully cooked before digging in. That part's important!
6. Use an oil with a high smoke point
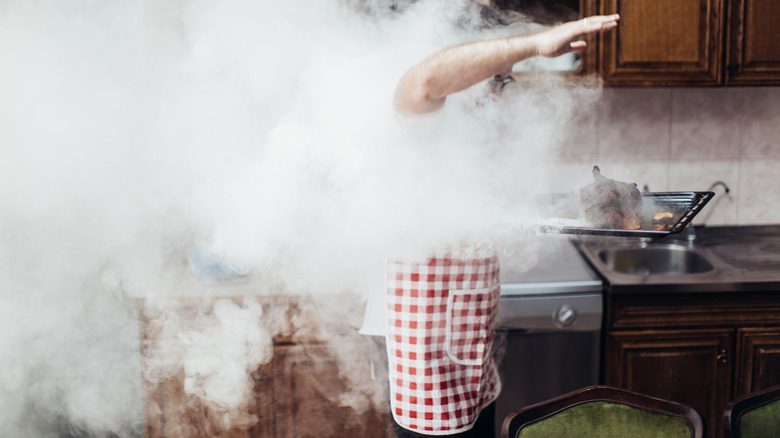
Using an oil with a high smoke point is vitally essential to getting crispy chicken thighs for more reasons than one. Not only is it more effective at crisping up your meats without burning, but it's also safer too. Using oils with low smoke points such as safflower oil or flaxseed oil can lead to smoking, bad tastes, and even carcinogenic compounds (via Verywell Fit). Not to mention there's the added side effect of these oils burning your lungs, nose, and eyes in the process. It ultimately just isn't worth it!
Instead, try opting for oils that will withstand the high heat needed to achieve a nice crispy skin on your chicken. Some great choices for this include vegetable oil, canola oil, and even avocado oil. Use these oils in generous amounts to gain the perfect crunch on your chicken thighs without smoking up your kitchen or beating up your lungs.
7. Use a cast iron skillet

You may have heard that using a cast iron skillet can help you cook foods more evenly and thus lead to a better sear and crispier chicken coating. The truth, however, is that this is only partially true. While we totally recommend using a cast iron skillet to up your chicken thigh game, it isn't for the reason you might think. Most people assume that cast iron skillets are a win for frying and searing meat because of even heating when it is actually for a different reason that cast iron is such a great grab for creating crispy chicken.
The real reason we recommend you use a cast iron skillet for awesomely crispy chicken thighs is that it is famous for maintaining its heat. This is important because it is this very factor that enables chicken skin to become beautifully brown and crisp on the outside, unlike other pot types that don't perform this function nearly as well. For this reason, grabbing yourself a cast iron skillet or two is well worth it if you want crispy chicken skin ... just be sure to preheat your cast iron at least 10 minutes before adding oil and chicken to the pan to ensure it's nice and hot.
8. Kick up the broiler
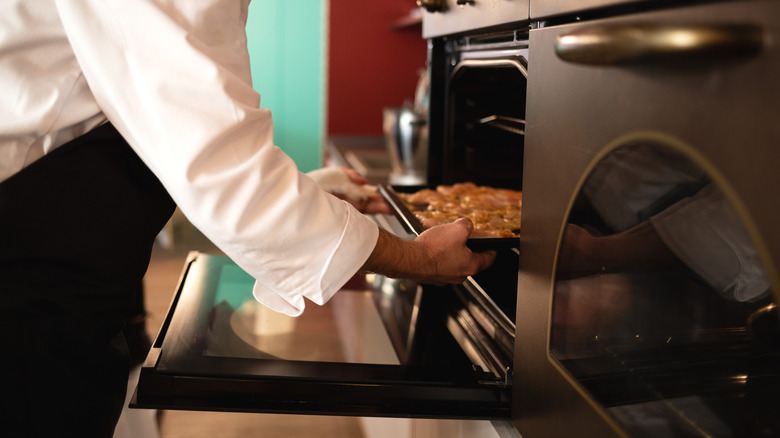
If it's crunchy chicken thighs you're after, you'll love this quick and easy method of achieving just that in less time than you think. While most like to oven roast or pan sear their chicken thighs for the ultimate crisp, we must say that utilizing your oven broiler is an awesome hack, and it's probably one you've forgotten all about!
Using a broiler is amazing for a variety of reasons, but, as with any cooking method, you really should take precautions before doing so. Broilers are located either at the top or underneath your oven and naturally get extremely hot. Because of this, you should ensure that your meats are never actually touching your broiler or that you have too much oil as this might actually ignite a fire.
Outside of these risks, know that utilizing your broiler is a great way to achieve the perfect crisp on your chicken thighs. Leaving your chicken there for five to 10 minutes before flipping is usually enough, although you'll need to use your eyes (to check for brownness) and your meat thermometer (to check for doneness) to be sure. Also, remember that if you have already cooked your chicken on the stove or other method and simply want to use the broiler for crisping, it could take well under five minutes to achieve your desired results. It really just depends!
9. Avoid overcrowding
Has your mom ever scolded you for overcrowding your pan when cooking? We hate to tell you, but she had a point. By overcrowding your pan when searing chicken thighs, the heat of the oil is lowered due to all of the liquid rendered from the touching and overlapping meats. When this happens, you may find it doesn't matter how long you cook, you still end up with chicken thighs that simply will not get crispy ... and overcrowding is likely the culprit.
If you've got a lot of chicken to cook up, it's almost always best to cook in batches. Yes, it takes longer, but the results are well worth the wait. When crisping chicken thighs over the stove, you'll want to place the chicken so that there's about one inch of space between each piece on all sides to allow for proper airflow. If you're baking your chicken in the oven, count on searing it using the same spacing method before transferring it directly to the oven. Easy peasy.
10. Get saucey
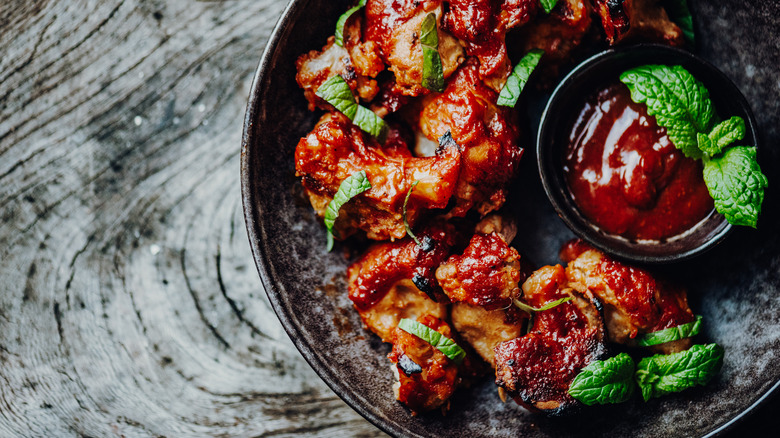
Got a saucy glaze or yummy barbecue you want to drizzle over your chicken? Perfect! Doing so will help your chicken crisp up all the more, but you'll want to make sure you add it at the right time for optimal results.
Sugar of any kind is known for optimal browning and, as you'd imagine, it is a really nifty way to achieve the perfect sear or crispy crunch on chicken thighs. When using this method, it's almost always best to use your sauce close to the end of cooking. If you don't, you risk your chicken appearing done on the outside and raw on the inside, with virtually burnt results by the end of the cooking time. Yuck.
Drizzle your chicken thighs with a little honey, pure maple syrup, or barbecue sauce at the tail end of cooking, anywhere from 10-15 minutes before time's up. This applies to oven-roasted, grilled, broiled, and stove-cooked chicken. Just be sure not to overdo it with any sweet sauces you use; otherwise, the results might produce the opposite effect, and you'll end up with soft skin instead of the crispy type you desire.
11. Bypass water and broth
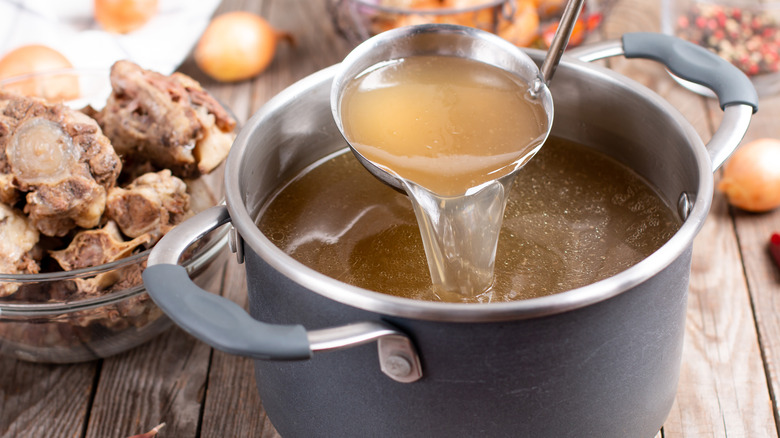
Did you know that water is your worst enemy when it comes to achieving crackly chicken thighs? It's true. And if you think about it, it totally makes sense. Once you've done all there is to do to ensure crispy chicken thigh skin, there's still a way to ruin what you worked so hard to achieve. By adding water, broth, wine, or other liquids to your pan, you are now introducing water to the skin, which works to steam it and turn it soggy all over again. This can also accidentally happen if you drizzle your chicken with something runny (like water, broth, or wine).
Trying to keep your chicken warm? Be careful where you place it. Though it might seem like a good idea to throw foil over your crispy thighs or to place them in a microwave, know that doing so will only trap steam and cause the skin to go limp. Thus, the only choice you have is to cook your crispy chicken close to the time when you're ready to eat. If you must cover it, do so only with a single paper towel, as this will allow enough air flow to prevent your skin from collecting moisture.
12. Dry it out
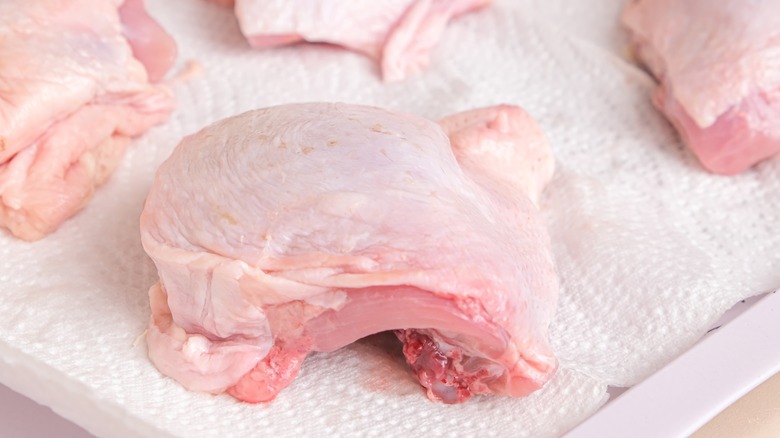
Another great way to add delicious bite to your chicken thighs is to dry out the skin before you ever attempt to cook the meat. By drying out the skin, you are removing excess moisture that could inherently inhibit the crisping process and make your chicken thighs fail to come out as you'd like.
There are several methods by which you can attempt to dry out chicken thigh skin. One of the most common methods is to simply blot the skin with a dry paper towel. This action alone is enough to dry up the skin, but many like to take it a few steps further to get things really going.
Another tried and true method for drying out chicken skin is to try placing the raw chicken in the fridge for three to four hours. The cold air in the refrigerator will effectively dry out the outer skin, setting your chicken thighs up for uber-crispy results once they're done cooking. Last but not least, try dry brining your chicken. This involves salting the skin ahead of time and allowing it to sit this way for several hours. You'll be left with savory juicy meat and remarkably crunchy skin that'll leave your mouth watering. You're welcome!
13. Have the right tools on hand
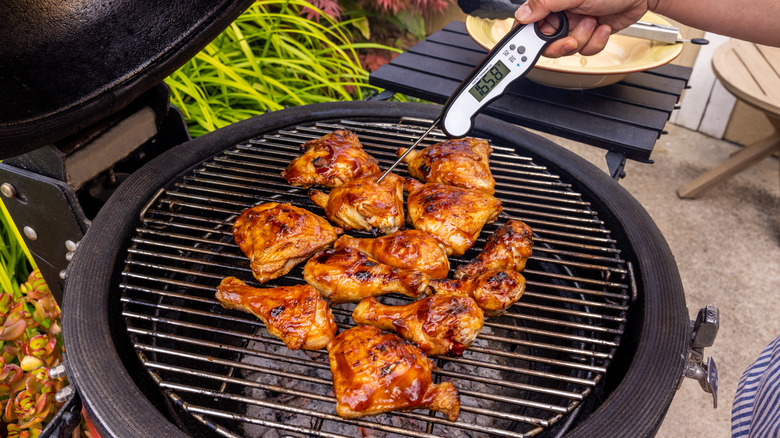
Having the right tools on hand is crucial to getting the flavorful crust on chicken you desire, and thankfully, there are tools out there you can use that can help you accomplish just that. A meat thermometer, for example, is a device that not everyone considers a staple in their home kitchen. In our eyes, however, this tool is an absolute necessity.
Without the use of a meat thermometer, you're really at the mercy of the color of the meat to tell you what you need to know. This can be dangerous because many of the methods we've mentioned for crisping up your chicken thighs are so darn effective, they may actually deceive you into thinking your chicken is done even when it isn't.
Because of these qualms, purchasing a meat thermometer is a worthy venture as it can quickly let you know whether or not your meat registers at a safe temperature for consumption, which is at least 165 degrees Fahrenheit. If you opt for slicing through the meat to check for doneness, know that you may ruin the meat's presentation and, on top of that, you are letting all that juicy goodness flow onto a paper towel or plate. Instead, use a meat thermometer to easily and accurately tell whether your meat is safe to eat. You'll thank us later!
14. Use an air fryer
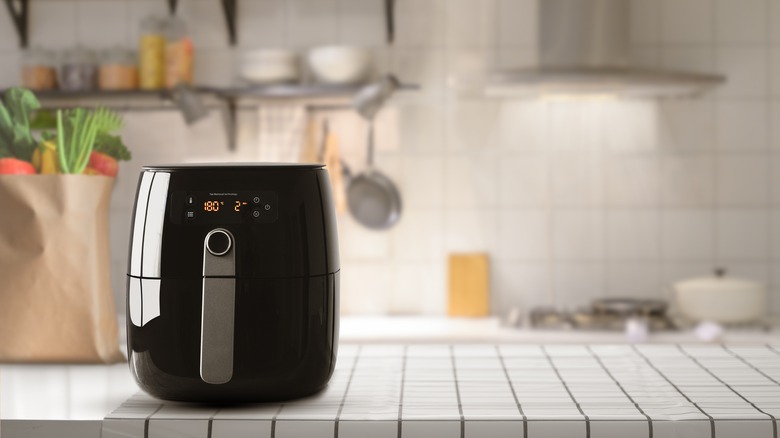
Got an air fryer stashed in your kitchen? If so, we've got news for you. Using your air fryer is yet another great way to get incredibly crispy chicken thighs with a single push of a button. To achieve awesomely crispy chicken thighs, start by preheating your air fryer. You'll want to do this to ensure it gets nice and hot to effectively sear and crisp the skin of your chicken thighs from the moment they make contact.
After drying and seasoning your chicken thighs, place them skin side down in your preheated air fryer with the temperature set at about 380 degrees Fahrenheit and cook until they turn nice and golden brown (usually a little after 10 minutes). Flip the chicken and allow it to continue cooking until it reaches 165 degrees Fahrenheit. Remove and serve immediately. It's that simple!
The bonus of using this method is that it requires you use little to no oil, which is different from if you are planning to crisp your chicken thighs in the oven or stovetop. Instead, you'll use cooking spray to lightly coat the inside of the air fryer just before you place the chicken in there. Pure genius, if you ask us.