The Biggest Mistakes Everyone Makes When Baking Cupcakes
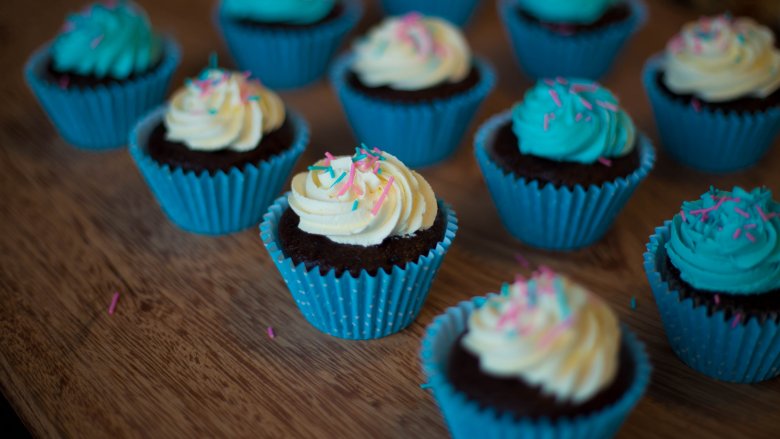
Cupcakes have had some real it-girl moments this century. When Carrie Bradshaw unwrapped one outside New York City's Magnolia Bakery, we started consuming them with fervor. Reality shows based around the tiny cakes exploded and bakeries started launching IPOs. While the hype has cooled a bit for the corporate cupcake, that hasn't dampened our love for the dessert at its core. Cupcakes are a child's birthday party staple and a great way to portion control your cake consumption, if that's even a thing. They're also a little easier to make at home than say, a triple layer "regular" cake.
Whether you're busting them out from scratch, or making Pillsbury do all the work via its boxed magic, there are some definite no-go's when it comes to baking cupcakes. Although some components of the process are flexible, like whether you use a muffin pan or cupcake pan, there are some hard line fallacies when it comes to whipping up a batch of cakes in cup form. Here are the biggest mistakes to avoid.
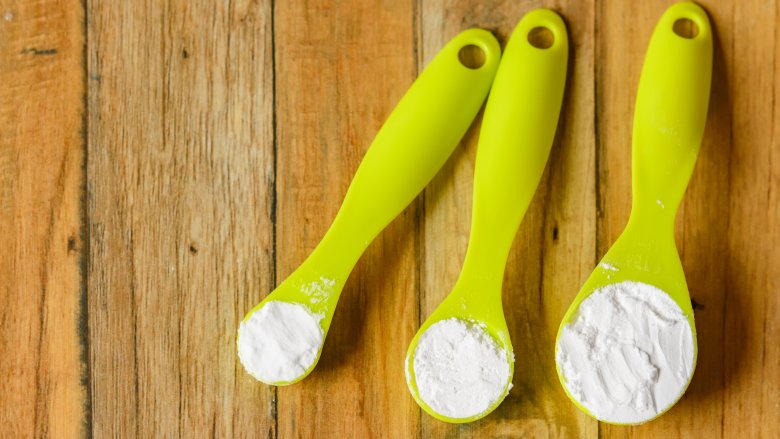
You're not measuring the ingredients with precision
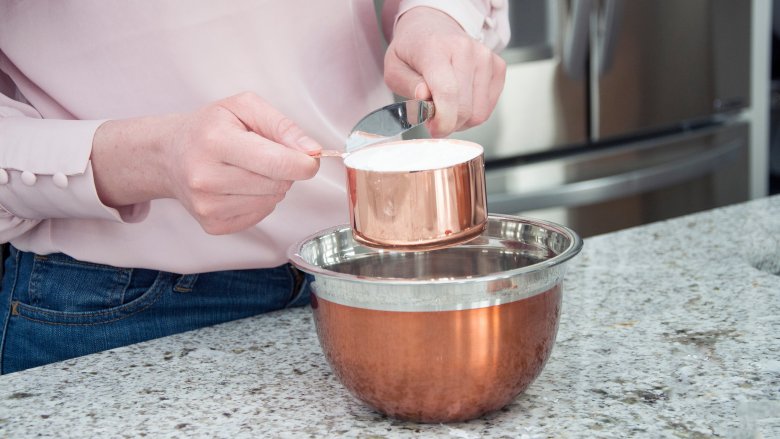
With cooking, it's pretty easy to improvise without wrecking the final product. Baking, however, is like science and the measurements have to be exact. For example, when measuring 1 cup of flour, you should spoon it into the cup lightly, then use the flat side of a knife to smooth over the top of the cup to get the flour as even as possible. If you dump a heaping cup full of flour into your mixing bowl, your results are going to suffer. Or, if the cupcake batter requires a 1/4 teaspoon of salt, make sure you don't put even a dash more than that, or you're asking for some salty cupcakes.
The same goes for your wet ingredients. Ensure it's the exact amount by getting down to read the measuring cup at eye level before adding it to your mix. Keep in mind, if the recipe calls for a stick of room temperature butter, for instance, the butter should be unwrapped and placed in the mixing bowl right out of the fridge because as the butter softens, more of it will stick to the paper when you unwrap it, which can throw off your measurements.
While baking itself can be creative, if you're following a recipe, assume that the author knows what's best for this particular creation and follow their steps like it's the law.
You're using cold eggs and butter
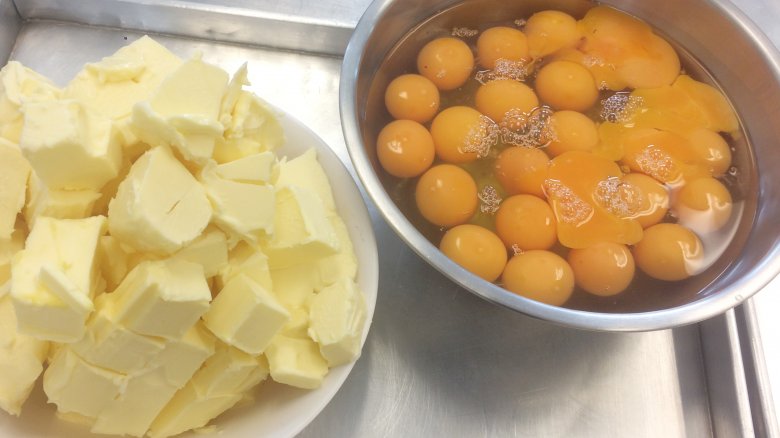
If you're planning to make cupcakes that need eggs, it's better to use eggs that are room temperature as opposed to straight from the refrigerator. The room temp eggs mix easier into cake batters and tend to rise more effortlessly in the oven, which can really make a difference if the cupcakes you're making have multiple eggs in the recipe. Using cold eggs can also impact the length of baking time — if the ingredients list specifies room temperature eggs and you use cold ones, the cupcakes will need to be in the oven longer. Pro tip: You can quickly warm up cold eggs by placing them in a bowl of warm water for a few minutes.
It's also advisable to use room temperature butter, unless otherwise specified. This is especially true when you have to cream the butter and sugar together. Butter that's one or two hours out of the cold fridge is much more pliable and easy to whip. This is also applicable when the frosting calls for butter since that will also need to easily blend with other ingredients.
For both butter and eggs, taking them out of the refrigerator one to two hours before you start the baking process should be sufficient. It may seem counterintuitive since these two items normally live in the fridge, but trust us, your cupcakes will reap the benefits of taking these steps.
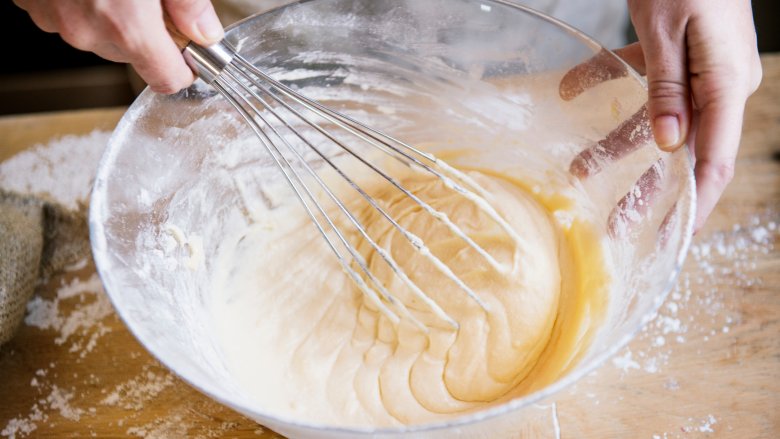
You're not creaming the butter and sugar correctly
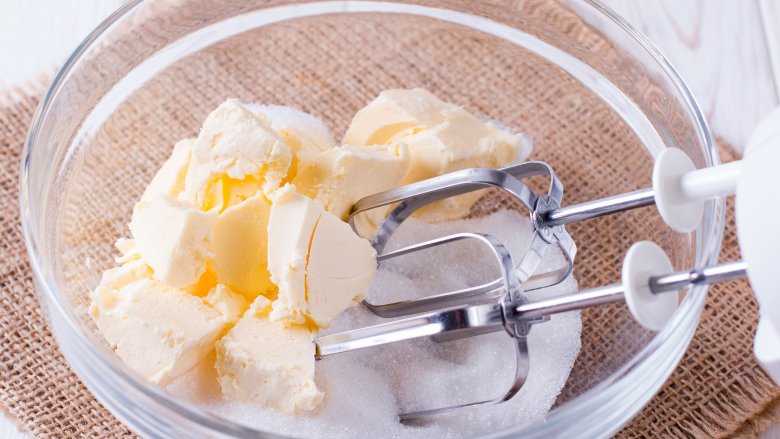
Creaming butter and sugar is an art form, and doing it the wrong way can screw up your cupcakes. When you cream the two, ideally the sugar granules poke tiny bubbles in the butter to capture air, which ultimately creates a much lighter and fluffier cupcake. The butter should be softened to room temp, and definitely not full liquid (easy on the microwaving) or block-style straight out of the ice box. According to the King Arthur Flour blog, "Butter that is too cold won't expand very easily and it'll never capture much air... if the butter is too soft or melted, the air bubbles will be created but then will collapse again."
You also have to be mindful of not under- or over-creaming. Under-creamed feels like wet corn mush and over-creamed feels like greasy sugar. Be careful with the settings on your mixers (hand or standing) and how long you do the creaming. Two to three minutes on a moderate speed is ideal but you should use your instincts for making sure it's the right texture. Per King Arthur Flour, "Your well-creamed mix will be moist and light and the sugar will be nearly dissolved. You'll barely feel any grit when you rub it between your fingers." It's definitely going to affect the outcome of your cupcakes if you don't take the care to cream what are arguably the best two ingredients properly.
You're using expired ingredients
If you don't bake often, chances are you forget you even have items like baking powder or flour in your cabinet. It might not even occur to you that they could go bad since they don't really show outward signs of spoilage. But your flour can indeed go bad and your baking powder or soda can lose their lift if they're expired. Baking soda and powder should be replaced six months after opening, and flour should be replaced after eight. While these past-their-prime ingredients might not cause a blatant fail in your final product, they can cause cupcakes to sink, so fresh is always best if light and fluffy is what you desire.
The same goes for spices, which can lose their gusto over time. If you're making pumpkin cupcakes and you haven't made pumpkin anything since last fall, you'd better check the dates on that jar of pumpkin spice. Bottom line: Keep your pantry supplied with fresh baking staples if you're planning to be the next Cupcake Queen or King.
You're using the wrong kind of flour
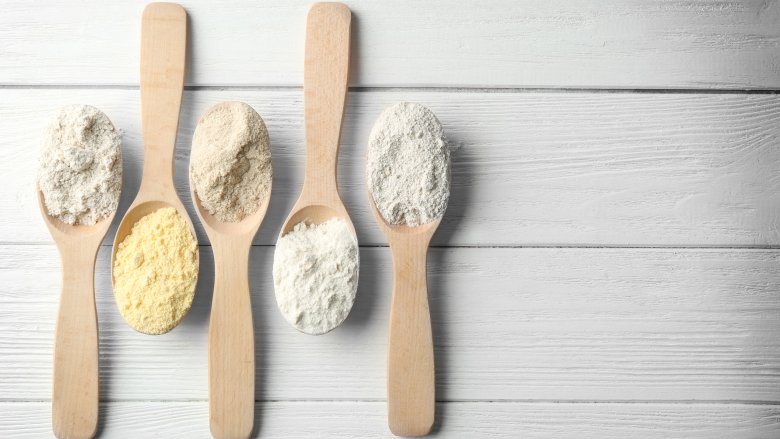
If you're a novice baker ready to embark on your first cupcake journey, your intuition might be to use cake flour if the recipe doesn't specify otherwise. In this case, don't trust your gut, because the flour you should use really depends on the type of cupcake you're making. What makes each flour unique is its protein level. Flours with higher amounts of protein are considered "hard wheat," while flours with lower amounts are often called "soft wheat." (There's a weight lifting joke in there somewhere...) In general, breads tend to to work best with hard wheat, and baked goods like their wheat on the softer side.
Cake flour usually yields a finer crumb, which is why it's normally used for lighter cakes like devil's food and sponge. All-purpose flour is the most common and produces a more rustic cake, while whole-wheat flour can be a better choice for denser cakes. For instance, if you plan to make fruitcake cupcakes (but also why would you do that?), the recipe might call for whole-wheat flour.
Bottom line: It might be tempting to use whatever you have on hand, but if a cupcake recipe calls for a certain flour, there's a good reason, and substituting another kind could cause the texture to suffer. If a recipe just calls for "flour," you're safe with all-purpose.
You're not using this easy hack for boxed cake
If you want to make cupcakes out of a box, do it — Betty Crocker clearly knows her stuff, so why mess up a good thing? But there is a secret for making boxed cupcakes so good that you can deceive someone into thinking you slaved away for hours in a hot kitchen making them from scratch. And it involves using ingredients you probably already have.
The back of the box usually tells you the only ingredients you need to add are an egg, water, and some vegetable oil. Instead, use two eggs, whole milk, and melted butter. For the butter, just double the amount of oil that the recipe asks for, and the amount of milk should be the same as the amount of water. You can add one or even two extra eggs — depending on how decadent you want those Duncan Hines (or "homemade") cupcakes to be. These secret additions are really no surprise since butter literally makes everything better, except maybe a heart condition.
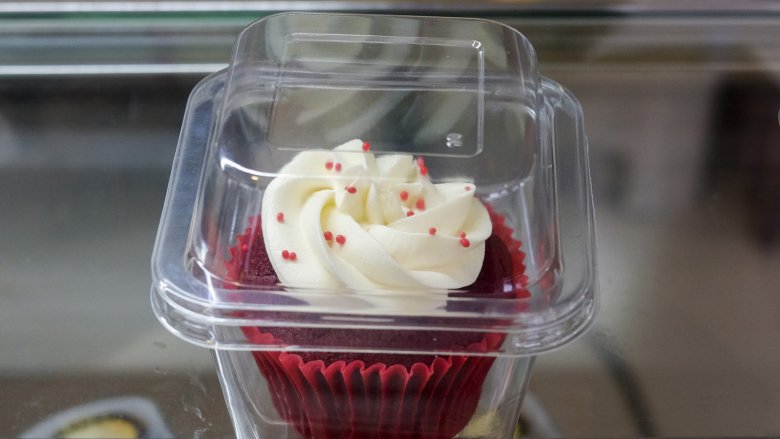
You're not using cupcake liners
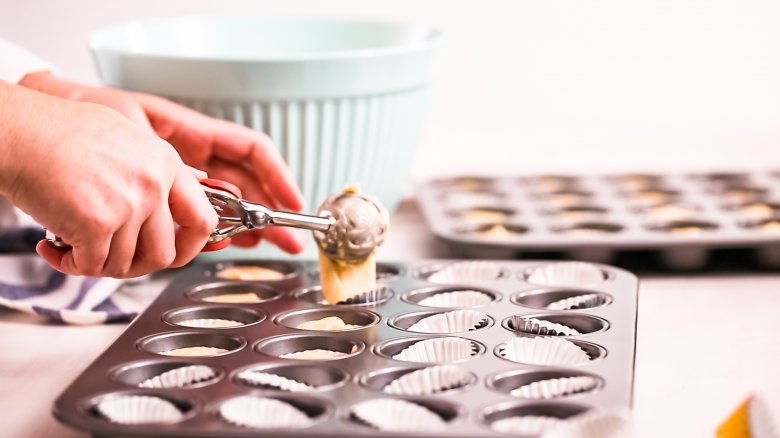
This might seem like a no-brainer but a lot of folks are trying to go full-on batter-straight-to-cupcake-pan, and hoping for the best. While you can technically grease the hell out of the pan and still bake a successful batch of cupcakes, there are so many advantages to using paper liners. In addition to the most obvious reason — it will make your life much easier when removing the cupcakes from the pan and cleaning it — they also keep the cupcakes moist. If they're removed from the pan naked and exposed, they are more likely to dry out quicker.
It's also more hygienic to use a paper liner. Wouldn't you rather pick up a cupcake at a party that's in a liner? Lest we forget, there is also something very satisfying about peeling that wrapper off the cupcake before we eat it. Why would you want to take that joy away from someone? Using colored liners is also a cute way to distinguish cupcakes flavors and types. Transporting cupcakes is easier when they're in liners, too. Honestly, we could go on and on about the merits of using paper liners so if you're still not convinced, please feel free to continue losing hours of your life scrubbing bakeware.
You're overbaking them
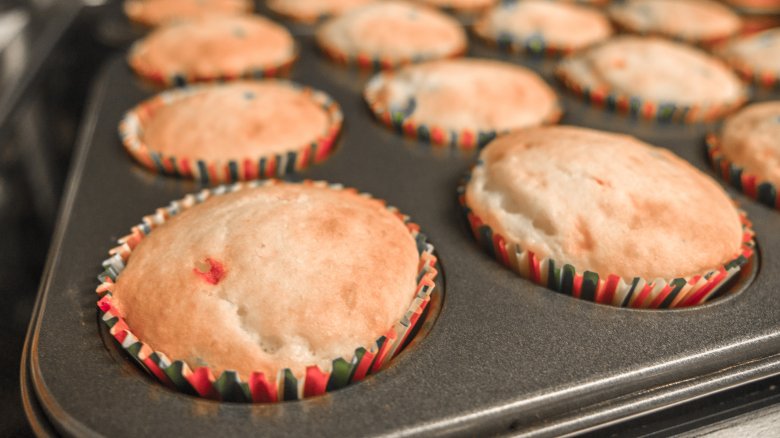
Nobody likes a dry cupcake. Baking them too long is a surefire way to dry out that mini cake before it even exits the oven. Katherine Kallinis of Georgetown Cupcakes says, via Better Homes and Gardens, "We always recommend erring on the side of under-baking. If you over-bake a cupcake, there's no way to save it. And it won't be moist on the inside."
If you really want to get legit with your baking, check the temperature of your oven with an actual oven thermometer, which can determine whether it's technically hotter or cooler than what you've set it to. That way you can adjust accordingly to ensure you're following the recipe to a T. A toothpick should come out clean when inserted, and the top of the cupcake should look slightly sunken, not peaked.
It's also important to pay attention to baking time if you're using a cake recipe to make cupcakes instead. While the temperature of the oven should still be whatever the original recipe calls for, the baking time will change. You'll bake the cupcakes one-third to one-half less time than you would the cake. When in doubt though, go for the shorter amount of time. Perhaps just like the cupcakes themselves, when it comes to baking times for these little pods of heaven, less is more.
Your oven protocol is whack
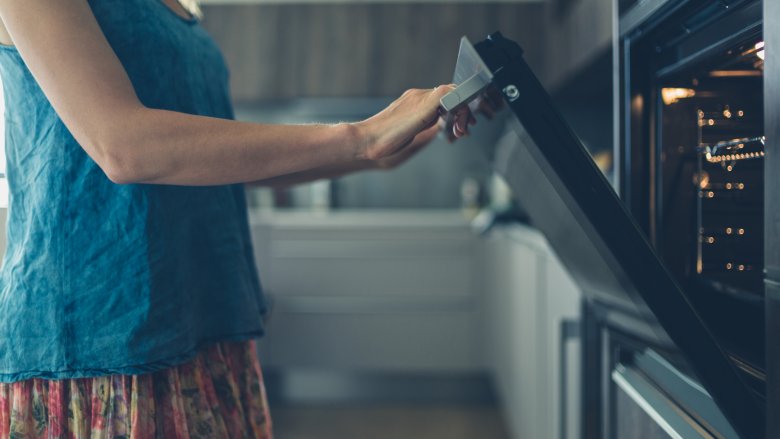
Using the oven correctly can really make or break your baking efforts.
A lot of people don't realize it but there is value in putting the raw cupcake batter into the oven as soon as you're done preparing it, and you'll want to preheat the oven before you start making the batter and make sure the cupcake pan (with liners, obviously) is primed for filling. That's because when you add an ingredient like baking powder to the liquid mixture that makes up the batter, it immediately initiates the chemical reaction that creates tiny air bubbles, and it should go into the oven right away so the heat can set the air bubbles. You'll know the batter sat too long before going in the oven if the cupcakes come out with tons of little holes all over the top.
You'll also want to go easy on opening the oven door while the cupcakes are baking. If you're not able to contain your excitement at the prospect of fresh cupcakes, or just want to check if they're done, wait until they have baked for at least three-fourths of the total time before opening the hatch. And if you decide they need to go longer, don't crack it open again for at least another five minutes.
You're frosting them too soon
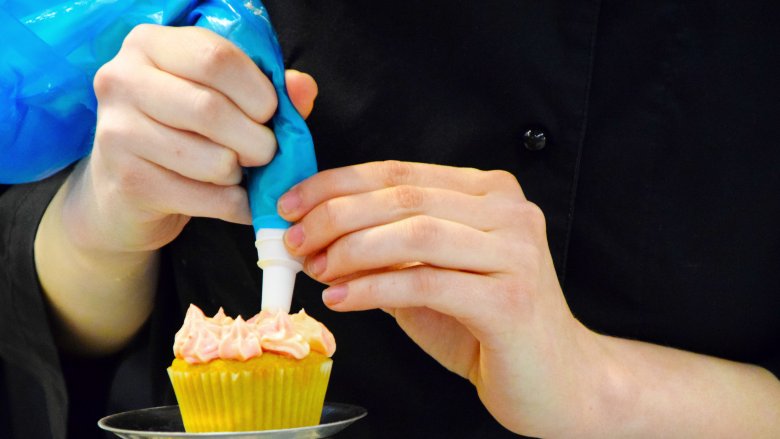
You may be tempted to slap some icing on those beauties as soon as they're out of the oven, but for the love of God, have some restraint. First, cool the cupcakes out of the pan on a wire rack. This not only stops them from cooking so they don't dry out, but it also ensures the bottoms and sides of the cupcakes cool completely. If they're not fully cooled when you start to smear the icing, the frosting can melt, or the tops can "crumb up into the frosting" (yes, that's a phrase we've coined) as you spread. Allow at least an hour from the time they've come out of the oven before you frost.
And if you're not planning to serve them that day, store them in a zip-top bag or other airtight container in the freezer or on your counter until you're ready to serve, and then apply the icing. If they've been stored at room temp, they might have sticky tops when you try to frost them. Let them sit outside the bag or container for a little while to allow the tops to dry out before tackling the frosting again. If you're tackling unfrosted frozen cupcakes, let them thaw about an hour from their freezer sesh before you apply the frosting.
If you avoid jumping the gun on frosting, your cupcakes will have a much better shot at culinary perfection.
You're not adding a surprise filling
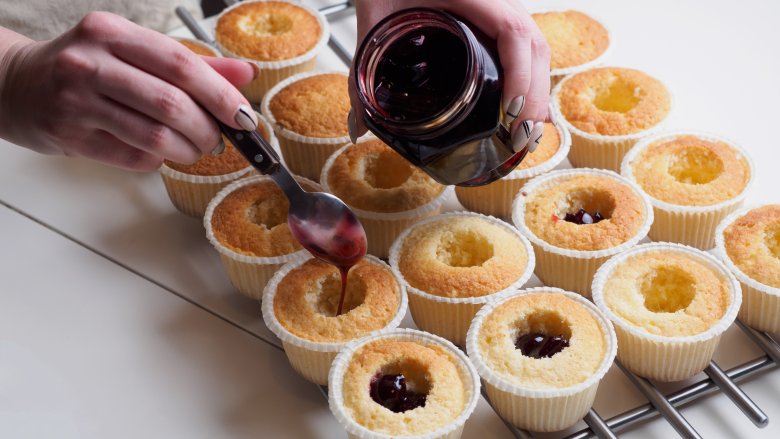
If there is anything better than biting into a cupcake, it's biting into one that has a magical surprise filling. Whether it's more of the frosting or a special pie-like filler that's complementary to the overall flavor, this extra step can put your cupcakes on another level.
Want to give it a try? When the cupcakes have cooled, you'll cut out the center of each cupcake (about two-thirds of the way down, leaving a little cake at the bottom) with a small round cutter, then carefully spoon or pipe the filling into the hole so that it's slightly less than flush with the top of the cupcake.
Next, top the cupcake with frosting. Piping it (either with an official bag or the corner of a sealed Ziplock snipped off) into a swirl formation might be better than spreading it with a spatula in this case. If there is too much of the filling in the hole, the frosting could catch it and spread some onto the top, thereby ruining the surprise awaiting someone's taste buds.
You're not storing them properly
Whether it's making sure the cupcakes you've made for the fam stay fresh for as long as possible, or guaranteeing the ones you want to make now and serve later at an event are at peak freshness, storing them the right way is clutch.
The biggest no-no is putting the cakes in the fridge. Don't do it — it dries them out. Either keep them at room temperature or freeze them. In either case, make sure the cupcakes have completely cooled on a wire rack before you put them in an airtight container where they can sit upright. Ziplock bags are usable for storage but not ideal as they don't protect the frosted cakes from getting squished. If you're going to freeze them, gently wrap them in plastic wrap prior to putting them in the airtight container — nobody wants freezer-burned cupcakes. They can be frozen for up to two months.
The three biggest things to remember when storing cupcakes: no residual oven heat, no air, and no refrigerator.