

5 Tips For The Perfect Steak On A Blackstone Griddle
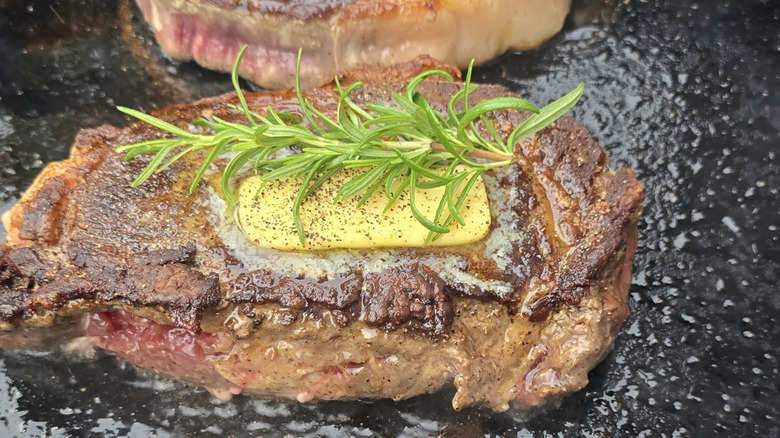
Blackstone is now a leading manufacturer of flat-top griddles, partly made famous with the help of TikTok. They're versatile, good for much more than just pancakes, and one of the things Blackstone griddles are best at is steak. Cooking a steak on a flat-top is similar to cooking it in a skillet, but there are some notable differences from the way you'd approach grilling it on a regular, open-grate grill.
Luckily, it's not that hard to make the perfect steak on a Blackstone if you stick to a few simple rules. First is moisture control, getting the outside dry to form a crust while the inside stays moist. You'll need to preheat the griddle until it's very hot and just starting to smoke and then sear the fat cap if you're cooking a steak with a lot of external fat. As it's cooking, press down gently with a spatula (without smashing it), then finish by basting the meat with butter.
Most of that process is similar to standard grilling, but the flat-top surface means the meat retains more of its natural fat and moisture. For flavor and juiciness in the steak, that's great, but it also has the potential to ruin the perfect charred crust on the outside — which needs dry heat to form. Managing variables like moisture, cooking temperature, and fat level will produce consistent results from a flat-top that are harder to get on a regular grill. Here's how you can make it happen on your own Blackstone.
Moisture control from the start is key
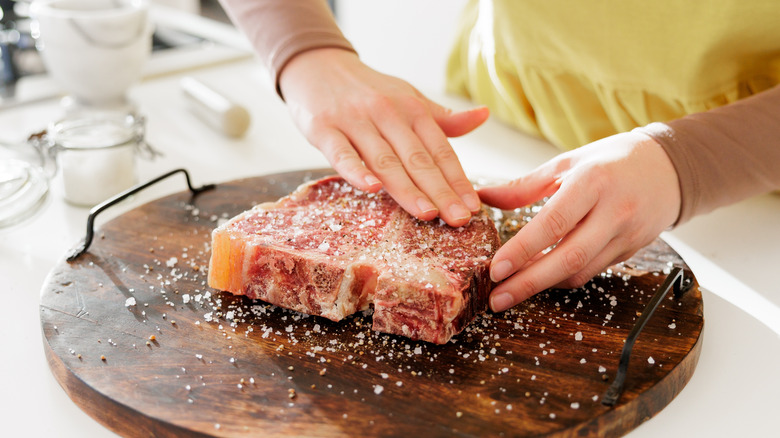
For the ideal grilled meat, you want the outside to be dry enough to form a beautifully browned crust while the inside stays moist and juicy. The first step in making sure that happens is choosing the right steak. Steaks with great marbling — that is, fat distributed throughout the meat — are less likely to get dry during cooking because the fat turns to liquid at high temperatures.
Still, beef also contains a lot of water. On a regular grill, excess water simply drips off or evaporates in the form of steam. While evaporation still happens on a flat-top, the smooth surface doesn't allow for draining the same way an open-grate grill does. You'll want to avoid liquid pooling around the steak as it cooks, as that can jeopardize the beautiful crust.
To that end, it's important when cooking on a Blackstone to keep the outside of raw steaks dry. Let them sit on a drying rack while patting them dry with a paper towel. Then dry-brine the steaks with salt to allow the seasoning to penetrate the meat and boost moisture retention while drying out the surface before grilling. Blackstone recommends a quarter teaspoon of salt per pound of steak sprinkled over the meat, then let it sit in the fridge for a few hours up to overnight (via YouTube).
Preheat the griddle until it just barely starts to smoke
Now that the surface of the beef is dry, stay the course when it comes to forming a perfect crust. The next key is the Blackstone itself. Just as with a grill, oven, or skillet, you need to preheat fully before adding the steak. Add the steak too early and it begins cooking at a lower temperature, so the inside may be done before a crust ever forms. Preheating usually takes about 10 to 12 minutes to achieve a good sear on your steak (though that may vary based on weather or altitude). Aim for 450 to 500 degrees Fahrenheit. An infrared thermometer is the easiest way to confirm you've hit the right temperature range.
A well-seasoned griddle should preheat dry before you add oil to cook your steak. Faint wisps of smoke signal the griddle is ready to start the Maillard reaction, when the sugars and amino acids in the meat react to high heat and brown. If the griddle is billowing thick smoke instead of light wisps, it's running too hot or has built-up residue. Turn the burners down and scrape the surface clean. It's not too late to cook, though. Once the smoke settles back to a light haze, the steak can go on. It's a good idea to use an oil with a high smoke point, such as avocado or safflower, to avoid the oil burning before or during cooking.
Sear the fat cap
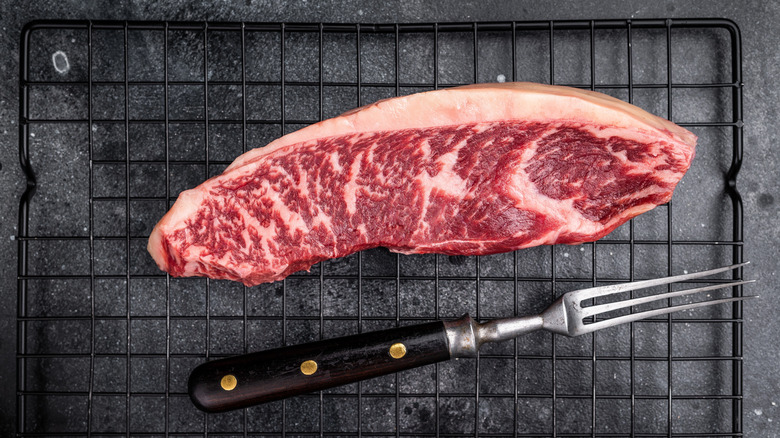
Some cuts of beef, like New York strip, picanha, and ribeye, come with a fat cap: a thick band of fat along one edge of the meat. It's different from the interior marbling, which is called intramuscular fat. Steaks of all shapes and sizes may have a fat cap, so if your steak has one, don't trim it off. Sear it fat side down on the Blackstone first, holding the steak upright with tongs if you need to.
Searing the fat cap is a separate step from building the crust on the meat itself, and it's worth doing on its own. Laid flat with the rest of the steak, the fat cap never gets the direct contact it needs to turn crisp and golden, and you lose out on a lot of savory, umami-rich flavor. As it renders, the fat also warms the rest of the steak gently, helping the meat to slowly come up to temperature, which encourages a pink center. Once the cap is browned, lay the steak flat to sear its faces and develop the crust.
There's another benefit. As the fat cap melts, it lightly coats the flat-top in a way it wouldn't on a normal grill, so the steak then cooks in its own fat and picks up a rich, beefy flavor. On an open-grate grill, that liquified fat would simply drain away.
Press down lightly to create a crust
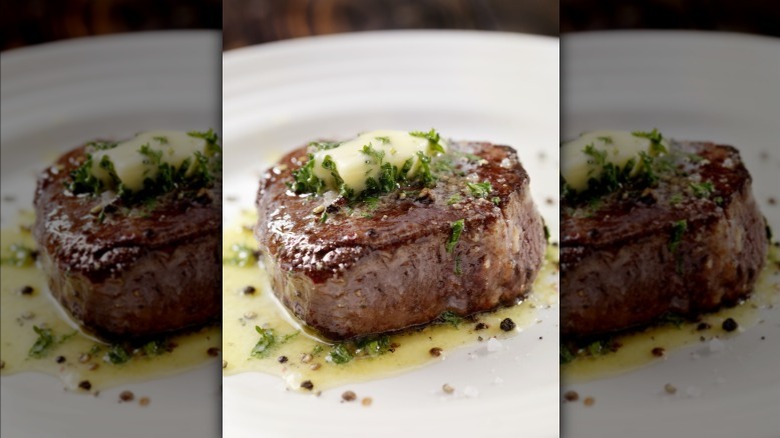
Does pressing down on a steak help it make better contact with the surface? Or does it instead push out all the necessary juices inside the meat, making it dry out faster? Everybody seems to have their own opinion on this one, but for a Blackstone, pressing gently with a stainless-steel spatula can actually help. Ease pressure onto the meat rather than smashing it, so the whole surface touches the griddle. On a regular grill there's less need, since only the grates touch the steak. On a flat-top, like a skillet, the crust forms best when the entire surface area is exposed directly to the heat.
You don't need to press the whole time, though. Apply gentle pressure right after the steak hits the griddle, then again for a short time after you flip it, when full contact matters most. Once the steak lies flat and the sizzle is steady, take the spatula off and leave it alone so the crust can build undisturbed. Pressing for the entire cook just squeezes out juices without browning the meat any further. If an edge or corner is lifting away from the surface, a quick, light nudge is all it needs. A sturdy spatula with a thin edge helps here, since it spreads pressure evenly without tearing the crust you're working to build.
Baste with butter and seasoning before removing from the heat
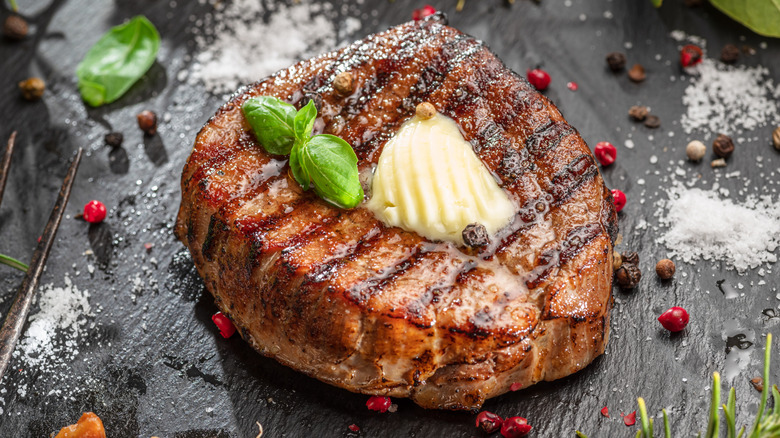
Another luxury of cooking steak on a flat-top is that you can finish the meat right on the cooking surface. You're likely familiar with the skillet technique: In the last few minutes, melt butter (perhaps with herbs) in the pan and spoon it over the steak. The butter adds a rich, creamy texture, and the herbs add a vegetal note. Both go on near the end of cooking to avoid burning.
On a Blackstone, the logistics are a little different, because a flat surface doesn't let you tilt the pan and scoop. While you can melt butter in a skillet and then spoon it over, you can also build a pool right on the flat-top. On a lower-heat area of the griddle (like the corner edge), add the butter and herbs, and use a non-slotted spatula to corral the melting butter into a shallow puddle and scoop to drizzle it over the meat.
Either way, keep the butter on a lower-heat zone and add it only in the last minute or two. On a standard grill, you'd have to finish the steak in a skillet or drizzle it with butter afterward to avoid flare-ups. Basting on the Blackstone lets the steak cook in butter flavor while it's still on the heat.