How To Master Pie Dough
 Shutterstock
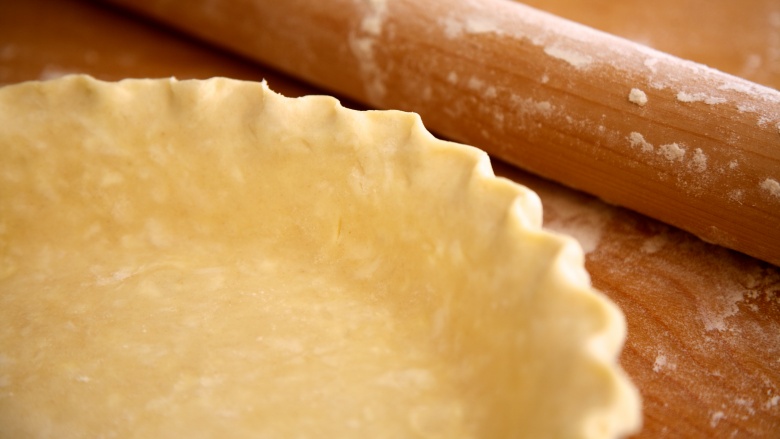
Call it culinary inevitability, the life of pie, or simply blueberry season — there will likely come a time when you get the itch to bake a pie from scratch. The biggest issue is usually preparing the dough, which can be difficult to get the hang of. Just remember that expensive ingredients, tools, or state-of-the-art equipment are no substitute for learning and practicing the proper techniques. If tackling this gives you performance anxiety, don't panic — we have all the information you need to master pie dough.
Read the recipe from start to finish, and follow it exactly

Never lose sight of the fact that the recipe is your pie crust GPS, and that reading it through, from start to finish, and doing exactly what it says, is essential if you want success. If you're a free-thinker in the kitchen, and like to dive right in and improvise without ever reading the directions, you should probably find a different hobby.
First, read the entire ingredient list from top to bottom. See how much you need of each ingredient and if there are any special preparations, like chilling the butter and water. Then read the entire recipe again, this time paying attention to the order of the ingredients. Most people don't realize it, but in a properly written recipe, the list of ingredients are listed in the order in which they are used. In other words, the first ingredient on the list should should also be first in the bowl.
One ingredient to take extra care with is water. Avoid using too much beyond what the recipe says, as it reduces the tenderness and flakiness of the dough. Use a spray bottle instead, if you want to add moisture or your dough feels too dry. You can always add more, but you can't add more flour to compensate if the dough is too wet. More flour adds more gluten, and that means toughness.
How to chill and rest the dough
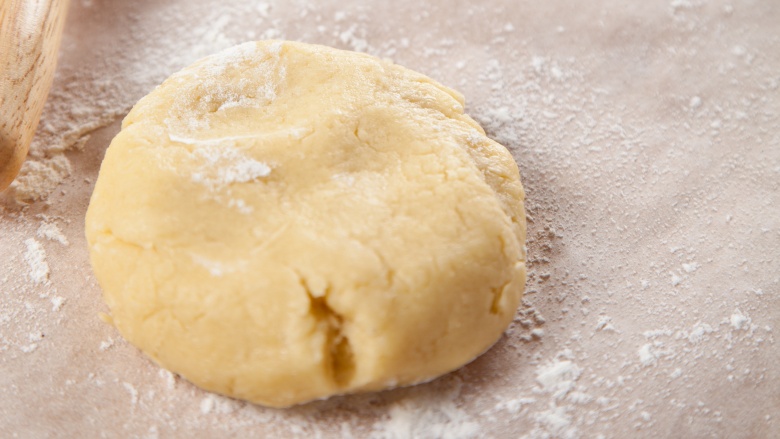
One of the most overlooked, but important, steps to follow is to let the dough rest and chill after it's been mixed. The dough should be flattened into a three-quarter-inch thick disk, double wrapped in plastic, and placed in the refrigerator to rest and chill for at least one hour — ideally, overnight. Wrapping the dough in plastic prevents it from absorbing odors from the refrigerator and keeps the dough moist, while resting gives the gluten in the dough time to relax, so it will retain its elasticity when rolled and placed into the pie pan. If the gluten is stretched too far without resting, the dough toughens and pulls back, and the crust slides down the sides of the pan, creating a true pie disaster that nobody wants.
Rolling and shaping the dough
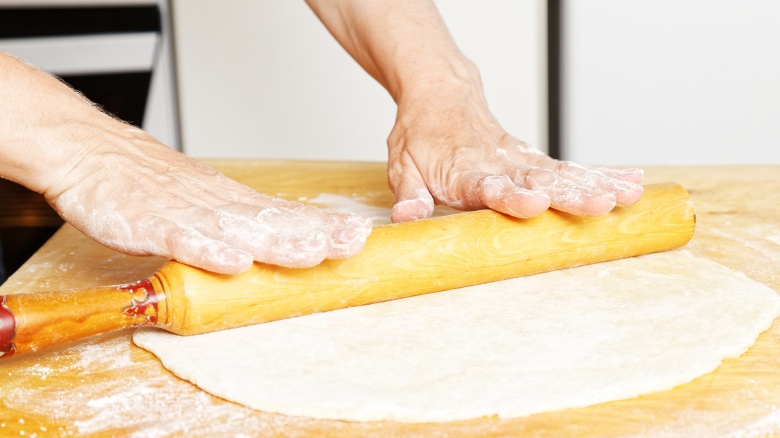
Once the dough has rested, it's time to roll out the disk so you can line the pan. It's still important to avoid activating the gluten and toughening the dough, so you want to use as little flour as possible on the table (even a small amount can make the dough thicker and leathery) — just a dusting will do. Try not to pull on the dough so not to make it tough, and work quickly to keep the dough from getting warm.
You want to roll the dough into a large disk that's 12 inches in diameter. For a standard pie pan, this will be large enough to both fill, and give you the overage you need to create a decorative edge. As you roll the dough, fan outward from the center with your rolling pin, using light but equal pressure so the dough is even and there aren't any high or low spots. Otherwise, the dough won't bake evenly, and some parts may get over or undercooked.
Lining the pan
When the dough has rested and is ready to line the pan, place it on lightly flour-dusted parchment paper, laid on either a large pizza pan or baking sheet. Let the circle chill in the refrigerator for about 30 minutes — chilling the dough well before lining the pan relaxes the gluten and helps keep the dough from sliding down the sides of the pan, especially if you're baking blind (partially baking to prevent sogginess) for a liquid filling. Make sure you've dusted off any excess flour from the surface, because the flour will burn in the oven and cause the crust to taste bitter.
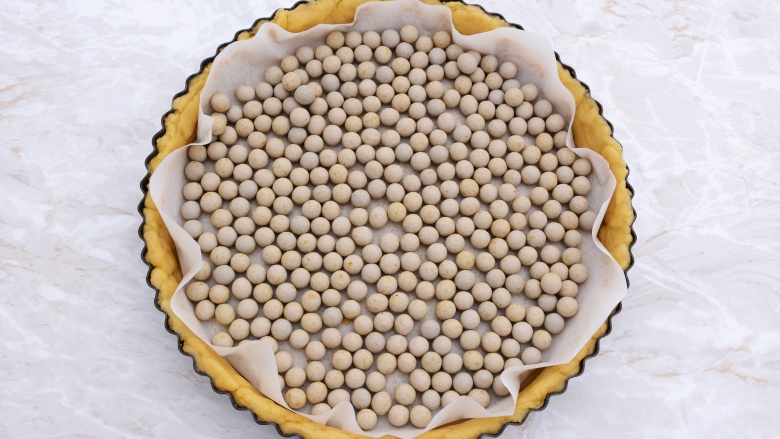
To ensure your dough stays formed prior to baking, line the insides with another piece of parchment paper, and cover it with pastry weights, such as the ceramic beans pictured above. As long as you don't accidentally bake and eat them, they'll be your best pie-making friend.
Time to form and bake the pie
Pre-heat the oven to your desired temperature, so it's hot when you put your pie in. Have your filling ready to go, and remove the disk of dough from the refrigerator. Place the pie pan on a sheet pan — doing so prevents filling from overflowing to the bottom of the oven and burning or smoking, and makes it easy to rotate the pan on the rack without spilling or potentially dropping the pie.
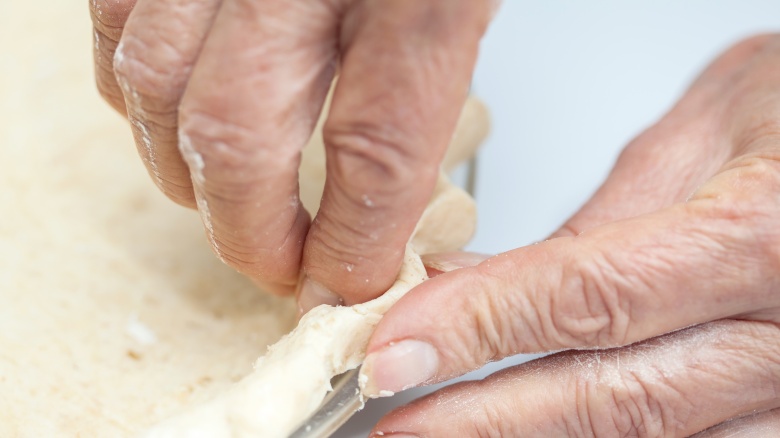
Then, spray both the inside and edges with cooking spray, and gently center the dough disk down. Center it in the bottom of the pan first, then lift the dough up and onto the sides and top edge of the pan. Gently smooth out any bubbles or wrinkles with your hand, and quickly crimp the sides to form a decorative edge. Dock (poke holes in) the center of the pie to ensure it doesn't puff up in the center, then brush the edge with egg wash (a whole egg beaten with milk or water). This strengthens the crust, gives it flavor, and helps bake the crust to a deep golden brown. Immediately add the filling, and place the pie and bake sheet into the oven. To ensure even baking, start the pie pan in the bottom of the oven first, to set the bottom crust. Then, once set, move it to the upper shelf to ensure the crust browns on top. While baking, rotate from front to back so all sides are exposed to the heat and will brown evenly.
Follow these steps and practice enough, and you'll have perfect pie dough (and perfect pie, period) every time, in no time!