The Real Reason Your Bread Dough Didn't Rise

We all know that practice makes perfect, especially with something as temperamental as baking. As LifeHacker (along with many other outlets) can attest, baking can be considered both a science and an art, so it stands to reason that some who consider themselves acceptable cooks may have a little trouble with exact precision needed when first trying their hands at baking.
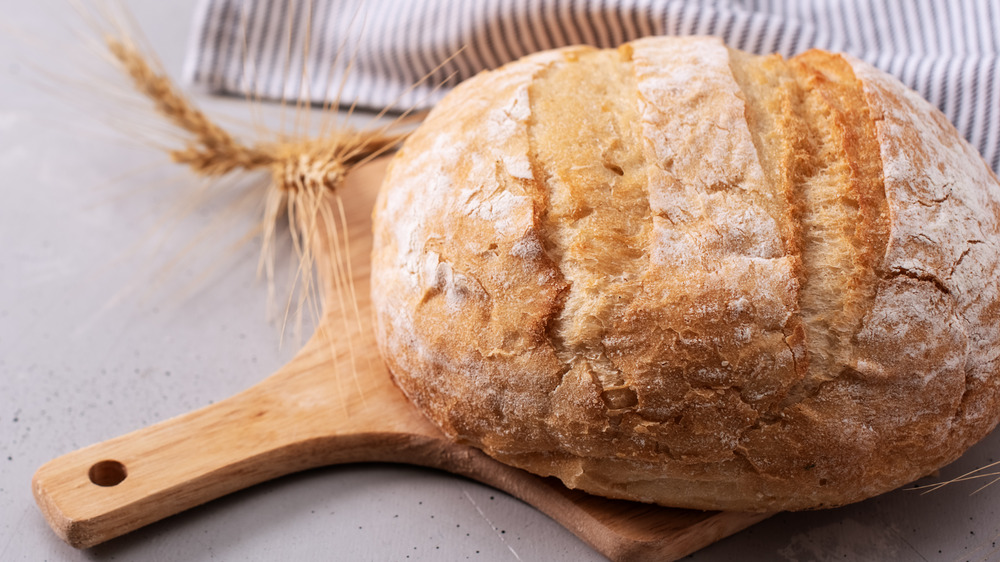
And if cakes and cookies are hard for some novice bakers to begin with, baking bread can be considered a whole new level of tricky. Taste of Home details the intricate process of proofing bread and gives an explanation of why you may be having some trouble with your first — or even later — attempts at becoming a bread-"winner," so to speak.
The proof is in, well ... the proof
According to Taste of Home, there are four different proven proofing methods: "proof at room temperature", proof in the oven, "proof with a slow cooker", or proof in a proofing box. Each method has its benefits, and all can work if done properly. But the kicker is that if you don't proof your bread correctly, no matter what else you do, it just won't rise. Bad proofing can lead to "a flat, dense doorstop rather than a lovely, fluffy loaf" if you don't proof long enough, and on the flipside, if you proof for too long, "your dough will wind up collapsing".
So how do you make sure the proof is perfect? They suggest working on timing and temperature until you find one that yields results. If it seems like you're overproofing, leave it in for less time, or at a lower temp, and vice versa for underproofing.
If that still doesn't work, it could also be the yeast. To be safe, they recommend always using "fresh yeast" and investing "in a thermometer to help your yeast get the job done." And now that you're armed with this enlightened knowledge, we trust we'll be seeing your Instagram best bread-making posts any day now.