Homemade White Bread Recipe
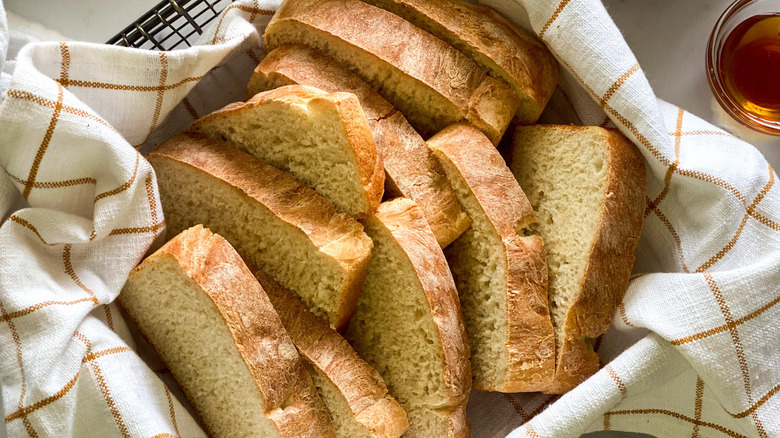
It's hard to think of a more welcoming aroma than the smell of freshly baked bread wafting through your home. If you've only yet experienced it walking into a bakery, it's definitely time to roll up your sleeves, tie your apron, and get to work.
While some bread recipes are unnecessarily complicated, Miriam Hahn, recipe developer and owner of YouCare-Selfcare, has created a straightforward recipe for homemade white bread so that you can have a fresh, warm loaf within a handful of hours. Even better, most of the time will be spent waiting instead of working! Hahn affirms, "This is a great thing to make if you are having a day at home and can easily monitor the wait times."
You won't need any fancy ingredients to bake a homemade loaf of bread, and Hahn remarks that "The hardest part is probably kneading." Once you are successful at making your own loaf of bread, we guarantee it will be hard to return to store-bought. Thanks to the ease of storing bread in the freezer, you might as well just bake up a few batches and always have a loaf on hand.
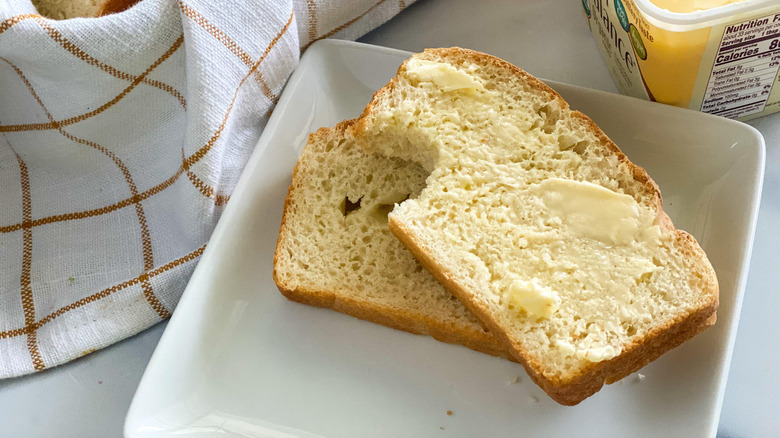
Whether you enjoy a simple slice of toast with butter or want to build a towering sandwich, this homemade white bread is sure to be up to the task!
Gather the ingredients for your homemade white bread
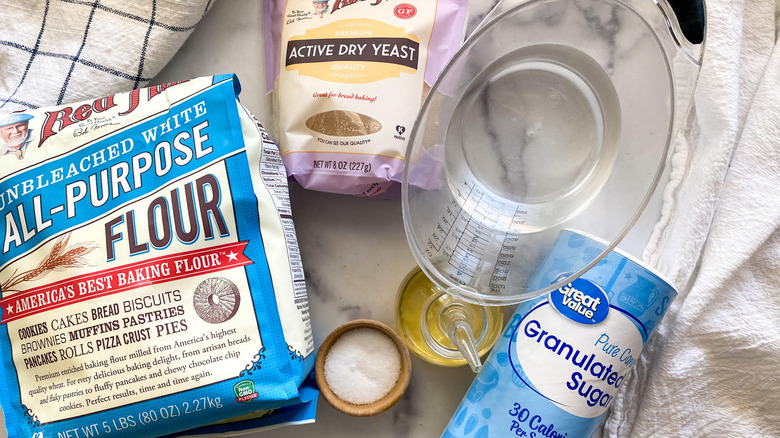
You don't need a long list of ingredients for this simple white bread. Active dry yeast is the key one to have dough that actually rises. Instant yeast can be used, too, although Hahn hasn't tested it and notes, "I have had such success with this bread that I haven't wanted to even risk it." If you only have instant yeast, she recommends using a quarter less compared to active dry yeast.
Sugar is required to feed and activate the yeast. You won't be able to taste it.
Next, it's important to use warm water with the yeast in order for the granules to dissolve and begin to activate. Water that is too hot will kill the yeast, whereas the yeast won't activate if it's too cold.
Salt enhances the flavor of the flour so your bread won't be bland. Hahn's recipe calls for all-purpose or white bread flour. "With baking, it is tricky to make flour substitutions, so I always stick to white flour for this recipe," she explains. If you have a gluten allergy or want to try a different flour, keep in mind that your results might vary and it could be better to opt for a recipe specific to that flour.
A bit of oil helps make the dough easier to handle, and provides some moisture that allows it expand into a tall, airy, and easy-to-slice loaf. Hahn uses avocado oil, but any oil will work.
In a large bowl, mix the yeast with the warm water and sugar, then wait for it to bubble
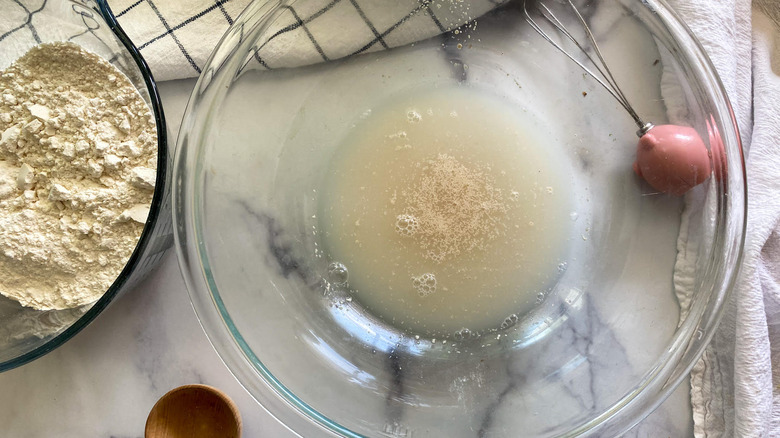
To start, you will need to activate the dry yeast. Set out a large bowl and add the active dry yeast, ¼ teaspoon of sugar, and the warm water. Hahn recommends water between 110 and 115 F, or for a looser approximation she says, "The water should be warm enough to put your fingers in, and leave in comfortably."
With the help of a whisk, mix the ingredients together until the granules of dry yeast have dissolved.
Let the mixture sit for 5 to 10 minutes until bubbles start to form on the surface. This indicates that the yeast has been activated. If bubbles don't begin to form, your yeast might be dead and you will have to start again to avoid baking a flat loaf of bread.
Whisk in the remaining sugar, salt, and half of the flour
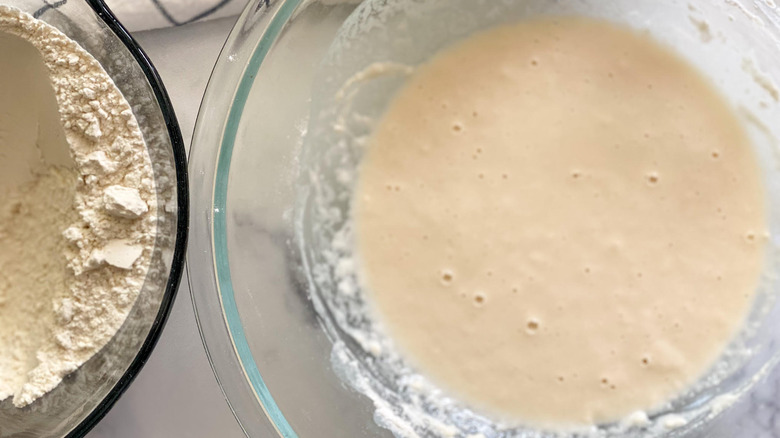
Once the yeast has been activated, add the remaining 1 ½ teaspoons of sugar along with the salt and 1 ½ cups of all-purpose flour to the bowl. Whisk the mixture to combine everything properly. The flour should no longer be powdery. Don't be tempted to add all of your flour at once or you might dry out the dough or have a hard time properly mixing it.
Mix in the oil and the rest of the flour a half cup at a time
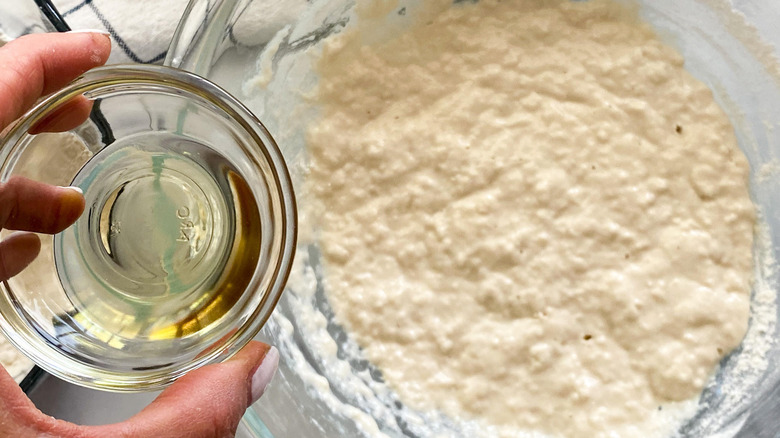
Next, pour in your oil of choice and mix it in. Adding oil to the dough produces a delicious, tender result that makes it effortless to slice through the baked loaf.
Then, add in the remainder of the flour slowly, going ½ cup at a time. Once again, take your time adding the flour and mixing to ensure that you don't overdo it with the quantity. Adding it slowly also allows the flour enough time to absorb the liquid components.
Knead the dough on a floured surface
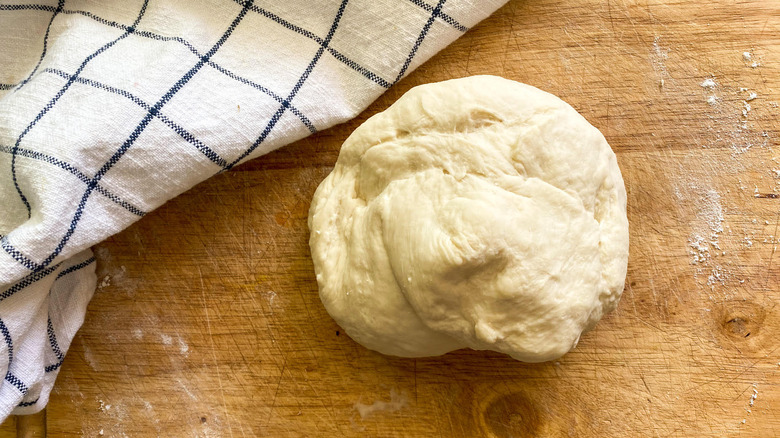
Next comes the most important step in the process, but one that Hahn (and many bakers) often wish they could skip. "The hardest part is probably kneading," says Hahn. Set the dough on a floured surface, and knead it for eight to ten minutes. Chances are that you'll have had more than enough once eight minutes is up. Hahn agrees and remarks, "I always set a timer and it feels like a long time when you are working it."
You'll know the dough is ready when it transforms from a shaggy mound to a smooth ball that holds its shape. While you might be tempted to use a machine for this step, kneading dough by hand gives you the most control over knowing when it is ready.
Add the dough to a greased bowl, coat it with oil, and let it rise
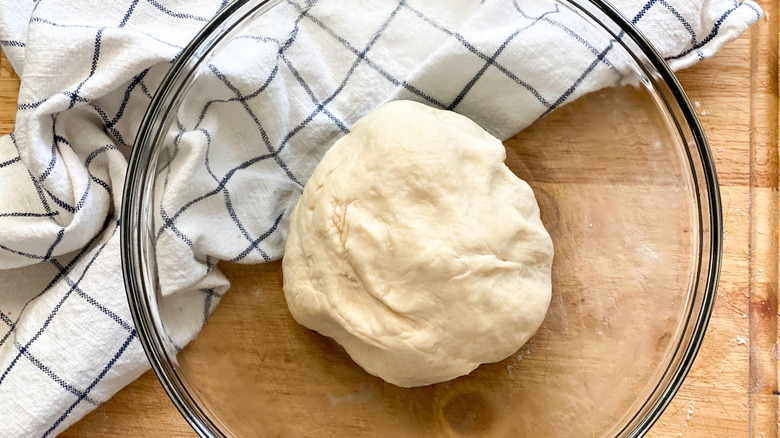
Brush a large glass bowl with oil and add the dough ball to the center of the bowl. Roll the ball of dough a few times to coat the entire surface with oil. By greasing the bread dough, it won't dry out while it sits and rises.
Cover the bowl with a dish towel for two hours in order for the dough to rise and become light and airy. Hahn notes, "Leaving the dough on the counter will work fine."
Transfer the dough to a greased loaf pan and cover it until it doubles in size

After you've left the dough to rise for two hours, grease a 9x5-inch loaf pan with oil or cooking spray. Put your dough into the pan, spreading it out so it covers the entire pan. Once again, place the dish towel over the pan and leave the dough to rise for two to three hours. It is ready when it has doubled in size.
Preheat the oven, then bake the bread until golden
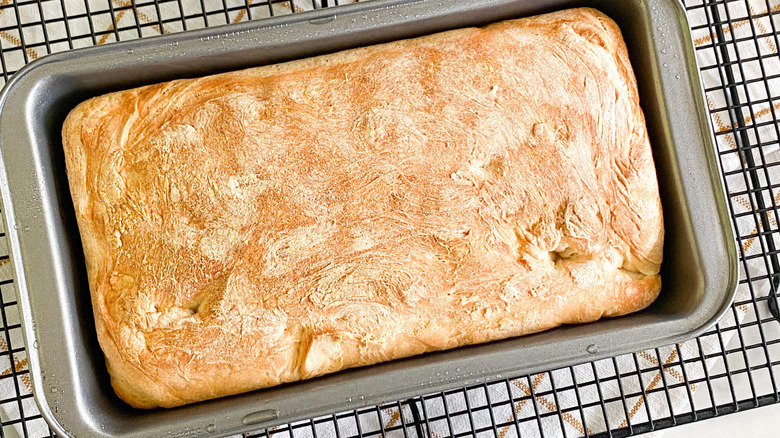
As the dough finishes rising, preheat the oven to 375 F. Hahn indicates that you should decrease the temperature to 350 F if you are using the convection oven setting. Bake the bread for 30 to 35 minutes, or 23 to 29 minutes if you are using the convection setting.
The bread is ready when the top is a nice golden brown color. As well, when it has baked through, Hahn says, "It appears to be pulling away from the loaf pan." If you have one, Hahn suggests testing for doneness with a bread thermometer, "to see if the internal temperature is 200 degrees." Finally, Hahn remarks, "Another way to test if it is done is to thump it and see if it sounds hollow."
Using a toothpick to test for doneness doesn't work as well here and Hahn adds, "I usually only use the toothpick method for sweet breads and muffins."
Cool, slice, and serve the bread
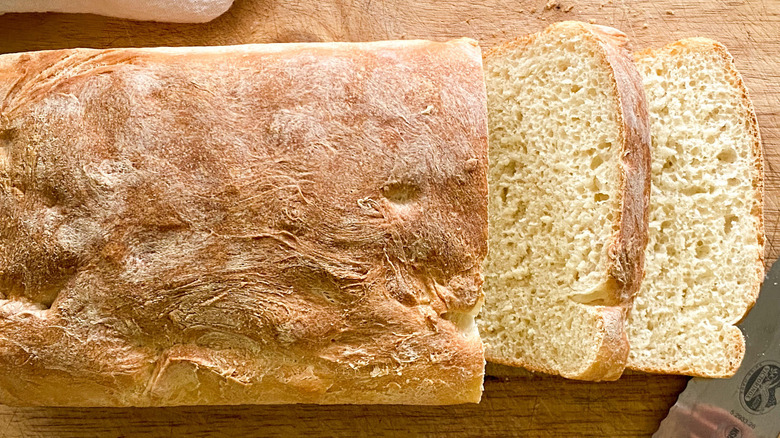
Remove the loaf pan from the oven and let the bread cool for 15 minutes. Then, remove the loaf from the pan and place it on a cooling rack to cool for an additional 30 minutes before slicing. With the heavenly aromas in your kitchen, it will definitely be tempting to immediately slice into the loaf, but you'll be rewarded with a light, airy texture if you wait. Slice into it too soon and your bread will be gummy and dense.
As Hahn says, "It is such a nice treat to have homemade bread with any meal," and it certainly isn't hard to find ways to use it. Something as simple as toasted homemade bread with butter is already a step up from a store-bought pre-sliced loaf. Use it to make sandwiches, serve it with soup, salad, or cheese, or turn it into French toast for breakfast. There's no shortage of toppings when it comes to a fresh slice of homemade bread.
To keep your bread fresh, store it in an airtight plastic bag at room temperature once it has cooled down completely. Keep in mind that it has no preservatives, so it is best to eat it soon. You can also freeze the bread whole or in slices in a sealed bag if you don't go through it quickly.
Homemade White Bread
If you've only experienced the aroma of freshly baked bread when walking into a bakery, it's time to roll up your sleeves for this homemade white bread recipe.
Ingredients
- ¾ teaspoon active dry yeast
- 1 ¾ teaspoons sugar, divided
- 1 ⅛ cups warm water
- ½ tablespoon salt
- 3 cups all-purpose flour or white bread flour, divided
- 1 tablespoon oil
Directions
- In a large bowl, mix the yeast with ¼ teaspoon sugar and warm water.
- Let the mixture sit until bubbles start to form on the surface, about 5 to 10 minutes.
- Add the remaining 1 ½ teaspoons sugar, along with the salt and 1 ½ cups flour, and whisk to combine.
- Mix in the oil.
- Add the remaining 1 ½ cups flour, half a cup at a time.
- Place the dough on a floured surface and knead it for 8 to 10 minutes.
- Brush a glass bowl with oil and place the dough ball in the middle, turning it to coat all of the sides.
- Cover the bowl with a dish towel for 2 hours. It will rise and get very airy.
- Using cooking spray or oil, grease a 9x5-inch loaf pan.
- Put the dough in the pan and cover it again for 2 to 3 hours until the dough has doubled in size.
- When your dough is almost ready, preheat the oven to 375 F (or 350 F for a convection oven setting.)
- Bake for 30 to 35 minutes (or 23 to 29 minutes if using convection) until the top is golden brown.
- Remove the loaf from the oven and let it cool in the pan for 15 minutes.
- After 15 minutes, remove the loaf from the pan and place it on a cooling rack for at least 30 minutes before slicing.
Nutrition
| Calories per Serving | 153 |
| Total Fat | 1.8 g |
| Saturated Fat | 0.2 g |
| Trans Fat | 0.0 g |
| Cholesterol | 0.0 mg |
| Total Carbohydrates | 29.5 g |
| Dietary Fiber | 1.1 g |
| Total Sugars | 0.8 g |
| Sodium | 154.9 mg |
| Protein | 4.0 g |