Why Fried Foods Always Taste Better In A Restaurant
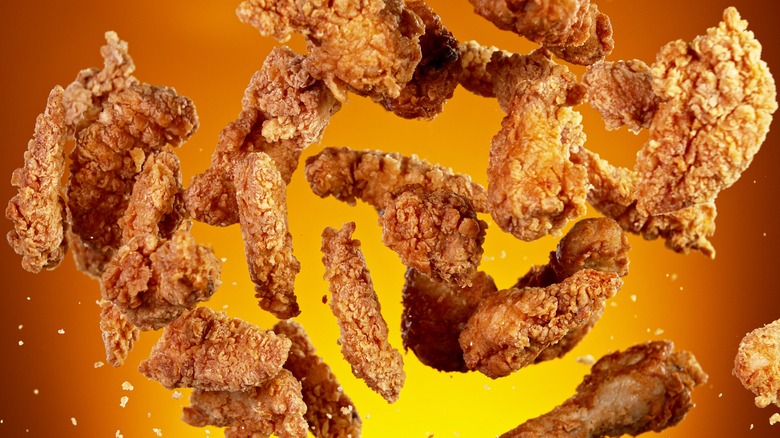
Whether you're making donuts, churros, fried chicken, or french fries, frying food at home can be a messy or even dangerous endeavor. To add insult to injury, those who devote themselves to perfecting the technique often find the results don't live up to their favorite restaurant — or even their favorite drive-thru. The Internet is rife with forums of folks pleading with experts to share the secrets to perfectly fried food. But whether you're suffering from soggy or greasy results, breading that peels off the second you set the food on a plate, or fries that refuse to get crispy and golden brown no matter how long you cook them, fear not, there's a solution.
The reality is that a wide range of things can go awry, such as using the wrong oil, poor temperature control, imperfect breading techniques, and lackluster equipment. Consider this your one-stop spot for all of the deep-frying tips, tricks, and techniques that will ensure your fried food is just as perfect at home as it is at your favorite restaurant. Once you know the right methods, you'll be well on your way to recreating the crispy, crunchy, deep-fried foods of your dreams.
You're not frying with the right oil
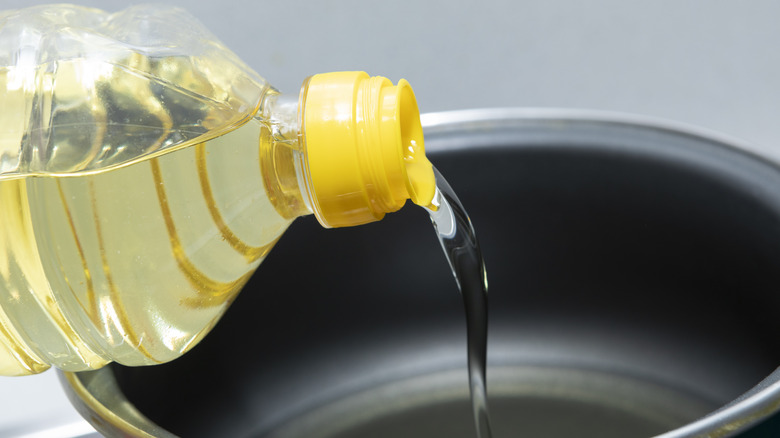
Olive, peanut, beef tallow, or lard, when it comes to frying, there's a whole world of options. The right oil leads to crisp, flavorful food, whereas the wrong choice could result in a smoky, burnt disaster. Frying is a high-temperature cooking method, which means you're going to want to look for an oil with a high smoke point. This refers to the temperature at which the oil starts to burn, and it is linked to the presence (or absence) of certain compounds that tend to be particularly volatile when exposed to heat.
First-press and virgin oils are jam-packed with these sorts of minerals and enzymes, making them more flavorful and often healthier for you. More refined oils have fewer reactive compounds and thus are less likely to go rancid or burn. Burnt oil isn't just smoky and stinky — it may contribute to off flavors in your food and could even have repercussions on the nutritional profile of your dish.
Seeing as deep-frying can require oil to reach a temperature of up to 400 degrees Fahrenheit, you're going to want to opt for fairly highly refined options like safflower oil or vegetable oil. Oils rich in oleic acid, like peanut or canola, are great candidates for frying too.
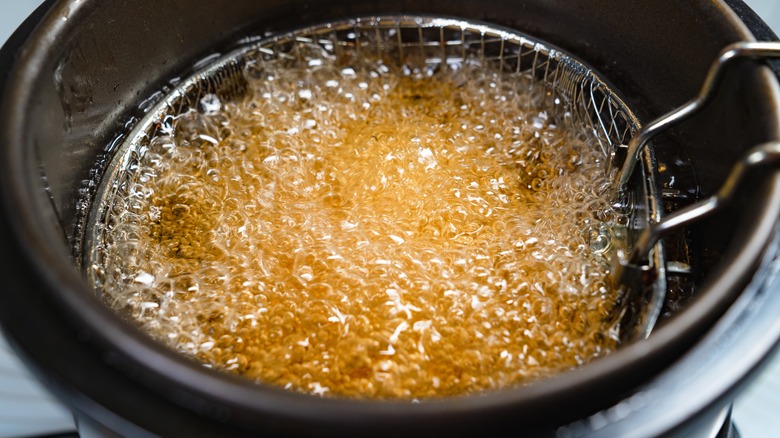
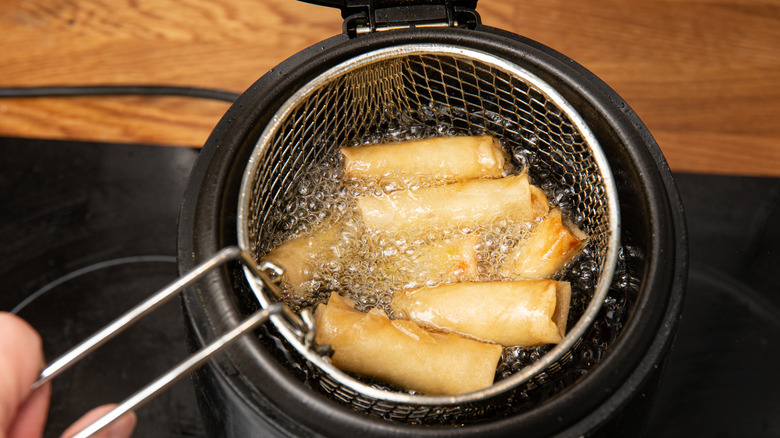
You're not frying in enough oil
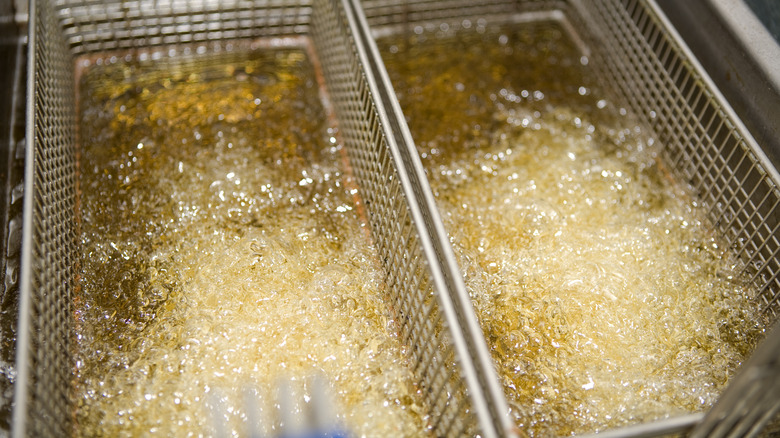
Deep-fried foods should cook fully submerged in oil, which means you're going to need to use quite a lot of it. Furthermore, you'll need to be sure to use a big enough pot or fryer to contain both the oil and the food you're frying without overcrowding it. But if you're worried about the resulting food being too greasy, rest assured: Most of that oil will be left behind. As food comes into contact with the frying oil, any moisture begins to vaporize almost on contact. That vapor creates a shield from the oil, which means most of it is not actually absorbed. The final greasiness has nothing to do with how much oil you use, but rather, the amount of time it spends cooking in the oil (and the temperature — but we'll get to that in a moment).
If it's not greasiness but waste you're worried about, rest assured: Most restaurants use frying oil several times, and home cooks can too. Once you've finished frying, set the oil aside to cool completely, then strain it through a fine mesh strainer. Store it in a cool dry place, and you'll be able to use it between three and eight more times, depending on what you're frying. (If it's breaded items, you'll want to use it slightly fewer times, and if the oil itself has been kept past a month or two, it's best to dispose of it safely and start fresh.)
You're not removing excess moisture first
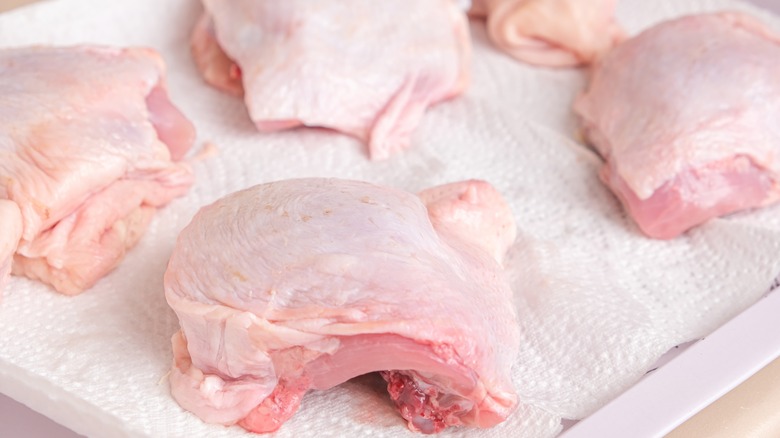
Once you've picked your oil and got it up to temp, you might think you're ready to start frying, but you've still got a bit more prep to do. Perhaps the most important step, at least from a safety standpoint, is to remove as much moisture as possible from the outside of the food before plunging it into the hot oil. Think about it: If oil is heated to somewhere between 300 and 400 degrees Fahrenheit, and water boils at 212 degrees Fahrenheit, what do you suppose will happen to water added to a deep fryer? It will come to an instant boil and bubble up, risking burning you in the process. (That's why, by the way, you never want to put water on a grease fire.)
By reducing the moisture on the surface of the food you plan to fry, you minimize the possibility of oil splatter, so be sure to be thorough. Pat the food dry with paper towels or a dish towel right before you add it to the fryer, and as an added precaution, consider using long tongs or a slotted deep-fry spoon to transfer the food into the oil carefully. Also, be sure that if you wash your hands as you're working, you dry them well to avoid running the risk of water droplets getting into the fryer, which could bubble up and burn you as you work.
You're not frying at the right temperature
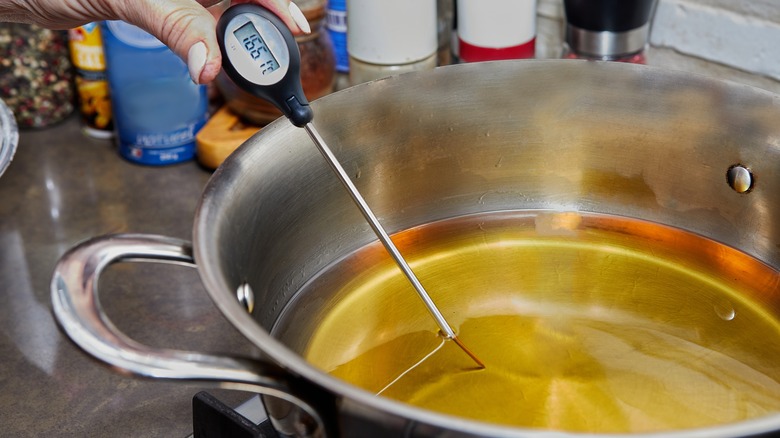
Given the dramatic sizzle that ensues when food is added to hot frying oil, you may be tempted to reduce the heat to keep deep-frying safer. But you'd actually be opening yourself up to a whole world of adjacent woes.
A low oil temperature makes the moisture in foods vaporize more slowly, reducing the food's ability to repel the oil as it cooks. Ultimately, the result will be soggy and greasy — far from appetizing. For these finicky reasons, you'll want to respect the frying temperature of the recipe you're following — usually somewhere between 352 and 365 degrees Fahrenheit. If you're using a tabletop fryer, it will usually have a thermometer built in; if not, it may be time to invest in a thermometer for this purpose.
If you insist on freewheeling it, however, there are a few tricks you can use to determine if the oil is at the right temperature. If you add a kernel of popcorn to the oil, you'll know it's at the right temperature when it pops. Another trick that works well if you're frying donuts or battered food is to drop a bit of dough or batter into the hot oil. It should sink and then immediately rise to the middle of the oil, lingering a moment before rising fully to the surface.
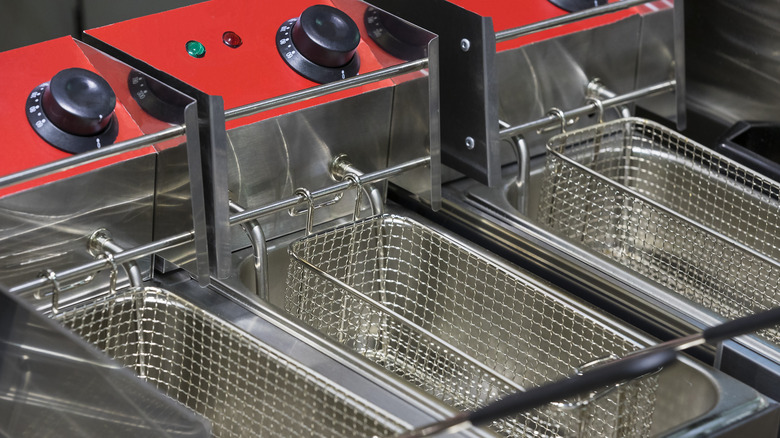
Smaller home fryers have longer recovery times
Just because the oil reaches the right temperature doesn't mean it will stay there for the entirety of your frying time. Adding cold food to hot oil means the oil temperature is undoubtedly going to plummet. And the less oil you're using, the longer it's going to take to get back up to the original temperature. In the industry, this concept is known as a fryer's "recovery time," and it's a delicate balance even for pro chefs. A larger fryer tends to have a shorter recovery time, meaning the oil remains at a lower-than-desired temperature for less time. Home cooks working with smaller fryers have a bigger hurdle to overcome.
Luckily, there are some ways you can work within these parameters. First off, be sure not to overcrowd the fryer: Not only does this mean that battered food could stick together, but it also means that the temperature of the fryer will lower even more significantly. As a result, it will take a longer time to return to its original temperature, which means the food will be at a low temperature for longer. You can also start your fryer slightly higher than your target temperature to account for the drop. Just be sure not to go too far in the other direction or you'll risk burning your food.
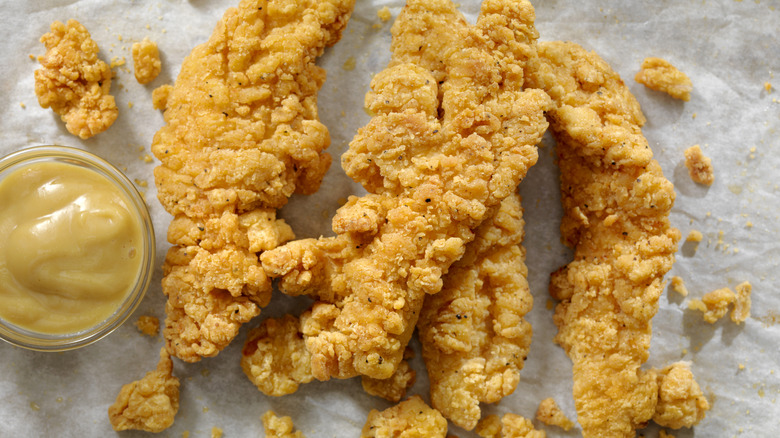
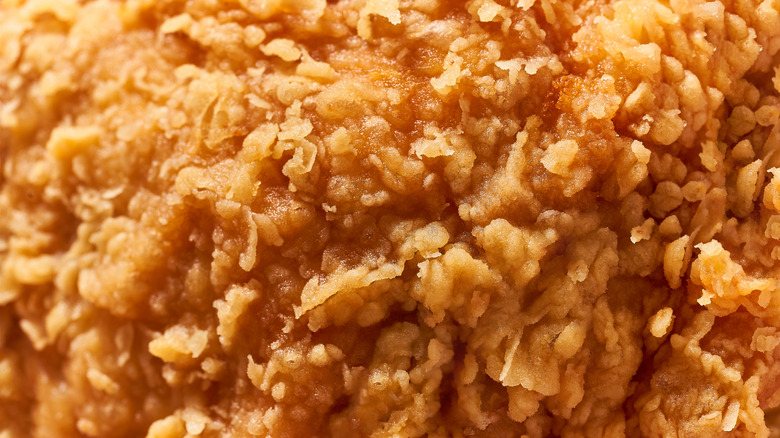
You're not breading it properly
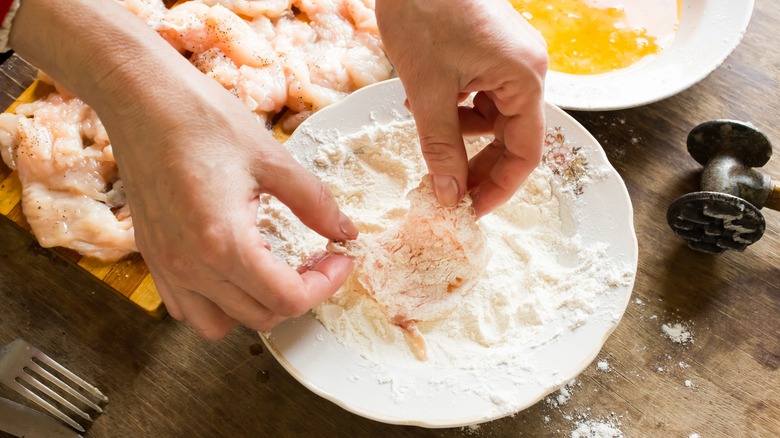
How many times have you dug into a perfectly breaded chicken cutlet at a restaurant? On the other hand, when trying to recreate the same dish at home, it seems like half the breading comes off in the pan. You're not alone. Properly breading food requires a bit of technique, but once you've mastered it you'll have a perfectly golden crust every single time.
The first thing to remember is that when it comes to breading — much like when it comes to frying in general — moisture is your enemy. Be sure to pat the meat dry before beginning to bread it so that the flour adheres more evenly to the surface. Speaking of which, the next essential step is dredging the item of food with a thin layer of flour. This helps the food turn perfectly golden, without drying out the center in the process. Lastly, if you want a truly perfect crust, you'll want to give your breaded food a chance to chill in the fridge for at least 30 minutes before cooking it. This will ensure that the coating has truly adhered to the surface of the food, resulting in a breading that remains securely attached as it goes through the fryer.
You're not double-coating your fried food
One reason the crust of fried food always seems so much thicker and crunchier at a restaurant is that the cook is likely double-coating it — luckily, this is easy to replicate at home. If you're using a breadcrumb mixture, you should start by setting out your bowls of flour, beaten eggs, and seasoned breadcrumbs. Follow it up by dipping the food first in the flour, then in the egg, then in the breadcrumb ... and then back in the egg and in the breadcrumbs a last time. (Be sure to do all of the transferring with one hand, keeping the other one clean for emergencies.)
In cases where the coating is made with seasoned flour, like fried chicken, you should carry out a similar process and dip the food first in the egg, then in the flour, then back in the egg, and finally in the flour. For buttermilk fried chicken, meanwhile, try a cycle of marinating it in buttermilk then dipping it in flour, passing it back in the buttermilk, and finishing it off in flour. Letting the chicken sit in the flour for a few minutes after the final dip before moving it to the fryer will give you an even thicker, crunchier crust.
You're not blanching your fries

When it comes to french fries, there's a technique you might not be using that can be the difference between soggy or overcooked fries and golden, fluffy perfection. Most chefs blanch their fries first, frying them at a low temperature and allowing them to completely cool before frying them to order at a much higher temperature.
Blanching is a technique that has multiple benefits. First off, it allows you to prep a larger quantity of fries in advance, leaving you free to carry out the last frying step right before serving without the worry of oxidation turning the golden potato matchsticks brown. But blanching also results in a better texture, producing fries with a fluffy interior and a crisp, golden brown exterior. A first fry at 325 degrees Fahrenheit for a few minutes will cook the potatoes through. When the rest of your meal is close to ready, finish them off at 375 degrees Fahrenheit for another few minutes to give them a coveted crispy crunch and golden hue.
You're not double-frying
Blanching is the ideal method for fries, but there are other foods that can benefit from a second turn through the fryer, namely fried chicken. Once you've fried a piece of chicken the first time, moisture in the center will come to the surface, causing the starch to begin to gelatinize and transform texturally. If you fry it again, you'll cause the residual water to evaporate. Compounded with the new structure of the starch, it translates to a super crispy exterior.
The benefits of this approach aren't just a matter of texture. Much like with french fries, double-frying means that you can prep a big batch of fried chicken ahead of time (say, for a dinner party) and refry it to reheat right before serving. It'll taste freshly fried ... only better! This is a technique frequently used to make Japanese karaage, which is typically fried twice at two different temperatures. After a first fry between 325 and 350 degrees Fahrenheit for several minutes, the chicken rests for at least five minutes (or up to a few hours). A second trip through the fryer between 375 and 400 degrees Fahrenheit for a couple of minutes makes it ultra crispy. Karaage also usually relies on potato starch as a coating, which renders it even crispier. Since potato starch consists of smaller particles than flour, they gelatinize more quickly, making the food even crispier after the final fry.
Home fryers can't cook large batches (luckily, there's a solution!)
Unless you happen to have an industrial fryer at home, it's tough to make a big batch of fried food for a party or even a family dinner. Since you're constrained to smaller batches due to the size of your fryer, it may seem like food always comes out cold — or the chef never gets to eat with the rest of the party. And while double frying solves part of the problem by significantly reducing last-minute work, there is another solution if you're frying in multiple batches just before serving.
The secret, unsurprisingly if you've made it this far, is to keep as much moisture as possible away from your fried food — and that includes the steam it's releasing as it cools. To keep that steam from settling on the surface of the food and rendering it soggy while you wait for the next batches to fry, simply line a baking sheet with paper towels, and preheat the oven to 300 degrees Fahrenheit. As you fry batches of food, set them on the baking sheet to drain, and slip the tray right into the oven. Your food will stay warm and crisp while you finish off the remaining batches, allowing all the diners to enjoy the hot and tasty dish at the same time.
Pro kitchens use pressure fryers
Look, there's no getting around it: An industrial kitchen is just a better setup for frying than a home kitchen. The surfaces are easier to wipe down after a day of being splattered with oil. The fryer itself is larger, making it easier to keep the oil at the right temperature. Not to mention, professional chefs have years of experience creating optimal breadings and coatings for fried foods that boast the ideal texture and flavor. But while there are some workarounds for home cooks that make deep-frying much more attainable, sometimes, the question comes down to equipment ... and some equipment available to pro chefs just isn't accessible for home cooks.
Take, for example, the pressure fryer. This commercial-grade fryer uses the joint techniques of pressure cooking and deep-frying at the same time to render fried chicken super moist and never greasy. Even if you follow all of our tips and tricks, you'd be hard-pressed to do the same as simply as a chef armed with such a device. But don't let that be a deterrent. Once you've perfected your deep-fried foods at home, take advantage of the exemplary materials in pro kitchens and treat yourself to fried chicken and french fries at your favorite restaurant. After all your hard work, you deserve it!