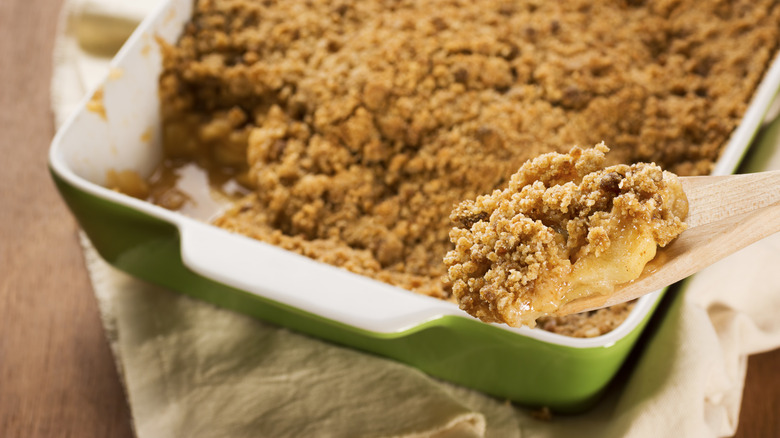
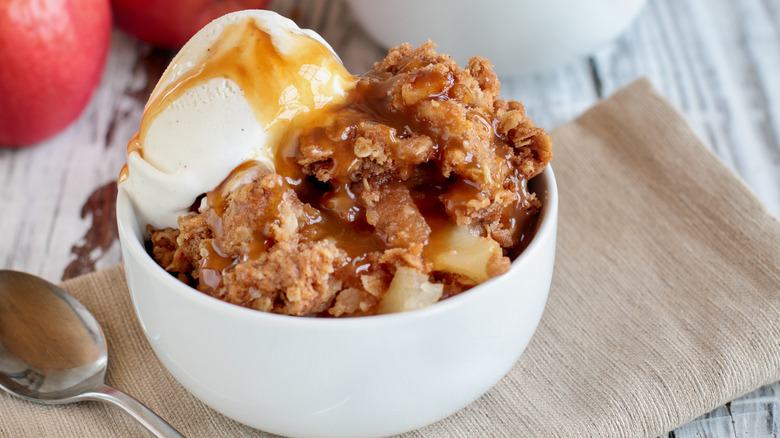
Mistakes Everyone Makes When Baking Apple Crisp
We may receive a commission on purchases made from links.
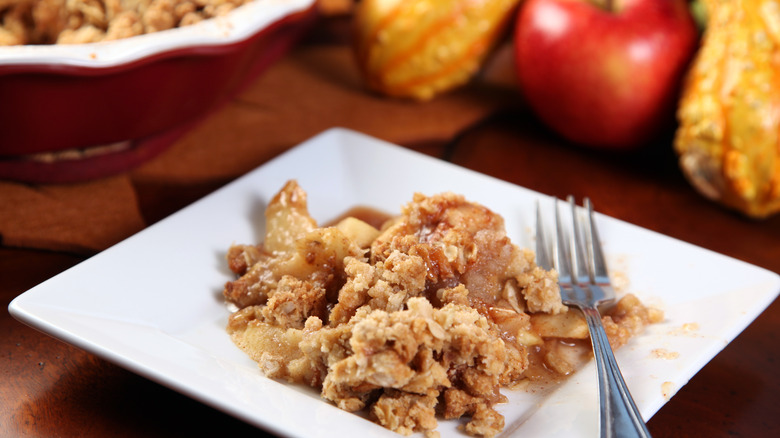
Apple crisp is the embodiment of fall. The dessert first turned up in cookbooks in 1924 in the United States. Its popularity grew as it became a more straightforward and cheaper alternative to the all-American apple pie.
This variation on the apple pie has it all: It has apples, spices, and a streusel topping that uses the same main ingredients found in pie crusts, but it is crucially far less complicated to make than an apple pie. However, as with any baking endeavor, there are many things that can go wrong. From watery fillings to burned toppings, this simple dish can take a turn for the worse if you aren't careful. We are here to walk you through the mistakes everyone makes with apple crisp, so you get to have your crisp and eat it, too.
Some people distinguish between an apple crisp and an apple crumble. The semantics typically have to do with the ingredients included in the topping. For our purposes, though, this difference is negligible, and all our tips are applicable to both. At its base, an apple crisp is a sweet and sometimes spiced apple base, similar to an apple pie, but topped with a crumbly topping. When baked, you get a delicious apple treat perfect for crisp air and cold days.
Choosing the wrong apple
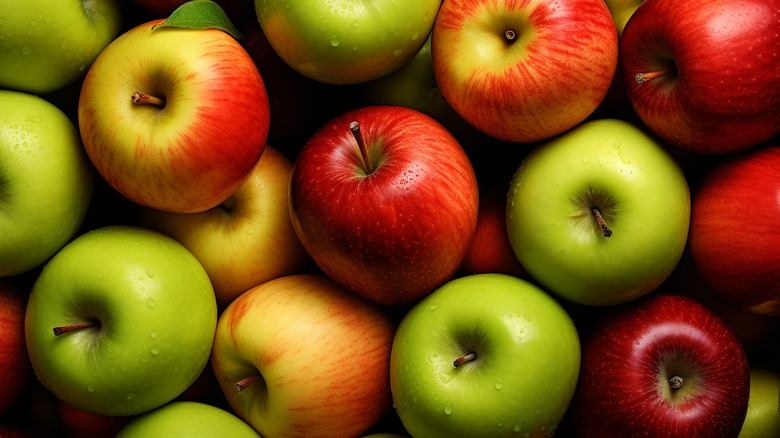
Possibly the easiest and most avoidable mistake someone can make with apple crisp is choosing the wrong apple. There are many delicious kinds of apples for baking, but also some that just won't cut it. Texture, flavor, and sweetness levels vary immensely among apples. First, you want to ensure that any apple you choose softens well but does not become mealy. For example, Gala apples bake well but will not hold their form in an apple crisp.
If you have an apple flavor you know you like, then that is a good place to start. But also consider sweetness. Apple crisp often has added sugar in it, so this is your opportunity to choose an apple for its flavor rather than its natural sugar content. For example, a Granny Smith offers a bright, tart flavor and a low amount of sugar compared with other varieties.
Additionally, using a multitude of apples can give a beautiful blend of flavors that balance each other. Golden Delicious, Cortland, and Honeycrisp all work on their own but can be even better when paired together in a dessert.
Leaving the skins on
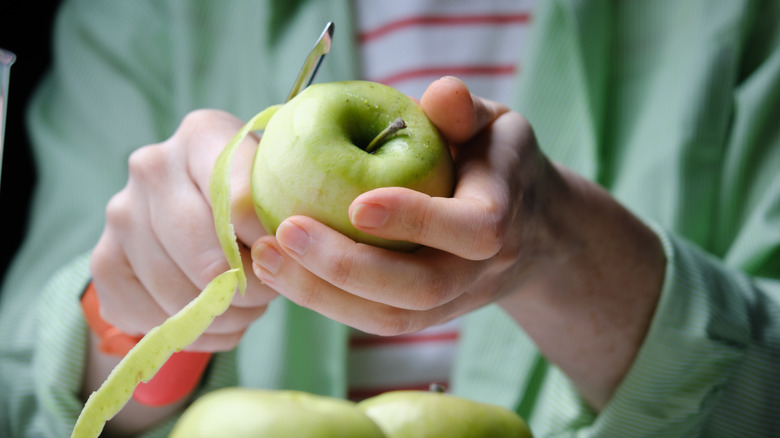
Now that you have your apples, it is time to prep them. The first step is peeling and coring the apples. This is important, as leaving the skin on or putting the core in can have negative consequences on the end result.
Unlike some other fruits, apples will not thoroughly cook down if their skins are left on. Whereas the skin on fruits such as peaches can become nearly unnoticeable, apple skins maintain enough of their structure during cooking to sometimes cause a stringy texture. The skins can also prevent the apples they are attached to from cooking evenly and can leave hard spots. The core and seeds of apples, meanwhile, are tough and will break up the lovely texture of an apple crisp. Plus, apple seeds contain a poison called cyanide, so avoiding them in general is a good idea.
If peeling and coring is a task you hate, there are inexpensive kitchen gadgets such as this Apple Peeler from Amazon that will do the job quickly and easily for you.
Slicing apples to the wrong size
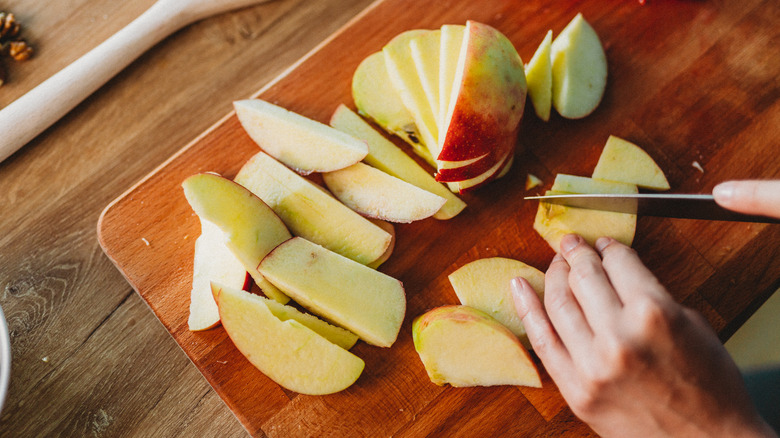
It is essential to cut your apples to the correct size for an apple crisp. Different people prefer different shapes, but you must keep things consistent, whatever shape and size you choose. Differently shaped and sized apple pieces will cook for different lengths of time.
Some people prefer to cut apples into small chunks, but cutting apples into thin half-moon-shaped slices is faster and can give beautiful layers of apples that will fit together well. The apple peeler we featured above also has the option to cut apples into perfectly thin apple slices. Thin pieces are ideal as they will cook faster and prevent crunchy pieces of fruit from ruining your lovely texture.
If you do prefer to cut the apples into chunks, this is fine, but once again, make sure all your cubes are even. If your chunks are thicker, they may also take more time to cook.
Using the wrong pan
You might be surprised to hear what a difference the pan can make when preparing an apple crisp, but it can be a make-or-break choice. First, finding a pan that is the correct size for your recipe is important. Make sure to choose carefully and do not greatly deviate from the suggested size. Using a pan that is too small will lead to overfilling. An overfull pan won't allow the dish to cook all the way through, and the contents can bubble over, making a mess and destroying the delicious sugary syrup in the process. And a pan that is too large can lead to a thin crumble that doesn't cover the pan base and opens the possibility to overcooked apples.
However, you also need to consider the material of the pan you are using. Pans come in different kinds of metal, glass, ceramic, and silicone. Each of these products has its own qualities, holding and transferring heat to different levels. Metal tends to retain and transfer heat better than the other choices, leading to a crisper crust and better browning. While this is important for pie, it is less important for apple crisps as there is no interior crust. Instead, glass and ceramic pans will allow the interior to cook without burning and let the top brown appropriately.
Not adding a thickener
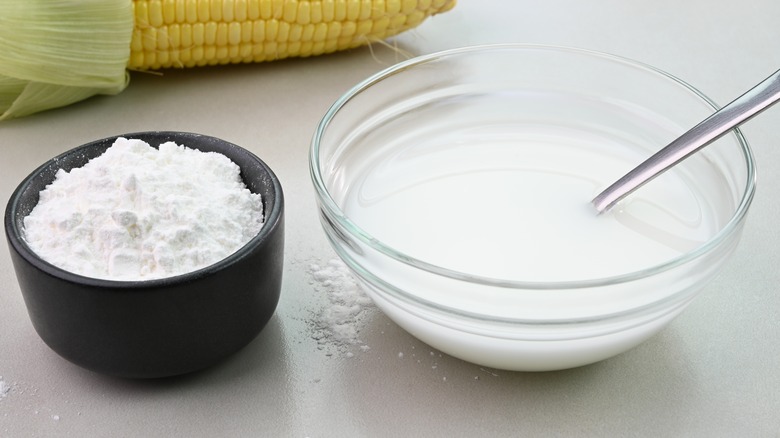
Thickeners are a controversial topic when it comes to fruit fillings. Some people may resist using them for a variety of reasons, but if your crisp keeps coming out watery and you don't know why, it is likely because of the lack of thickeners. Fruit is naturally watery, and when it bakes, that liquid cooks out and mixes with your sugar and spices to create a delicious sauce. However, you don't want your apple crisp weeping everywhere.
Just toss in a little cornstarch or tapioca starch with your fruit before baking. If there is additional liquid on your ingredients list, mix your starch with this first before adding it to your fruit base. Just make sure you do not add starch to the hot liquid. This is because the starch becomes activated by heat, bonding with the liquid. When the pie comes out of the oven, it will still appear fairly liquid, but after it cools, you will see how beautifully it holds together. Using flour also works in a pinch and will have much the same result, though you will need double the amount of flour compared with either of the concentrated starches.
Not thinking about the topping
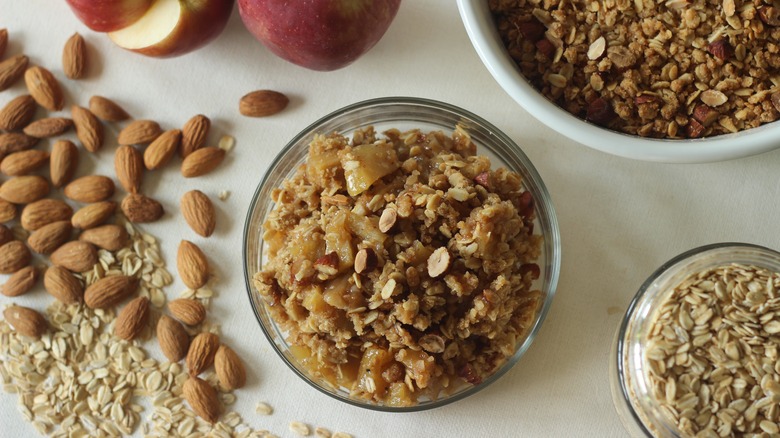
We have been talking a lot about the apple base of an apple crisp, which is, of course, important to get right, but there are two components to this dessert: apples and crisp. It is critical not to forget about the crisp topping. A basic crisp usually uses butter, flour, and sugar to create a streusel topping. From there, though, you can have fun. Do you want to mix in additional spices for flavor? Do you want to combine oats into your streusel, or even replace the flour entirely with oats for a gluten-free alternative? Oats add a great crunch and texture. Chopped nuts and dried fruit can also be excellent additions.
Equally important is to make sure you are not putting too much or too little topping on. A well-tested recipe will provide enough streusel to create an even coating. You do not want to see much, if any, apples sticking up. That said, you don't want to lay the topping on so thick that it creates a tough bar you must chisel through before finding an apple. It is all about balance.
Over- or under-spicing

Seasoning is also all about balance. First, you know what you like best. Some people prefer little or no spicing, while others love to add aromatic spices to punch up their crisp. Think about what you prefer. If you are working from a recipe, though, there are a few things to keep in mind.
Most recipes should be tested with in-date spices. Spices do not expire in the same way that many foods do — they will continue to be safe to eat past an expiration date. However, as spices age, they will lose their flavor. That means if your spices are old, you may notice the flavors are not coming through as you'd hoped. Most spices need to be replaced every four to eight months, a much shorter length of time than many people realize.
Conversely, if you have become accustomed to using a heavy hand with spices in order to achieve the desired result, buying a new jar and using the same amounts could lead to over-spicing. Know your tastes, check your expiration dates, and read the recipe.
Not adding an acid
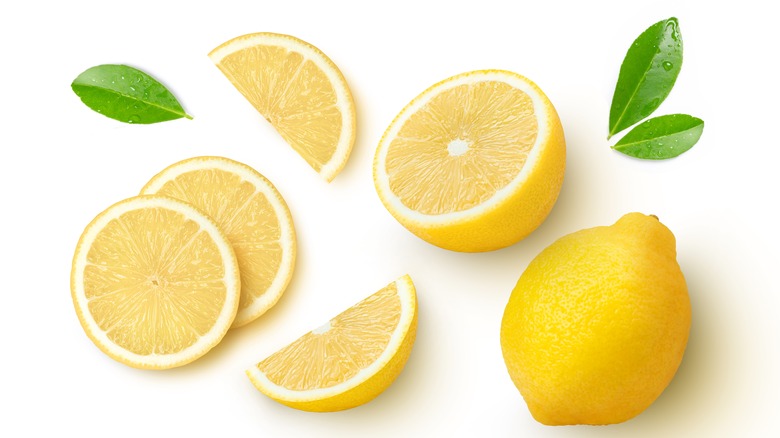
Adding an acidic element may seem an unnecessary step to some, but it will really help achieve the best possible apple crisp. Not only does using a little acid help to balance out some of the sweetness in the dessert, but it has practical applications, too. An acid will help keep your apples from turning brown by preventing oxidation. This is especially helpful if your apples are sitting around for a bit before baking. If you are hoping to add a tartness, though, be sure to use enough acid to make a difference. When in doubt, refer to your recipe.
Vinegar and lemon juice are two common ways to add acid to a baked dish. Just be mindful of how long you intend your apple crisp to last, as acid breaks down over time and can turn your firm crisp into liquid again. So eat up quickly, or pop some slices in the freezer for later.
Using too much sugar
Yes, apple crisp is a dessert, and yes, you want it to be sweet, but it is all too easy to oversugar an apple crisp. First, the crisp topping is already made partially of sugar. Additionally, fruit is already naturally sweet. Even if you are using a tart apple such as a Granny Smith, a fair bit of natural sugar is still present. Often, if you look at a recipe for the fruit filling of apple crisp, you will notice there is a fairly low sugar-to-fruit ratio. Adding too much sugar will just create an overly sweet apple crisp.
For example, take our Old Fashioned Apple Crisp recipe. It calls for five medium apples sliced, which is several cups of apple, and yet the fruit filling calls for just four tablespoons of sugar. (Note that the streusel topping uses another half cup of brown sugar.) Often, you can even cut back on sugar in the apple filling by a significant amount before you will begin to notice. We aren't saying to use no sugar. Sugar doesn't just make food sweet. Instead, sugar is similar to salt; it is a flavor enhancer. Used in small quantities, it helps to bring out the natural flavors of each dish.
Underbaking

Underbaking is one of the most common mistakes when making apple crisp, but luckily, it is also one of the most easily fixed. Many people assume that the apple crisp is done if the top is brown, but this is not necessarily the case. An apple crisp requires that the apples be cooked all the way through. To check for doneness, try to spear an interior apple with a toothpick or sharp knife. If you feel resistance in the apples, they are not cooked all the way through yet.
If your topping has already browned, but your apples are still firm, don't worry. Place a piece of aluminum foil over the top of your crisp to prevent any further browning. This will let your apples keep cooking without the risk of burning the topping.
And if you find that after baking, your apple crisp wasn't actually done, cover the top in foil and pop it back in the oven. It will take longer if the crisp is already cooled, but with patience, you will be rewarded with a perfectly tender apple crisp.
Reheating incorrectly
Apple crisp can be stored in the fridge or even frozen. First, make sure the crisp is cooled completely. Once cooled, cover the dish or place slices in an airtight container. Refrigerated apple crisps will last for a few days. For the freezer, slice into pieces, wrap completely or place in an airtight bag, and place in the freezer. Frozen apple crisps will last for a few months.
Finally, don't do your apple crisp a disservice by reheating it in the microwave. When it comes to eating leftovers, some people prefer eating cold crisp, which is great, but if you want to recreate that warm fresh baked apple crisp experience, you are going to have to turn that oven back on. Or alternatively, turn on your toaster oven. Warm your apple crisp up in the oven or toaster oven. Place a piece of refrigerated apple crisp in an oven-safe container and heat it at 350 degrees Fahrenheit for about 10-15 minutes. Frozen will take a bit longer. Be sure to cover the top in foil to prevent further browning.