Instant Pot Hacks You'll Wish You Knew Before
We may receive a commission on purchases made from links.
There's always something new to learn about using an Instant Pot, whether you've just picked one up or owned one for years. While this multi-functional pressure cooker is intimidating for some, using hacks can help you use the Instant Pot to its full potential, whatever your cooking plans.
For example, did you know you can cook two different things at once using the pot-in-pot method? And although a funky sealing ring can change the flavor of your food, there's a hack for that, too. Plus, you can get a jump on cooking times with the sauté function.
Instant Pot hacks for cleaning, meal prep, and more can take your pressure cooking skills to the next level. Read on to see how you can cook faster, smarter, and cleaner with this multi-function wonder that can be used to make anything ranging from slow-cooker classics to hard boiled eggs, yogurt, and even wine.
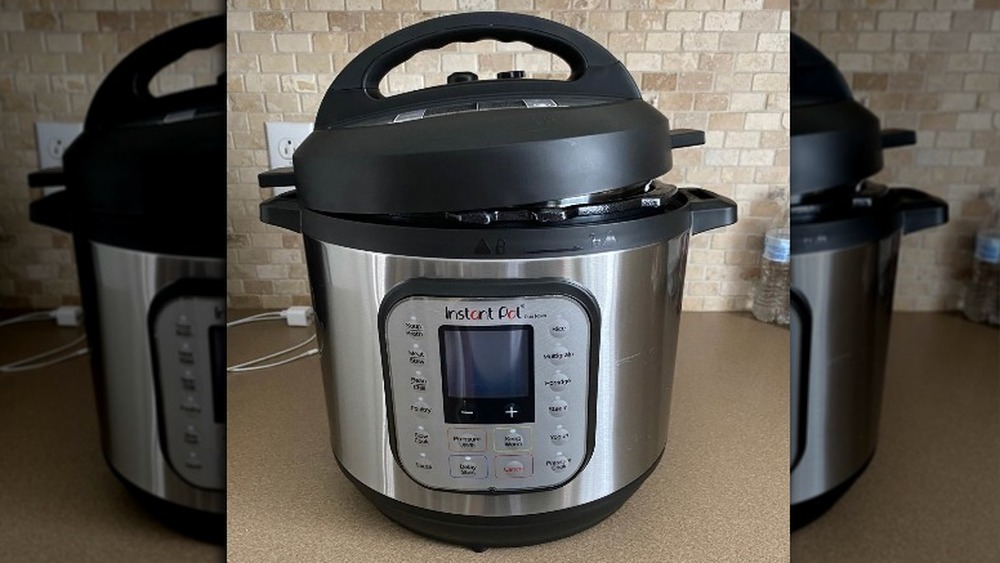
Use the Instant Pot handle as a lid holder
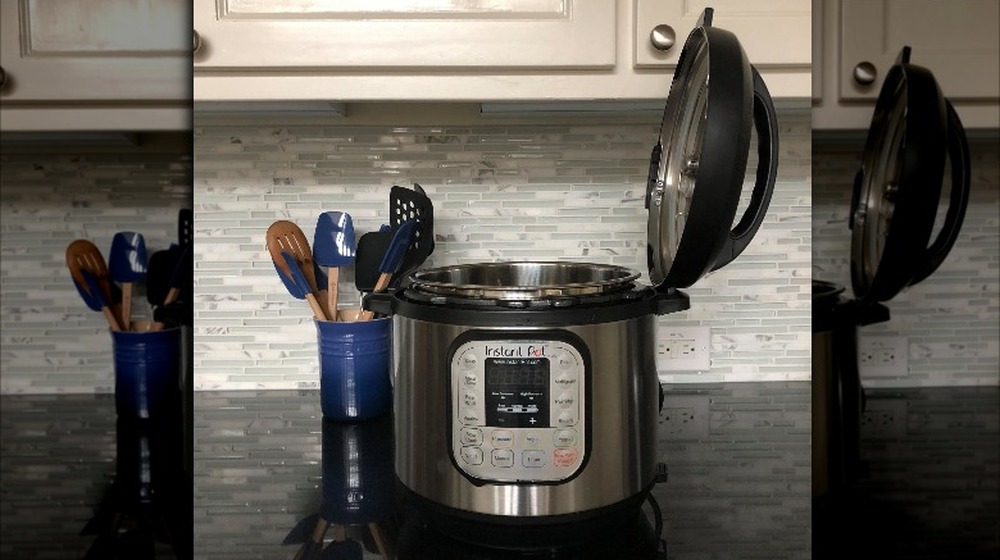
A fairly large countertop appliance, the Instant Pot can take up valuable space in your kitchen even when it's closed. When it's time to take the lid off, that doubles the space needed to use it. Plus, if you've ever set your Instant Pot lid on the counter upside down, you've probably noticed it's wobbly and not exactly secure, as the weight isn't the same on both sides. You might be tempted to set the lid on your stove if you're out of room, but the lid will melt if it's put on a hot stove.
But the Instant Pot comes with a secure, space-saving feature you might not know about: you can stand the lid vertically using its handles. Notice the handles on both sides have a cutout that perfectly fits the handles on the lid. That's on purpose, so you can securely store the lid vertically when not in use, and it's a huge space saver.
A bonus to placing your lid in the handle: when the lid is on its side rather than upside down on your counter, any condensation collected in the lid will run down. That makes for easier cleanup than letting it pool sitting upside down.
Get an extra sealing ring for fragrant dishes
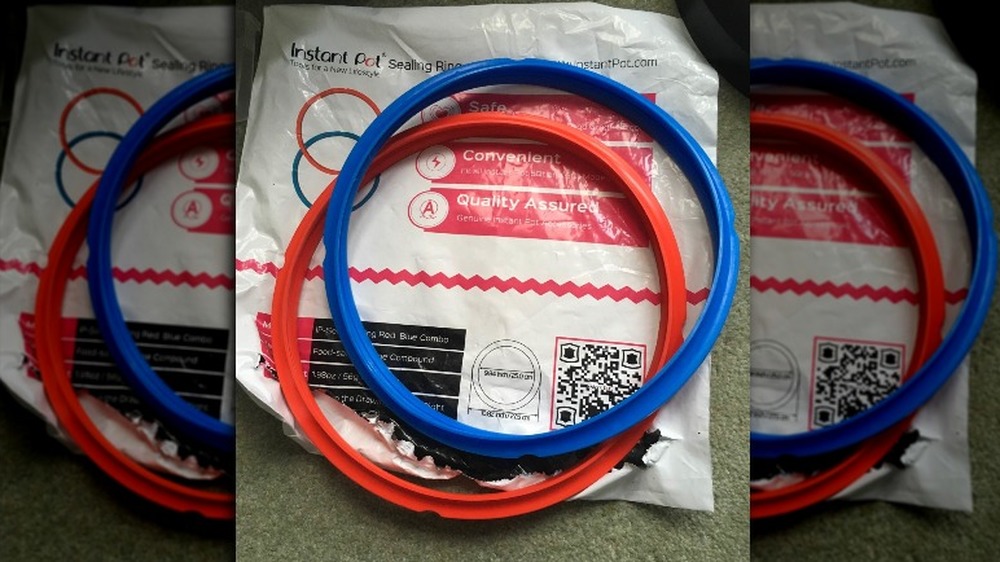
The sealing ring in the lid of the Instant Pot can absorb flavors from your dishes. So if you create a fragrant curry one day, there's a good chance those flavors will end up in your next dish. That might be a good thing if you want everything to taste like curry, but if you're making something sweet like cheesecake or yogurt, it's probably a major turnoff you'd prefer to avoid.
You can clean your Instant Pot sealing ring either in the pot or by removing and washing it, but some users find it easier to have two or more sealing rings on hand. They're fairly cheap to pick up, usually around $10 to $15 for two or three sealing rings.
When you've got multiple Instant Pot sealing rings, you can put one in your dishwasher and use another. Many Instant Pot owners use one ring for savory foods and a different one for sweet so they soak up similar flavors and there's minimal risk of throwing off flavors. Some Instant Pot sealing rings are available in different colors, so you can easily keep track of which is which.
Deodorize stinky sealing rings right in the Instant Pot
A sealing ring that's absorbed flavors can add sometimes-unwanted flair to your next dish. You might not want to taste last night's French Onion soup in today's hardboiled eggs. While you can use multiple sealing rings, it can be a bit of a pain as you have to take the ring out to swap them. But there's an easier way: cleaning your sealing ring using the Instant Pot itself, which takes just a few minutes and doesn't require you to remove the ring at all.
You can steam clean your sealing ring and the entire inside of your Instant Pot with the "steam" function. Add one cup of water, one cup of vinegar, and about half a sliced lemon to the inner pot. Then, you just need to run it on the Steam function for a few minutes. You can repeat a few times for persistent smells, or use multiple sealing rings.
Wash Instant Pot parts in your dishwasher
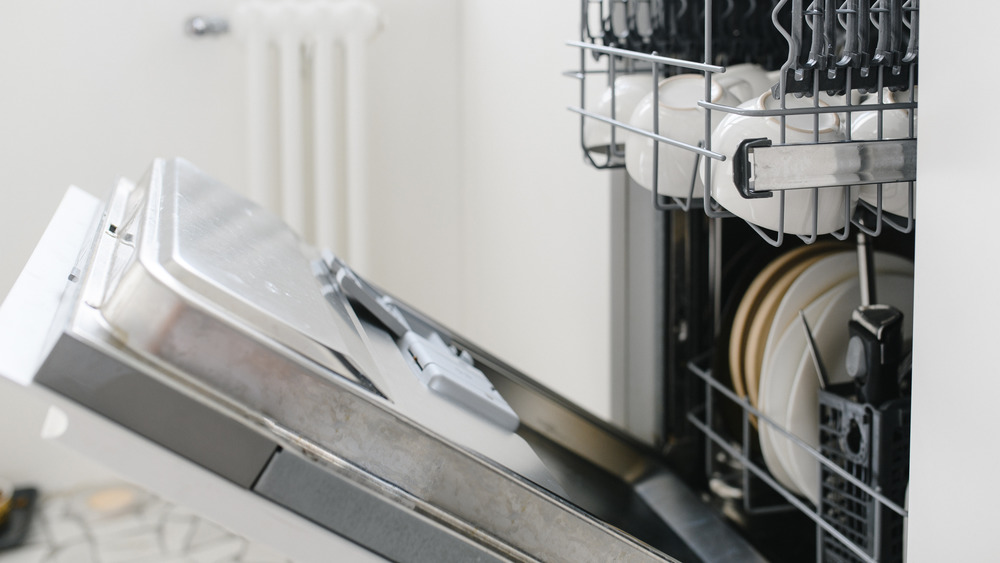
Most pieces of the Instant Pot are dishwasher safe. It makes sense: the pieces stand up to the heat of cooking, so they can hold up just fine in the dishwasher. That means you can throw the sealing ring, steam release handle, and accessories in the top rack of your dishwasher for easy cleanup. Depending on your model, you may be able to throw the whole lid in there, too. The inner pot can go in the lower rack, as well.
Of course, you'll need to do a little disassembling first. Specifically, you'll need to take out the sealing ring, metal valve cover, and steam release valve from the lid. If your lid is dishwasher safe (you'll need to check your manual), you can place it in the top rack of the dishwasher, too. If it's not, you'll need to wash the lid separately in your sink. With these smaller parts removed, your dishwasher can clean some of the inner workings of the lid that might not be easily reached otherwise. But if you're just doing a routine post-dinner wash, it might be a little overkill. Sometimes it's just easier to throw the lid in the sink and scrub it the old fashioned way.
Kick stubborn Instant Pot pot stains with Bar Keepers friend
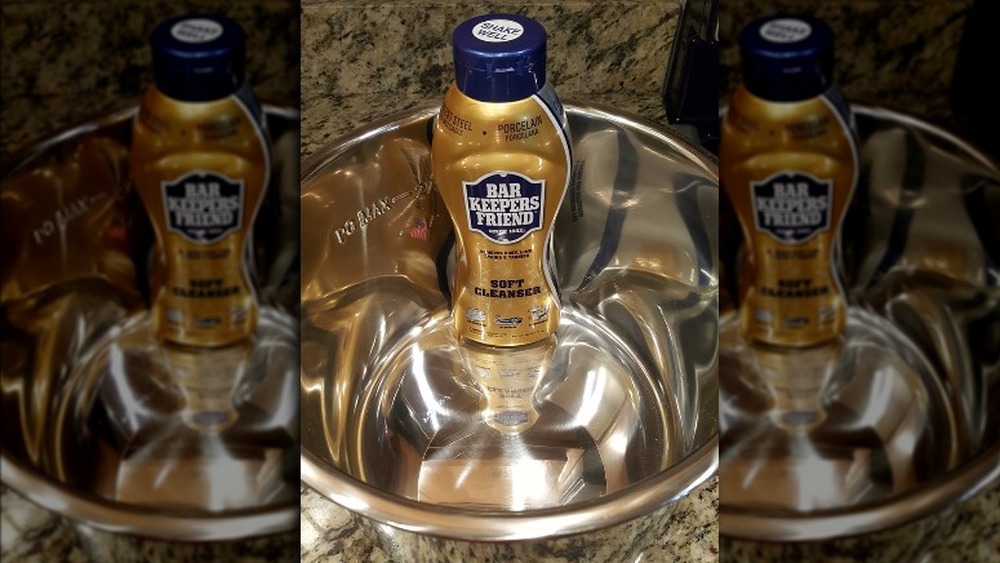
The Instant Pot's inner pot is stainless steel, but if you've ever had stubborn food messes on your pot, you might find yourself questioning the stainless part of that promise. Whether you triggered a burn notice and have majorly stuck on food, or you just have some persistent buildup, some Instant Pot stains can be tough to remove.
But there's a good tool for cleaning the Instant Pot's stainless steel parts: Bar Keepers Friend. This cleanser is available either as a powder or cream and it's well-known for its ability to remove persistent and tough-to-tackle stains. It's non-abrasive, so it's safe to use on stainless steel, though it is corrosive.
Clean your pot by adding a small amount of water and sprinkling the cleaning powder inside, making a paste. Or, squeeze the cream cleaner inside the pot. Cover the area you'd like to clean and let it sit for one full minute (but no longer than that). Then, come back and wipe it off, clean, and dry the pot before use.
Freezer prep Instant Pot meals in round containers
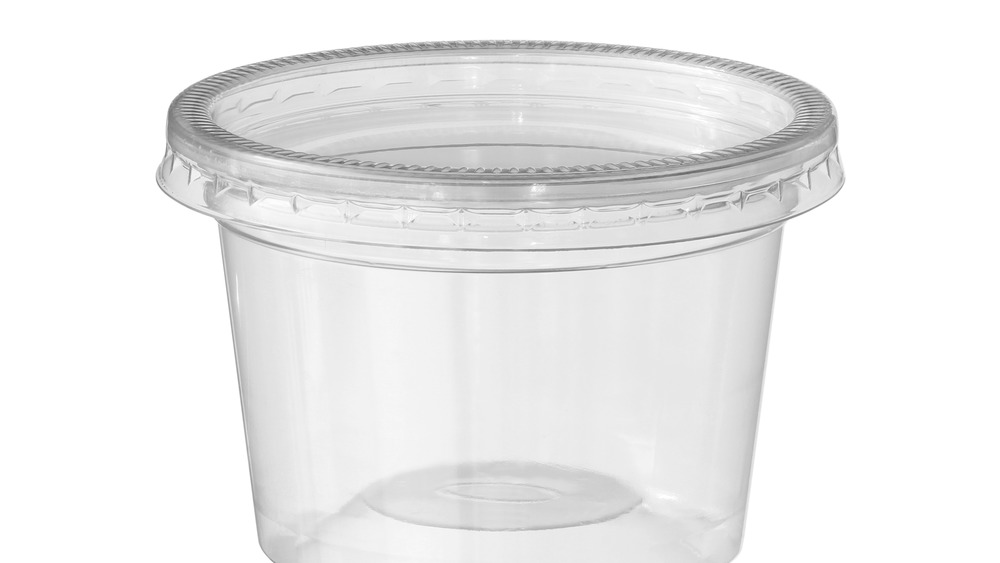
Meal prepping with the Instant Pot can be really convenient. Throw together your ingredients, store it ready to go in your freezer, then just dump your meal in the Instant Pot when you're ready to cook. But it's only convenient if your frozen food actually fits in the Instant Pot while it's still frozen solid. Otherwise, you'll have to defrost it and reshape it enough to fit inside and get started cooking.
If you're freezing prepped meals in gallon freezer bags, for example, there's a good chance it will not fit appropriately in your Instant Pot when it's time to cook. Although freezer bags are really convenient for saving space if your freezer, they're just too wide to fit in the Instant Pot if you've filled the bag. There's a better way when it comes to actually fitting your meal in the Instant Pot: round containers.
When you're using a round food container, it's already the right shape to just dump right into your Instant Pot. You'll just need to run the container under warm water for a minute to get the food to separate from the sides. and then it will slide right out and into your pot.
Cook two different foods with the pot-in-pot method
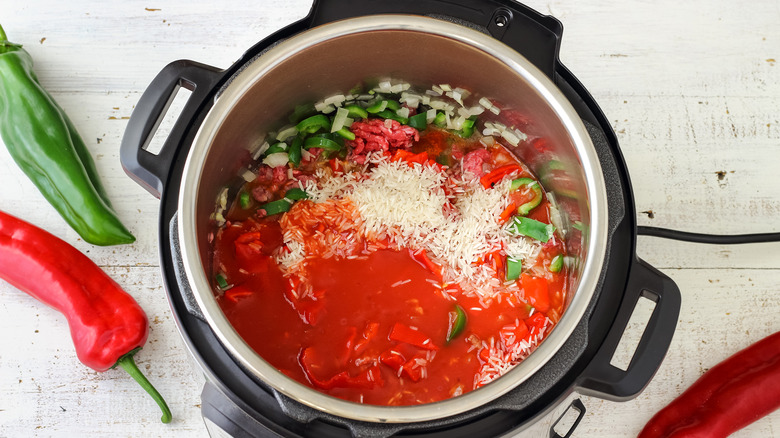
The Instant Pot is a one-dish wonder, making it easy to create a whole meal out of soups, stews, and pastas that combine multiple ingredients in the pressure cooker. But maybe you don't want an all-in-one meal. Maybe you can to cook different foods in your Instant Pot and keep them separate. Yes, you could use more than one Instant Pot, but that's not really necessary.
Instead, you can try pot-in-pot cooking. You'll use a trivet or steamer rack, as well as small baking dishes, to separate foods that cook at the same time in the Instant Pot. For example, you can cook chicken breasts at the bottom and have a second layer on top to cook rice.
With pot-in-pot cooking, you need to add at least one cup of liquid to the bottom of the inner pot, then add whatever you'd like to cook on that layer. Above it, place a trivet or rack, which you'll set the next layer on. Put the next layer of food in an oven-safe dish and place it on top of the trivet or rack. Then you're ready to cook while saving time and space.
Turn on your vent hood, but not your stove
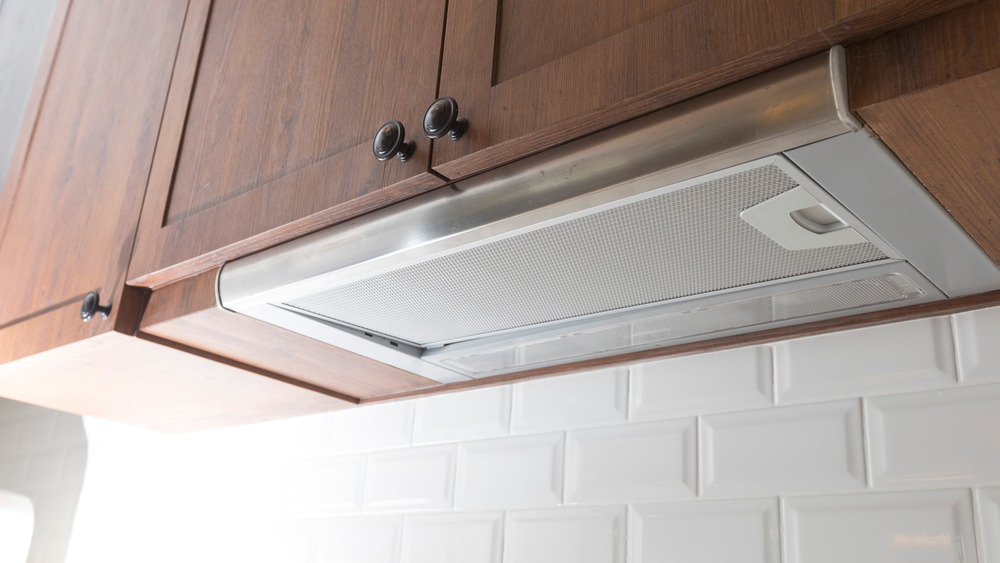
When the Instant Pot releases pressure, it comes out as a fast-moving cloud of steam. If the steam makes you cringe a little as it hits your cabinets, your instincts are spot on. Repeated steam exposure can soften the paint on your cabinets and warp the wood.
There are a few ways to handle the steam. One, you can just let the Instant Pot do a natural release every time. Instead of the sudden burst of steam, pressure releases slowly. But a slow release is, well, slow, and if you want dinner to move fast (or if whatever is in there needs to stop cooking), you'll need to deal with the steam. Another option is to use a steam diverter, though Kitchn warns this option is not manufacturer recommended. they say if you choose to use a diverter, always do so carefully and with supervision.
While any of these options can work well, the fact is you'll still have potentially damaging steam in your kitchen unless you're doing natural release every time. It's a good idea to turn on your vent hood, which is designed to pull steam out of the air in your kitchen. Just avoid placing your Instant Pot directly on your stove when it's in use, and consider placing something heat-resistant under the Instant Pot.
Clean the outer rim of the Instant Pot with a foam paintbrush
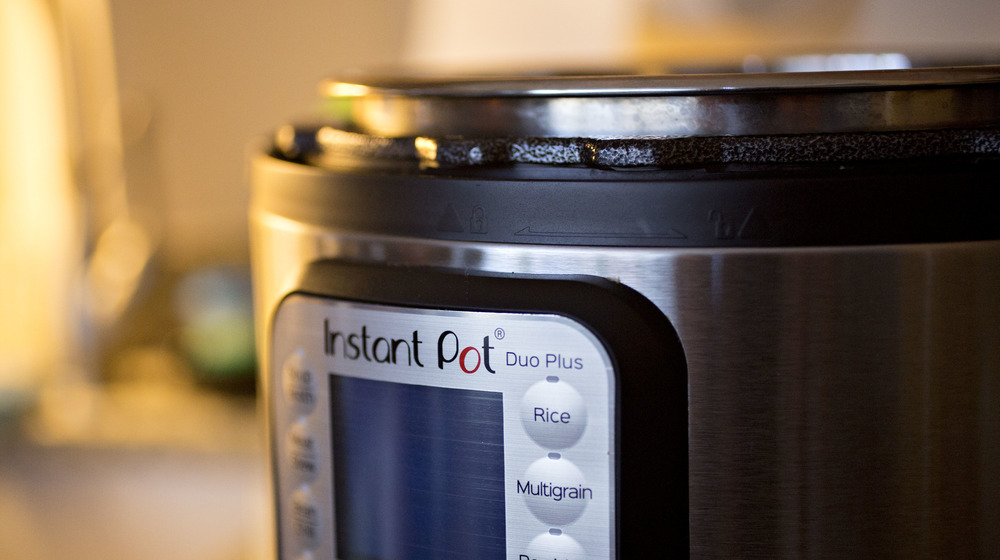
With mostly stainless steel parts and a dishwasher safe lid and inner pot, the Instant Pot is pretty easy to clean. But there's one big exception: the outer rim.
This rim is about the width of a fingertip and it can be really difficult to get in there, even with a washcloth. It's easy for crumbs, spills, and other food messes to end up there and pretty tough to get out. The outer rim is part of what seals up the Instant Pot, so it's best to keep it as clean as possible. But how?
The answer to cleaning this part of the Instant Pot might be in your craft stash: a foam paintbrush. All you need to do is take a clean, preferably new, foam paintbrush and get it wet with soap and water. It will squish down into the rim so you can clean it. Then run through it again with just water on the paintbrush. You may have to repeat a few times to get all the crumbs, but it can simplify cleaning.
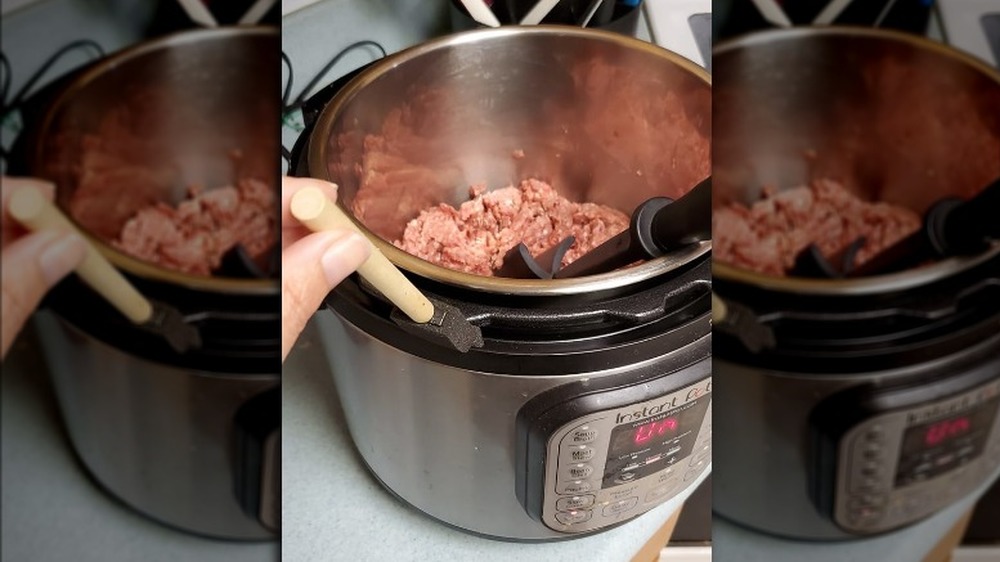
Jumpstart pressure with the sauté function
One of the most disappointing things about the Instant Pot is that it's not really instant. Yes, it cooks food a lot faster than a slow cooker or even stovetop or oven, but you still have to wait for the Instant Pot to come to pressure before it will start counting down on the timer.
It generally takes about 10 to 40 minutes for the Instant Pot to come to pressure and start cooking. So a recipe that takes 10 minutes of actual cook time could take nearly an hour all in if you're including pressurizing time. How long it takes depends on how much liquid you have in the pot and what temperature the food started at.
One way to get the Instant Pot up to pressure a little faster is by using the sauté function. You can add your liquid and hit the "sauté" button to start warming it up while you gather ingredients. Or you can start by sautéing ingredients such as onions or garlic. Essentially, you want to start generating heat as early as you can so you can cut down on the time needed to pressurize.