Mistakes Everyone Makes When Frosting A Cake
With the popularity of cake decorating on the rise, amateur bakers everywhere are stepping up their cake game and displaying their incredible cakes online. Plenty of how-to videos show you how to frost and decorate everything from a special unicorn cake to everyday treats. But very few go into detail about what can go wrong, what caused those mistakes, and how you can fix them. Whether you're attempting a professional-style cake, or you just want to make a nice homestyle confection for a special occasion, knowing the fundamentals of frosting will set you up for excellent results.
We're about to tackle some mistakes that you can easily avoid in the world of cake, including frosting at incorrect temperatures, poorly prepping your cake for the process, and the best and worst ways to handle and store your finished cakes. We also touch on using the right tools and frosting steps to avoid disaster. Believe it or not, you can fix most mistakes when frosting a cake if you know what to look for and practice a little patience. Spatulas at the ready!
Frosting a warm cake
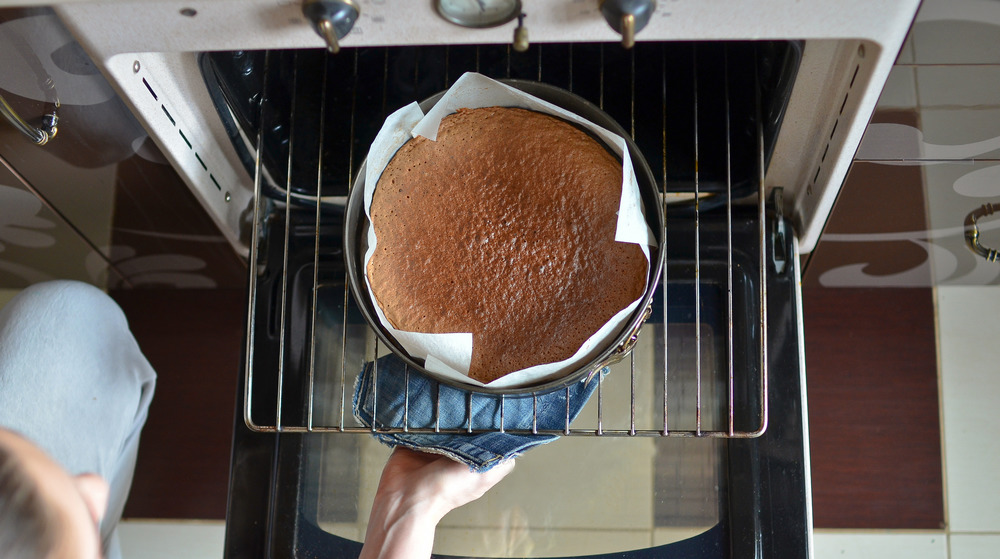
Waiting for a cake to cool might be one of the greatest tests of patience a baker can face. It smells so good straight out of the oven, and you're ready to get the frosting on it and start eating. Or maybe you underestimated how long it would take to bake, cool, and frost a cake and you're short on time. Either way, frosting a warm cake is very likely going to end in disaster, as Betty Crocker reminds us.
Most frostings are butter or fat-based and, as you know, fat typically melts when it gets warm. So it should come as no surprise that frosting a warm cake with a soft room-temperature buttercream or ganache will lead to the frosting melting in and on your cake, pooling on the cake plate in a gloppy mess.
To avoid this, let your cake cool completely. It shouldn't be warm to the touch on the top or bottom of the cake layers. Ideally, it'll be cool to the touch when it's good to go. If you're really crunched for time, or just really impatient, you can pop your cake layers in the freezer to chill quickly. Check them every 10 minutes or so and remove them promptly when they're cool, but not freezing.
Stacking a cake that hasn't been leveled
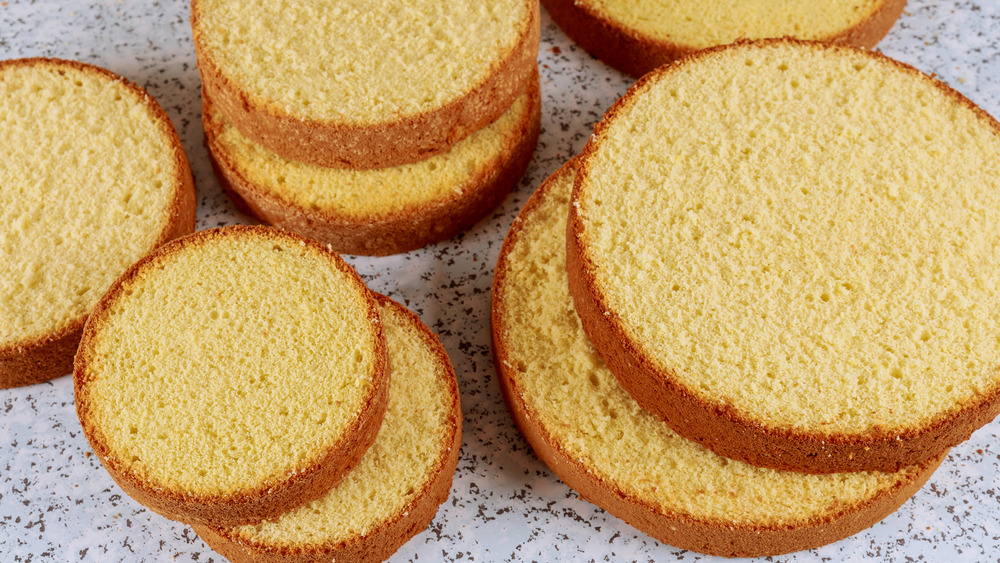
It's completely normal when cakes form a domed top while rising in the oven. Sometimes the dome is pronounced and sometimes it's subtle, but stacking a cake with a domed top is a rookie move that may leave you with an unattractive cake. Because the frosting has to cover less space at the center of the cake, and more space closer to the edges of the cake, your filling will likely be very uneven. If your frosting is strong, it may hold the domed cake layers in place, but it's more likely that they'll sit awkwardly on top of each other, making it difficult to achieve a smooth finish. And finally, a layer cake with a domed top is difficult to decorate, not to mention a dead giveaway that the cake in question was made by an amateur baker.
Luckily, it's easy to level a cake for an evenly-stacked professional finish. A long bread knife held perpendicularly to the cake and sliced either straight across or around the cake will quickly remove the dome, according to Wilton. Any minor angles can be evened out with a few minor slices. You can also find an inexpensive cake leveler in some specialty shops or, of course, online. A cake leveler is made of stretched wire held in place with a large c-shaped handle and is easier for some people to handle with great results.
Skipping the crumb coat
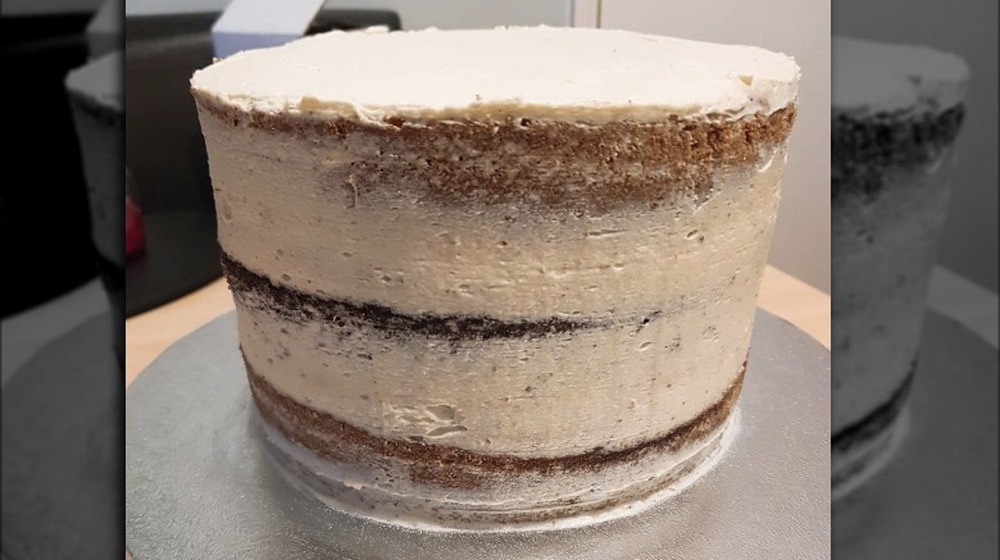
If you're brand new to cake building, you might not know about the crumb coat. Say you've got a dark chocolate cake and perfectly white frosting. The crumb coat is going to lock-in those chocolate crumbs so the final frosting layer won't be blemished by unsightly crumbs. According to King Arthur Flour, the crumb coat also serves to fill in any gaps or cracks around the cake, ensuring a smooth final frosting layer. At the end of the day, you really don't want to skip the crumb coat.
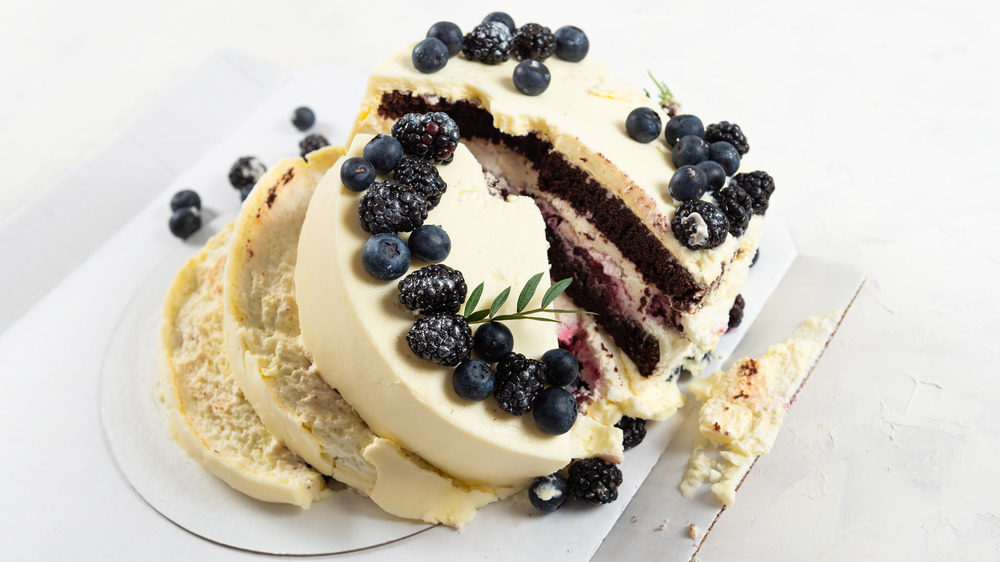
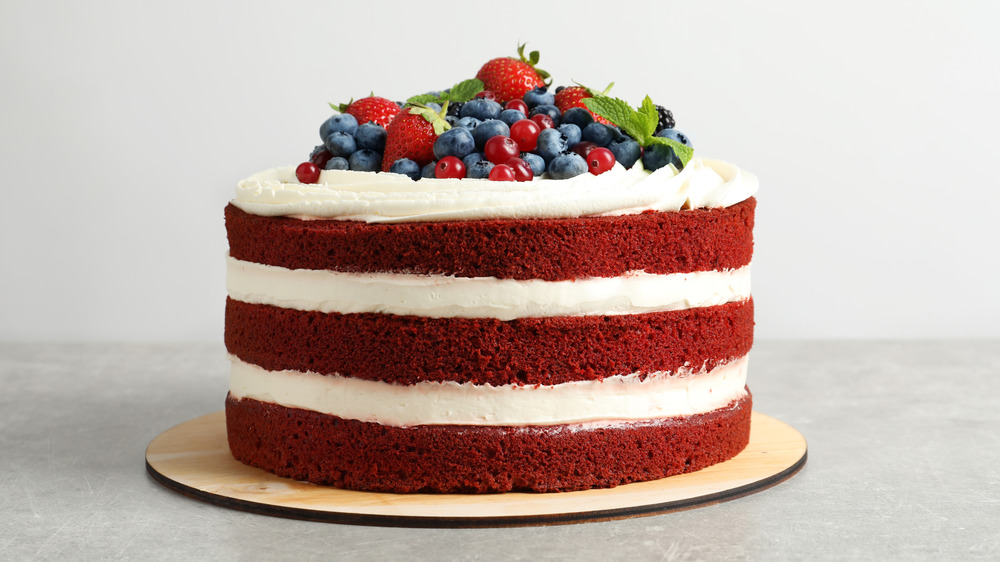
To achieve crumb coat greatness, first fill and stack your layers as usual. Once your cake is stacked, apply a thin layer of frosting to the top and sides of the cake, making sure to fill in gaps where needed. With a long offset spatula or cake scraper, spread the frosting evenly across the cake. Parts of the cake may peek out through the frosting, which is how the popular "naked cake" look is made. On top, make sure there are no crumbs hanging out, and a smooth and even surface that will play well with the final frosting layer.
Once you've put on your crumb coat, take a look at the top of the cake at eye-level to ensure that it's even. Then, pop the cake in the refrigerator for 30 minutes to let all of the frosting set, locking the crumbs into the frosting and helping to stabilize your cake for the final layer.
Letting the frosting bulge between cake layers
You've frosted and decorated your cake, but what's this? There's an unsightly bulge of frosting around the center of your cake that keeps pushing its way outwards. While this isn't the worst thing that can happen, it's a sign that something's wrong on the inside of your cake. It's likely one of two issues, according to Cake Boss. First, did you level your cake layers? If not, the uneven domes are likely pushing your delicate frosting right out of the cake. As you layer more frosting on top of the cake, the layers get heavier and push even more filling from the center outwards.
If the cake layers are leveled, chances are the filling is too thin or liquid. This can be an issue if your buttercream is especially loose or if you're using a lighter filling like lemon curd or whipped cream. In the case of warm buttercream, let it chill out for a few minutes in the fridge to help it strengthen up before using it.
If you're using a lighter filling, use the "dam method". This is where you put a ½ to 1-inch ring of buttercream around the cake layer and fill the inside of the ring with the lighter filling. The buttercream dam establishes a nice barrier and helps support the layer on top of it without squishing out your more delicate ingredients. Then you can proceed with the crumb coat and initial cake-chilling for extra support.
Not refreshing pre-made frosting properly
Many bakers recommend that you make your frosting fresh when you intend to use it, which is sound advice. Fresh frosting will often give you the best results. Usually, there's plenty of time to whip up a batch while your cake is baking and cooling. But sometimes you may need to spread your cake-making project out over a few days in order to get it accomplished. You may have made a large batch of frosting that will cover multiple cakes. So, now what?
Wilton says that you should properly store the frosting in an airtight container to avoid picking up any smells from the fridge. You can even freeze your buttercream for up to 3 months, making sure to use an airtight bag or container again. When you're ready to use it, pull the frosting out of the fridge and allow it to warm up at room temperature until it's pliable. For frozen frosting, let it thaw out in the fridge overnight, then let it warm up to room temperature.
There isn't really a good way to rush this step, to be honest. Once the frosting is at room temperature, it may need to be re-whipped with a stand or hand mixer to come back to its original texture and volume.
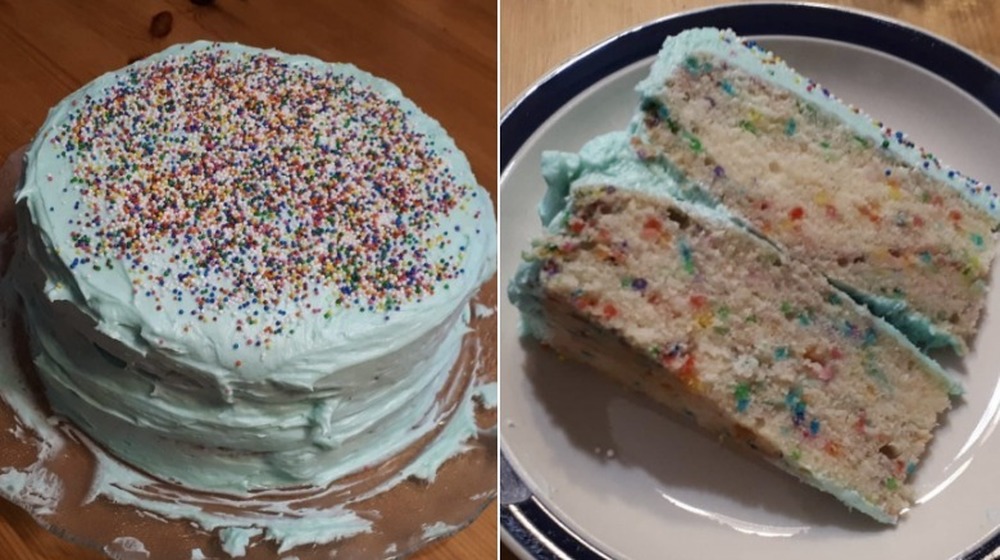
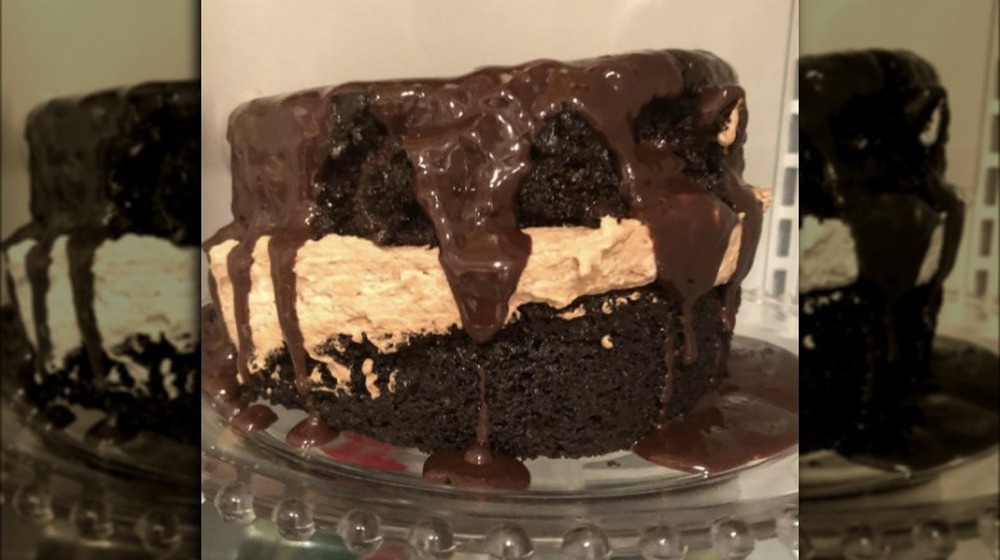
Trying to use runny frosting
Every cake maker will experience it at some point. The frosting just isn't whipping up the way it's supposed to or you've added too much liquid in the form of milk or food dye, and now your frosting is more like a glaze than the frosting you really wanted. In a rush, you rationalize that it will somehow firm up once it's on the cake. You set out to frost your baked good, ignoring the dripping frosting. You start to notice the layers sliding in different directions and tell yourself that the outer layer of frosting will hold it all together. Alas, it does not. When you're finished, the cake looks more like a middle school science project gone wrong than a beautiful candle-bedecked birthday cake.
Sadly, a runny frosting will never magically firm up. Moreover, there aren't very many quick fixes for this mistake. Now, if your buttercream is just a bit too warm, you can chill it to thicken up the frosting. If your frosting is just a little on the soft side, you can also try making another, smaller batch of frosting and marrying the two for stability. But chances are that a truly liquid frosting will need to be scrapped or repurposed for another baking project.
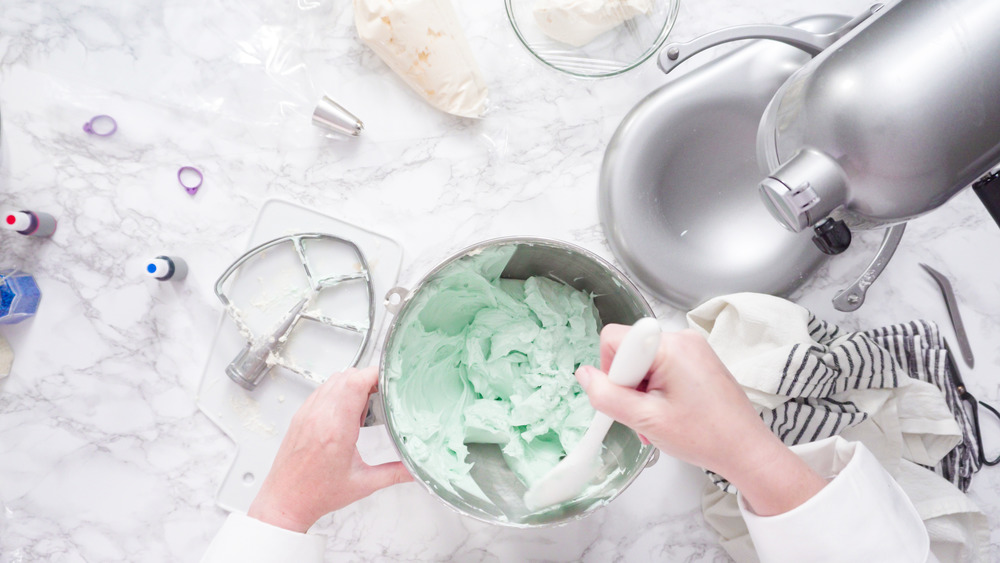
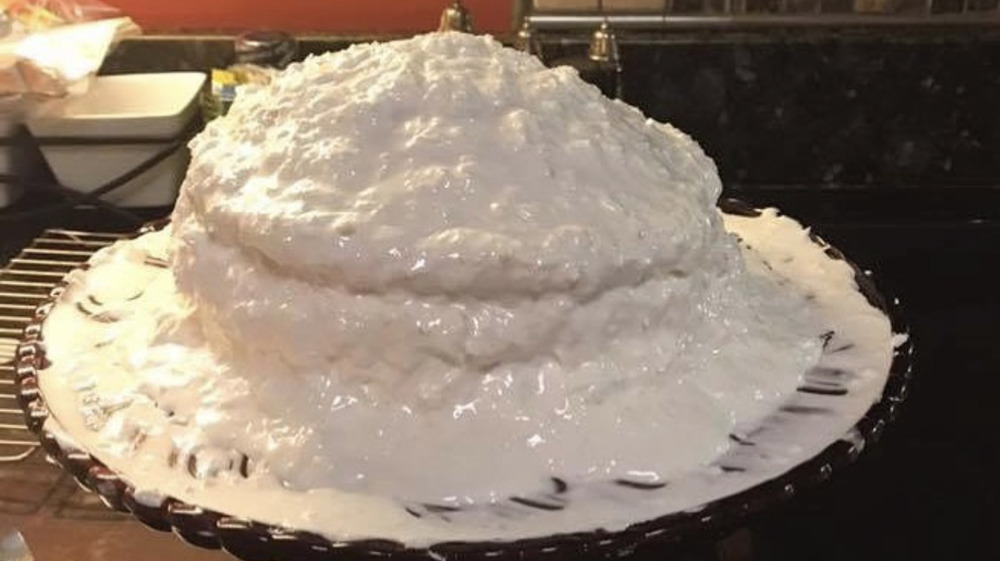
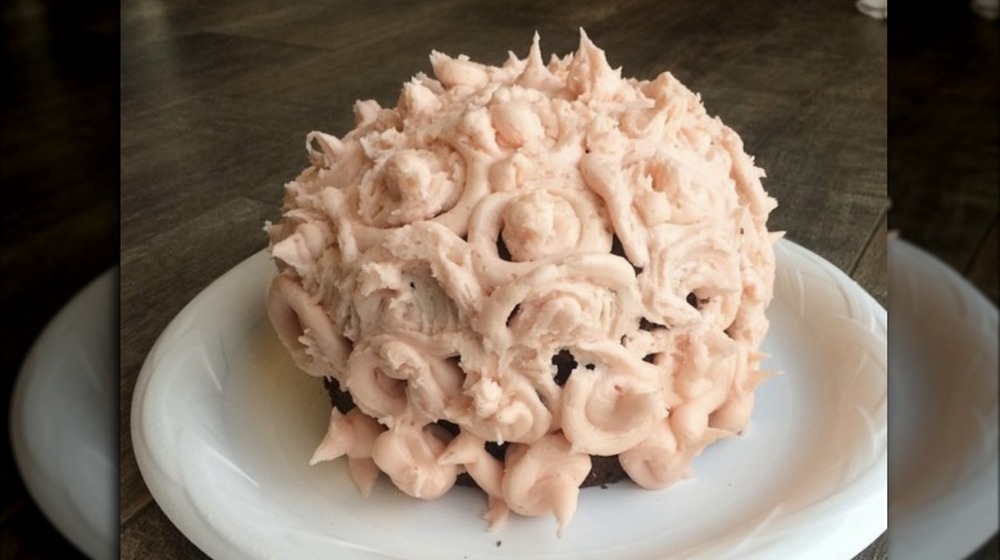
Using frosting with unsightly air bubbles
Again, this isn't the biggest mistake you can make. In fact, air bubbles in the frosting are a pretty common stumbling block in the cake world. According to Just Bakecause, frosting that has been over-whipped forms air bubbles that can be small or large, depending on how fast and how long the frosting was whipped. If you don't notice that it's overwhipped in the bowl, you'll definitely notice when you're trying to frost the cake. Frosting with air bubbles is almost impossible to smooth out and will make the final product look like it was rolled across concrete or asphalt.
Frosting pocked with these air bubbles is okay to use for filling or a crumb coat, but you'll want to knock the air out of it before the final layer. To do so, take a rubber or silicone spatula and paddle the frosting against the sides of the bowl by hand. This will help to knock down the air bubbles and smooth out your frosting. If you still notice a few small air bubbles once the frosting is on the cake, chill the cake for 5 to 10 minutes, then use a warm cake scraper to smooth out the frosting, filling in any tiny bubbles.
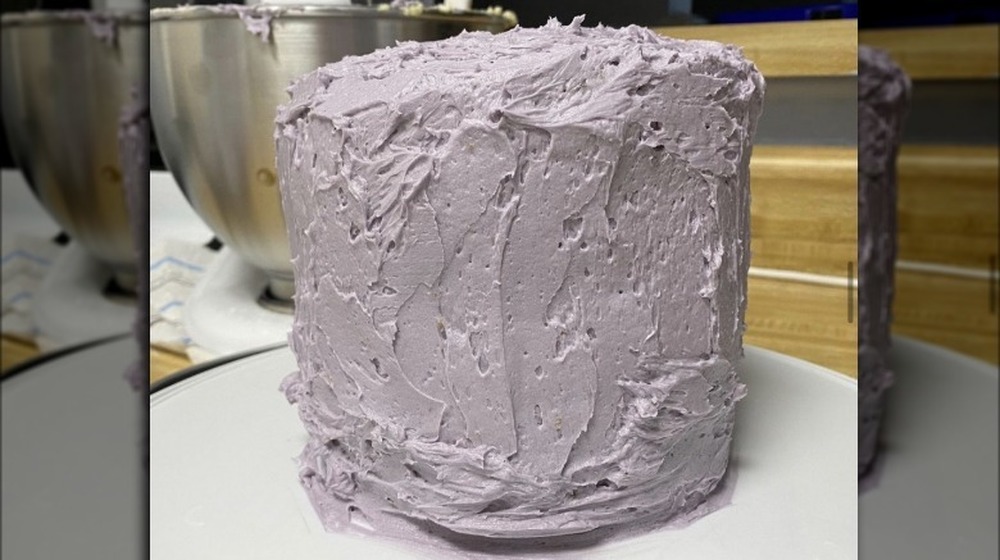
Frosting a leaning or off-center cake
Nine times out of ten, if you start with a leaning cake you'll end with a leaning cake. Very occasionally, a skilled baker can frost over such mistakes, but that's really the exception, not the rule. A leaning cake can be caused by a few different mistakes, as Williams Sonoma reports. If the layers were cut at an angle during the leveling process, they may slide and cause the cake to lean. If the frosting is too soft the cake layers may not want to stay in place and end up sliding apart.
Sadly, if you notice that your cake is leaning, it may already be too late to even out the layers. If taking the cake apart isn't an option, you can try straightening the layers and anchoring them with a dowel through the center. But be warned, the dowel method doesn't always work.
There's also the chance that your frosting method will cause your otherwise straight cake to lean. Take care to use even pressure when frosting around the cake to avoid pushing your cake into a lean. Make sure to center your cake on the board, especially if you're using a cake turntable, for best results. Also, check your hand positioning to be sure that your offset spatula or cake scraper is being held perpendicularly to the board for a perfectly straight cake instead of frosting that expands towards the bottom.
Not using the right equipment

You might be tempted to frost your cake with a butter knife or the back of a spoon. Now, we aren't saying you can't. However, we are saying that, if you want attractive results, it's worth investing in a few tools that will dramatically improve your technique and final product. With the popularity of cake making and decorating, it's gotten a lot easier to find cake tools in stores and online.
Making beautiful cakes at home takes a little bit of practice. Some of the basic tools you'll need include piping bags and decorating tips, among others. And if your kitchen isn't already equipped with a silicone spatula (or five), now's the time to pick a few up. You'll also want to invest in an offset spatula for leveling off frosting on top of your cake and between the layers, according to Cake by Courtney. If your offset spatula is long enough, you can also use it to smooth out the outside of your cake. For the ultimate smooth finish, you'll want to use a cake or bench scraper. When you're ready to try your hand at piping work, reusable and plastic piping bags are easy to come by. Metal and plastic piping tips often come in sets with piping bags. And if you find you're really into decorating cakes, it's absolutely worth it to invest in a cake turntable for professional-looking results.
Using too much or too little frosting
Few things are as defeating as getting to the last few inches of cake, only to find that you're out of frosting. At that point, you've either got to stop everything and make the world's tiniest batch of frosting to finish or get "creative" with your technique. In case you were wondering, we recommend making the extra frosting.
How much frosting are you supposed to make for your cake anyway? Until you've got all of your recipes down, it's a little bit of a guessing game. But generally speaking, according to Cook's Illustrated, it's recommended to have about five cups of frosting on hand to fill and frost an eight or nine-inch, three-layer cake. Keep in mind that this may not include enough frosting for extra decoration, so plan accordingly.
On the other hand, if you've overshot the quantity and have extra frosting — well, there are much worse problems to have. Resist the urge to spackle on an extra layer of frosting just because it's there. Too much frosting can make your cake heavy and may even cause the extra frosting to sink down the side of the cake. Instead, save the frosting in the fridge or freezer for another project, like a small batch of cupcakes or a mug cake.
Skipping the final chill before transporting
Transporting a cake is stressful work that only increases with the size and detail of the cake. Chilling the cake for several hours is non-negotiable if you plan on transporting it to its final destination. A room temperature cake on an even mildly warm day is a recipe for disaster. One quick stop or pothole can bounce the cake, sending the layers sliding in different directions and decorations smashed against the inside of the box. The horror.
Sometimes a cake wreck is beyond your control, but making sure your cake is chilled all the way through before transporting cuts way down on the chance for disaster (via Taste of Home). If you're traveling a long distance with the cake, like an hour or more, you may even want to freeze it before moving it. Make sure the cake sits on a flat surface in your vehicle and is secured either with a seat belt or tied down. Bungee cords work great here.
If you aren't the one driving, you might be tempted to hold the cake on your lap, but you might want to reconsider this. Not only is your lap warm, but you may have noticed that it's not a flat surface, and despite your best efforts you will probably squirm underneath the cake. While you think you've got a firm grip on the cake box, it's not uncommon for the cake to fly off your lap at an unexpectedly quick stop.
Moving a cake with weak support
Even small cakes are made of a few pounds of stuff. Subsequently, they should be supported with a sturdy cake board to avoid falling or collapsing. Cakes that are frosted directly on a plate or cake stand are pretty well supported. Otherwise, you should frost your cake on the strongest cake board you can find. Per Cakers Paradise, disposable cake boards are typically made of cardboard or foam board, sometimes covered with colorful finishes and foils.
Additionally, buttercream cakes that have been refrigerated should be built on a strong cake board. Without reasonable support, a cake may flex or lean while being moved, causing the cold frosting to crack. If the frosting on your cake cracks, it can be filled in and smoothed out with any leftover frosting you may have. If you don't have any leftover frosting, the crack can be gently smoothed out with a small offset spatula or cake scraper once the frosting has come to room temperature.
After you've made a cake or two, you'll find it easy to avoid many of these mistakes. But sometimes accidents happen, and that's okay too. Just remember that even if your cake falls over, it still probably tastes great. Plus, some mistakes, like a lean or uneven frosting, can be passed off with just a touch of confidence and panache on your part.