Zesty Iced Lemon Pound Cake
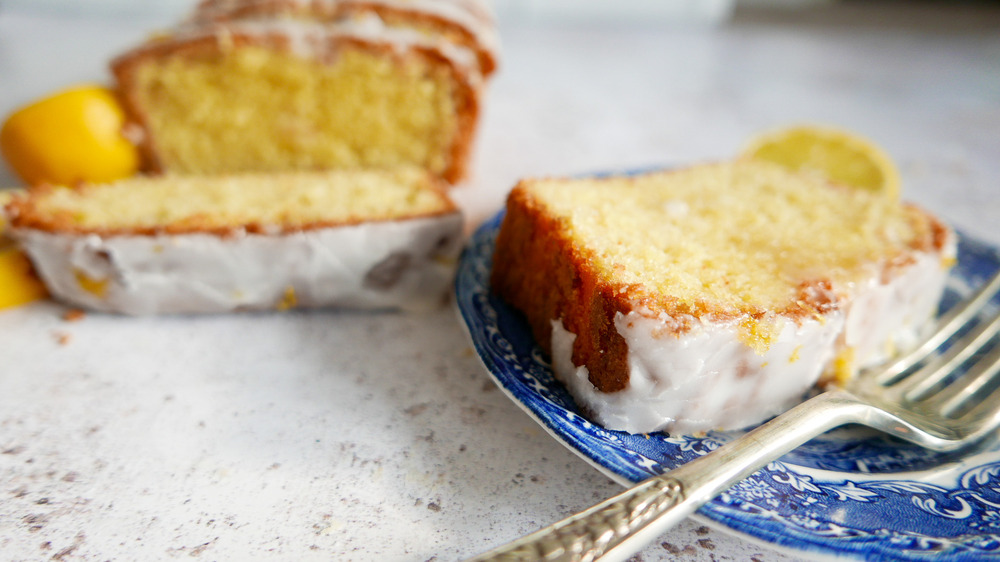
Iced lemon pound cake is one of those comfort foods you can go back to again and again. It's light enough for warmer months, but also offers a hint of nostalgia that's accessible all year round. "This is my go-to cake whenever we want something sweet. It can be whipped up in no time with few ingredients. My mom taught me this recipe when I was young so it's been in the family a long time," says Ting Dalton, recipe developer and UK-based blogger behind Cook Simply (and this iced lemon pound cake recipe).
To be fair, this lemon pound cake would be delicious on its own, but the icing really adds a zesty kick that makes this over-the-top good. Continue reading for details on how to perfectly prepare this cake for a rainy afternoon or a house full of friends. This pound cake will certainly deliver on either occasion.
Gather the ingredients for iced lemon pound cake
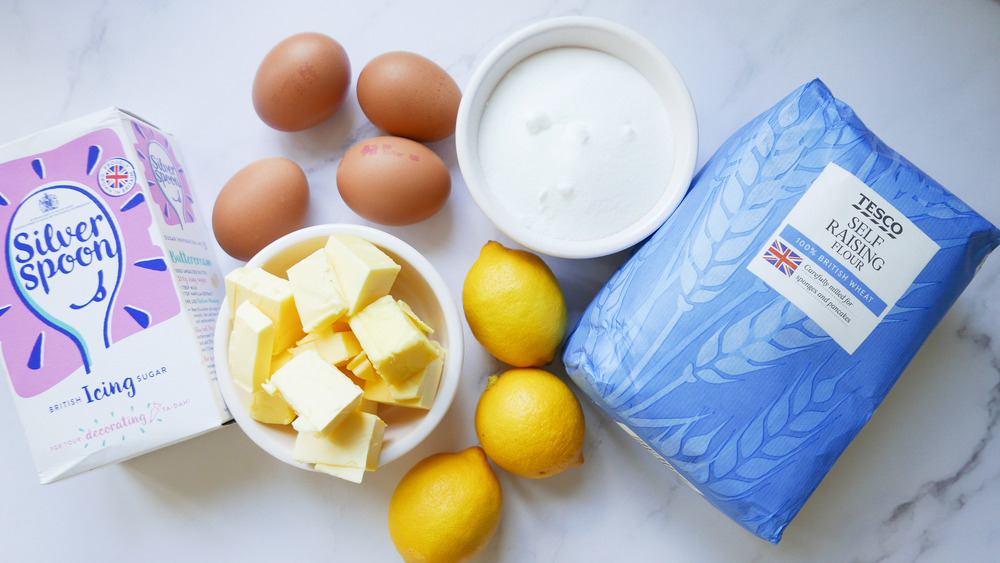
This iced lemon pound cake only calls for six ingredients, which is great news for your wallet! You'll need 1 cup of unsalted butter (softened), 1 cup of caster sugar, 1 cup of self-raising flour (or all-purpose flour with 1 teaspoon of baking powder), 4 eggs, 2 lemons (zest of one and juice of both), and ¾ cup of confectioners sugar.
Dalton clarifies that while caster sugar is finer and the ideal sugar for this iced lemon pound cake recipe, regular granulated sugar will work as well. The eggs should be room temp, so go ahead and take them out of the fridge about 30 minutes before you plan to start baking.
Preheat the oven, and prepare the loaf tin
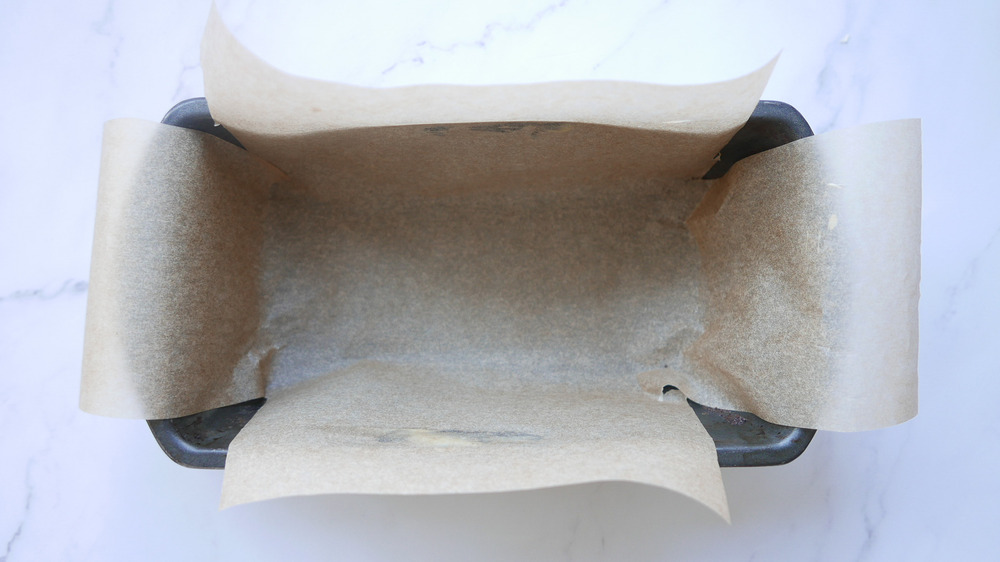
Preheat the oven to 350 degrees Fahrenheit. This iced lemon cake recipe calls for an 8x4-inch loaf tin. Grease the tin with butter or cooking spray, then line it with parchment paper.
As demonstrated in the photo, a good hack is to cut the corners of the parchment so there are four "flaps" on each side of the tin. This makes for easy lifting out of the tin once the loaf is ready to be removed. (Cue the head explosion emoji if you didn't already know this amazing trick).
Begin to prepare the batter for iced lemon pound cake
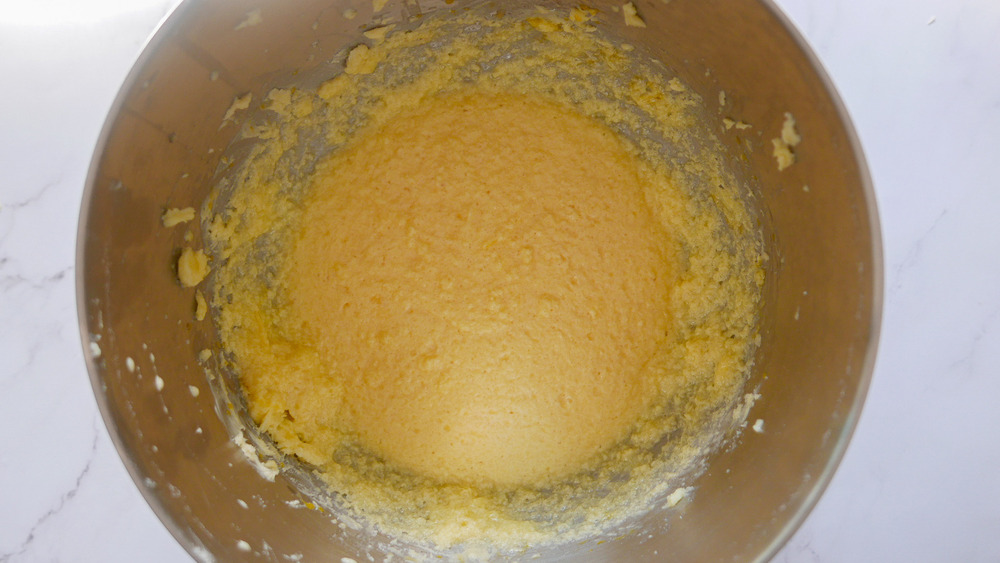
Now, you can start making your iced lemon pound cake batter. Put the softened butter and sugar in a large bowl (or the bowl of a standing mixer). Cream them together until the resulting mixture is smooth, light, and fluffy. Use electric beaters or the paddle attachment of a standing mixer.
Then, beat in the 4 eggs one at a time. Incorporating them one at a time ensures the mixture doesn't curdle. Once smooth and combined, stir the lemon zest through the batter.
Add flour to iced lemon pound cake batter
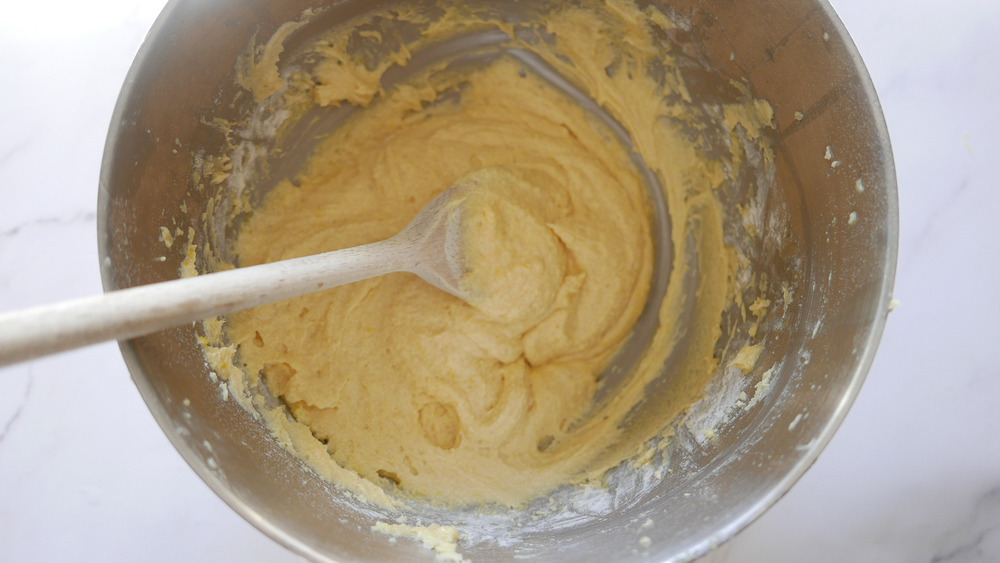
The last step before putting the cake batter in the loaf pan is stirring the flour into the mixture. Mix the flour in until it's thoroughly combined, either with a wooden spoon, standing mixer, or electric beaters. Whichever method you choose, add the flour in gradually as a sudden dump of it might create an unmanageable amount of clumpiness. Since you're only dealing with one cup of flour, this step shouldn't take you too long.
Bake the iced lemon pound cake
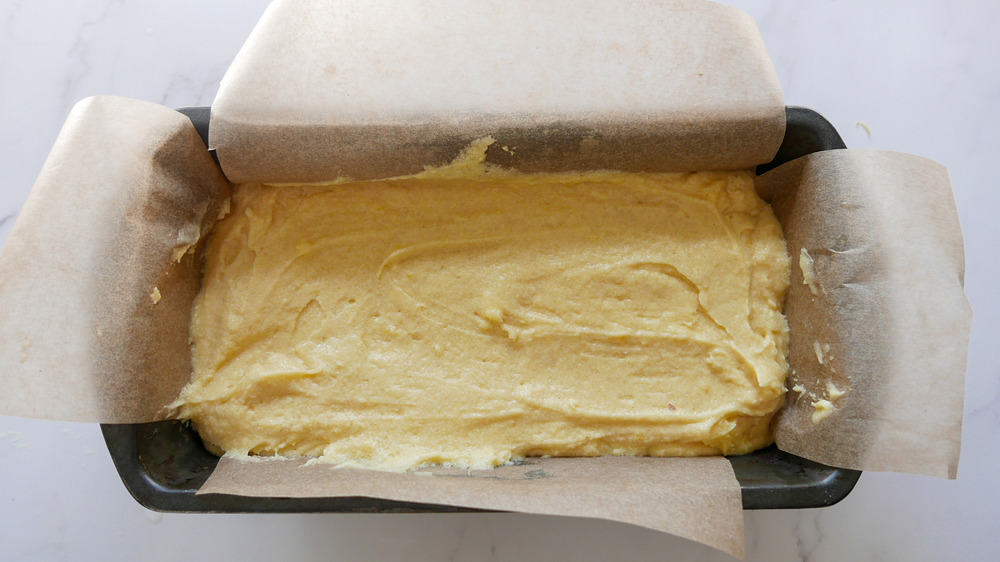
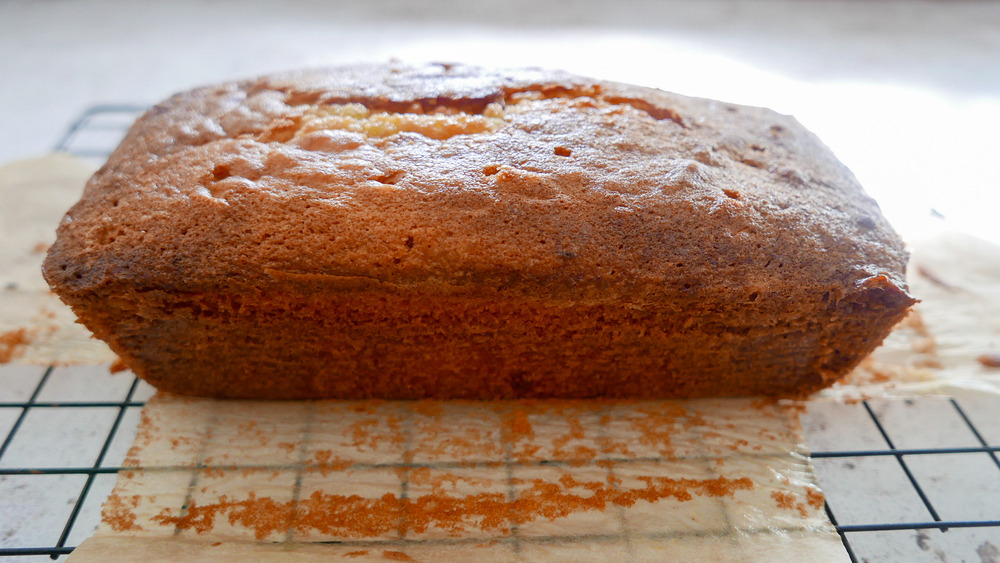
Your iced lemon pound cake batter is ready to go in the oven. Pour the mixture into the prepared loaf tin and bake it for 40 to 50 minutes, until it's golden brown and a skewer inserted into the center comes out clean.
Dalton recommends checking the cake often as some ovens are hotter than others. She also notes, "If the middle is still raw, but your top is browning, you can put foil over the cake to stop it from burning." You know your oven better than anyone else, so hopefully you already have a good idea of whether you always end up having to cook or bake for longer or less time than the recipe instructs.
Poke holes in the pound cake, pour over lemon juice, and let it cool
When your cake is done, remove it from the oven. There's one more step you need to do before letting it fully cool.
With a skewer, poke several holes in the surface of the cake. Then, pour the lemon juice over the top of the cake and allow to soak into the cake. Why this step? "You want the lemon juice to soak through the warm sponge while it's still in the tin," Dalton says. "This way, it will sink in. You don't have to do it straight out of the oven, but still while the cake is warm."
After you've done the hole poking and lemon juice pouring, let the cake cool in the tin for at least 15 minutes. After that, you can place it on a wire rack to finish cooling completely.
Make the icing for your lemon pound cake
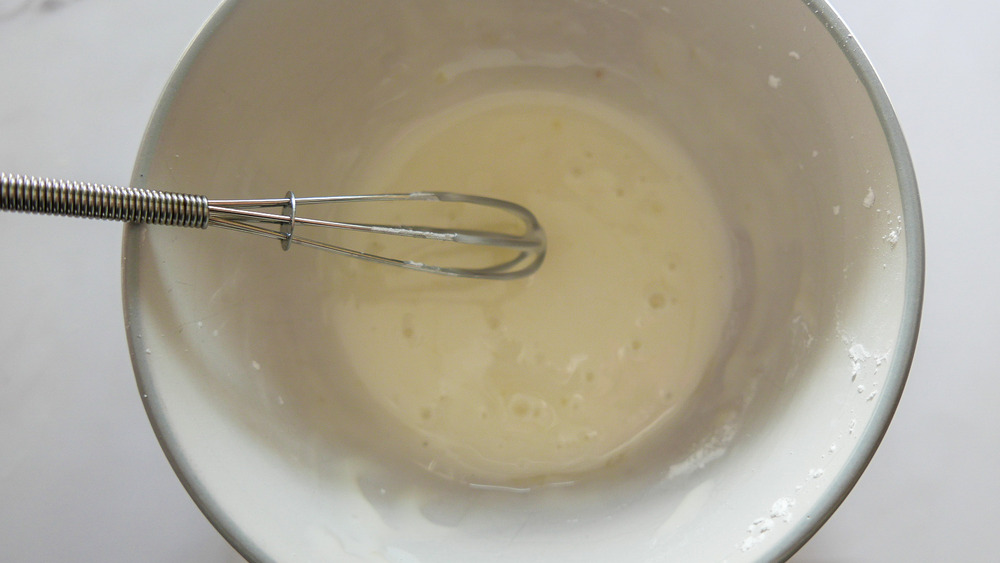
While the lemon pound cake cools, you can prepare the icing. This iced lemon pound cake recipe instructs you to sift the sugar into a bowl. Gradually stir the rest of the lemon juice into the sugar until you have yourself a pourable icing consistency. Per Dalton's recipe instructions, "Don't add all the lemon juice in one go. Do it bit by bit, until you are happy with the consistency. You may not need all of the lemon juice."
We all know that perfect loaf cake icing consistency when we see (taste) it, right? Okay, so do that. If you don't know, the pictures give you a pretty good idea, or perhaps a taste-tester in your household could make the call.
Top the lemon pound cake with icing
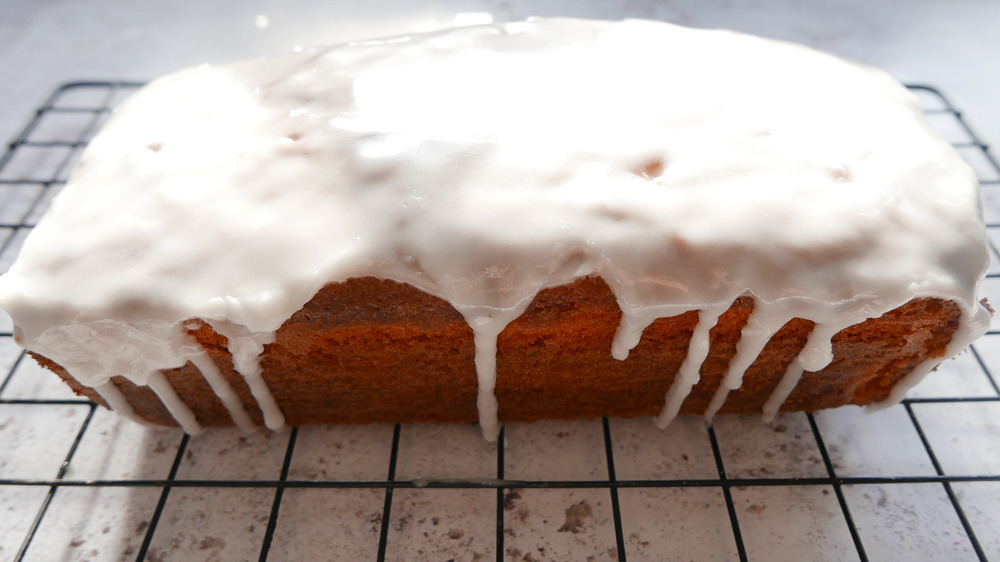
The final step is pouring that sweet icing over the top of the cake and letting it drizzle down the sides. After you successfully pour the icing over the top of the cooled lemon pound cake, use a palette knife to smooth the icing so that it covers the entire surface. Allow the icing to drip down the sides of the cake, and let it set.
Now, all you have to do is add additional lemon zest to the top of the loaf for garnish (if desired), slice, serve, and enjoy. If you're wondering how long the iced lemon pound cake will stay fresh, Dalton says, "It will keep for two to three days in an airtight container — if there's any left."
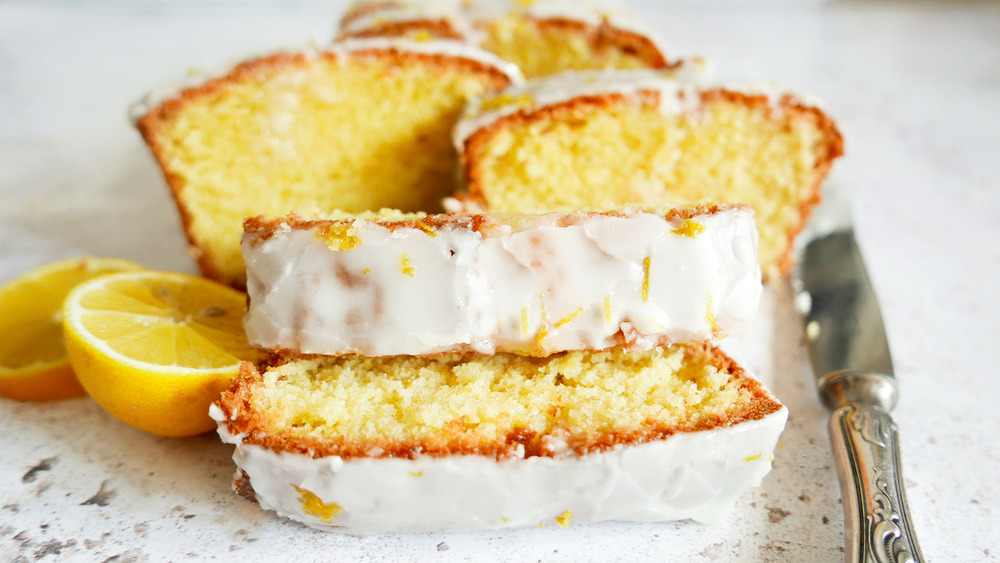
Zesty iced lemon pound cake
This iced lemon pound cake is a perfectly zesty treat to serve at a dinner party or enjoy with your afternoon tea.
Ingredients
- 1 cup unsalted butter, softened
- 1 cup caster sugar
- 1 cup self-raising flour (or all-purpose flour with 1 teaspoon baking powder)
- 4 eggs
- 2 lemons (zest of one and juice of both)
- 3/4 cup confectioners sugar
Directions
- Preheat the oven to 350 degrees Fahrenheit. Grease and line an 8x4-inch loaf tin.
- Put 1 cup of softened unsalted butter and 1 cup of caster sugar in a large bowl, and cream together until smooth, light, and fluffy, with electric beaters or in a stand mixer.
- Beat in the eggs one at a time to make sure the mixture doesn't curdle. Once smooth and combined, stir through the lemon zest.
- Mix in 1 cup of flour until combined.
- Pour the mixture into the prepared loaf tin and bake for 40-50 minutes, until golden brown and a skewer inserted into the center comes out clean. Check the cake often as some ovens are hotter than others. If the middle is still raw but your top is browning, you can put foil over the cake to stop it from burning.
- Remove from the oven and make several holes in the sponge with a skewer. Pour over the juice of 1 lemon, and allow to soak into the cake.
- Leave the cake to cool in the tin for at least 15 minutes, and then place on a wire rack to cool completely.
- Once the cake is cooled, sieve the icing sugar into a bowl to make icing. Gradually stir through the lemon juice until you have a pourable icing consistency. Don't add all the lemon juice in one go -- do it bit by bit until you are happy with the consistency. You may not need all of the lemon juice.
- Pour the icing over the top of the cake, and use a palette knife to smooth the icing to cover the top of the cake, allowing the icing to drip down the sides of the loaf. Let it set.
- Add some lemon zest to the top for garnish. Serve and enjoy.
Nutrition
| Calories per Serving | 429 |
| Total Fat | 25.2 g |
| Saturated Fat | 15.3 g |
| Trans Fat | 0.9 g |
| Cholesterol | 141.0 mg |
| Total Carbohydrates | 47.8 g |
| Dietary Fiber | 0.7 g |
| Total Sugars | 35.2 g |
| Sodium | 34.6 mg |
| Protein | 4.6 g |