Soft Almond Biscotti Recipe

Biscotti are always an eye-catching addition to the cookie display at your favorite bake shop or coffee shop. And while they might look difficult to make, these twice-baked treats are not as challenging to prepare at home as one might guess.
According to NPR, this delicious cookie comes from the Tuscan region of Italy — specifically in Prato — where they were named biscotti di Prato, and prepared primarily with almonds. The word itself has a Latin origin — "biscoctus" — or "twice-baked." Some of this cookie's history even dates back to the Roman empire (via The Nibble). This biscuit was so shelf-stable, travelers could bring it on trips and even long ocean voyages. Apparently, Christopher Columbus was a fan of this delicious treat. It's said that Columbus packed biscotti for his journeys to the unknown (via The Los Angeles Times).
Recipe developer Jennine Bryant of The Marshside Pantry is serving up a biscotti recipe that stays true to the original, for a tried and true, foolproof way to made these delicious cookies.
Gather the ingredients to make this biscotti recipe
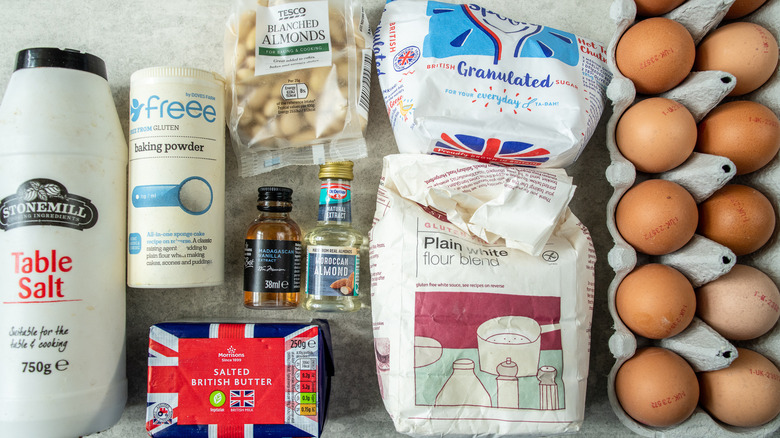
Whether you're an avid baker or someone who's just starting out, none of the ingredients you need to prepare biscotti will be unfamiliar. In fact, we wouldn't be surprised if these are items you already have on hand just for days when you want to try out a new recipe (like this one) or one of your favorites. There are a few places where you might be able to make substitutions, and you could end up with surprisingly pleasant results.
So, it's time to gather whole blanched almonds, flour, baking powder, sugar, vanilla extract, almond extract, eggs, and salt. Bryant's recipe may stay true to the original idea of an almond biscotti, but it's possible to mix other nuts and dried fruits into the batter as well. Dried fruit add-ins like apricots or cranberries make for great biscotti, as do different kinds of nuts, like pistachios or hazelnuts. You might even choose to make chocolate biscotti by adding chocolate chips, or dipping the cookie into melted chocolate after it's been baked twice. Your add-ins can be introduced into the dough while you're mixing the dry and wet ingredients together, which we'll talk about later.
If you're not a fan of sugar, you can always incorporate other sweeteners such as honey or maple syrup. But be mindful that when adding a liquid sweetener, chances are, you'll also need more flour to balance out the consistency of the biscotti dough.
Toast the almonds
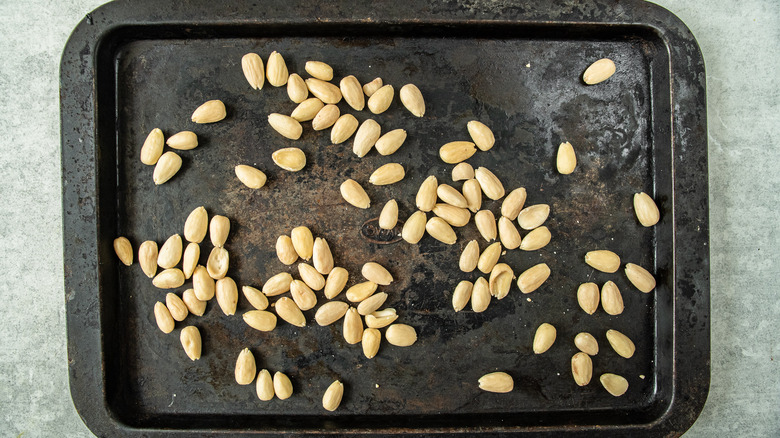
Before anything else, preheat the oven to 325 F. Once the oven is preheated, toast the almonds for 10 minutes. According to The Pioneer Woman, toasting the nuts could really enhance the recipe's overall flavor. In addition to putting them in the oven, nuts can also be toasted in a dry skillet on the stove. When the aroma of the toasted nuts begins to fill the room, it's time to give the pan a shake to flip the nuts over (via The Pioneer Woman). Just keep an eye on them to make sure they don't burn.
Once the nuts are toasted, you'll want to turn the oven down to 300 F, and prepare a baking tray with parchment paper so it's ready for your biscotti logs.
Mix your wet ingredients and dry ingredients separately, then combine
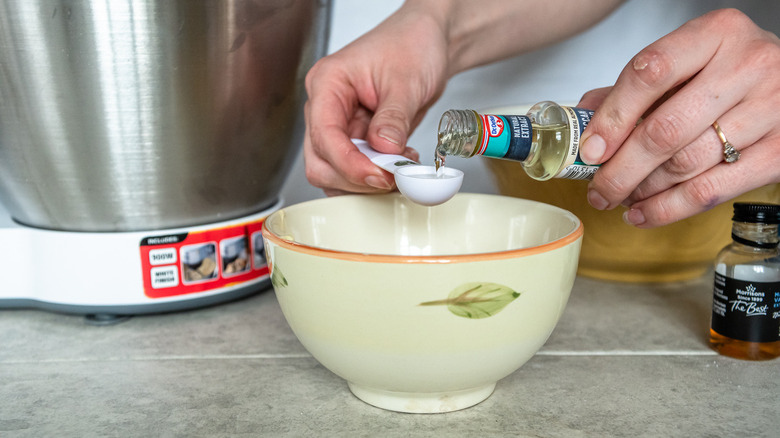
Bryant recommends combining the dry ingredients — flour, sugar, baking powder, and salt — in one bowl, and wet ingredients — eggs, vanilla extract, and almond extract — in another, before bringing everything together to make the cookie dough. You'll add half of the wet mixture to the dry ingredients, and mix. Then, add the whole roasted almonds (in addition to any add-ins) and the rest of the wet ingredients, and mix everything up until you have a sticky dough.
Take note that mixing dry and wet ingredients separately first can reduce the overall mixing time, because mixing something for too long could leave you with an overworked dough. Another good reason? "It also allows for the ingredients to be evenly dispersed through the flour, which is important for how the product is baked," Bryant says.
Form your dough ball, shape it into two biscotti logs, then bake it
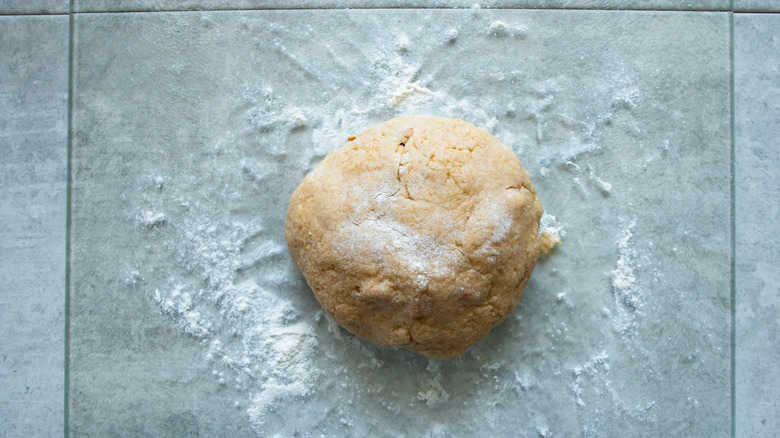
The easiest way to shape dough is by adding flour to your dough or work surface to make it less likely for both to stick to each other. But it's important to remember that the biscotti dough will absorb whatever flour you choose to sprinkle on it, and that adding too much flour can result in a tough dough. Given this, it is best to start with a light sprinkling of flour, and to add a bit more as you go along (via Bakepedia).
Once you've formed your dough ball, cut that in half, and then shape the halves into two logs before baking for 40 minutes. Once done, cool for 30 minutes. Then, slice into biscotti. This last cooling step is important, because cutting the logs while they are too warm will cause them to crumble.
Bake the biscotti again, then enjoy
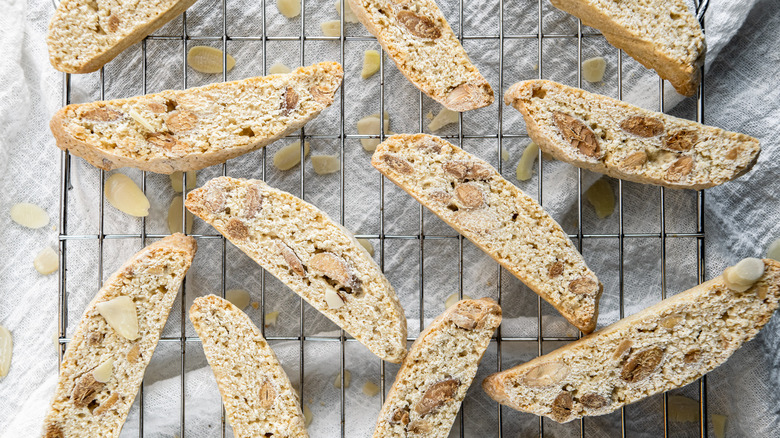
Once all the biscotti are sliced, lie them flat, and return them to the oven so they continue baking, flipping once after 10 minutes. The cookies need to be baked for a total of 20 minutes.
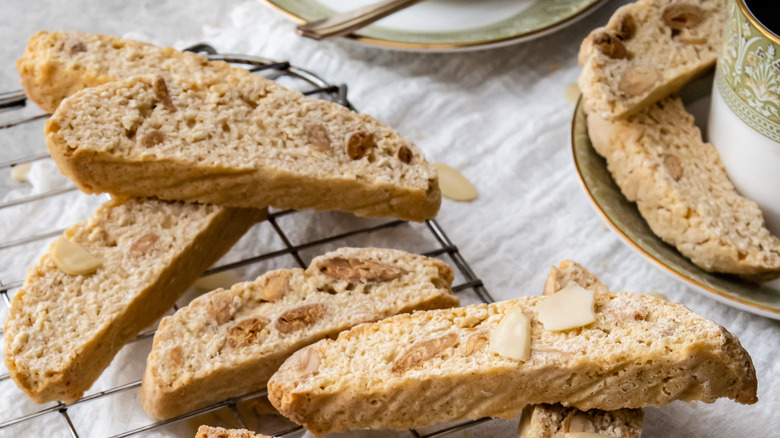
Because the biscotti is twice-baked, the cookies themselves don't contain much moisture. Bryant says you can actually store your homemade biscuits for as long as two weeks, as long as they are kept in a sealed, dry container ... provided that you don't consume them within a few days, that is. Another useful guide is to check out the USDA site, which suggests homemade cookies can also be stored for up to two months in the refrigerator.
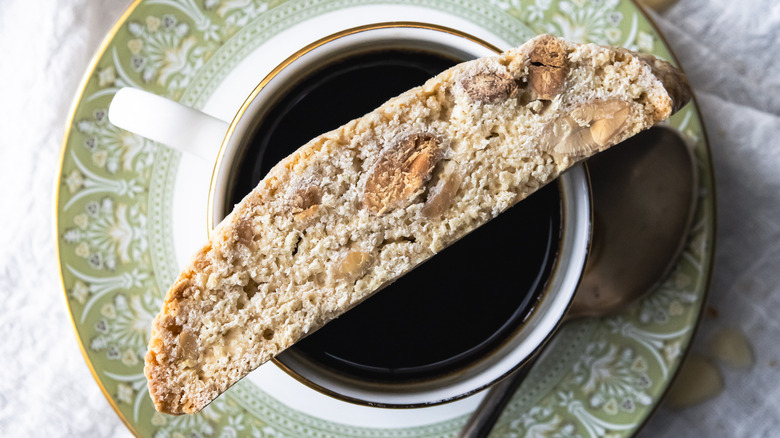
Enjoy your biscotti with tea or coffee for the ultimate sweet treat!
Making these cookies gluten-free might be a challenge
While Bryant's blog is best known for gluten-free recipes, the blogger cautions against using a straight substitution of regular flour for gluten-free flour for these cookies, because gluten-free flour makes the cookie more crumbly than they should be. This, Bryant warns, becomes a challenge, since you need to slice the biscotti logs which have whole almonds throughout, and the batter could crumble.
But making the cookies vegan may seem easier, since the eggs found here can be substituted for aquafaba, soy milk, or coconut oil in a straightforward swap.
Scrumptious Biscotti Are The Perfect Complement To Your Morning Coffee
While biscotti might look difficult to make, these twice-baked treats are not as challenging to prepare at home as one might guess.
Ingredients
- 3 ½ ounces whole blanched almonds
- 9 ½ ounces flour
- 4 ½ ounces sugar
- 1 teaspoon baking powder
- ⅛ teaspoon salt
- 3 medium-sized eggs
- ½ teaspoon vanilla extract
- 1 teaspoon almond extract
Directions
- Preheat oven to 325 F.
- Put whole almonds on a baking tray, and toast them in the oven for 10 minutes. Then, leave to cool.
- Turn the oven down to 300 F, and prepare a baking tray with parchment paper, ready for your biscotti logs.
- Combine the flour, sugar, baking powder, and salt. In a separate bowl, combine the eggs, the vanilla extract, and the almond extract. Whisk until well-combined.
- Add half of the wet mixture to the dry ingredients, and mix. Add the whole roasted almonds and the rest of the wet ingredients, and mix until a sticky dough has formed.
- Using plenty of flour, mould the sticky dough into a ball. Cut in half, and then fashion two logs from the dough on the prepared baking tray.
- Bake the biscotti logs in the oven for 40 minutes, then take out and allow to cool down for 30 minutes. If you cut them while they are too warm, they will crumble.
- While the logs are cooling, prepare a second baking tray for the sliced biscotti.
- Cut the logs into slices, and place each slice on the prepared baking tray. Bake for 10 minutes, then flip over the biscotti, and bake for another 10 minutes on the other side.
- Enjoy!
Nutrition
| Calories per Serving | 91 |
| Total Fat | 2.7 g |
| Saturated Fat | 0.3 g |
| Trans Fat | 0.0 g |
| Cholesterol | 19.6 mg |
| Total Carbohydrates | 14.2 g |
| Dietary Fiber | 0.7 g |
| Total Sugars | 5.4 g |
| Sodium | 34.7 mg |
| Protein | 2.6 g |