Simple Homemade Venison Summer Sausage Recipe
Summer sausage originally got its name because it was a sausage you could eat in summer. It's almost laughable now to think that you'd need a special type of sausage for summer, but back when refrigeration wasn't available and Europeans relied on curing and smoking methods to make meats last, summer sausage was a seasonal treat because it wouldn't spoil during the warm summer months.
Summer sausage is slightly different from salami, as it only loses about 15% moisture when cooking or smoking, whereas salami loses closer to 25% of its moisture content. The extra moisture gives summer sausage a very smooth texture.
The flavor depends on how you cook it. Traditionally, summer sausage is wrapped in pork casing and smoked for a few hours. However, since not many home chefs know how to work with pork casings or have an at-home smoker for that matter, we decided to break this recipe down into steps you can easily do in your own kitchen.
Follow along as Chef Tara Rylie of RylieCakes takes this often laborious process and turns it into one that all home chefs can do in the comfort of their home.
Gather your ingredients
No matter the recipe, we always recommend gathering all your ingredients and measuring them out before you get started. By doing so, you'll limit the number of potential mistakes that could happen when hustling around your kitchen, and you'll be able to focus on the recipe at hand rather than trying to measure things as you go.
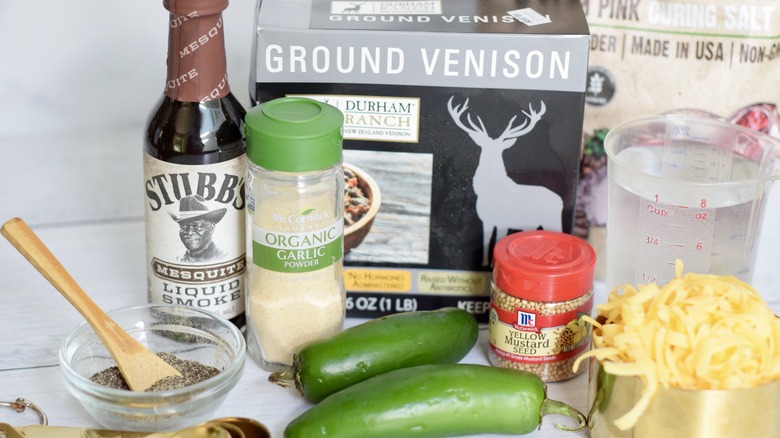
For this recipe you'll need water, curing salt, yellow mustard seeds, garlic powder, black pepper, liquid smoke, ground venison, cheddar cheese, and jalapeños. In place of the cheddar you can use a white cheddar, smoked Gouda, or even a pepper jack cheese. The jalapeños are optional, but really do add a great depth of flavor without contributing too much heat.
Where to find curing mixture or curing salt
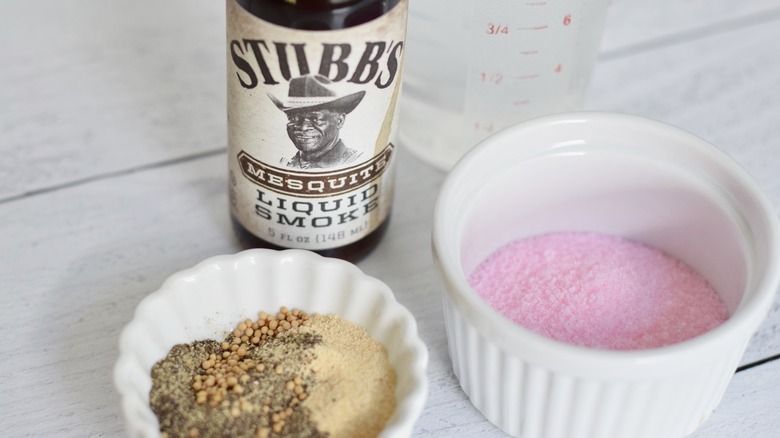
The hardest part about this recipe is probably finding the curing mixture itself. Curing mixture, also known as curing salt, is a combination of salt, sodium nitrite, and often times sugar. It can't be easily made at home because of its ingredients, so we recommend just buying it pre-made. It can be hard to find at the grocery store, though, as not all major groceries carry it. But it's often carried at outdoor stores that provide hunting and fishing gear and, of course, when all else fails, it can be ordered online.
The other important ingredient for this recipe is liquid smoke. Luckily, liquid smoke can be found at most grocery stores in the condiments aisle (near the mayonnaise, mustard, and ketchup). We chose to use a mesquite liquid smoke for this recipe, but any flavor would work here.
Combine the curing mixture with the spices and liquid smoke
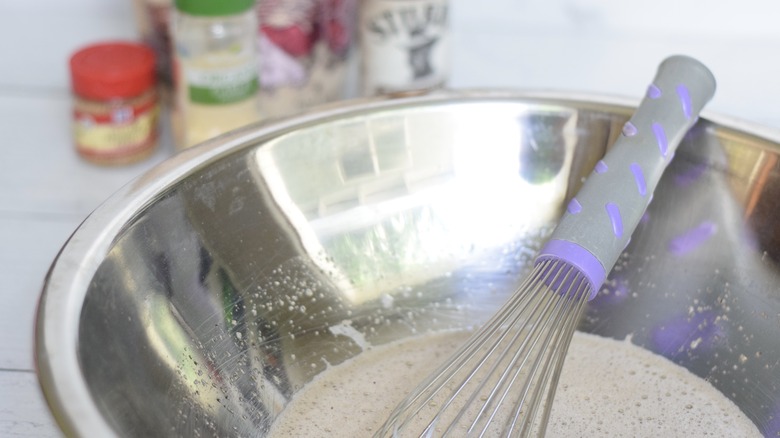
To begin this recipe, whisk together the water, curing salt, mustard seed, garlic powder, pepper, and liquid smoke in a large bowl until well combined and frothy. Your curing mixture should be completely dissolved before moving on to the next step, so just keep whisking until it is.
We prefer to use a metal bowl when working with raw meat because bacteria can't enter its hard surface. This makes cooking at home more sanitary — especially for future recipes you make in the same bowl that might not use raw meat — and easier to clean up. A bowl made of a different material can most definitely be used here if that's what you have, but just be sure to clean it thoroughly afterwards.
Mix in the meat, cheese, and jalapeños
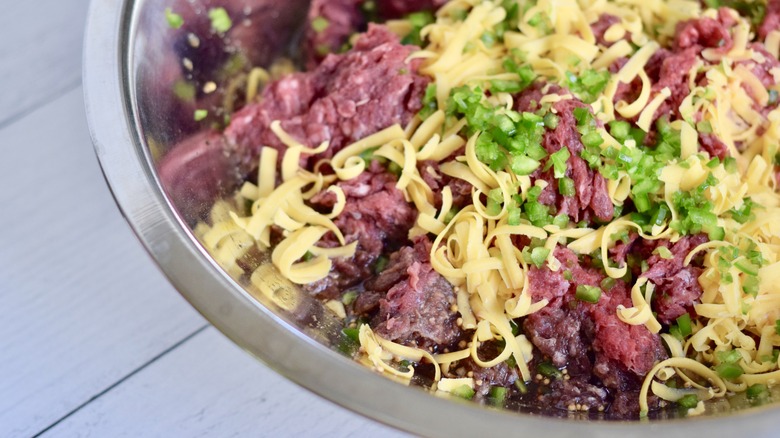
When your curing salt has dissolved, mix in your ground venison, cheddar cheese, and diced jalapeños by hand until the mixture is well blended and sticky. This will take about five minutes. Don't stop until the mixture is sticky, as you really want your meat to be well blended. If it's not blended enough, you'll end up with what looks like a cooked log of meatloaf rather than scrumptious summer sausage.
You can use a stand mixer fitted with a paddle attachment here if you'd like. Just be sure to keep your mixer on low so it gently mashes everything together over the course of a few minutes.
Portion the sausage and roll it into logs
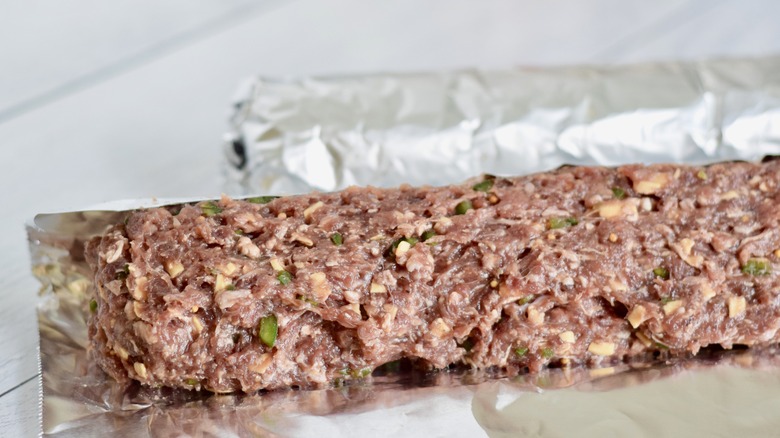
As promised, Chef Tara Rylie created a few sneaky ways to make this recipe much easier at home. Instead of filling pork casing with your sausage mixture, simply divide the mixture in half — about 32 ounces per half — and then roll each portion into 2-inch thick logs about 16 inches long. This is best done on a clean, flat surface that's easy to clean again, as the sausage mixture will make your counters sticky.
Once you've got your two logs, tightly wrap each in foil and place them in your refrigerator for 24 hours. You want the sausages to set overnight so that all the flavors can mingle and really soak into the ground venison. Don't skip this step or you'll miss out on all the flavor!
It's time to bake your sausages!
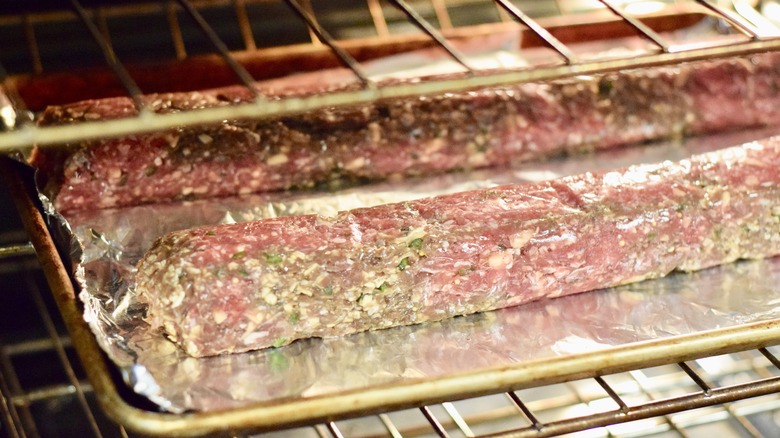
The next day, after you've let your summer sausage rest in the refrigerator overnight, preheat your oven to 300 F. Line a sheet pan with foil and get out your sausages. Remove the foil wrapping from both sausage logs and place the logs on your prepared pan. The sausages need to bake for about 1½ to 2 hours, or until the internal temperature of the sausages reaches 170 F.
When they're done, let your sausages cool on a wire rack to room temperature. You can dab them with a paper towel if necessary to remove any excess grease. Once the sausages are cool, keep them whole until you're ready to serve. They should be kept in an airtight container in the refrigerator and will last for up to a month, but they'll only last a week once they're sliced.
To keep the sausages for longer, double wrap them — first in plastic wrap and second in foil — before freezing. They can be kept frozen up to three months.
Summer sausage accompaniments
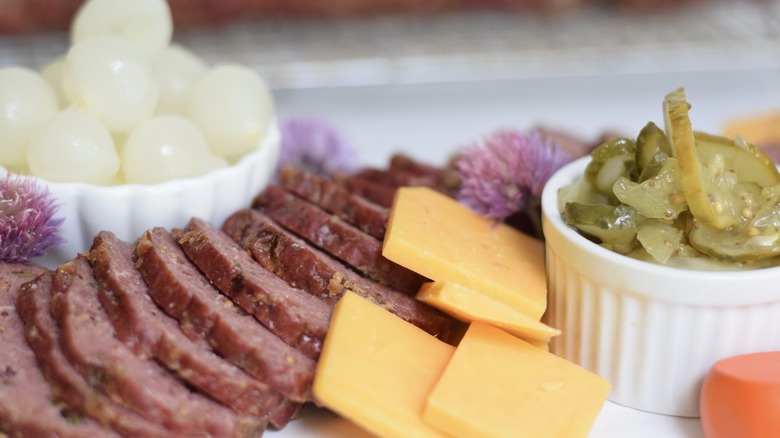
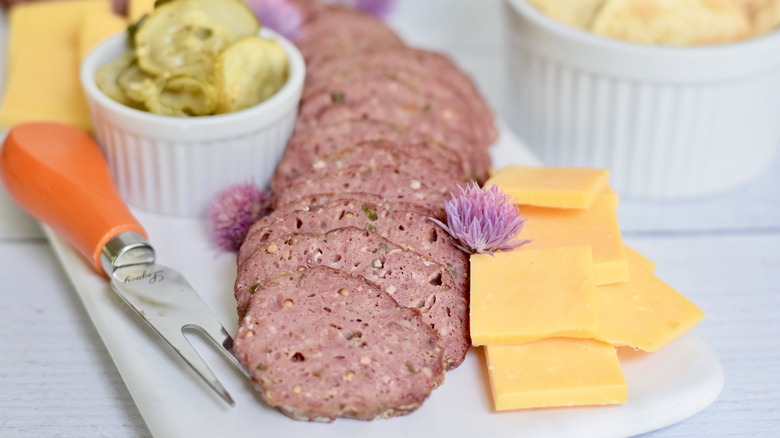
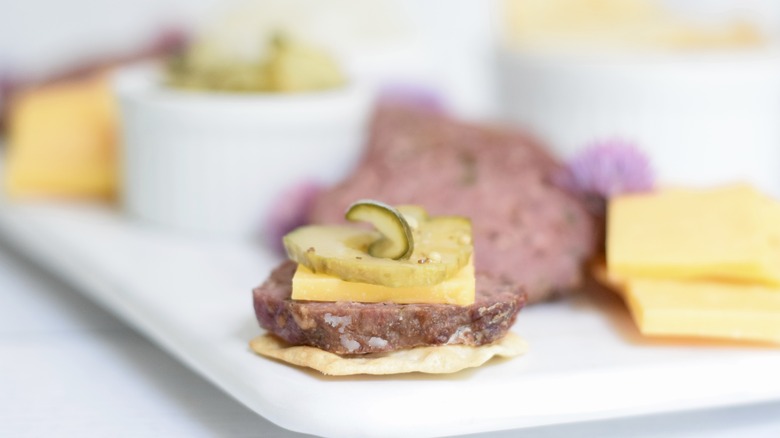
Summer sausage is traditionally cut a little bit thicker than salami, but served in many of the same ways. We chose to eat ours on a charcuterie platter with olive oil pickles, pearl onions, cheddar cheese, fresh chive flowers, and crackers.
But summer sausage has uses outside the world of charcuterie as well. You could put it on a sandwich or slice it up for a salad or soup. It's also fantastic when diced instead of sliced, and can then be sautéed and put into an omelet or casserole.
No matter how you eat it, you're bound to love how easy this recipe is and just how wonderful your summer sausage tastes.
Simple Homemade Venison Summer Sausage Recipe
Home chefs can easily make this simple homemade venison summer sausage recipe -- without pork casings or an at-home smoker -- in the comfort of your kitchen.
Ingredients
- 1 cup cold water
- 2 tablespoons curing salt
- 2 teaspoons yellow mustard seeds
- 1 ½ teaspoons garlic powder
- 1 ½ teaspoons black pepper
- 1 tablespoon liquid smoke
- 3 pounds ground venison
- 1 cup shredded cheddar cheese, packed
- 2 large jalapeños, seeded and finely diced
Directions
- In a large mixing bowl, whisk together the water, curing salt, mustard seeds, garlic powder, pepper, and liquid smoke until well combined and frothy.
- Combine the ground venison, cheddar cheese, and jalapeños by hand or in a stand mixer using a paddle attachment, mixing until everything is well blended and sticky, about 5 minutes.
- Divide the mixture in half. Each half should be about 32 ounces. Roll each half into 2-inch-thick logs about 16 inches long.
- Wrap the logs tightly in foil and refrigerate them for 24 hours.
- The next day, preheat the oven to 300 F. Line a sheet pan with foil.
- Remove the foil from the sausage logs and place the sausages on the prepared sheet pan. Bake the sausage for 1½ to 2 hours, or until the internal temperature reaches 170 F.
- Cool he sausages on a wire rack to room temperature. Dab them with paper towel to remove excess grease.
- Once cool, slice the sausage to your desired thickness and serve.