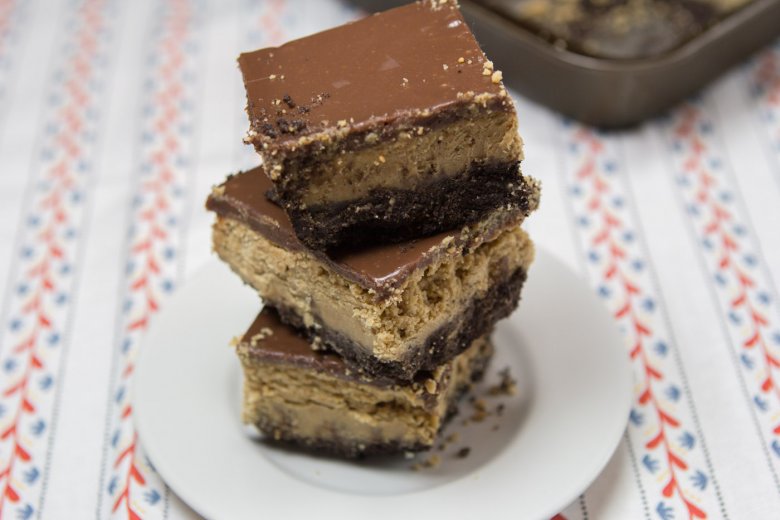
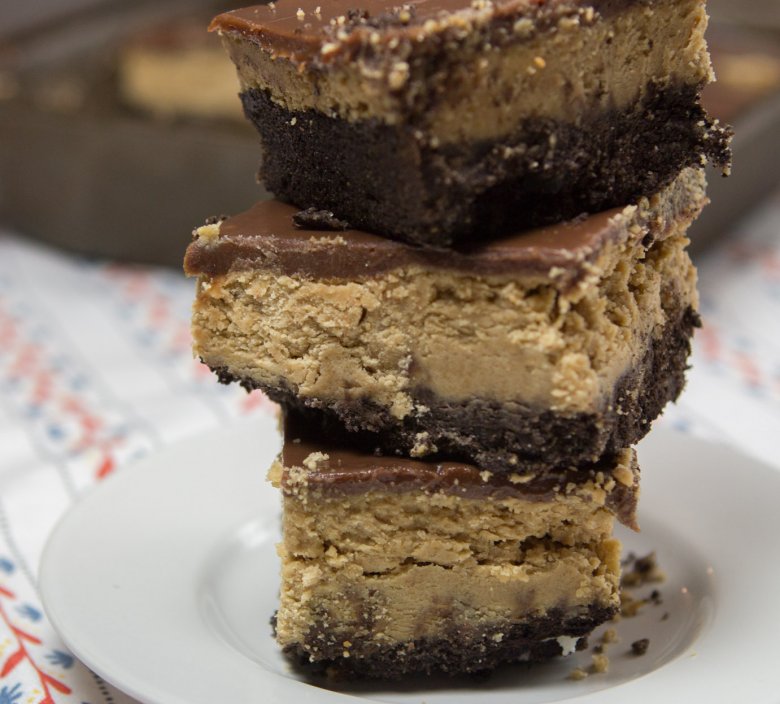
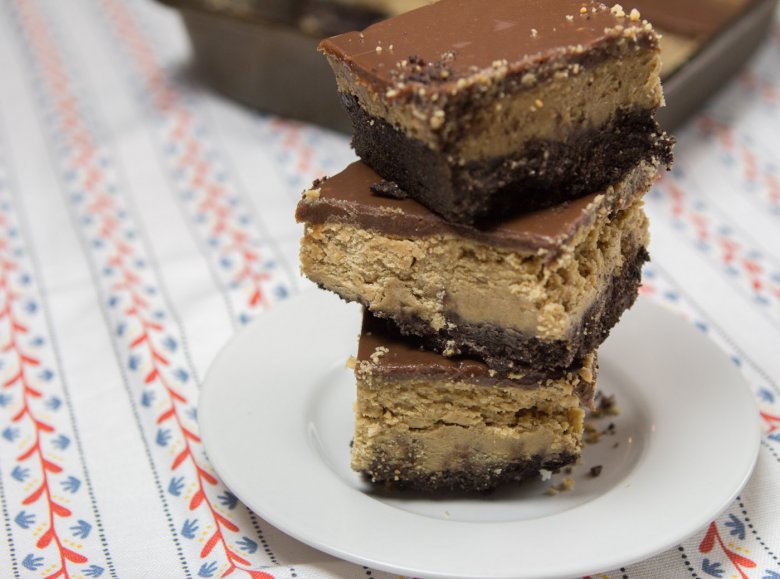
Peanut Butterganache Bars
We may receive a commission on purchases made from links.
Ah, peanut butter and chocolate. The longstanding romance between these two ingredients always results in some kind of blissed out dessert moment. The nutty, subtly savory flavor and smooth texture of peanut butter make it an ideal companion for bold, unabashedly distinct characteristics of chocolate. Together they're able to elevate even the simplest desserts — like these incredible bars for instance.
With its creamy chocolate cookie crust, rich peanut butter filling, and smooth chocolate ganache topping, these bars have a special place in my heart. Their simplicity and ease combined with their utterly unblemished record for pleasing literally anyone who encounters them make these my go-to when I want to curry favor with people. Don't get me wrong, though. You should probably whip up these bars — whether you're expecting company or not.
Gather your ingredients
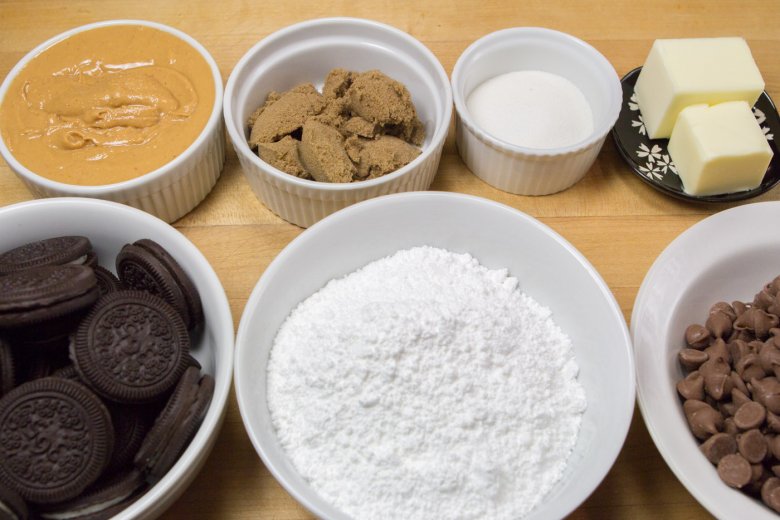
These bars start with a cookie crust. I love a good creamy, chocolatey Oreo crust, but I feel too guilty about all the processed ingredients, trans fat, yadda yadda yadda—so I like to use a healthier alternative of the famous chocolate sandwich cookies. Here, I used the store brand cookies from Whole Foods Market — but any chocolate sandwich cookie will do.
The filling is made with creamy natural peanut butter and both confectioner's sugar and brown sugar to achieve a warm, sweet flavor — oh, and butter, of course. Are you kidding me? The ganache topping is just melted milk chocolate and cream, which means you can make ganache all the time and pour it on everything.
A full list of ingredients and step-by-step instructions can be found at the end of this article.
Make the cookie crust

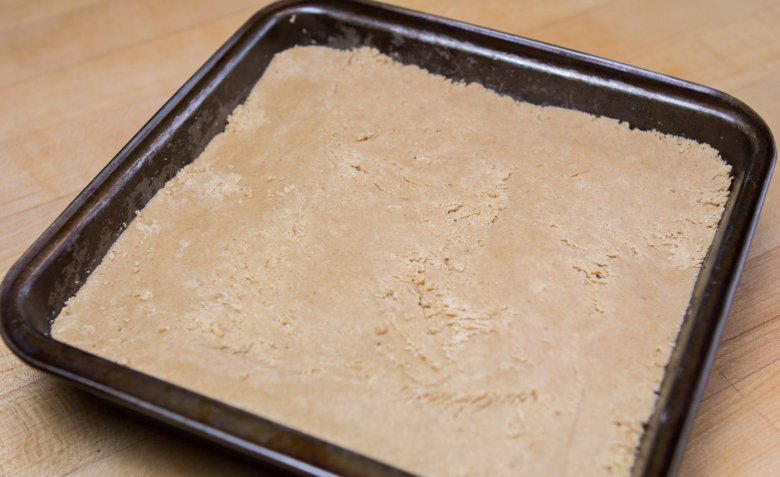
Grab your food processor and blend to make this easy crust. Chocolate sandwich cookies, butter, sugar, and peanut butter all go in. You want to be sure you process in pulses until the cookies are obliterated into fine crumbs, although a few bigger crumbs remaining are A-okay. Press the crumbs into a square baking pan. I like to use the bottom of a measuring cup to press, which helps pack the crust.
Bake cookie crust
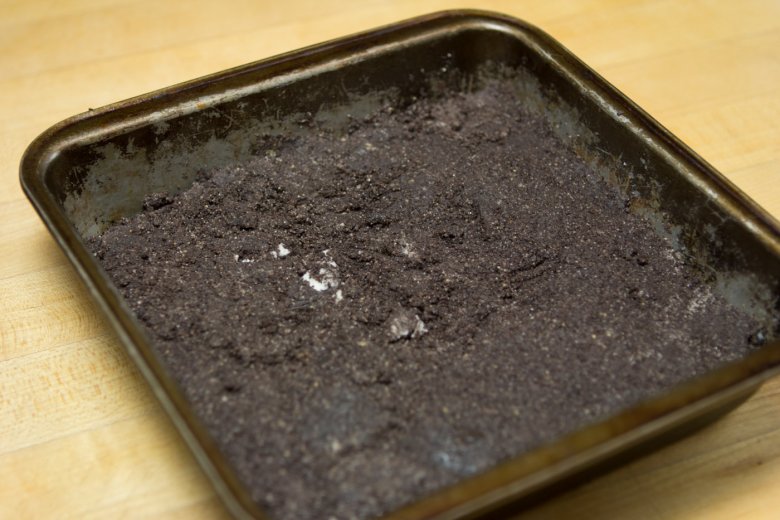
The only element that gets baked in this dessert is the crust. Pop the prepared cookie crust into a 375 degree Fahrenheit oven and bake it up.
Concoct the filling
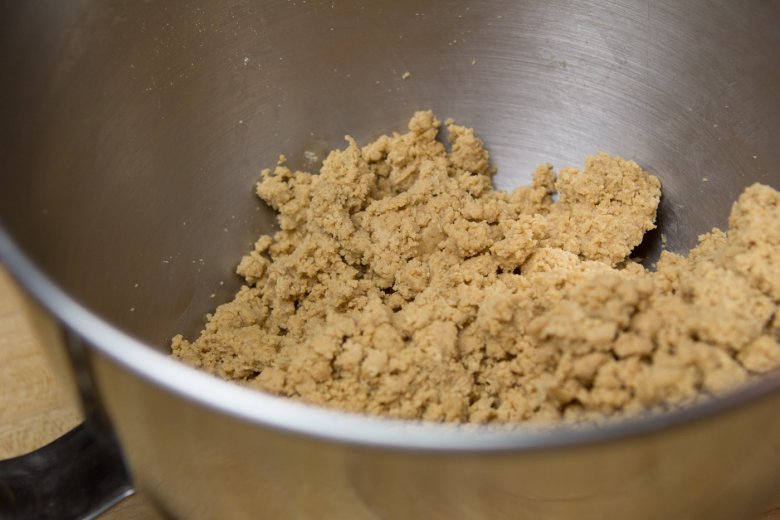
If you have an electric mixer, you'll probably want to use it. While you can mix the filling by hand, the texture is much smoother when you can really blend the ingredients vigorously. Combine all the filling ingredients until everything is thoroughly combined. Note that the mixture will appear thick and crumbly, but that's fine as long as the ingredients are combined. You'll smooth it out later when you assemble the bars. Be warned that you might want to just grab a spoon at this point and start eating filling. Try to hold off!
Ganache time
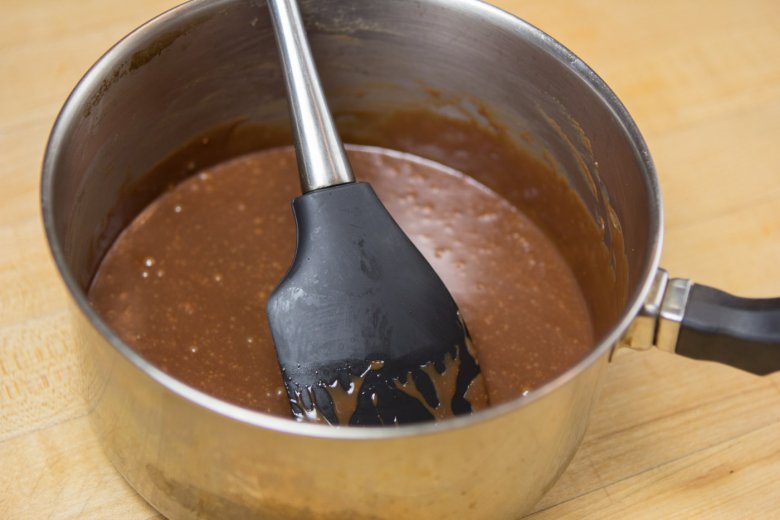
Okay, this is ridiculously easy. Simply heat the heavy cream on the stove until it's hot but not boiling over, then remove it from the heat. Add the chocolate and let it sit for a few minutes. Now stir away until the mixture is smooth.
Okay, let's start with the ganache glue layer
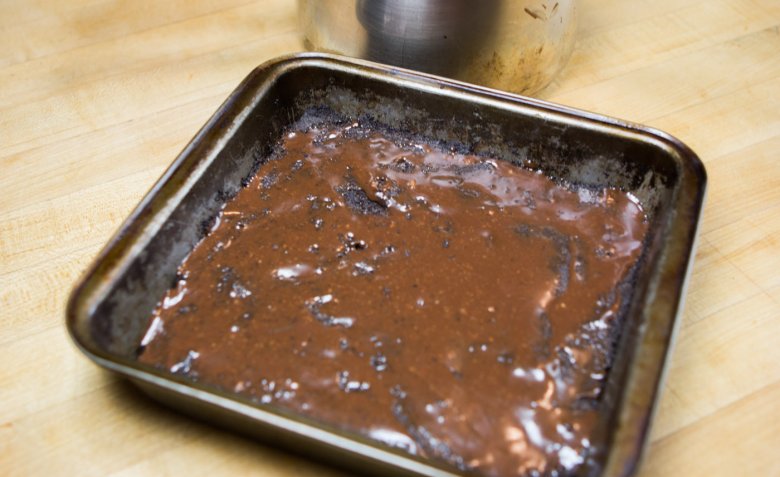
Once the crust is baked, you can start assembling the bars. The chocolate ganache acts as a glue to bind everything together, so spread a thin layer of it on the cooled crust. Ahem, note that the crust should be completely cool. Sometimes my impatience gets the better of me, but I've realized waiting is crucial, otherwise the heat will melt the filling too much.
Next comes peanut butter filling
Top the ganache layer with the peanut butter filling. Spread as evenly as possible using a small offset spatula. Side note: If you don't have a small offset spatula, use a knife. That said, get one. This handy tool is incredibly versatile.
Finish this thing
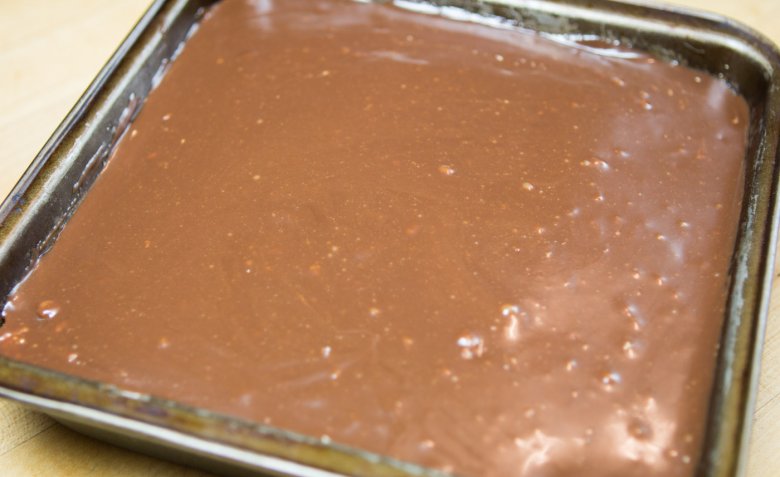
Finish the bars by topping the peanut butter filling with the remaining ganache. Spread evenly using (again) your offset spatula. That's it!
Chill, cut, and eat
While you can cut the bars in the pan immediately, I prefer freezing the whole pan for about an hour. A little chill time yields much nicer, cleaner, lines when you go to cut. I'm a neat freak. What can I say? Just cover the plan with plastic wrap before plopping it in the freezer. Cut into squares and enjoy!
Directions
Prep time: 5 minutes
Cook time: 10 minutes
Servings: 20-24 squares
Ingredients
- 24 chocolate sandwich cookies
- ¼ cup granulated sugar
- 1 stick unsalted butter, at room temperature, divided plus more for greasing pan
- 1 ⅓ cups, plus 2 tablespoons, creamy peanut butter, divided
- ¼ cup plus 2 tablespoons dark brown sugar, packed
- 2 cups confectioner's sugar
- Kosher salt
- 10 ounces milk chocolate chips or discs
- ¼ cup, plus 2 tablespoons, heavy cream
Directions
- Preheat the oven to 375 degrees Fahrenheit.
- In a food processor, combine the chocolate sandwich cookies, granulated sugar, 3 tablespoons butter, and 2 tablespoons peanut butter. Pulse until mostly fine crumbs remain.
- Transfer the mixture to a greased 8 x 8-inch baking pan and spread evenly. Using the bottom of a measuring cup, press the mixture into the pan to create an even packed layer.
- Transfer the prepared crust to the middle rack of the oven and bake until set, 8-10 minutes. Remove it from the oven and set aside on a wire rack to cool completely.
- While the crust bakes, mix the dark brown sugar, confectioner's sugar, a pinch of salt, remaining 6 tablespoons butter, and remaining 1 ⅓ cups peanut butter until fully combined. Set aside.
- In a medium pot, heat the heavy cream until small bubbles begin to form at the surface, then remove the pot from the heat. Immediately add the chocolate and set aside for 2-3 minutes, then stir until the mixture (ganache) is smooth.
- Spread a thin layer of the ganache on top of the cooled crust. Using a spatula, smooth until it's even. Top with the peanut butter filling and smooth until it's even. Finish with the remaining ganache.
- Place the pan in the freezer for about 1 hour to chill before cutting for cleaner slices.
Dessert dreams do come true.