12 Mistakes Everyone Makes When Making Challah Bread
We may receive a commission on purchases made from links.
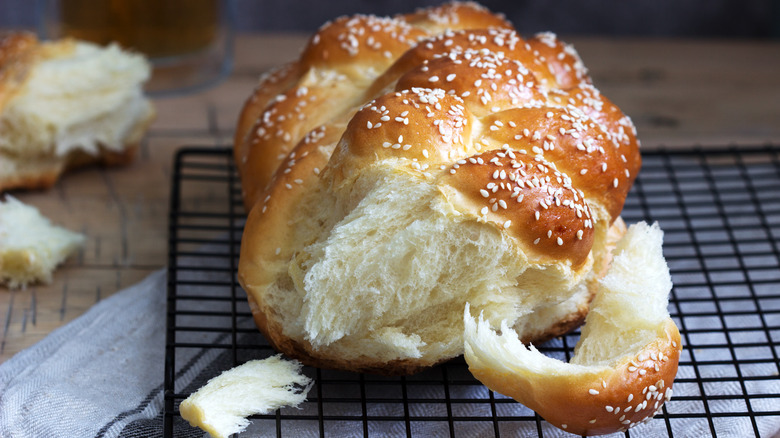
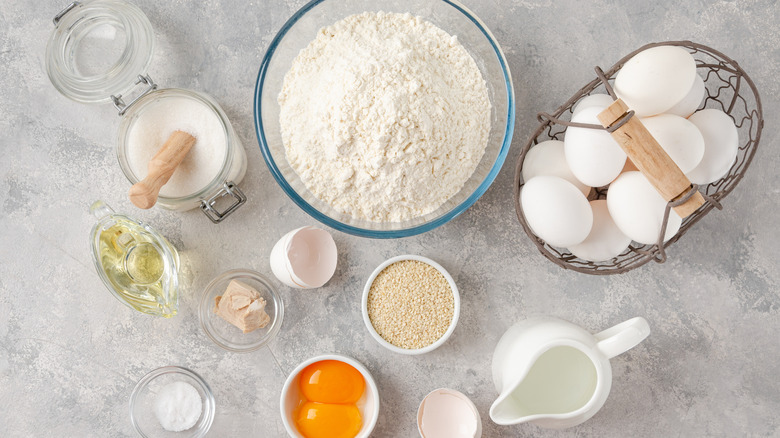
Challah is a rich egg bread known for its importance to Jewish tradition and is beloved worldwide. It makes a stunning addition to any table, shiny with egg wash and beautifully braided or formed into whimsical shapes. The dough is a simple mix of flour, eggs, water, yeast, and salt. It bakes up soft and puffy even though the dough has no butter and can be enjoyed however you like: topped or plain, fresh from the oven or toasted, sliced for sandwiches, or to accompany a bowl of soup. No worries about baking too much since leftovers can be turned into French toast, croutons, or bread pudding.
Depending on your preference, challah can be enhanced with herbs, cheeses, or spices for savory bread, or chocolate, fruit, or nuts for a decadent treat. For Shabbat meals, challah is topped with seeds to represent manna from heaven, and traditionally, two loaves are always on the Shabbat table. According to Chabad, they symbolize the double portion of the manna God provided the Israelites on Fridays to sustain them through the Sabbath.
Although the dough is easy to make, challah can be hard to perfect. If braiding it doesn't scare you away, stories of challah raw in the middle, burnt on the bottom, flat, cracked, or split can make any cook decide that homemade challah is a daunting proposition. The good news is that knowledge is power. With a few simple tips, you'll be baking gorgeous loaves of challah in no time.
Mistakes with flour
Flour is the main ingredient in any bread, but this humble ingredient can cause a surprising amount of trouble for challah. Bakers often wonder about the differences between bread, cake, self-rising, or all-purpose flour, but the simplest way to explain it is that each type has different amounts of protein and gluten. Flour with more protein produces a heartier, more elastic dough. Cake flour has the least protein, and bread flour the most.
All-purpose flour is the type most people buy (no surprise, it works for everything), and that's certainly fine for challah, though many recipes use bread flour. Since it's easy to add ingredients to alter the protein content of all-purpose flour for any baking project, focus on buying top-quality flour rather than worrying about specific varieties.
The next flour pitfall is using it judiciously. Adding too much will make the challah taste more like a brick than the fluffy, airy deliciousness you expect. Remember, challah dough is meant to be sticky, so don't keep adding flour to make kneading easier. Bread recipes are guidelines rather than set in stone, so a good rule of thumb is to start with half the flour called for and continue with care, just till the dough forms a ball. Challah needs to rest, rise, and come into its own; your reward will be the impeccable texture of a perfect loaf.
Getting the rise wrong
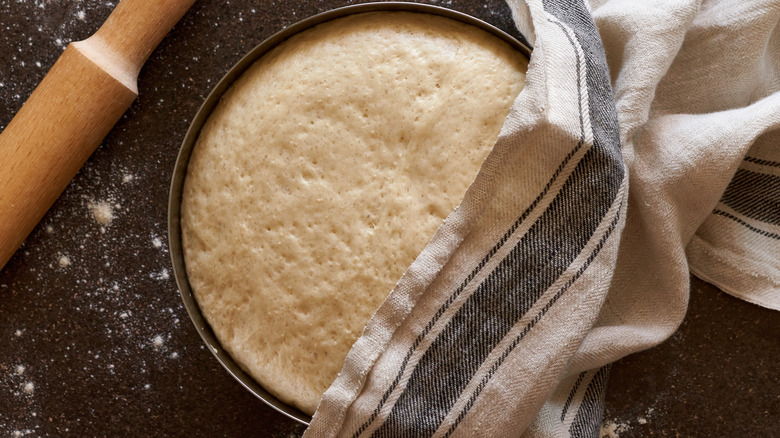
Rising is the key to perfect bread, but it's essential to challah. The intricate braiding can suffer if the dough isn't risen correctly, causing it to crack, spread apart, flatten out, or otherwise spoil the stunning presentation. While two rises are essential, some bakers like to do three, including a slow rise overnight in the refrigerator. Reddit users enjoy discussing whether rising in the fridge is a good idea, but the idea behind it is that the cold rise keeps it from over-proofing and improves the loaf's structure.
Naomi Elberg of TGIS Challah swears by taking photos of dough before rising to judge timing rather than blindly following recipes since so many factors affect the rising dough. The temperature indoors and out, humidity levels, and even the time of day (since your home is likely to be cooler first thing in the morning regardless of the season) may mean one batch of challah rises faster than another. She also reminds bakers to use an oiled bowl with a clean, damp towel over the rising dough, so it doesn't dry out.
Sound complicated? Experience is the best teacher, but start with letting challah rise in a warm, draft-free spot. The biggest reason your bread isn't rising properly is letting the dough rise too long; this leads to flattened bread that can't hold its shape, so while recipes are essential, using your judgment could be just as vital.
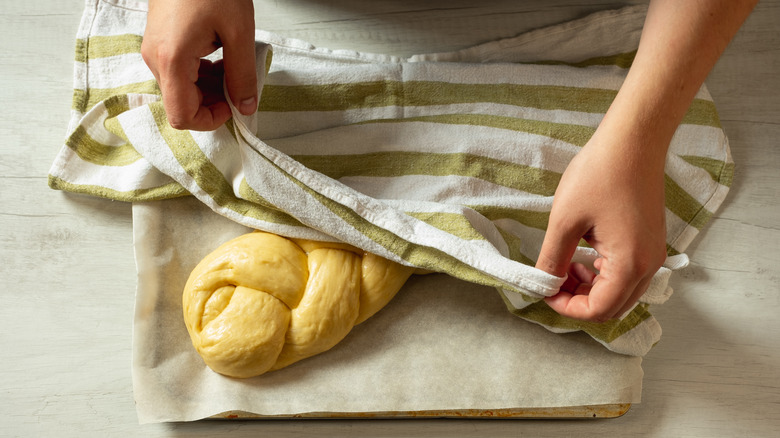
Always proof two ways
Many people don't realize that proofing refers to two different parts of breadmaking, but bear with us. Proofing can refer to making sure the yeast is alive before mixing dough. Since yeast degrades quickly, smart bakers always check. Proofing is simple; all you need to do is sprinkle the yeast and a teaspoon of sugar into 1/2 cup of warm water. After five minutes, the mixture should bubble up, showing live yeast ready for action.
Proofing is also synonymous with the second rise. According to MasterClass, the first time dough rises, the yeast consumes starch and releases carbon dioxide, forming air bubbles that affect the open crumb, or texture, of the bread. It's also called first fermentation since the process brings flavor to the dough. In most recipes, the first rise calls for the dough to double in size.
Proofing comes after the dough is punched down and shaped but before it's baked. Since the yeast is running out of food, it won't rise as much during this stage, but proofing allows it to develop the structure and flavor we want for fresh bread. Timing is critical because over-proofed dough goes flat. Use your finger to test the dough; if it springs back immediately, let it rest longer. If it regains shape slowly, it's ready to bake. An over-proofed dough will not spring back, but you can reshape it and try again.
Forgetting salt
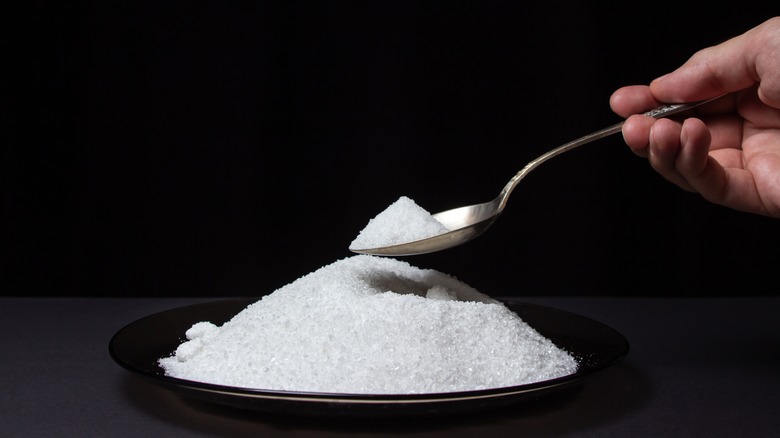
Unless they have been created with dietary restrictions in mind, bread recipes always call for salt. Since challah is considered a sweet bread, you might think salt could be omitted, but challah recipes include salt, too. There are several reasons to add salt to bread dough, including its vital role in the rising process: Salt makes proteins stronger and keeps the dough from rising too fast. Depending on whether it springs back, you'll know when the bread dough is ready to bake.
Everyone knows salt contributes to flavor, so bread without salt won't taste as good as it should, but the reason this happens might be more of a mystery. Bread needs salt because while the yeast does its job, feeding on the sugar and starch in the flour and releasing carbon dioxide that makes the dough rise, salt works against the process. Salt draws water away from the yeast, so it takes longer to ferment the dough, deepening the flavor and enhancing the sweetness of the challah.
Still, accidents happen, and if you neglect to add salt to challah, Food Network star and award-winning chef Alex Guarnaschelli has your back. Eating the challah for Shabbat might not be in the cards. Still, Guarnaschelli insists you can repurpose your unfortunate loaf by making croutons, bread pudding, or simply toasting the challah and sprinkling salt on it after buttering it. Sounds like a good plan — but do remember salt next time!
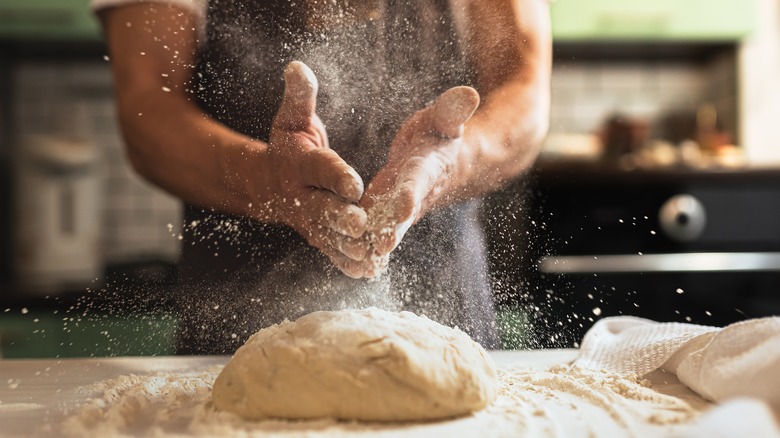
Not kneading the dough
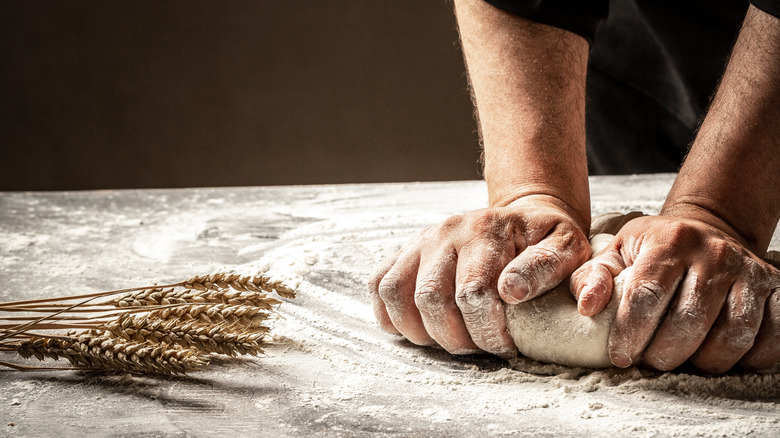
Kneading is a process that can make or break your challah. Kneading dough develops the gluten in flour while combining ingredients and strengthening proteins. These proteins let the bread puff up and not deflate on itself as it rises, making the dough elastic and easier to work with.
However, too much kneading affects the consistency, according to Uri Scheft of Breads Bakery in New York. America's Test Kitchen agrees, noting that home bakers often use too much flour to make the dough less sticky. While some insist on kneading by hand, a stand mixer with a dough hook is designed to knead bread efficiently in less time.
When using a stand mixer to knead challah, watch for it to come together around the hook, with little left in the bottom of the bowl. Knead it briefly with your hands to form a soft, elastic ball. Be wary of over-kneading; the dough hook's strength can add too much air and warm up the dough, spoiling the color and texture of the finished loaves (via America's Test Kitchen).
Kneading by hand takes much longer, up to 25 minutes. Be cautious when adding extra flour, especially since challah's enriched dough will be naturally stickier. Dusting flour on the surface is fine; dumping a cup of flour on the dough is not. Paying attention to the dough's cues will result in lovely challah, no matter which kneading method you prefer.
Ignoring intuition
Recipes tell you everything you need to know to create delicious dishes, from ingredients to a step-by-step guide to the process. However, when it comes to challah (or any bread), different day-to-day variables mean it's better to view recipes as guidance. Warmth and humidity make yeast come alive but can cause the unwanted effect of making the dough rise so fast that the flavor and texture suffer. The Bread Guide offers tips on combatting conditions that can play havoc with your challah, like using icy water a bit at a time to slow the rise, keeping humidity out of your flour, and even using a bit less yeast.
In Hadassah Magazine, Jessica Halfin, a pastry chef, recipe developer, and food writer from Israel, points out that flour, liquids, rising times, and baking time are suggestions for any dough, especially for challah. Added to weather, altitude, and seasons affecting dough, challah's additions of eggs, oil, and sugar mean home bakers need to tap into their inner bread-making guru to get it right.
Enriched dough like challah is naturally sticky, but don't think that means adding flour with abandon. While you certainly want a workable dough, starting the dough with less flour than in the recipe and adding one tablespoon at a time helps you get the perfect consistency for conditions in your kitchen (via Kosher). Flour is easy to add but impossible to remove. Good news: Once you're used to making challah, your innate intuition takes over.
Rushing the process

Life is busy, and it could be tempting to race through mixing the dough, kneading it in record time, punching it down as soon as that timer rings, braiding it sloppily, and shortening or skipping the final proof before baking. Don't. Just don't do it. If you want gorgeous challah, please commit to the whole process and revel in it. Challah baking day should be spent at home, cleaning the house, breaking out the novel you've been waiting to read, binging a series on Netflix, doing laundry, playing with the kids, taking a nap, whatever suits you. Amazing challah is worth the effort and time it takes to become its best self.
Since so many variables affect breadmaking, like weather, temperature, humidity, the yeast you're working with, and even the altitude at which you bake, challah will take as long as it takes on any given day. It's up to the baker to adjust accordingly. Since braiding with evenly-shaped ropes helps challah bake properly, novice challah bakers should try it. Patience, practice, and intuition are essential, so tap into your inner zen master and enjoy the journey to the ideal challah loaf.
Not experimenting with flavors
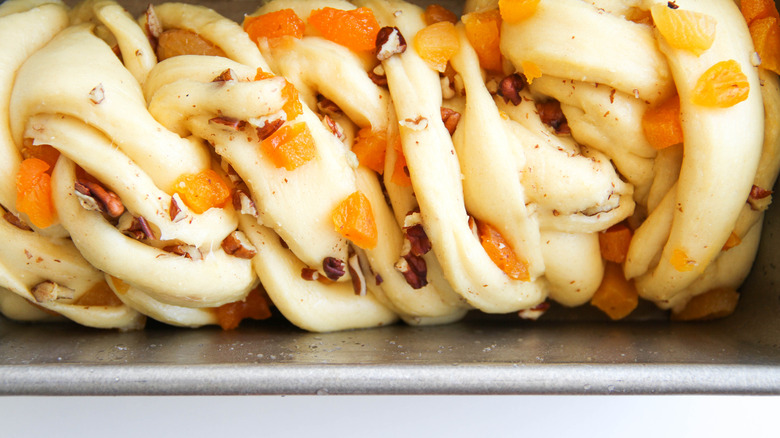
Anyone who has ever tasted challah fresh from the oven knows perfection can come from the simplest ingredients. Once you're comfortable with making challah, it would be a grave mistake not to explore the endless ways to improve on perfection. Most people consider challah a sweet bread, and while it's true that just about every challah recipe calls for sugar, you might be surprised at how savory ingredients added to the same basic dough can delight the palate.
While certainly inappropriate for those keeping kosher, Bryan and Michael Voltaggio's savory Bacon Knot Challah is a revelation of salty sweetness. Bonus: Making this challah gives you something to do with the fat from the bacon. My Jewish Learning's roundup of challah recipes shows how surprising ingredients like dill pickles, pastrami, cheeses, and butternut squash make drool-worthy savory challahs.
Never fear: If you can't get on board with savory challah, many recipes ramp up the sweetness. Alon Shaya, founder and executive chef at Saba in New Orleans, along with chef de cuisine Cara Peterson, created a sweet recipe for challah using turmeric, orange juice, honey, and raisins. Actress Jamie Geller provides recipes in her challah roundup that add decadent sweetness, like cookie butter, marzipan, chocolate, and s'mores ingredients, in addition to more traditional filling ideas like apples, honey, and rum raisins. No matter which type of filled challah suits your fancy, it's clear you'll never run out of new ways to make it.
Skipping the egg wash
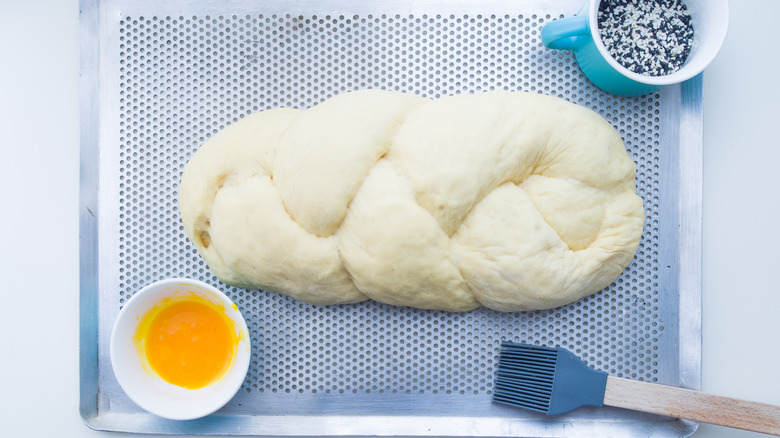
Challah is known for its brown, shiny exterior; if your challah is missing that, chances are, you've forgotten the egg wash. What you may not know about egg washes is that they can be whole eggs or just the yolk or white, usually mixed with water, milk, or cream. Whether you're making bread, pies, or puff pastry delicacies, brushing the dough with an egg wash before baking will make the result visually stunning, seal edges, and allow toppings such as seeds on challah to stick better.
Challah does well with an egg wash that uses a whole egg thinned with milk or cream rather than water. That's because the fat in the egg yolk makes a glossy crust, and the protein in milk lets it brown to a deep golden color, while the whole egg makes the mixture easier to brush over the large surface of the challah. While you might think using an egg yolk instead of the entire egg would provide more shine, it also makes it hard to brush on and might allow it to pool in the braids' crevices. Always aim for a thin, even coating.
Hadassah Magazine offers another tip for the shiniest challah: a double egg wash. After the challah has baked for 15 minutes, lightly brush the surface with egg wash a second time, then finish baking. This small trick elevates your challah's color and sheen to the level of professionally baked challah. Give it a try!
Trusting your oven temperature is correct
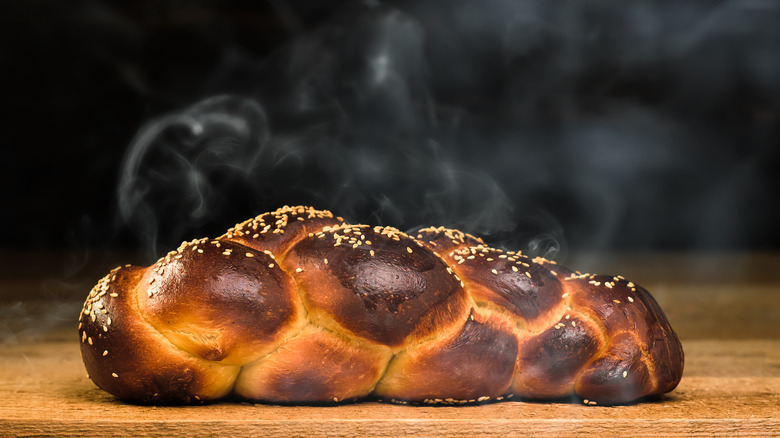
Well-baked challah is a joy, but one that's burned or seemingly done but with a goopy center is heartbreaking. If you've followed the recipe, preheated the oven, and set a timer to check for the glossy brown surface and hollow sound of perfectly baked challah, you might think you're in the clear.
Unfortunately, you might be wrong. Every oven is different, and if you don't realize yours runs hotter (or cooler) than the set point, you could be in for challah that "smells horrible, like scrambled eggs," like this Reddit user venting about her oven running so hot that when she checked at the recipe's stated minimum time, the challah was already ruined.
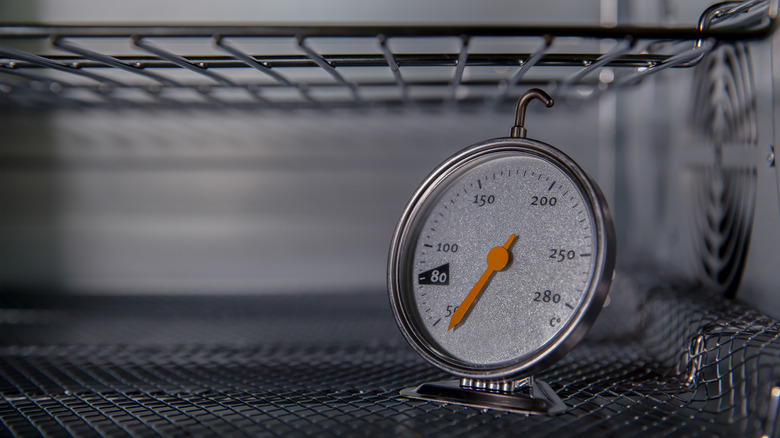
It's not necessarily your oven's fault, according to Cook's Illustrated. Oven thermostats are placed where they won't be knocked around, such as in corners in the rear section of the oven. Unfortunately, since most food bakes in the middle of the oven, temperature mishaps are too common.
Fixing the problem is as simple as periodically confirming the oven's actual temperature with an oven thermometer hanging from the middle rack. Preheat the oven with the thermometer in place, then compare the reading to the oven's and note the accuracy of its temperature setting. You can adjust baking temperatures accordingly, or you may be able to recalibrate your range to the proper temperature. Either way, your challah will be baked to golden perfection every time.
Burning the bottom
Anyone who bakes a lot of challah has experienced the dreaded burned bottom on an otherwise lovely loaf. It happens, but with extra care, you can avoid turning one side of your challah into a blackened, hard-to-chew mess. First, ensure the oven is calibrated correctly. If you're setting it to 350 F but it's baking at 425 F, it would be pretty easy for the bottom to end up burned before the rest of the challah is finished baking.
You can use parchment paper on your baking sheet or a Silpat baking mat made from food-grade silicone. Both options provide a buffer between the challah and the baking pan and may help prevent it from darkening prematurely. This is especially important if your baking pans are dark rather than silvery. Baking Wit explains that dark cookie sheets absorb heat while lighter aluminum pans reflect it. They recommend turning down the temperature and cutting the baking time, sometimes as much as 25%.
While this option might be acceptable for cookies, it could leave challah unbaked in the middle. If your baking trays are darker, consider parchment paper or a silicone mat.
Naomi Elberg, the founder of TGIS Challah, recommends baking challah a notch above the lowest oven rack. Check for doneness by looking at the underside; if it's delicately golden and the top of the challah keeps its shape, you can be sure it's ready.
Shush your judgmental side
It can be hard to see the challah you spent hours making come out a little weird, but please put the brakes on your inner critic. Bottom line: Homemade bread is delicious, and homemade challah is likely to taste good even if the shaping is odd, the braiding splits, or it gets darker than expected. Making bread at home lets you omit additives, trans fats, and high fructose corn syrup commercial bakeries use to cut costs. Instead, you can choose high-quality ingredients and healthier, unsaturated oils like olive, canola, or safflower (via Livestrong).
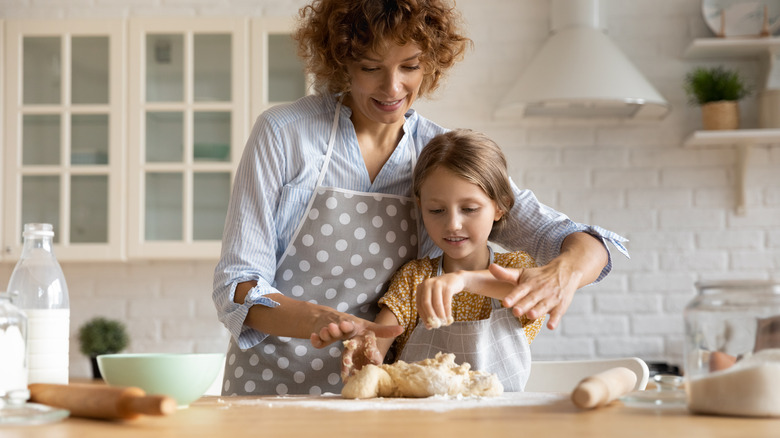
Another reason to make challah is to boost your mental health. Think of how favorite scents transport you back in time — baking has the almost universal effect of taking us back to places and loved ones while engaging our senses. Measuring and mixing ingredients, kneading the dough, and breathing in sweet baking smells allow us to escape stress, relax, and be mindful in ways often lacking in our hectic schedules. Plus, what's better than slicing challah fresh from the oven and savoring every amazing bite? Practice makes perfect, after all, so make a habit of homemade challah, and in no time, the ideal loaf will be second nature.