12 Mistakes Everyone Makes When Blanching Vegetables
We may receive a commission on purchases made from links.
Blanching is an important step in preserving vegetables at peak condition before freezing them (via USDA). The process effectively slow the activity of enzymes by boiling vegetables in scalding water for a few minutes. The veggies are them removed and stored, often in the freezer. Though it all sounds pretty easy, making one or two simple mistakes during the blanching process can throw off the end result in a big way.
According to The Wellness Coalition, all vegetables should be blanched before freezing, with the only exception being water-laden produce like bell peppers (which, by the way, are botanically fruit, as per NDTV). Taking this extra step of blanching may seem like just one more thing to do, but it can seriously prolong a vegetable's eat-by-date and preserve its flavor and color. Blanched veggies are also easier to pack into a storage container, as the vegetables typically shrink after blanching.
Thankfully, the few technical errors that can happen during blanching are easy to avoid. Here's how to know which corners you really can't cut if you want the best outcome for this common but effective method of cooking and storing vegetables.
Not blanching vegetables while still fresh
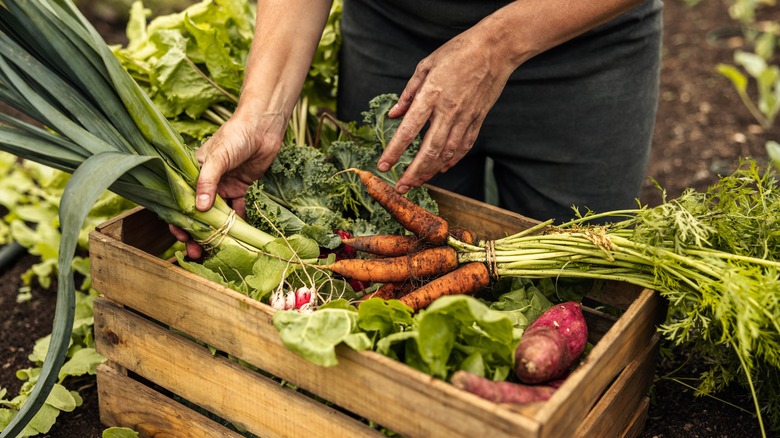
After vegetables and fruits are picked and harvested, the process of deterioration begins almost immediately. What's more, essential vitamins and nutrients are lost as the product starts to spoil. According to the University of Minnesota Extension, the best time to freeze vegetables and fruits is at the peak of ripeness and as soon after the produce has been harvested as possible. That's because, once harvested, fruits and vegetables continue to go through chemical changes brought on by enzymes that alter the produce's color, texture, and nutrient composition.
Blanching can slow or halt all that deterioration, but those always-working enzymes mean you have to move quickly. If you're harvesting your own produce in a home garden, for instance, The Wellness Coalition suggests picking vegetables and fruits off the vine in the early morning hours when dew lingers on the plants. Otherwise, you should start blanching the same day you bring your produce home from the grocery or farmer's market.
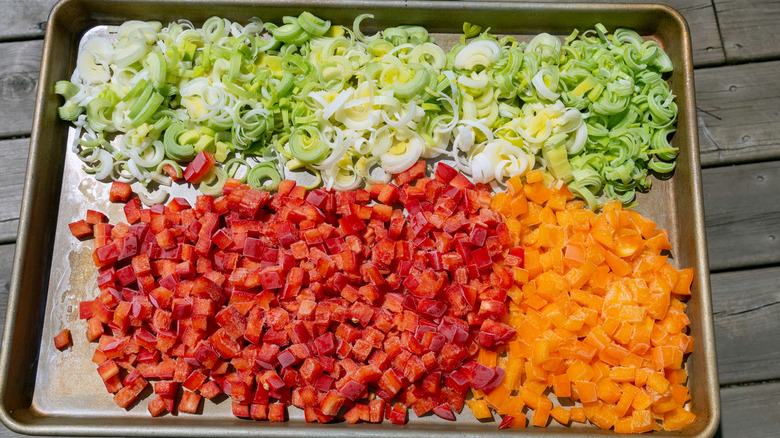
Not preparing produce before blanching
Once your produce is harvested and ready to face the blanching and freezing process, it's time to prepare the vegetables based on their intended use post-freezing, as per The Wellness Coalition. First, select the best vegetables and remove any pieces that have visible damage or other inferiorities, like bruising. Next, wash and rinse the produce thoroughly to avoid consuming unhealthy bacteria or bugs. According to LiveStrong, consuming insects lingering on produce isn't necessarily harmful, but few consider it to be a desirable addition, so give those veggies a thorough rinse.
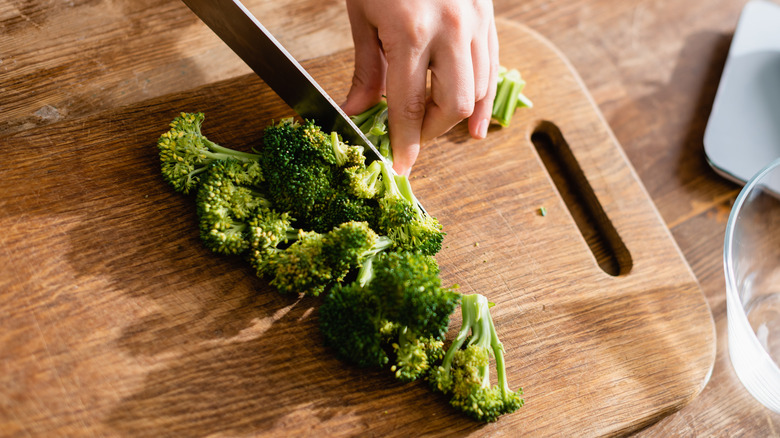
According to The Washington Post, you should next trim and chop vegetables as you normally would for consumption. For example, you would cut the corn off the stalk and trim the broccoli off the stem into even portions, which will help cook and freeze the veggies more evenly. If the vegetable would normally be deseeded, be sure chop and remove the seeds first, too. The same goes for peeling vegetables and removing bruised or browned portions.
Using a microwave
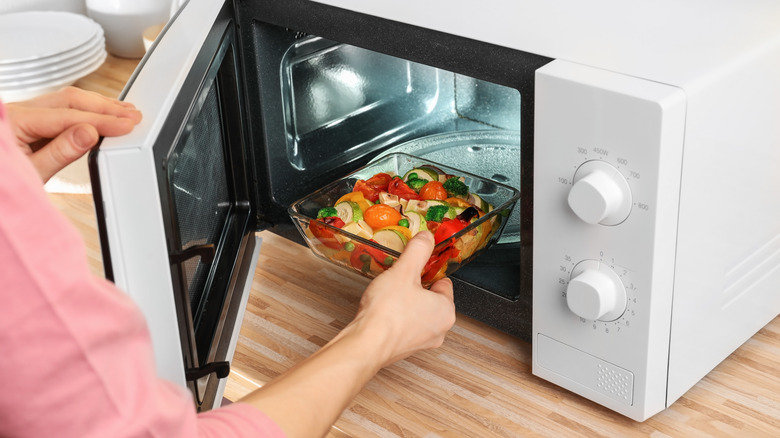
Since the whole point of blanching vegetables is to deactivate the enzymes that make fresh produce far more prone to spoiling, the microwave is best left alone here. That's because microwaving won't definitively stop those enzymes from starting the deterioration process, according to the National Center for Home Food Preservation. Furthermore, while microwaves are considered a time-saver in other cooking methods, they will not reduce the time and effort it takes to blanch and freeze vegetables properly. If you insist on using this gadget, you'll have to work in small quantities anyway.
According to a study published in the Journal of Food Quality, vegetables that were blanched in the microwave were inferior in taste, color, and texture when compared to those blanched in water or steam. Moreover, vegetables blanched in water or steam contained higher levels of vitamin C compared to vegetables that had faced the microwave. For veggies with the best look, taste, and nutrition content, you're best off leaving the microwave for another task.
Overcrowding the basket
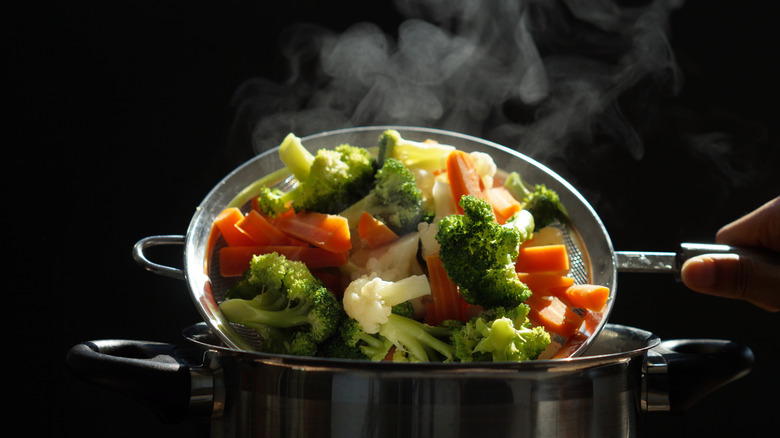
To successfully steam blanch your vegetables, a steam basket or wire basket is necessary to achieve the best results, as the University of Missouri Extension notes. Although the National Center for Home Food Preservation notes that steam blanching takes slightly more time than blanching in boiling water, it may be worth the extra time for superior results.
Start steam blanching by using a large pot with a tight lid and blanch basket that keeps the vegetables raised at least three inches above the bottom of your pot. But don't cram all of the vegetables in there at once! That's because blanching works best when the vegetables have enough space in the basket for steam to reach all areas of the vegetable quickly. The same rule applies to quite a few other cooking methods, from steaming vegetables to baking cookies.
If you're using the water boiling method, the same rules apply. The Washington Post also notes that you should use similarly-sized vegetables or portions of vegetables to likewise ensure even blanching. Inconsistently-sized veggies could result in some portions overcooking, while others could remain raw.
Adding vegetables to water before it boils
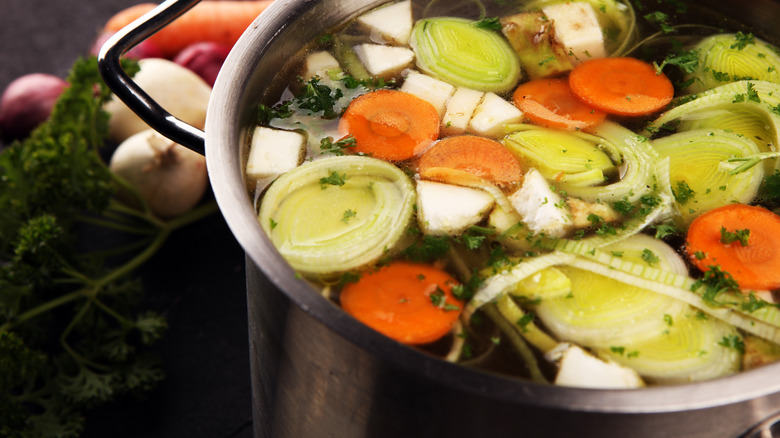
Whether steaming or boiling to blanch your vegetables, don't rush. The Independence Health Department says that you should wait until the water has started to rapidly boil adding those carefully prepared and portioned vegetables. Nutrition can be a consideration here as well. When vegetables are added to the water too soon, water-soluble vitamins begin to dissolve. The longer they sit like that, the more nutrients will break down, as per SF Gate.
Furthermore, the longer vegetables sit in that boiling water or steamer basket, the more mushy and overcooked the end product will become. Waiting for the water to boil while the veggies sit in those rising temperatures naturally means they'll face this dreaded state. The best way to time the blanching process is to bring one gallon of water per pound of vegetables to a rapid boil, then lower the vegetables in using a blanching basket or add them directly to the boiling water. Then, return the water to a rapid boil for the recommended time.
Not adding salt to the water
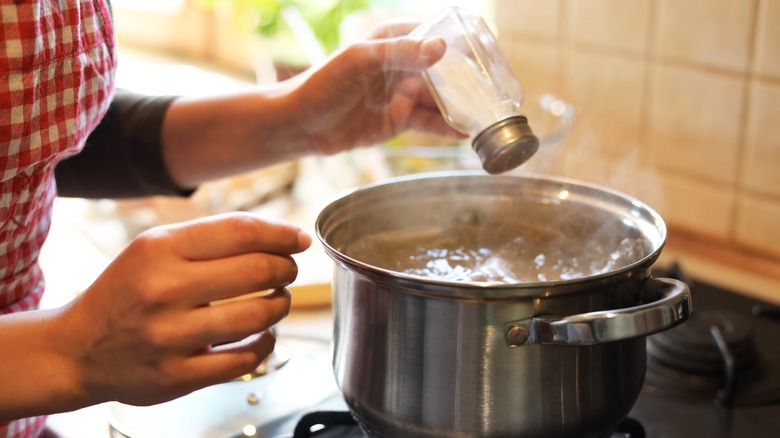
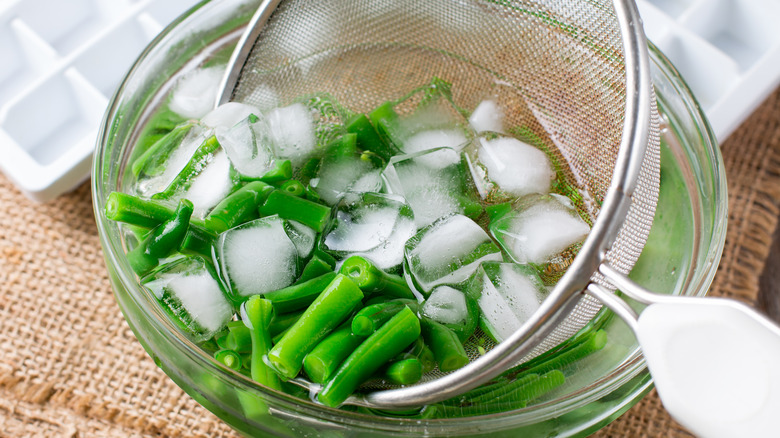
According to Cook's Illustrated, the best way to achieve colorful, evenly seasoned vegetables is to add a generous amount of salt to the water first. The team at Cook's Illustrated tested the technique by adding heavy salt rather than moderate amounts of salt to boiling water before adding green beans. After boiling the produce for a few minutes, cooks then cooled them in an ice bath to stop the cooking process quickly. The end result was a perfectly seasoned green bean, inside and out.
The team then tested the new technique on other vegetables including asparagus, snap peas, broccoli, and cauliflower. They found that, in every case, the vegetables appeared more vibrant and had a more intense flavor thanks to the addition of sodium. But how much should you use? According to MasterClass, if you use the standard one gallon of water per pound of vegetables, you should also incorporate one cup of salt into the mix.
Estimating the boiling time

Though you may be able to fudge times when it comes to cooking techniques, blanching isn't the place to get creative with the clock. Blanching vegetables for too long or too short a time will throw off the end result in a big way, so follow recommended times as closely as possible, as the University of Missouri Extension urges. Over-boiling may result in a loss of flavor, color, and nutrients, as overcooking vegetables causes enzymes and acids to escape, ultimately dulling the veggies.
One way to know if you've overcooked your vegetables is simply by the color of the water. The more color released into boiling water, the more overcooked and nutrient-deficient the vegetables will be. It's best to follow those blanching time guidelines, which are different for every vegetable, in order to achieve the best results for consumption. Once the vegetables are lowered into vigorously boiling water, keep a close watch so as not to overcook them.
Not using an ice bath
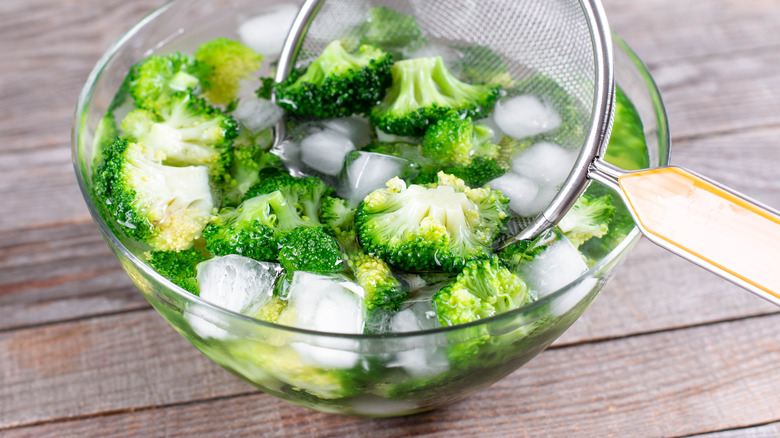
Once the vegetables are removed from boiling water, they will continue to cook until you doing something to cool them off. Since overcooking is one of the fastest ways to turn veggies dull, deplete their nutrient content, and alter their texture, it's time to get the ice. By adding the vegetables to an ice bath immediately after removing them from heat, you're stopping all cooking in its tracks. As per MasterClass, this method, known as shocking, is the best way to achieve a perfectly frozen vegetable at the height of its texture and flavor.
The University of Missouri Extension recommends cooling blanched vegetables in ice water for the same amount of time that you boiled them. Be sure to create the ice bath ahead of time and make sure that the water temperature hits at least 60 degrees Fahrenheit or lower (via Clemson University Cooperative Extension). Not all recipes will include this step in the instructions for blanching, however, as many chefs may view it as an expected part of the blanching process.
Not coating your vegetables in oil
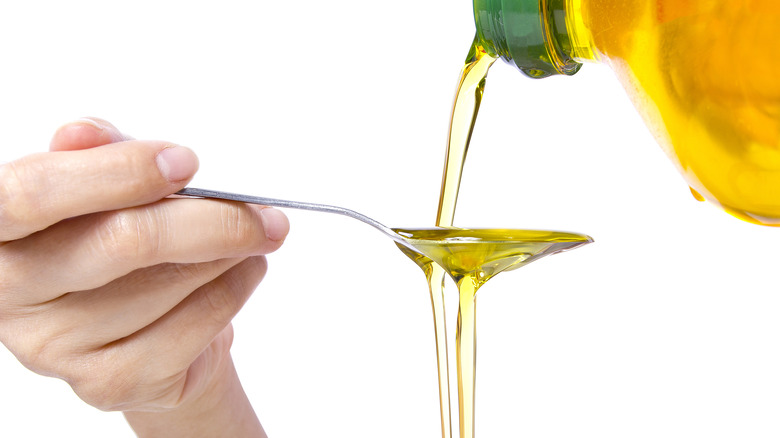
Blanching is a common method for cooking vegetables right before they hit the dinner tables, so if you're intending on serving your vegetables immediately after you've blanched them, consider coating them in oil first. According to YouTuber and food scientist Harold McGee, this step will help to prevent wrinkling, which will change the taste and texture of the vegetable. Yet oil is waterproof and will help retain moisture in the vegetables, thereby achieving veggies that both look and taste good while you're plating. You can use any oil you wish, though you may prefer a more neutral oil that won't compete with the flavor of the vegetables.
When it comes to freezing blanched vegetables, coating them in oil helps to prevent freezer burn and retain flavor and texture, as per Practical Self Reliance. When it comes time to reheat the vegetables, you'll find that you've saved time, as they will already be seasoned and ready for cooking methods like roasting.
Not using a tray to pre-freeze
Freezing vegetables and fruits is a popular method used to prolong the shelf-life of produce, according to the Food and Agriculture Organization of the United Nations. If you want to be even more efficient, then make sure that you're freezing blanched produce on trays.
The benefit in freezing food on trays is that it freezes the vegetables in even layers. This keeps produce from clumping together and, when you're reheating, the process will be easier as you're able to select the amount of vegetables you'd like to use. The remainder will stay properly frozen and stored.
To freeze your blanched vegetables, take them out of the post-blanching cold water bath and pat them dry. Then, arrange them in a single layer on a shallow tray and placing it all in the freezer. Leave the trays in the freezer for up to 24 hours to make sure everything's fully frozen, then transfer the vegetables to a freezer-safe storage container.
Not properly storing blanched vegetables
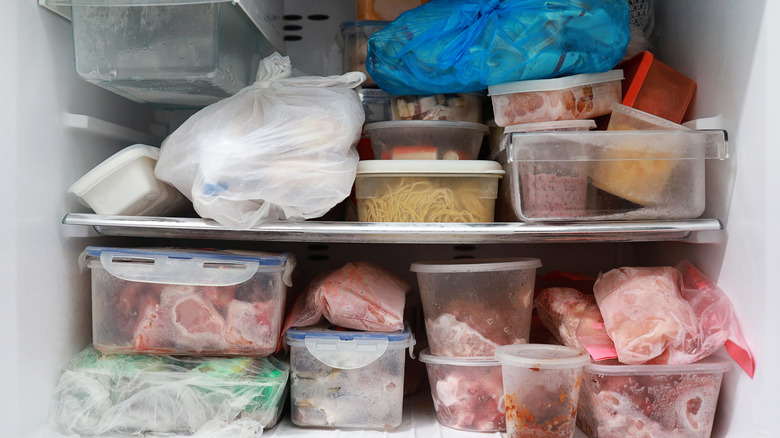
You may refrigerate blanched vegetables like hearty greens for up to four days, as per Martha Stewart, but freezing will greatly extend that shelf life. If you're using the tray method to freeze your vegetables before storage, you may then transfer the individually frozen pieces in a large freezer bag or container. Since they're already frozen, there's no need to worry about pre-portioning them — you should be able to easily separate what you need from the whole later.
However, if you're in a hurry and do not have time to tray pack and freeze your blanched vegetables, you may pat them dry and separate them into portions before freezing (via The Wellness Coalition). When selecting freezer-friendly packaging, ensure that it is vapor-proof and moisture-proof so as not to dry out or oxidize your frozen produce. According to the University of Minnesota Extension, vacuum-packing is one of the most efficient ways to freeze blanched produce. This methods helps to prevent the spread of bacteria and reduces oxygen exposure, which could encourage spoilage.
Not consuming frozen vegetables soon enough
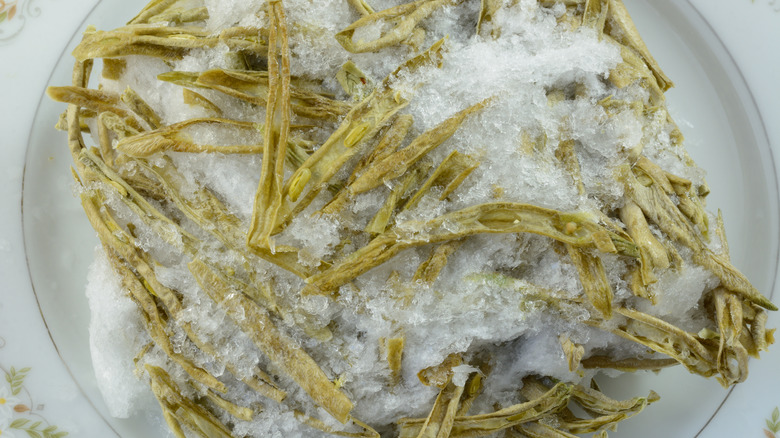
You've put all the effort into preparing your vegetables for the freezer, so the last step is perhaps the most important in ensuring you reap the rewards of your hard work. That would be labelling your frozen produce with the date and quantity of vegetables (via The Washington Post). When you properly label and freeze your produce in a temperature-controlled freezer, your blanched vegetables may last for up to 10 months. This can be both cost-effective as reduce waste, but only if you pay attention to that date on the label.
According to Eat by Date, this method can help you enjoy vegetables that may not otherwise be in season. If you've passed the recommended eight to 10 month mark, one way to tell if your vegetables have gone bad is to simply look at them. If there are a lot of ice crystals forming around your vegetables and the color or texture seems to have changed, it may be time to toss them.