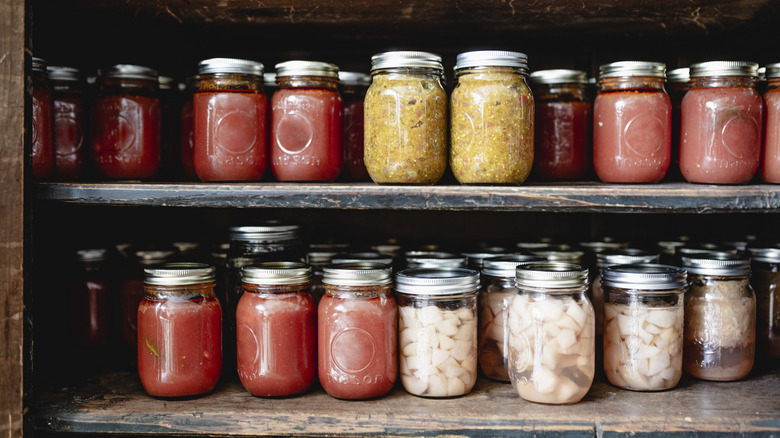
Mistakes To Avoid When Canning Food
In today's economy, it is natural to want to get as much bang for your buck as possible. According to the U.S. Department of Agriculture, 30 to 40% of our food is tossed out. This is both bad for your budget and for the environment. It is no surprise that more and more people are turning to a classic food preservation method: canning.
Canning was first invented in France in 1809, a bit over a decade after Napoleon Bonaparte offered a reward for creating a new method to preserve food. The method that came out on top involved sealing jars containing food and heating them for a length of time. Just a year after, Peter Durand invented the tin can, which further helped popularize this preservation technique. By the early 1900s, home canning was becoming a popular trend, and there were significant pushes for people to preserve food, especially during war times.
While home canning can be an excellent tool with many benefits, it must be done correctly. The best-case scenario is you lose a bit of food, but at the other extreme, people have died from incorrectly canned items. We will go over common canning mistakes to avoid so you can safely continue to use this method.
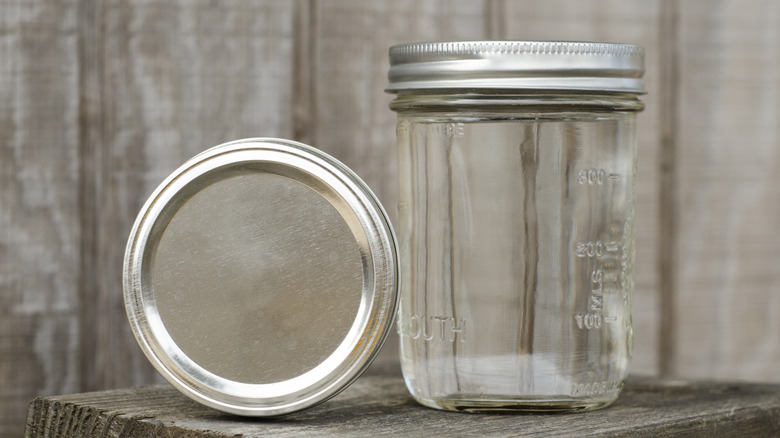
1. Using non-canning jars
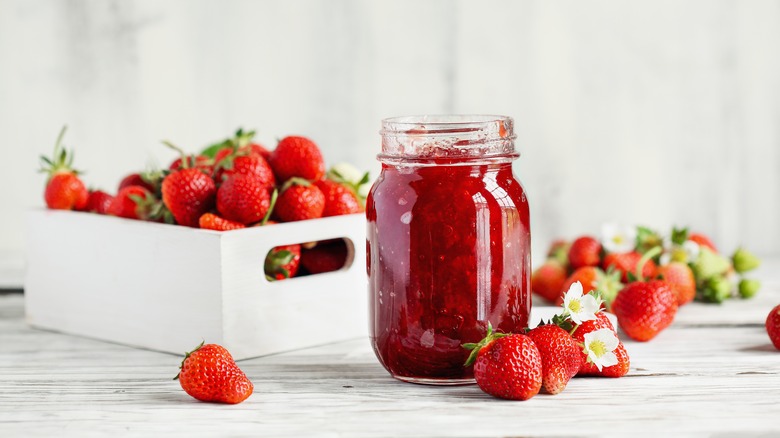
When you are first getting into canning, you will likely use a clear jar. The typical style is often referred to as a mason jar, and popular brands include Ball and Kerr. However, before starting your canning journey, it is essential to note that not all mason jars are created equal — many are not suited to canning.
Some jars will specify this fact, with a label that says "not for home canning." In other cases, the design can be a giveaway. Jars with a handle may be cute but are generally not meant for canning.
It may also be tempting to reuse commercial canning jars. While you can reuse them for storage, these jars are not designed for home canning. The glass is not sufficiently tempered which makes it more likely to break when going through the heating process. When in doubt, it is best to buy a pack of clearly labeled home canning jars. It will be an upfront investment, but you will be able to use the jars for years to come.
2. Using a broken jar
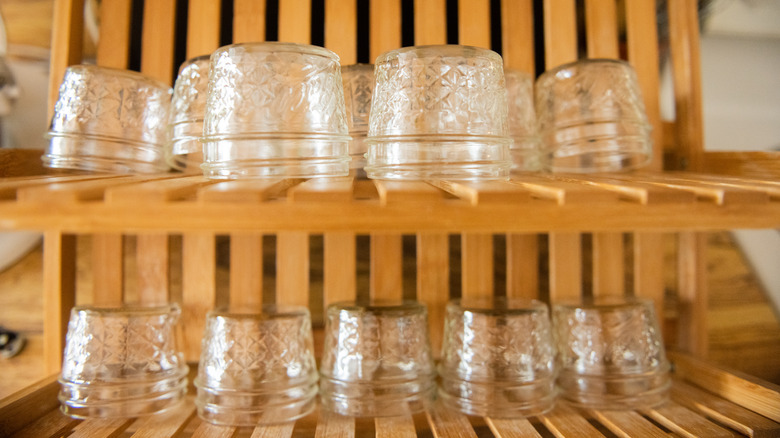
Speaking of jars, once you purchase the right ones, you must ensure to only use those in pristine condition. This means absolutely no cracks as they can let in bacteria. Even something as small as a chip in the ring can prevent the lid from sealing properly, which will also allow bacteria to enter.
Small scratches can also be a problem because they create a weak point that can turn into a crack partway through the canning process. Don't waste your time and money because you didn't bother to check the jar for imperfections beforehand.
Aside from being extra vigilant about chips or cracks, there are some choices you can make to avoid ending up with broken jars. Once again, reusing commercial jars is more likely to result in broken glass due to the thinner walls and minimal tempering. These characteristics create a weaker jar in general, which isn't a good base to start your canning adventure.
3. Reusing the lids
The seal is possibly the most important part of canning, as it is the element that provides an airtight barrier between your food and bacteria. Most home canning consists of a glass jar paired with a metal lid with a seal running along the edge. The seal softens when exposed to heat and hardens up as it cools down.
Reusing lids to seal a jar will likely cause the seal to fail altogether. The compound has already molded to one jar and will not have the same capacity to do so again. While you might consider it unnecessary to spend money on new lids, they are relatively inexpensive and will save your food down the line.
Additionally, make sure the lids you are using are no more than five years old. As the compound ages, it loses its ability to seal correctly. Ultimately, new and unused lids are the safest way to can your food.
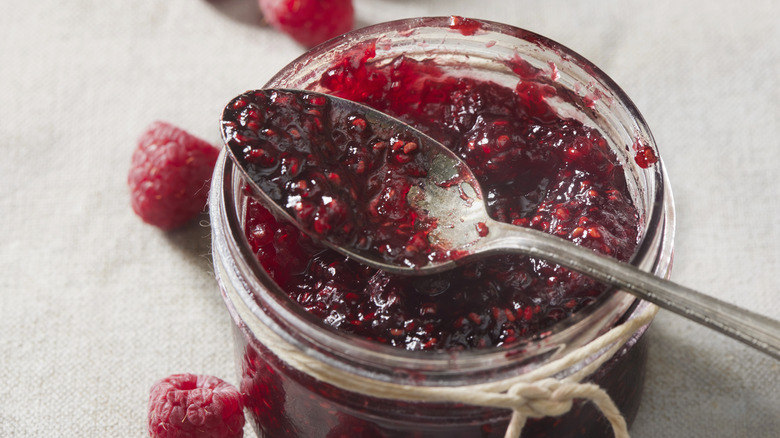
4. Not wiping the edges
Canning can be a messy process. Getting any kind of food into the containers can be tricky, especially sticky and sloppy items such as jam. There are ways to make this task easier, such as using a wide-mouthed funnel with a large opening that allows chunks to flow through. But it is almost inevitable that some residue will splatter or spill on the jar.
We all know cleaning is an essential part of food prep, but it is even more critical when it comes to canning. Do not get lazy with clean-up during the process or push it off until the end. Minimally, you must wipe down the edges of the jar before placing the lids and the sealing ring. Any food remnants on the edge can prevent a jar from properly sealing. This can mean either losing food down the line or having to redo the whole process with a new lid in order to get the seal nice and tight and ensure your food is safe for consumption.
5. Using the wrong canning method
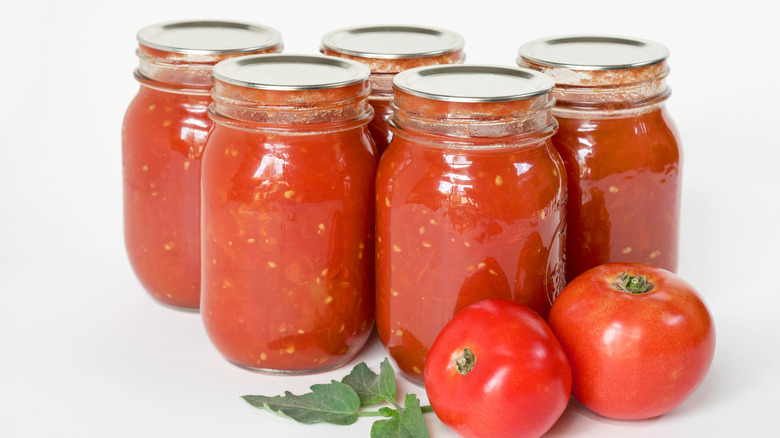
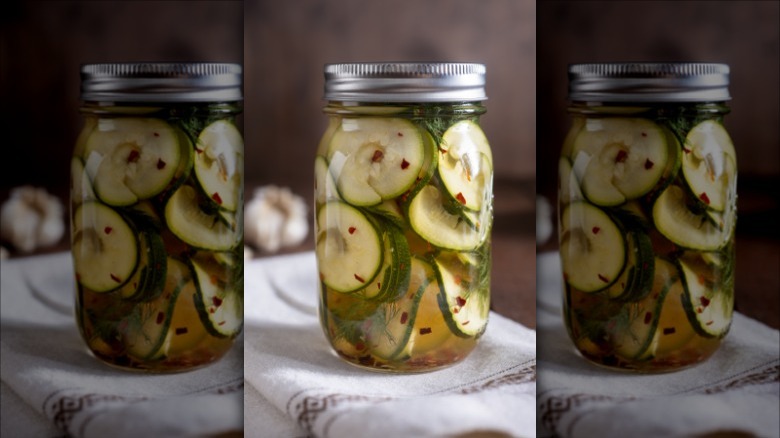
There are two main methods for canning foods, each best suited for different products. Canned foods are categorized as either high-acid or low-acid. The former includes foods such as pickles, jams, fruit-based butter, and sauerkraut. Low-acid foods include seafood, vegetables, and meats. Tomatoes exist in a somewhat neutral zone and can be treated as a high-acid food with the addition of lemon juice, vinegar, or citric acid to fit the parameters.
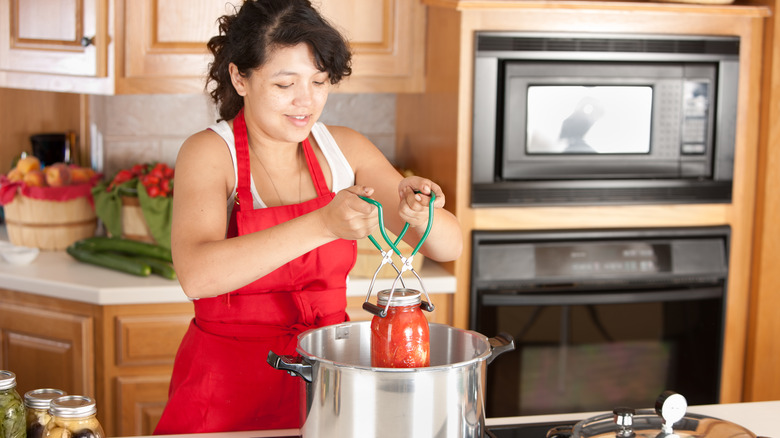
More acidic foods can be canned with the water bath method, which involves filling a large pot with water and lowering the jars into it to completely submerge them for a certain length of time. Less acidic foods can only be canned using a pressure cooker. These foods need extra assistance killing dangerous bacteria, such as C. botulinum which causes botulism. You'll need specialized equipment for the task, as pressure cookers such as the Instant Pot are not rated for canning.
6. Not properly sanitizing
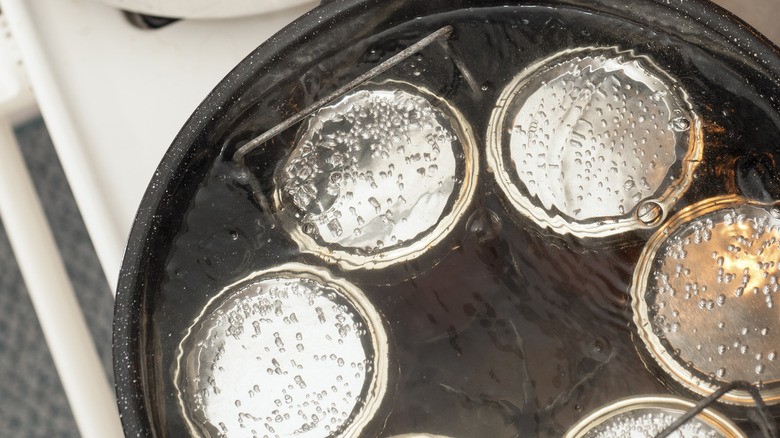
All jars should be clean when used for canning, but in some circumstances, it is imperative that the jars be thoroughly sanitized before food is added. For most food canned using a pressure canner, you do not need to sterilize the jars. However, for water bath canning, sterilizing jars is often necessary. For jams and pickled foods, sterilize containers if they are submerged in a water bath for less than 10 minutes.
To sterilize, place empty jars in a water bath and fill them with hot water to ensure they are completely covered. Boil them for at least 10 minutes, keeping in mind that a higher altitude requires a longer boiling time. For every 1000 feet of elevation, add one minute to the time. If the duration of your water bath is on the cusp of meeting the 10-minute time requirement, you are better off sterilizing. This process kills all the microbes, which will keep your food safe for consumption for longer.
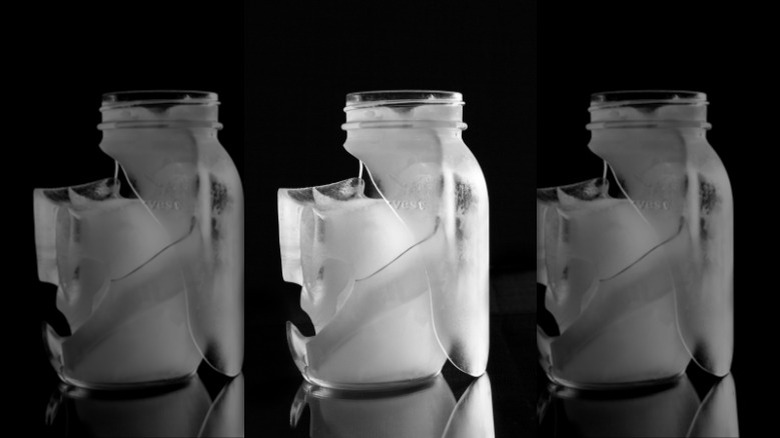
7. Not keeping your jars warm
If you plan to can foods while they are hot, we beg you to keep your jars warm. Placing piping hot food into a cold jar can cause it to crack or shatter. This is due to thermal shock, which occurs with a rapid change in temperature. Aside from being one more mess to clean up, broken glass is dangerous. To avoid this fate, keep your jars in a bath of warm water before filling them. If you are retrieving your jars from the dishwasher, you can also leave them in post-wash while they are still warm.
It should be noted that thermal shock can occur from cold to hot as well. A jar filled with cold contents can shatter when placed in a hot bath. So make sure whatever you add to your jar is not ice cold when you are canning. Additionally, even when canning raw, room-temperature items, keeping the jars warm can help in the long run.
8. Canning unsafe food
There is a lot of discussion on the internet about what foods are safe to can. Remember, just because a viral recipe developer on TikTok said you can do it because they have never had a problem does not make it true. Likewise, products that can be safely canned in a commercial setting may not necessarily be fine to can in a home environment.
One of the most extensive discussions concerns whether dairy can be canned. In a home setting, the answer is no. According to PennState Extension, there have been no proven ways to safely can dairy products, because they are particularly sustainable for botulinum spores. This means you should not can milk, cheese, or butter. Additionally, you should not can soups, sauces, or sweet fillings that include dairy. Other foods that should not be canned include eggs, oil, or thick purees. This is by no means an exhaustible list of unsafe canning foods. Be sure to consult reliable sources before trying to preserve a new food.
9. Deviating from the ingredients
If you have a recipe that is designed for canning, it is important to stick to the instructions. Experimenting with recipes is great, and we would usually encourage people to have fun in the kitchen and customize to their liking. However, when it comes to canning food to preserve, avoid loosely following the steps.
Most recipes for canning are created with preservation in mind. This means they result in a specific acidity that lends itself to a certain kind of canning technique, they have safe ingredients, and they are formulated to be shelf stable. Substituting ingredients such as a dash of cream or adding oil to a pasta sauce can suddenly make a recipe unsafe for canning. Additionally, subbing out cane sugar for sweeteners such as Splenda or stevia may cause issues too. They simply do not have the same ability to preserve food, which is the whole point of canning. There are some ways to make these alternate sweeteners work, but the other ingredients must work in tandem. Ultimately, it is better to search for a new recipe that fits what you are striving for.
10. Not leaving an air gap
When your product is ready and it's time to transfer it to the jars, do not fill them all the way to the top. It can be tempting to try and get as much food into the jars as possible, but overfilling can prevent the contents from being able to expand. This can cause bubbling, which has the potential to prevent the seal from correctly forming. As well, an air gap can help keep foods from oxidizing.
This gap is called the headspace, and the exact size of it will vary depending on the food. Jam tends to require a quarter inch of space, whereas meat can be over 1 inch. Always check the recipe to see what the recommendations are. On the flip side, be sure not to underfill jars either. Too much headspace can interfere with sealing and cause discoloration of the contents. If your jar is only half full, you are better off using it immediately rather than trying to can it.
11. Leaving air bubbles

You may think that once the jars are filled, they are ready to be sealed. Not quite. There is one more important step to take: getting the bubbles out of the jar. It is important to eliminate any air bubbles because trapped gas can interfere with the headspace. Skipping this step could mean allowing more air than you intend into the jar. Additionally, if a bubble rises to the top and pops out, it can push some of the contents through the seal, preventing it from sealing completely.
To remove the air bubbles, take a long thin implement, such as a small silicon spatula, wooden chopstick, or wooden spoon, and gently stir the contents. As tempting as it is, do not use a metal knife. Metal can scratch the inside of the jar, and as we already emphasized, scratches can quickly turn into breaks, which can ruin the food. Instead, stick with wood or plastic.
12. Overtightening the lid
We know we hammered in the idea of having a tight seal, but it turns out you can overdo it. Overtightening the ring of the lid can have some serious consequences. The lid consists of two parts: the flat top with the seal and the ring you use to screw on and tighten. When you tighten the ring, just use your average grip strength, do not try to force it.
Overtightening can prevent air bubbles from escaping. If air cannot escape, a vacuum will form inside the jar, sucking the lid in and potentially bending it out of shape. Ultimately, this means the lid will not seal properly. If you are worried about accidentally overtightening the lid or need assistance, the Tight Band Tool claims to help you tighten each jar to the right degree. It also removes lids which is a pretty handy feature too.
13. Not checking on jars before storing
Once you have gone through all the steps of preparing and canning your food according to instructions, you are not quite out of the woods. There is still one more important step, which is to check the jars before storing them.
Wait for the jars to completely cool, which could take up to 24 hours. Then, you'll need to ensure the seal is secure, otherwise, your food is not safe for storage. The easiest way to check this is to remove the ring and press a finger on the center of the lid. If it pops up and down, the jar is not sealed.
If this is the case, you can either attempt to reprocess the jars with a new lid and seal, or you can store them in the refrigerator or freezer. Food that is stored in the fridge is subject to the product's standard shelf life, so keep in mind that it won't last long.
14. Storing with the rings on

Another important element to know when it comes to storing jars of freshly preserved food is that you should not be storing them with the ring. The going advice is to remove the rings once the canned goods have been processed. As discussed, they are usually taken off to test the seal, so just don't twist them back on the jar.
The main purpose for leaving the rings off is that they have crevices that make it easy to hold onto water. This can lead to rusting on the rings and the lids, which is not good for the seal. Removing the ring also makes it easier to see if there is a break in the seal while the foods are in storage. If you notice a break early, you may be able to do something about it instead of waiting until the food has gone bad. If you prefer to keep the ring on the seal, make sure you thoroughly clean and dry it before putting it on to avoid rusting.
15. Not being patient
Rushing any part of the canning process is a big mistake. Granted, a lot of it involves waiting — waiting for the jars to sanitize, to finish in the canner, and to cool. It is tempting to try and speed up the process, but don't. You risk contaminating the contents with foodborne bacteria, which can make you severely ill if consumed.
Think about it this way: You are preparing the food to be stagnant and do nothing. Ideally, your canned food will sit on a cool dark shelf for up to a year at a time. It will require a careful process to ensure the food reaches this point safely.
Once everything is done, be sure to patiently store the jars in an appropriate place to prolong their shelf life. Canned goods should be kept in a cool, dry, and ideally dark location. Do not store them near hot pipes, in direct sunlight, or anywhere with excessive moisture. Taking the time to find the right spot to store your canned goods will lead to delicious food that lasts. It is always worth it to take your time.