Mistakes Everyone Makes When Using An Immersion Blender
An immersion blender might seem like a simple piece of kitchen equipment and, in some ways it is. But even so, many of us make mistakes when using it. Sometimes, the simpler a kitchen gadget seems, the less research people do into the right way to use it, which can lead to errors. Luckily, it isn't hard to learn what to do with an immersion blender and what not to do.
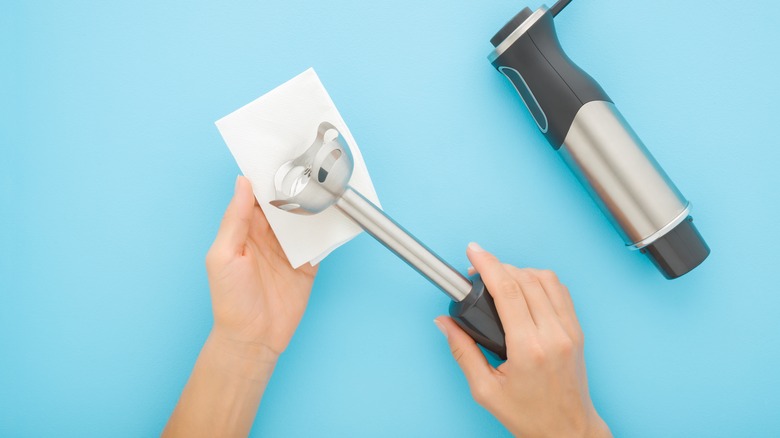
Also known as a hand blender or a stick blender, an immersion blender is a shortcut to perfectly smooth soups and delicious smoothies straight in the pot or the glass, to name just a couple of its more obvious uses. It can save on dishes or the hassle of setting up a bulky piece of equipment compared to using a countertop blender. But like many folks, you're probably guilty of not using the correct container to blend in or scratching cookware. Or, perhaps your only crime is underutilizing it — not realizing it can do all sorts of things, from quickly mixing batters to whipping up homemade mayo.
We're about to tell you about the most common mistakes everyone makes when using an immersion blender. Once you know what you're doing wrong, it's easy to fix things and make better use of this everyday appliance.
Not using the right container
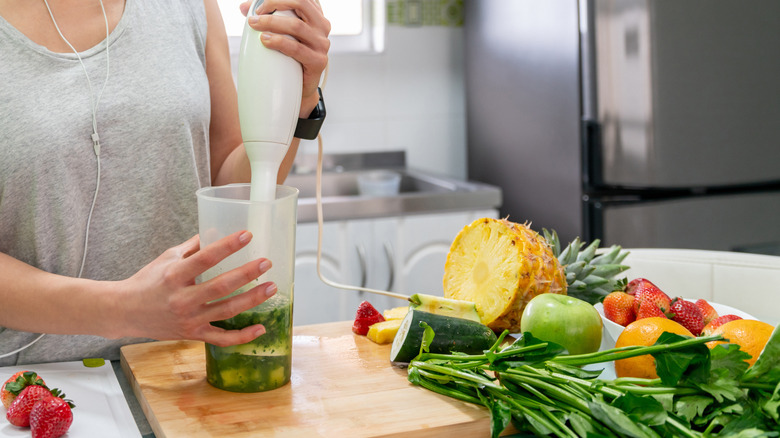
Part of the appeal of immersion blenders is that they give you the freedom to use them in a container of your choice. So does that mean you can use them in any container you like? Technically, yes, but you shouldn't. While it's fine to use an immersion blender in most containers, you won't get the best results if you don't choose carefully.
For starters, you need to choose a container that's narrow enough that the blades are covered by the ingredients or liquid. If the blades aren't covered, not only will your immersion blender blend ineffectively, but it'll also splatter, leaving you with a mess on your hands. It's fine to use a wide container if you're blending a large recipe — a full pot of soup, for instance — but it's often a good choice to blend in a narrow container with high sides. This reduces the chance of splatter and also means you have to move the blender around less to blend ingredients evenly. Sometimes stick blenders come with a tall, narrow container for blending, but of course you don't have to use this unless you want to.
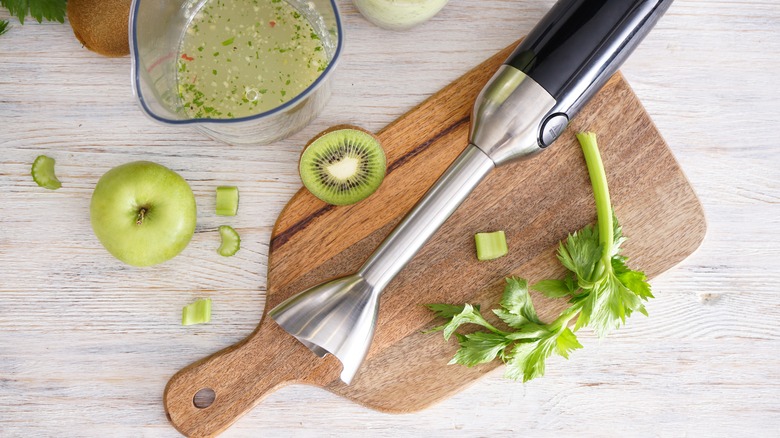
Some people also fail to get creative enough when they're deciding what container to blend in. Want to make a smoothie? Blend it right in the glass. Want to pulp a can of whole tomatoes? Just blend them in the can. There's no need to dirty extra dishes.
Trying to use it to chop ingredients
If you're trying to use your immersion blender to chop ingredients, you're making a mistake. Blenders — including immersion blenders — are designed for pureeing and liquifying ingredients. They need a decent amount of liquid in a recipe to work effectively. So if you attempt to chop ingredients, you'll be left with a thick, somewhat liquidy paste, which is probably not what you're after.
For those looking for an appliance to chop things like onions and carrots, what you need is a food processor. These appliances are capable of chopping dry ingredients, saving you time during recipe prep. Stick blenders are great at many things, but chopping just isn't one of them. Conversely, food processors do a bad job of blending — proof that nothing's perfect.
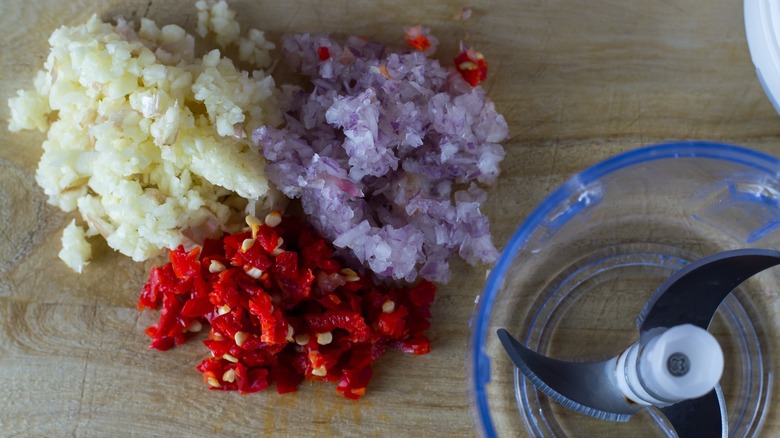
To confuse the matter slightly, some hand blenders come with mini chopper attachments that can chop ingredients for you, but we'll go into more detail on those later. For now, you should just know that if you have a standard immersion blender, it won't be chopping ingredients for you any time soon.
Keeping it still during blending
Some people complain that immersion blenders don't give them the even results that they want. Instead of a velvety smooth soup, for example, they're left with something lumpy in all the wrong ways. If this is a problem you've run into, there might be a simple solution: move the blender around more. Some people keep their blender still and expect the lumps to come to them, but that's a mistake. Sure, these blenders do create a vortex of sorts, but it's not enough to get everything totally smooth, especially in a large pot. You should be moving your blender around in the blending container.
To start with, move it up and down in the container — just make sure not to lift it up too high or the contents will splatter. Conversely, if you're blending a lot of liquid in a large container, don't put the blender in too far or liquid could get into the motor. There may be a max line that you shouldn't go above. If the container is wide, you can move the blender around side-to-side or in a circle. You can also tilt the blender to angle the blades. All these motions help make sure all the ingredients go through the blades, giving you an even smoothness.
Using it to mash potatoes

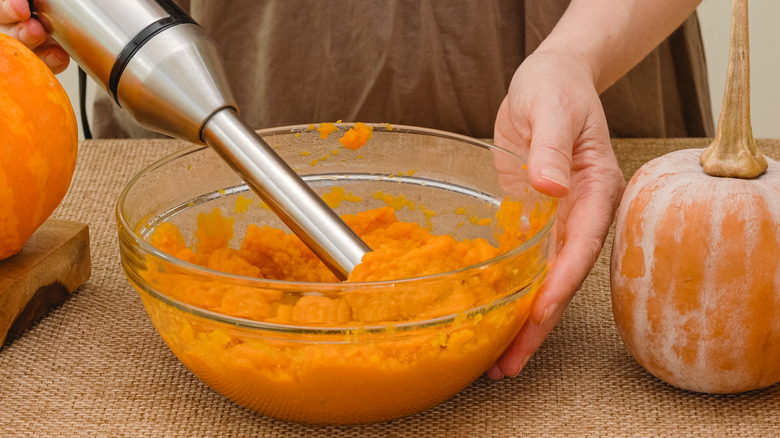
You've got a pot of freshly boiled potatoes, ready to mash. It might seem like a great idea to tackle them with an immersion blender. Surely, it will save you time, you think — why hasn't anyone thought of this before? The fact is, people have thought of it and it's a bad idea, that's why it's never a recommended potato-mashing method.
The sad truth about potatoes and the blender is that, when they mix, you're left with a gluey mess. The blades and the speed at which they rotate cause potatoes to release an excess of starch. Rather than resulting in the smooth, creamy mashed potatoes that you want, you're left with something thick and paste-like. It's not pleasant and we don't want you or your potatoes resigned to such a terrible fate.
So, no matter how tempted you are to save time or if you think it won't happen to you if you do it quickly or skillfully enough, keep that stick blender away from your potatoes. Instead, stick to a masher — or better yet, a potato ricer — for those fluffy, creamy spuds that you crave. You can thank us later.
Cleaning it incorrectly
There's a super simple way to clean an immersion blender that you might be overlooking. It will save you time and effort, making cleanup a total breeze. All you need to do is fill a tall glass (or other tall, narrow container) with warm, soapy water, stick the immersion blender in there, and run it for around 10 to 20 seconds. As long as you do this soon after using your blender, this should be enough to dislodge any dirt and leave it sparkling clean for next time. Then dry it with a dishcloth and put it away.
However, if you don't get to the blender soon enough and you end up with stuck-on food, you should detach the blades and shaft from the body of the blender and wash them by hand. While some stick blender blades may technically be dishwasher safe, they'll stay sharper and last longer if you wash them by hand.
The only part of the blender you should avoid washing is the body, which has the controls and the motor in it. Because of the motor, it isn't safe to submerge in water. If food or liquid has splashed onto the body of your blender, you can wipe it clean with a slightly damp cloth. Just make sure not to get it overly wet.
Not using it to mix batters
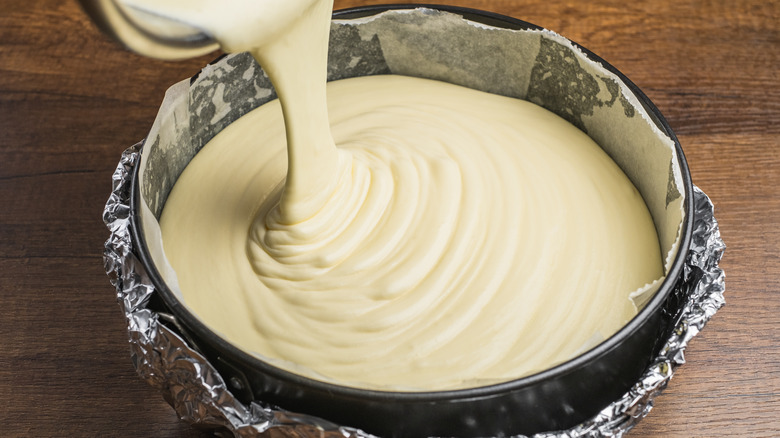
An immersion blender's main job is to blend ingredients into liquid, but it's more versatile than you might think. You can also use it to quickly mix batters, such as cake batters and pancake batters. You'll generally get a much more even and lump-free batter when you mix it mechanically rather than by hand. But not everyone has a mixer and, even if you do, stand mixers are large and can feel like overkill for certain mixing jobs.
For the best results, first blend together all the wet ingredients to mix them evenly. Then add the dry ingredients and run the blender once more to mix them evenly with the wet. Only mix until the batter comes together and is free from large lumps (some small lumps are fine). Be careful not to overmix. This is because overmixed batter can lead to baked goods with an overly gummy or chewy texture due to excess gluten development. Overmixing can also affect the amount of air in a cake batter, leading either to dense cakes or cakes so fragile that they're difficult to handle.
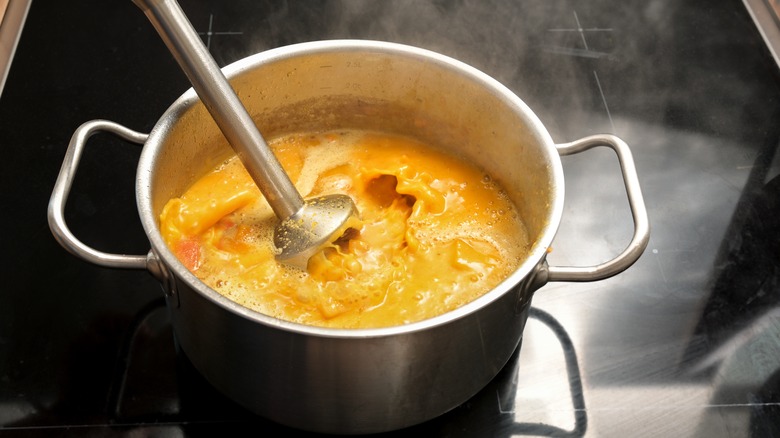
Using it in boiling or near-boiling liquids
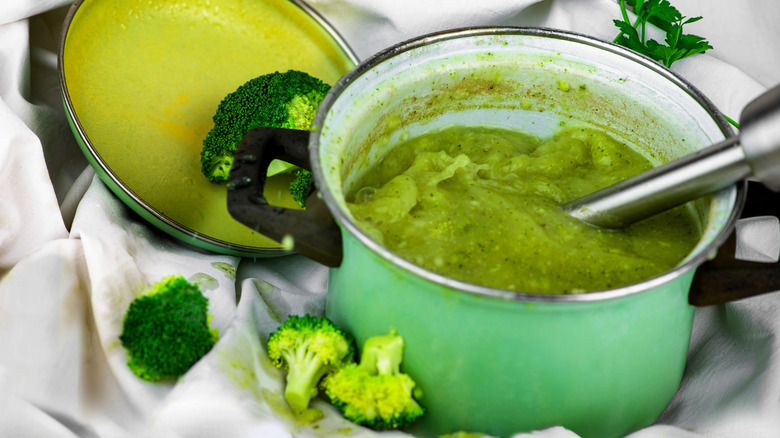
Part of the beauty of stick blenders is being able to put them straight in a pot of soup or sauce and blend it until it's smooth without having to transfer it or dirty another container. The ability to easily blend hot liquids also gives immersion blenders an advantage over countertop blenders. In countertop blenders, you have to regularly lift the lid to release steam when blending hot liquids, or pressure can build up and the lid can pop off, causing a messy splatter of liquid all over your kitchen.
So you can blend hot liquids straight in the pot with an immersion blender, but you still need to be careful about how hot the liquids are. If the liquid is still boiling or is close to the boiling point, you should give it a few minutes to cool down before blending. The reasons for this are simple. Firstly, if you accidentally splash yourself while blending, you could end up with a burn or scald if the liquid is too hot. Secondly, if your blender has a plastic shaft or plastic parts around the blades (such as a scratch guard), these could melt in boiling or near-boiling liquid. Not only could this melt the plastic but it could cause it to release some of its component chemicals into your food.
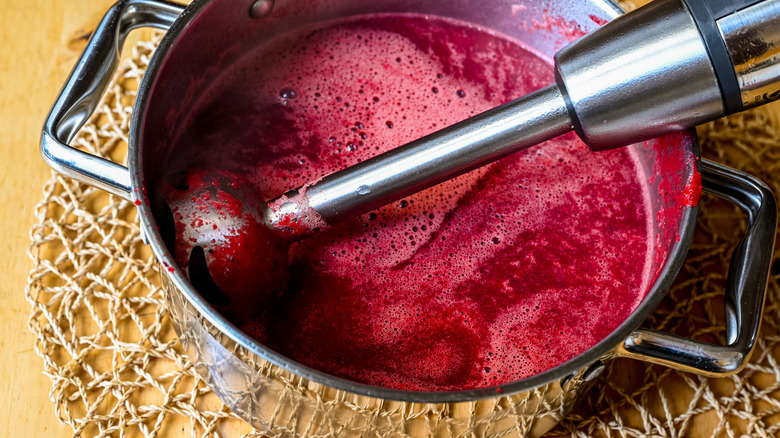
Failing to use it for getting lumps out of sauces and gravies
You make a sauce or gravy according to a recipe and all's going well. Until — ugh — lumps! We don't want to be hyperbolic, but few things are as disappointing as a recipe gone awry. So you're left with the prospect of either enduring the lumps, making the recipe again, or eating your meal dry. None of these are great options.
But when you have an immersion blender, there's actually a secret fourth solution: use it to get the lumps out of your sauce. Thanks to the power of its blades, it can cut through lumps, blending them into oblivion. Even when a whisk or hand mixer can't get rid of lumps, a stick blender can do it. This is a real boon for anyone who's plagued by lumpy sauces and gravies.
It works for all kinds of gravies, cheese sauce, white sauces, and basically any other sauce thickened by flour or other starches that are prone to clumping. As long as you want the sauce completely smooth, a blender does the job. But if you want to retain any chunks, a blender will smooth those out too, which might be an issue in certain gravies.
Letting it scratch the pot
Imagine this: you embrace the convenience of an immersion blender, sticking it straight in a pot to blend up a soup or sauce. It blends it perfectly and all seems well. That is, until you come to clear up later and realize that the bottom of the blender has scratched your pan. This can be a particular issue with nonstick pans, although almost any pan can fall foul of this.
So what should you do? First off, check whether the blender has a scratch guard. If so, this should be enough to avoid scratches on more robust materials, such as stainless steel and enameled cast iron. However, even with a scratch guard in place, nonstick cookware is especially prone to scratching.
You can avoid scratching by keeping the blender still when it's touching the bottom of the pan. When you want to move it around, lift it up slightly so it's not touching the pot and therefore can't scratch it. Just be careful not to lift it too high and splash liquid around. You can also angle the pan or the blender to get more movement in the liquid and pull ingredients through the blades without moving them around, causing scratching.
Ignoring any included accessories
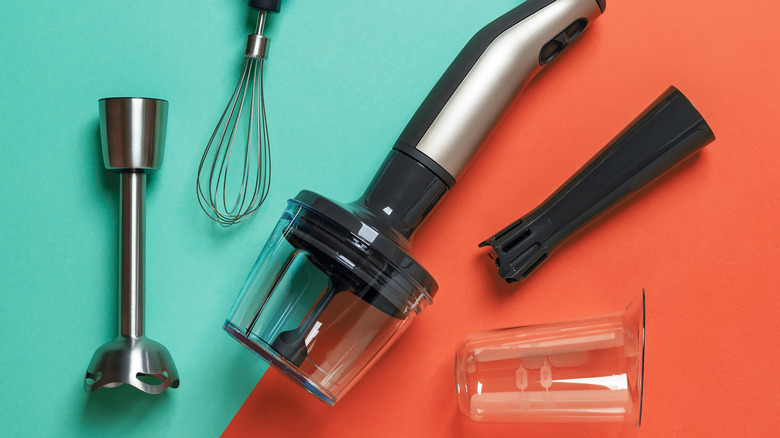
Some stick blenders come with accessories and attachments. If you're ignoring these attachments, you aren't making the most of your blender. Accessories can turn your simple immersion blender into a multifunctional appliance, capable of chopping, whisking, and more.
So what kinds of accessories typically come with stick blenders? One of the most common accessories is a mini chopper attachment. This effectively turns your immersion blender into a tiny food processor. It isn't as powerful or versatile as a full-size model, but it can speed up kitchen tasks such as chopping onions or turning cookies into crumbs for cheesecake bases. Whisk attachments are also common, and these can be used for whipping cream or mixing batters.
Other less common accessories include mini jug blender attachments, spice grinders, and mashers. You can switch between attachments by removing the stick part of your immersion blender from the body and replacing it with one of the included accessories. They usually simply twist into place. We'll finish by reiterating that not every blender comes with these accessories, but if yours does, you should make the most of them.
Not using it for homemade mayonnaise
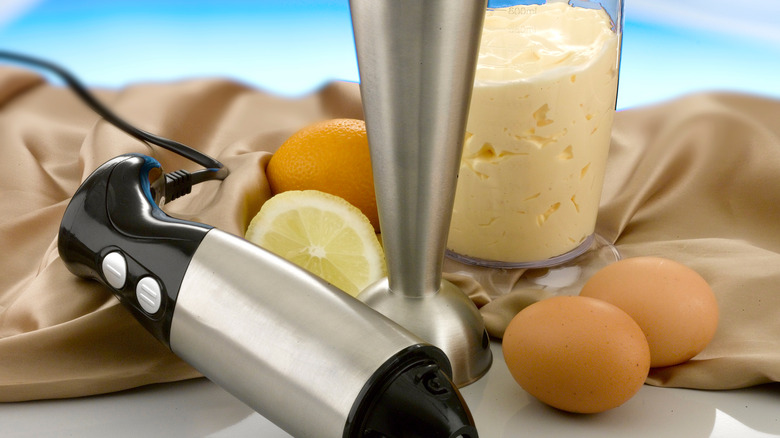
Crafting your own homemade mayonnaise seems like an advanced move, but it's actually pretty simple with the help of an immersion blender. If you want to make classic mayo, you simply add all the ingredients — including the eggs and oil — to a tall, narrow container and run the blender, moving it up and down until the mayo reaches its desired consistency. As the blender runs, it causes the oil and eggs to emulsify, creating the tasty dip that you know and love.
Alternatively, you can make vegan mayo in the same way. Instead of using eggs, you use soy milk or aquafaba (the liquid from a can of chickpeas). These liquids mix with the oil and emulsify in a similar way that eggs do, so you're left with a thick, creamy mayo. It might not have quite as rich a flavor as mayonnaise made using eggs, but it still tastes great.
What's amazing about making mayonnaise from scratch is that you can cater it to meet your preferences. For instance, if you like zingy lemony mayonnaise, just add extra lemon juice and perhaps some zest. If you want garlic mayo, it's easy to blitz some garlic into the mixture. Once you know how easy it is to make your own mayo, you won't want to go back.
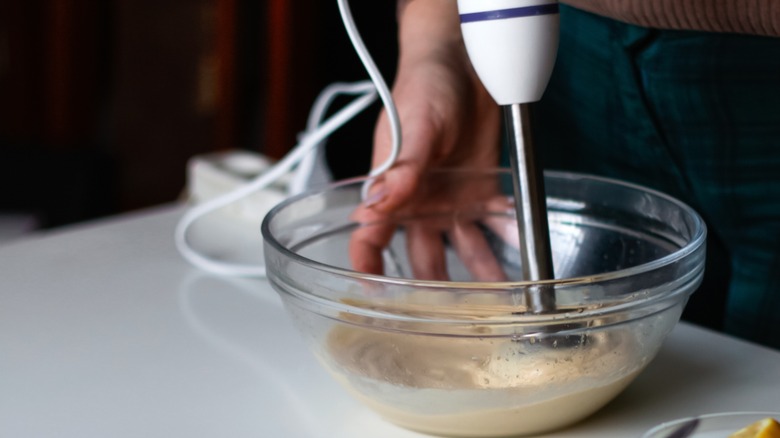
Not dealing with suction correctly
A common complaint people make about stick blenders relates to the issue of suction. When you blend ingredients, the swirling liquids can create suction that seems to adhere the blades to the bottom of the blending container. When you go to move the blender and it doesn't shift, the obvious solution seems to be yanking it hard to break the suction. The trouble with this is that, when you pull it too hard, you might lift the blades above the liquid and cause annoying splatters.
So you should stop blending for a second to break the suction before lifting. This way, you can adjust the blender without creating a mess. To stop suction from being created going forward, either blend an inch or two above the bottom of the pan or angle the blades. This will stop the blender from getting stuck to the bottom of the container, so you can blend freely and easily.
Expecting it to be as powerful as a countertop blender
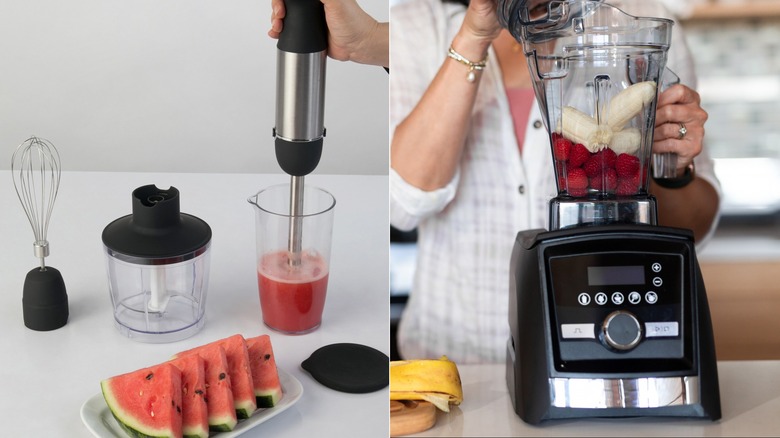
New immersion blender users will set themselves up for disappointment by assuming their stick blender will be as powerful as a countertop blender. This isn't a mistake with how to use an immersion blender or a problem with these blenders themselves, but just an issue of expectations versus reality. If you think your new hand blender will be able to take on the same tasks that a Vitamix or other high-powered blender can, you'll end up feeling let down. But if you embrace your stick blender for what it is, there's no issue to be found.
The truth of the matter is that immersion blenders are significantly less powerful than decent countertop blenders. You won't be able to make perfectly smooth nut butter or thoroughly crush ice with a stick blender. Some stick blenders might also struggle with tougher produce in smoothies such as kale or carrots. But they're still great for their level of convenience. Plus, a good immersion blender can be as powerful as a bad countertop blender. So if you're currently working with an old, tired countertop blender, you might be surprised at the results you get from a stick blender.