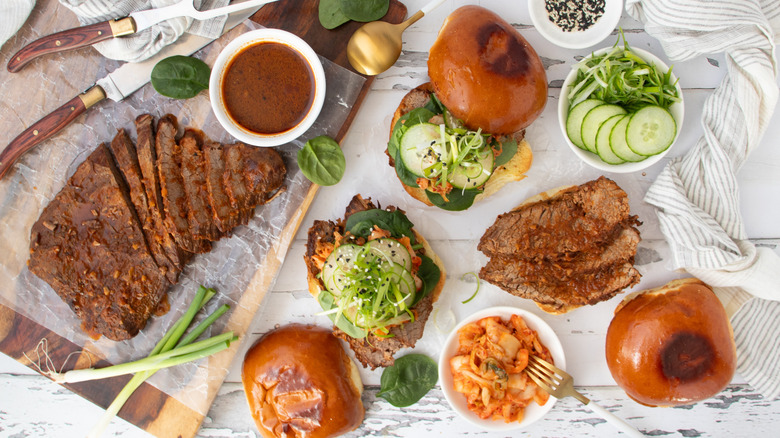
Korean Barbecue Bulgogi Brisket Sandwich Recipe
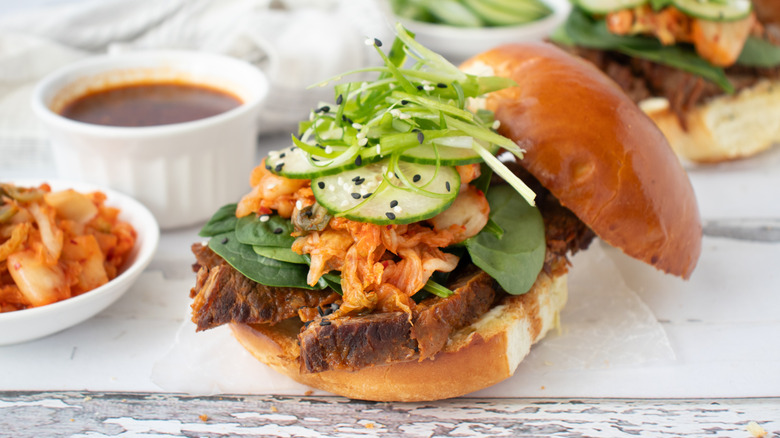
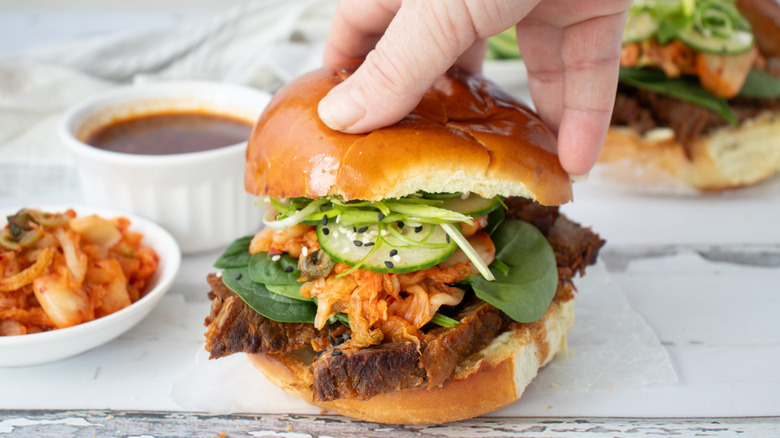
Mashed recipe developer Patterson Watkins brings us this delicious and super-packed Korean barbecue bulgogi brisket sandwich recipe. Featuring brisket braised in a bulgogi marinade and stacked with kimchi and other crunchy toppings, this is the kind of sandwich you'll dream about until you make it next.
"This sandwich was amazing, it had me happy dancing around my kitchen with a gob of brisket in my mouth (potential choking hazard, but I took the risk)," Watkins raves. There's no question about her favorite component either, as she notes, "All credit for that deliciousness should be entirely aimed at the bulgogi marinade-turned-braising liquid. The Korean culinary geniuses that created that harmonious combination of gochujang, pear, soy sauce, and sesame (plus aromatics, plus some additional delicious ingredients) — brilliant." The tender, juicy, well-seasoned brisket is certainly the star of the show, but the various garnishes add an extra depth of flavor and complexity of texture to this stacked meal.
It does take a long cook to fully develop the flavors and tenderness of the brisket, but thankfully Watkins says this step can be done ahead of time. Just refrigerate the meat and reheat it to serve. Finally, Watkins offers one key piece of advice: "Bun toasting is my little culinary secret to combatting super soggy/delightfully juicy ingredients." That said, you might want to lean into the messy nature of this flavor-packed sandwich and savor every last bite.
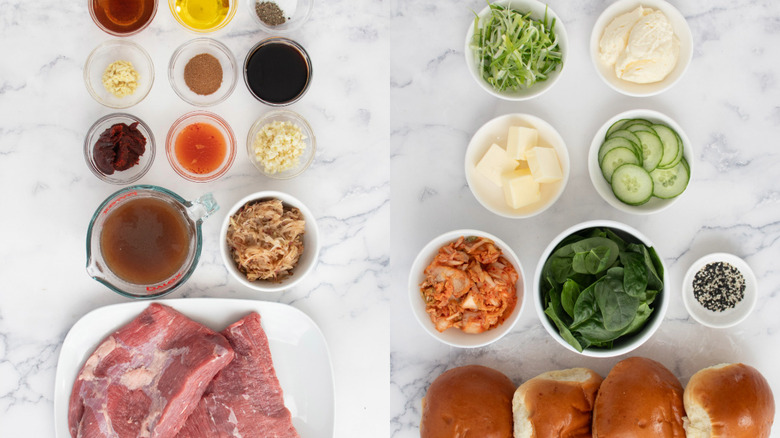
Gather the ingredients for Korean barbecue bulgogi brisket sandwiches
For this recipe, get a raw beef brisket (with the fat cap trimmed), salt, black pepper, olive oil, a red pear (cored and grated), garlic cloves (peeled and minced), grated fresh ginger, brown sugar, gochujang, soy sauce, kimchi juice, rice wine or sherry, and beef broth. To assemble the sandwich, get butter (softened), hearty sandwich rolls like Kaiser or brioche (split), mayonnaise, baby spinach, kimchi, thinly sliced cucumbers, frizzled or chopped scallions, white sesame seeds, and black sesame seeds.
Step 1: Preheat the oven
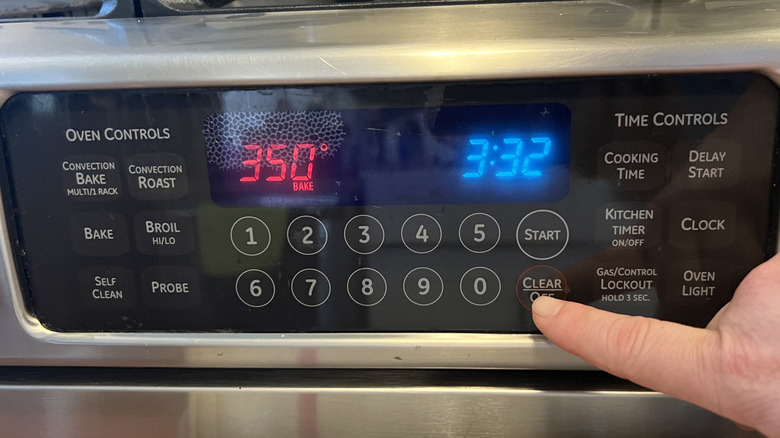
Preheat the oven to 350 F.
Step 2: Prep the brisket
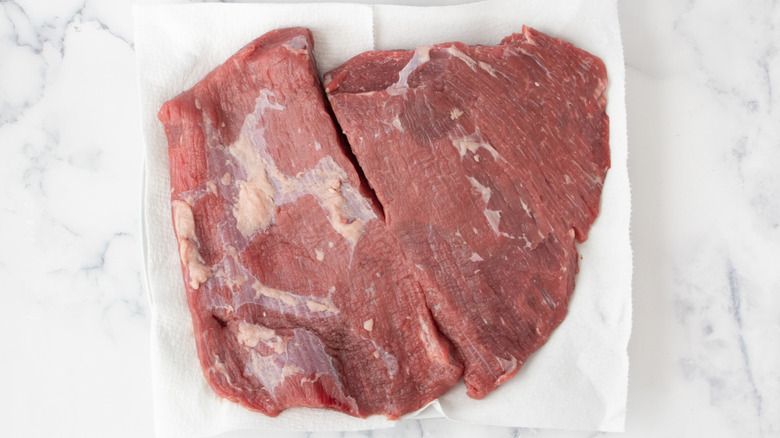
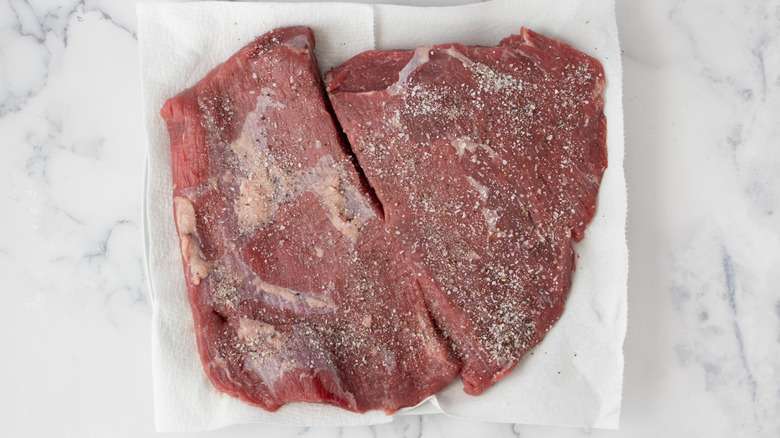
Pat the brisket dry with paper towels. Halve or portion the brisket in order to fit comfortably into your braising pot.
Step 3: Season the meat
Season the brisket with salt and pepper.
Step 4: Heat oil
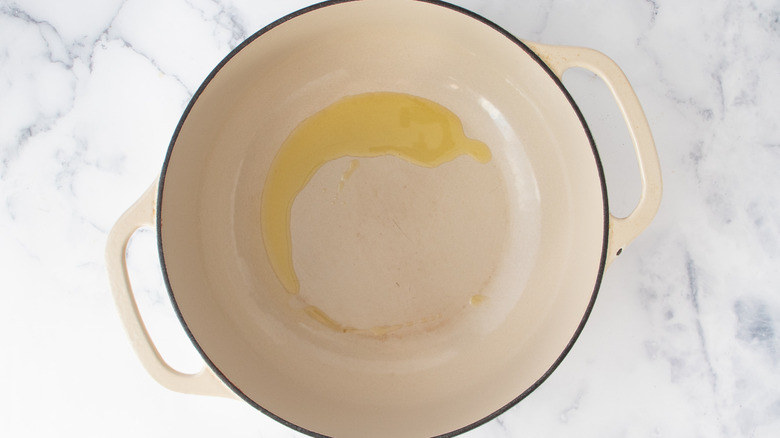
Working in batches, if necessary, heat the olive oil in a large oven-proof pot over medium-high heat.
Step 5: Sear the brisket
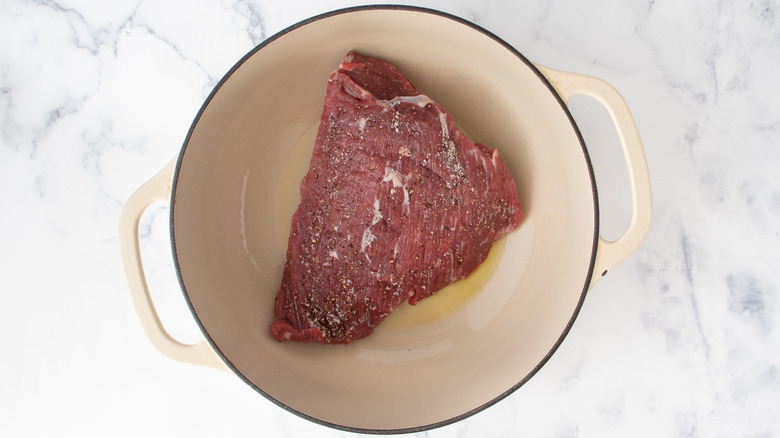
Once hot, add the brisket (working in batches, if necessary), and thoroughly sear on both sides, about 5 minutes per side.
Step 6: Set the meat aside
Once seared, remove the brisket from the pot, and set it aside.
Step 7: Simmer the sauce
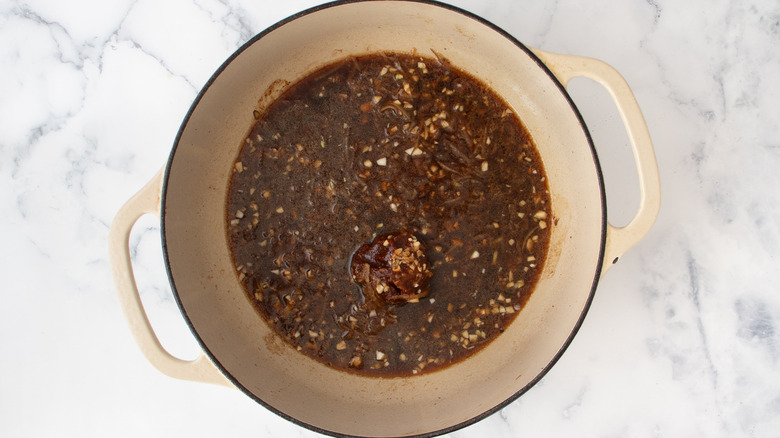
Add the pear, garlic, ginger, brown sugar, gochujang, soy sauce, kimchi juice, wine, and broth to the pot, stir or whisk to combine, and bring to a simmer.
Step 8: Add the meat
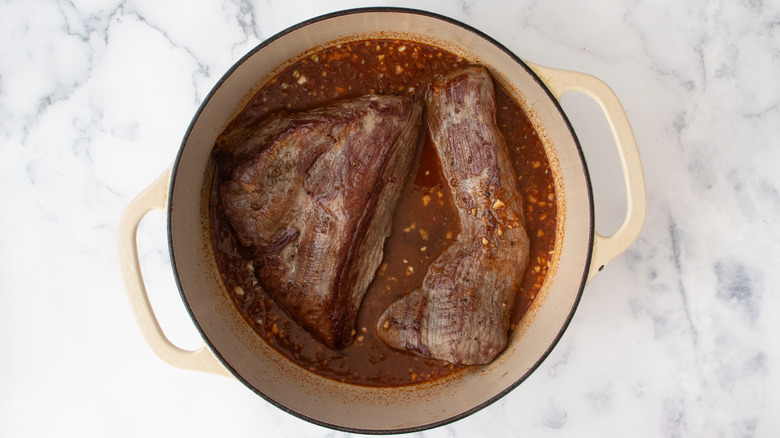
Once the sauce is simmering, return the seared brisket to the pot, nestling the meat as best as you can into the liquid.
Step 9: Add water to the pot
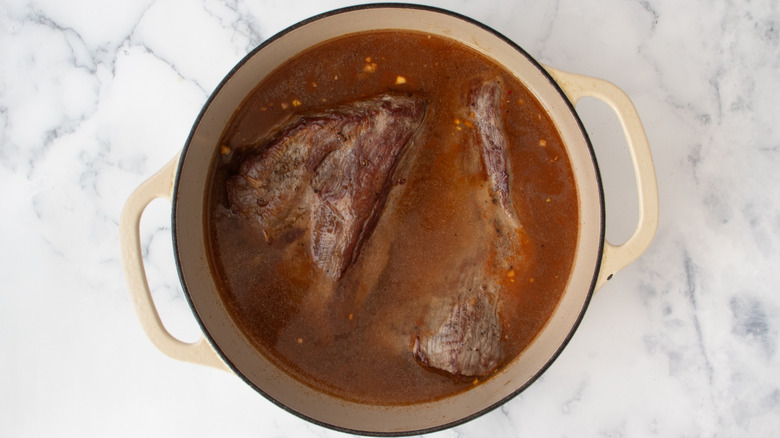
Add some water to the pot, just enough to cover ¾ of the brisket, and return to a simmer. (I used about 2 cups of water, your amounts might vary depending on the size of your pot)
Step 10: Cover and braise
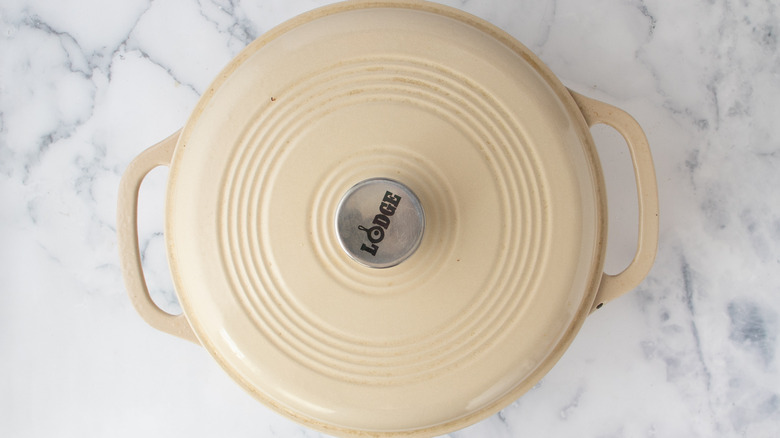
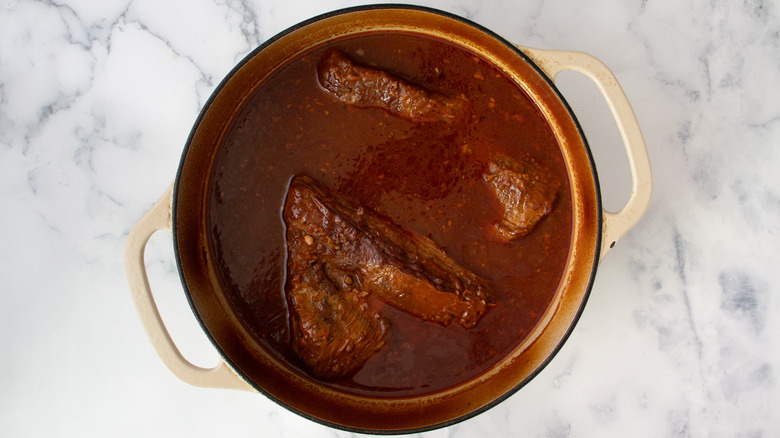
Once simmering, cover the pot with a lid or aluminum foil, and place in the oven. Braise for 2 hours.
Step 11: Remove the lid
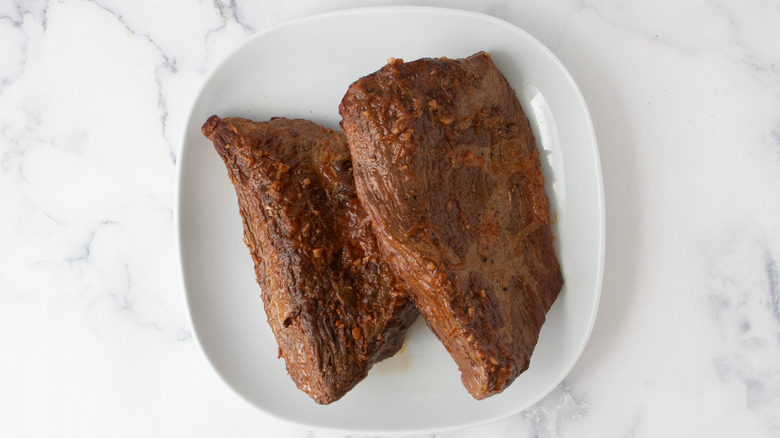
Remove the pot from the oven, remove the lid, and return. Continue to braise, uncovered, for 1 to 1 ½ hours or until the brisket is tender (fork inserts easily). You want the brisket tender, but not falling apart, it should still retain much of its shape.
Step 12: Rest the meat
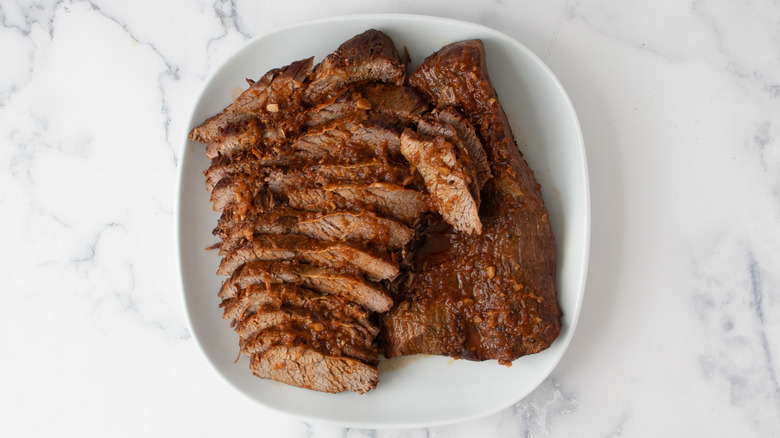
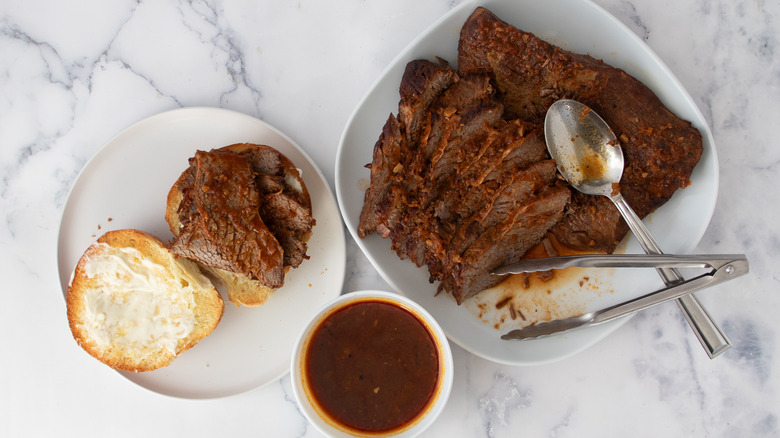
Once cooked, remove the brisket from the liquid (reserve the liquid), and set aside to rest for 20 minutes before slicing. To keep the brisket moist while it rests, drizzle with some of the pot liquid.
Step 13: Butter the rolls
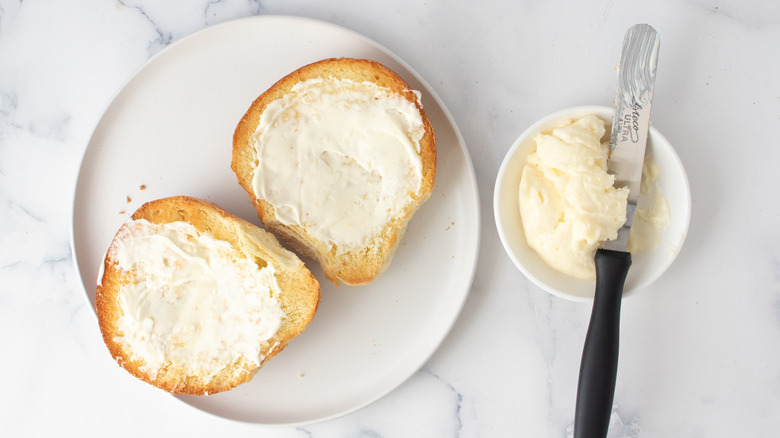
While the brisket is resting, spread softened butter onto the split rolls.
Step 14: Toast the bread
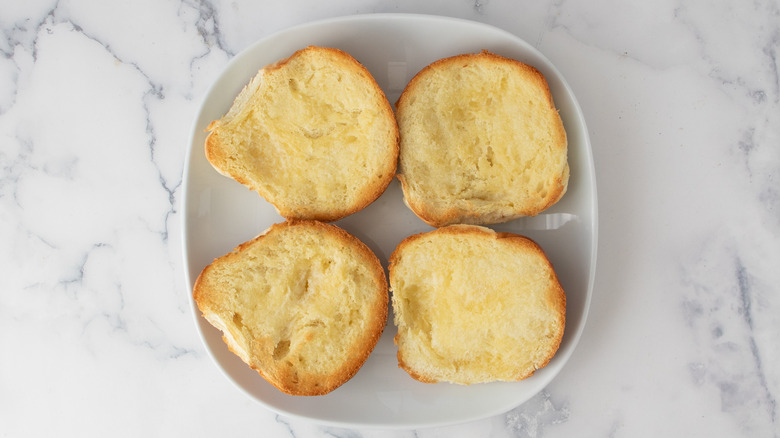
Toast the rolls until golden and crispy around the edges.
Step 15: Add the mayo
Spread mayonnaise over the toasted rolls.
Step 16: Add the meat
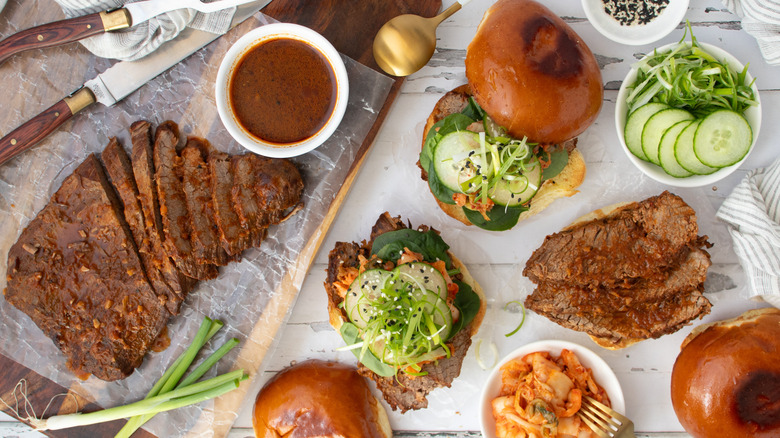
Place a hearty helping of sliced brisket (about 3 to 4 slices) on the bottom bun. Spoon some of the pot liquid over the brisket.
Step 17: Garnish the sandwich
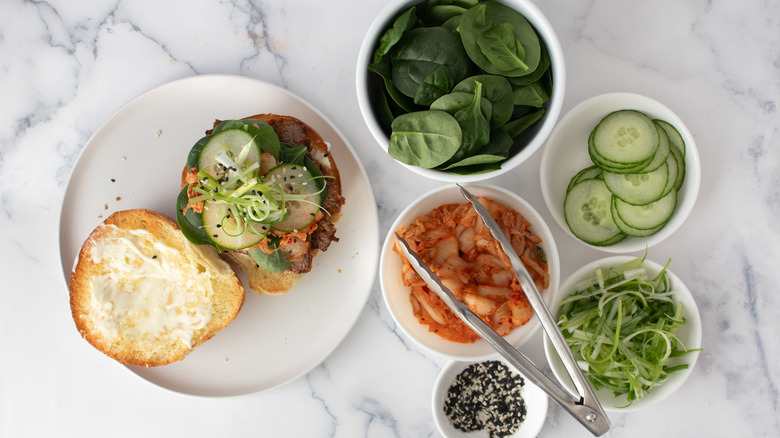
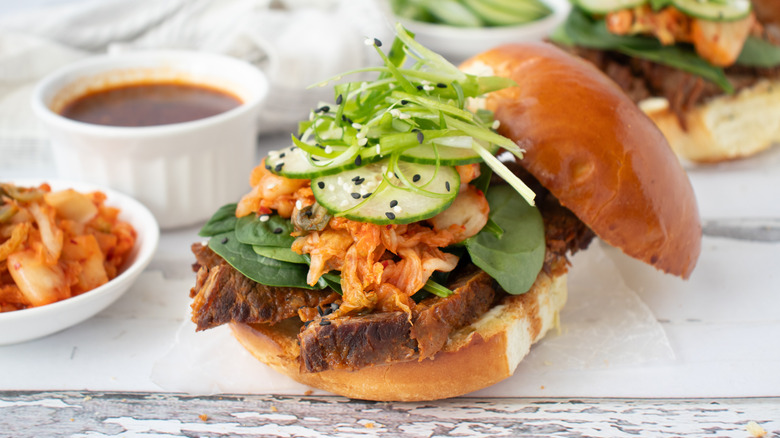
Top the brisket with spinach, kimchi, cucumbers, and scallions. Sprinkle with sesame seeds before capping and serving.
Step 18: Serve the sandwich
Serve with some of the pot liquid on the side for additional drizzles.
Korean Barbecue Bulgogi Brisket Sandwich Recipe
This super-packed Korean barbecue bulgogi sandwich features tender brisket braised in a bulgogi marinade and stacked with kimchi and cucumber on toasted rolls.
Ingredients
- 3 pound raw beef brisket, fat cap trimmed
- 2 teaspoons salt
- 1 teaspoon black pepper
- 2 tablespoons olive oil, divided (if necessary)
- 1 red pear, cored and grated
- 4 garlic cloves, peeled and minced
- 1 tablespoon grated fresh ginger
- 1 tablespoon brown sugar
- ¼ cup gochujang
- ¼ cup soy sauce
- 2 tablespoons kimchi juice
- ¼ cup rice wine or sherry
- 1 cup beef broth
- 4 tablespoons butter, softened
- 4 hearty sandwich rolls, like Kaiser or brioche, split
- 4 tablespoons mayonnaise
- 2 cups baby spinach
- 1 cup kimchi
- ½ cup thinly sliced cucumbers
- ½ cup frizzled or chopped scallions
- ½ teaspoon white sesame seeds
- ½ teaspoon black sesame seeds
Directions
- Preheat the oven to 350 F.
- Pat the brisket dry with paper towels. Halve or portion the brisket in order to fit comfortably into your braising pot.
- Season the brisket with salt and pepper.
- Working in batches, if necessary, heat the olive oil in a large oven-proof pot over medium-high heat.
- Once hot, add the brisket (working in batches, if necessary), and thoroughly sear on both sides, about 5 minutes per side.
- Once seared, remove the brisket from the pot, and set it aside.
- Add the pear, garlic, ginger, brown sugar, gochujang, soy sauce, kimchi juice, wine, and broth to the pot, stir or whisk to combine, and bring to a simmer.
- Once the sauce is simmering, return the seared brisket to the pot, nestling the meat as best as you can into the liquid.
- Add some water to the pot, just enough to cover ¾ of the brisket, and return to a simmer. (I used about 2 cups of water, your amounts might vary depending on the size of your pot)
- Once simmering, cover the pot with a lid or aluminum foil, and place in the oven. Braise for 2 hours.
- Remove the pot from the oven, remove the lid, and return. Continue to braise, uncovered, for 1 to 1 ½ hours or until the brisket is tender (fork inserts easily). You want the brisket tender, but not falling apart, it should still retain much of its shape.
- Once cooked, remove the brisket from the liquid (reserve the liquid), and set aside to rest for 20 minutes before slicing. To keep the brisket moist while it rests, drizzle with some of the pot liquid.
- While the brisket is resting, spread softened butter onto the split rolls.
- Toast the rolls until golden and crispy around the edges.
- Spread mayonnaise over the toasted rolls.
- Place a hearty helping of sliced brisket (about 3 to 4 slices) on the bottom bun. Spoon some of the pot liquid over the brisket.
- Top the brisket with spinach, kimchi, cucumbers, and scallions. Sprinkle with sesame seeds before capping and serving.
- Serve with some of the pot liquid on the side for additional drizzles.
What can you serve with Korean barbecue bulgogi brisket sandwiches?
This multi-layered sandwich certainly packs a punch, but you can take it a step further by serving it with a few sides. "Break out all your banchan favorites for this beefy sandwich," Watkins recommends. Banchan is a category of Korean side dishes that come in a wide range of styles. For this meal, she suggests, "Banchan that fits into the tart and tangy pickled category (sweet and sour radish, cucumber salad, greens, etc.) or the creamy and rich category (marinated eggplant, potato salad, braised potatoes, etc.) are all excellent options for sides."
On the flip side, you can look toward side dishes that pair well with a meaty sandwich. "I also wouldn't turn away some crispy potato chips (salt and vinegar chips would be fun), creamy coleslaw, or some fun and creative corn-themed side dish," Watkins suggests. For the latter, she lists Korean corn cheese as a potential option, though in peak corn season a fresh ear or corn salad would fare well too. And of course, fries with any sandwich is always a good idea.
What should you know about kimchi?
"There's a spectacular spectrum of kimchi options available," Watkins explains, each of them made with different ingredients, fermentation times, and results. "For this recipe, I liked using the napa cabbage kimchi, called baechu," she notes and adds, "For a sandwich as bulky as this, I wanted something that would 'nestle' well (not go all higgly-piggly when assembling and eating), and add that right bite of heat, salt, and fermented twang." In contrast, some varieties are chunkier and work better in a mixed bowl rather than stuffed into a bread roll.
Most supermarkets stock kimchi, but if you want a wider selection then a Korean grocer might be your best option. Watkins also notes that natural food grocery stores typically sell it too. "When perusing the aisles (of any grocery store), scope out the refrigerated pickles (or where they stock the sauerkraut), and you might stumble across a jar or two," she instructs. "The baechu kimchi I used for this recipe is one of the more popular options, and should be readily available at most grocery stores." If you feel like going the DIY route, you can always try our easy homemade kimchi recipe.
