10 Forgotten Old-School Cooking Tips Grandma Wants You To Use
If there's anyone to trust in the kitchen, it's a grandma. Sure, chefs are trained professionals who've studied the skills and techniques necessary to feed hundreds per night, but grandmas learned to cook in a very different way. With decades of experience in the kitchen and their inherited knowledge from the moms and grandmas who came before them, they turned cooking into a science, an art, and a love language all at once. So the culinary tips and tricks from a grandma are the ones you'll want to listen to.
Many grandmothers grew up during times when fresh food wasn't always readily available. Because of this, they learned to stretch ingredients further and make every kitchen item count. From saving one day's vegetable scraps to serve as the basis for another meal to storing certain produce stem-side down, these are the old-school cooking tips grandma wants you to start using again.
Keep your vegetable scraps
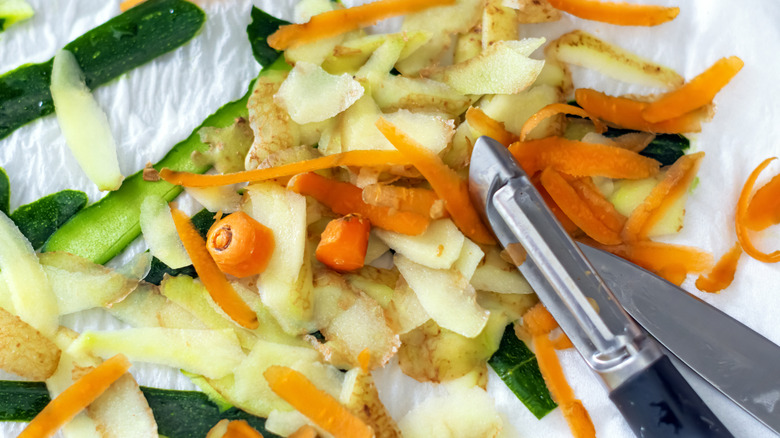
Even when you get your chopping advice from a chef, you'll still end up with unwanted scraps. But there's no need to throw them out — next time you're chopping onions or peppers, save those leftover remnants for later use.
Saving vegetable scraps is a common practice passed down from generation to generation. For centuries, food waste in the kitchen wasn't just frowned upon; it was also financially impossible. Families who lived through challenging economic times, such as the Great Depression or wartime food shortages, learned that everything had more than one purpose. For example, carrots and onions weren't just a dinner ingredient, with their skins also serving as the base of homemade stock. Doing this reduced food waste while also cutting the amount of money spent on future meals.
It's super easy to start doing this in your kitchen today. Grab an airtight container or a ziplock bag, and keep adding your vegetable scraps until it's full enough to make a batch of stock. Be sure to keep this container in the freezer so the scraps don't spoil. Don't include anything moldy or rotten, and also try to leave out brassicas, which contain compounds that'll make your stock bitter.
Save your potato water
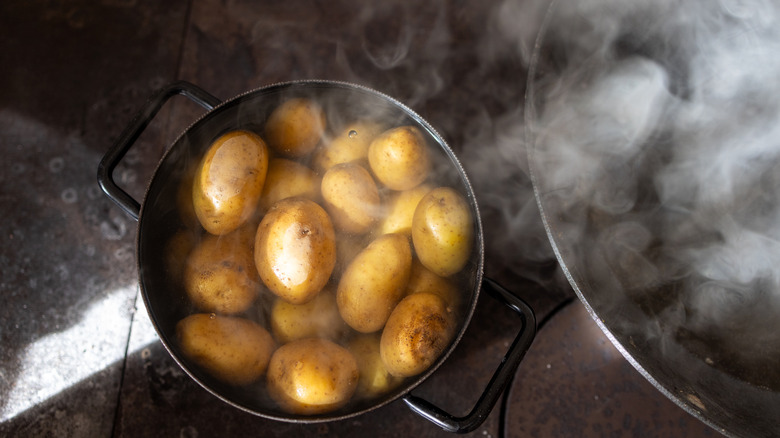
There's a long list of people out there whose grandmas taught them the value of saving potato water. And for good reason, because potato water is the equivalent of liquid gold in the kitchen. This is another Depression-era tip that helped families stretch food further. Since potatoes were a daily staple for households, the cloudy water left behind became a starch-packed resource that could be used in all sorts of ways. So, instead of pouring it down the drain, people would save it.
You can use leftover potato water to act as a natural thickener for the likes of soups, stews, and gravies. It's a particularly common trick in Eastern European cuisine, where it's used to improve the elasticity of your pierogi and dumpling dough. It can also improve the texture of bread. And don't forget that potato water is the secret to the creamiest vegan mashed potatoes you'll ever eat. Just make sure your potato water isn't too salty, though, because that salt will carry over into your finished dish. Also, be sure to refrigerate your potato water immediately and try to use it within 24 hours.
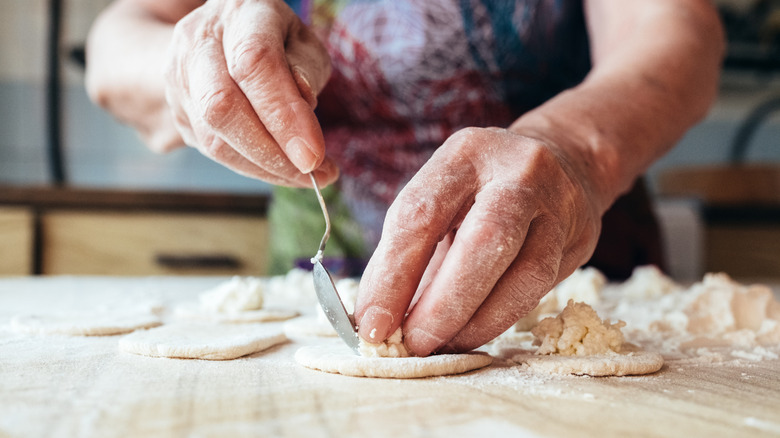
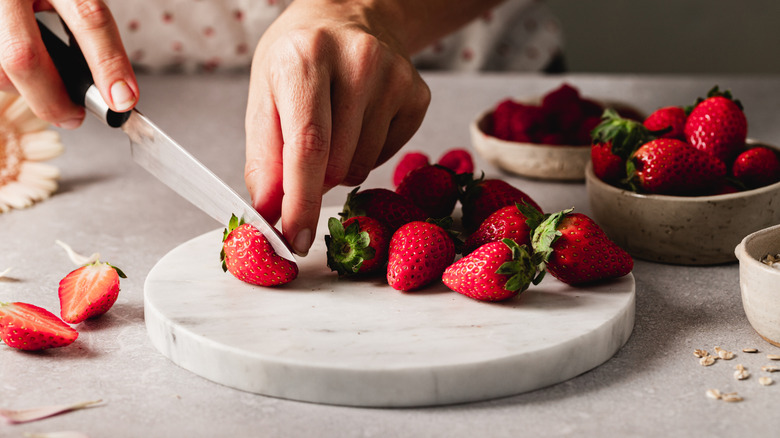
Don't throw out your strawberry tops
It's pretty clear that older generations viewed kitchen scraps as ingredients rather than garbage. But vegetable scraps weren't the only leftovers that got a second life. Just like carrot and onion scraps were saved for soups and stocks, fruit scraps were saved for syrups and jams.
Have you ever realized how much actual fruit goes to waste when you're chopping the stems off of strawberries? That fruit holds many of the same sugars and flavors necessary for creating that crisp strawberry flavor throughout the rest of the berry. Sure, you could simply waste less fruit and optimize your strawberry cutting by using a fork instead of a knife, but you could also turn those leftover strawberry stems into a sweet treat.
Simply wash your stems thoroughly and remove any damaged leaves you find. You can then make a fruit syrup, jam, or preserve the same way you normally would.
Save your bacon grease

Before the days of sunflower oils and avocado oils, some grandmas kept grease containers beside the stove. Not only did it save money to reuse animal fats like bacon grease, but it also added rich flavor to a lot of basic dishes. In fact, bacon grease was often considered a seasoning just as much as it was a cooking fat back in our grandparents' days.
Unlike most oils we see in the contemporary kitchen, bacon grease adds a smoky, savory, and umami flavor, making it an easy way to add extra depth to dishes. You can use it for vegetables, potatoes, or even scrambled eggs. Another idea is to grease your pans with it before baking or cooking. Not only will it prevent sticking, but it will also flavor these foods much better than a neutral cooking oil would. Bacon grease is also a great tool for maintaining your cast-iron skillet. Just make sure you're storing bacon grease correctly, because animal fats can go bad if left out too long.
Store your tomatoes stem down
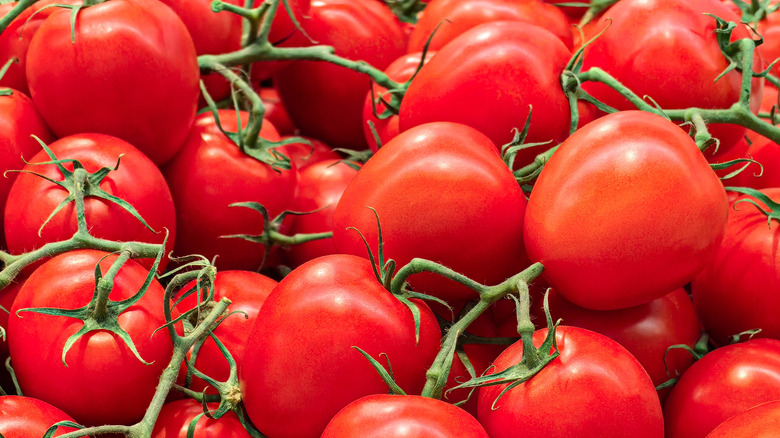
Not only did our grandmothers' generations care about reusing ingredients in the kitchen, but they also valued how long food could last, which made them experts when it came to food storage. Tomatoes don't last very long to begin with, so storing them properly made a huge difference for food preservation. And one old-school tip to do that is to store them with their stems down.
When a tomato is clipped from the vine, the open wound it leaves behind exposes it to air and moisture loss. That's what often leaves you with wrinkly, unattractive tomatoes. Storing your tomatoes with their stem down creates a seal over that vulnerable area, which reduces air exposure, retains moisture, and helps keep the tomato fresh for a little bit longer. Alternatively, you could also tape up the stem, which does a similarly effective job at minimizing moisture loss. Tomatoes aren't the only produce you've probably been storing wrong, though, so you might want to take a peek at what else you could be doing.
Microwave your lemons
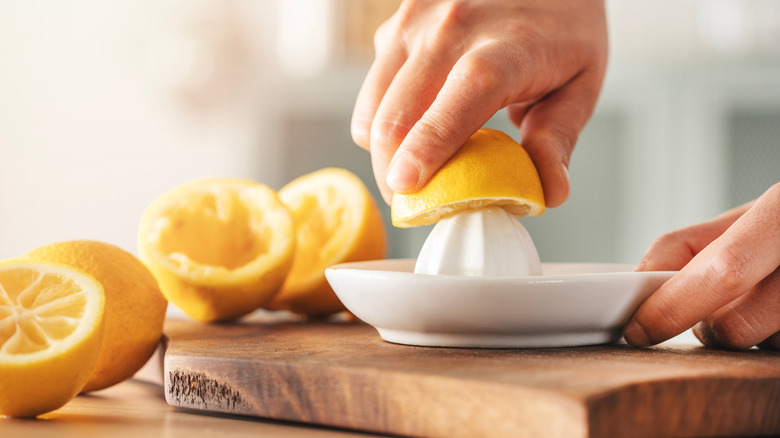
Whether it was achieved in the microwave or not, the concept of heating up citrus fruits before juicing them was an old-school kitchen hack that helped households get every penny's worth from their grocery bill.
Here's the science behind this: Citrus fruits have tiny, membrane-bound sacs that store the juice. When exposed to heat, the cell walls of those membranes start to soften, which allows the juice to be extracted with less effort. Heat also helps to relax the outer rind of the citrus fruit, which makes the entire fruit easier to squeeze, too.
Simply put your citrus fruit into a microwave for about 10 seconds, and your hard-to-squeeze, juiceless lemon or lime will be much more cooperative. Make sure you don't overheat it, though, because nobody wants lemon juice that's scorching hot.
Use older eggs when hard boiling
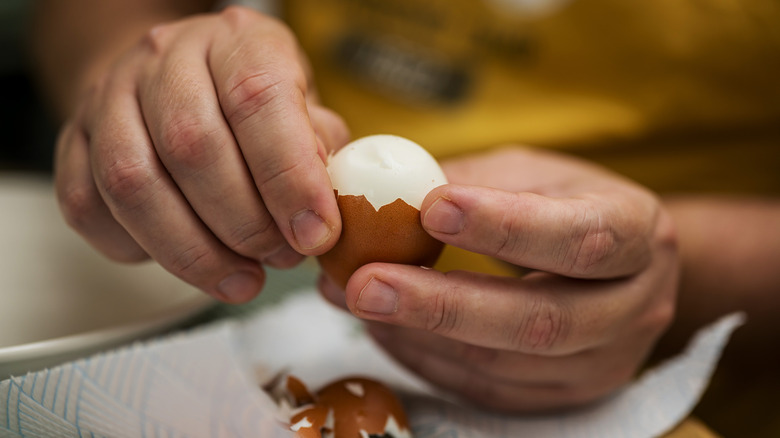
If your grandma ever made a batch of deviled eggs for a party, you might've noticed that she bought the eggs a couple of weeks before making them. That's because older eggs are easier to peel, making it less likely to have a tray of eggs with chunks taken out of them.
The reason it's so difficult to peel hard-boiled eggs in the first place is that fresher eggs have a lower pH, which causes the egg white to cling tightly to the membrane in the shell. As the egg gets older, the pH rises, and the bond between the membrane and egg white weakens. The weaker the bond, the easier it is to peel, which means your hard-boiled eggs will have a better and more appetizing appearance.
When using older eggs, you need to keep a few things in mind. Use eggs that are about seven to 14 days old. Also, make sure you're still keeping an eye on the quality of the egg. If any off odors are coming from it, it's probably best to toss that one in the trash.
Cut onions on a wet paper towel
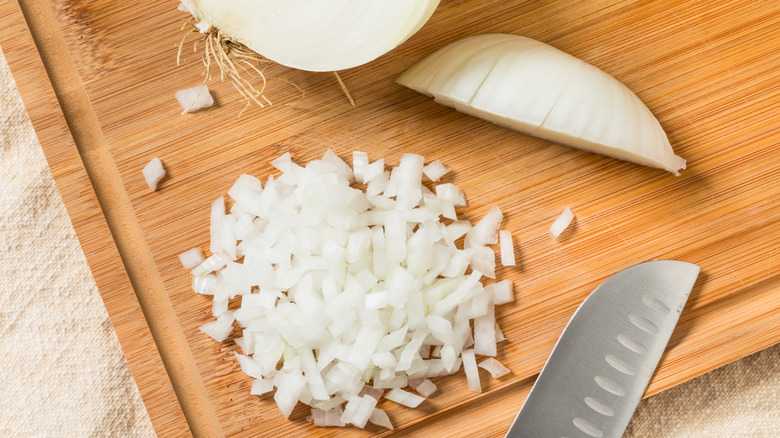
We've all cried while cutting onions — it's just a home cook's rite of passage. And I'm sure we've all heard different folklore about how to avoid this culinary catastrophe, but there's one tip out there that's not only backed by science, but by decades of tear-free onion cutting.
The reason onions make you cry is actually due to the botanical defense mechanism they've developed. When you slice into an onion, a combination of enzymes and sulfur-rich amino acids is released, which combine to create syn-propanethial-S-oxide. This gas reacts with nearby water sources — and unfortunately, that often includes your eyeballs. Once this gas combines with the moisture in your eyes, a very weak sulfuric acid will form, and your eyes will react accordingly.
But you can avoid that reaction if you know what to do. By cutting your onions on a wet paper towel, the idea is that the syn-propanethial-S-oxide gas will be drawn to the moisture in the paper towel before it has time to reach your eyes. While the jury's out on whether this idea is actually backed by science, anecdotal evidence suggests that it works — hence why so many grandmas will suggest giving it a go.
Put a piece of bread in burnt rice
If you've ever cooked rice, you know it's pretty easy to accidentally overcook. But you don't have to throw out overcooked rice, especially when it's burnt. As per grandmas, you just have to throw a slice of bread in the pot.
Nothing was thrown away decades ago. Food budgets were tight, and shortages were common, which meant that kitchen mistakes could not automatically mean abandoning ship and starting over. So when something was accidentally burnt, there was always a way to salvage it. Bread became the saving grace for burnt rice.
Bread is incredibly porous, acting like a sponge in your kitchen. Once you recognize that you've burnt your rice, place a piece of bread on top of the rice and close the lid. The steam will make the burnt aromas rise from the rice, and the bread may absorb some of those odors. The end result is well-cooked rice with less evidence that you overcooked it.
Use a potato to clean your cast iron
Cast iron is experiencing a renaissance in modern-day kitchens. And while knowing how to season your cast iron is important, knowing how to clean it is equally crucial. So trust us on this next tip.
There's nothing better than cooking in a cast-iron skillet, but the maintenance these beloved pans require is a bit more involved than other kitchen cookware. That's why so many grandmothers are so good at maintaining them with everyday items. All you need is a potato, some coarse salt, and a little elbow grease.
This time-tested method is simple. Just sprinkle some coarse salt into your cast iron and then scrub it around in circles with a cut potato. Potatoes naturally produce oxalic acid, which is a substance that helps break down rust. Between the natural acidity of the potato and the abrasiveness of the salt, your cast iron will be easier to clean, maintain, and keep free of rust.