

Slow Coffee Maker? Try These Fixes Before Buying A New One
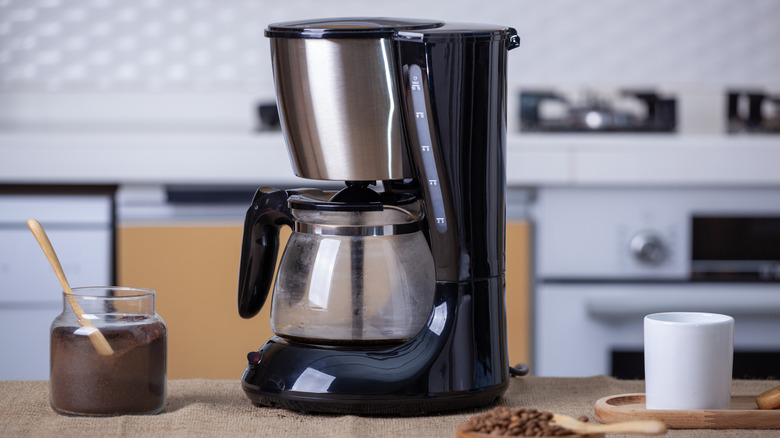
If you rely on your coffee maker to help ease you into the day ahead, the last thing you want is for it to be running slowly. Drip coffee makers aren't exactly speedy, but there's a difference between intentionally slow and so sluggish you end up late for work. When it is the latter, you might be considering replacing the whole thing. However, there are some simple fixes you can try without any technical know-how before you resort to buying a new one.
Fixing your coffee maker yourself is easier on your wallet and better for the planet, so it's worth trying to work out what's wrong with it. There are some straightforward ways you can make sure your coffee machine is in good condition, without anything blocking or clogging it that might slow things down. Then, there are some changes to the way you brew coffee that can make a difference.
You might have been using your coffee maker all wrong and this is causing the slow down. Start with the most obvious options and any that could apply to you and you might find your coffee maker speeding up before your very eyes. If you've got a slow coffee maker, these are the fixes you should try before buying a new one.
Descale your coffee maker
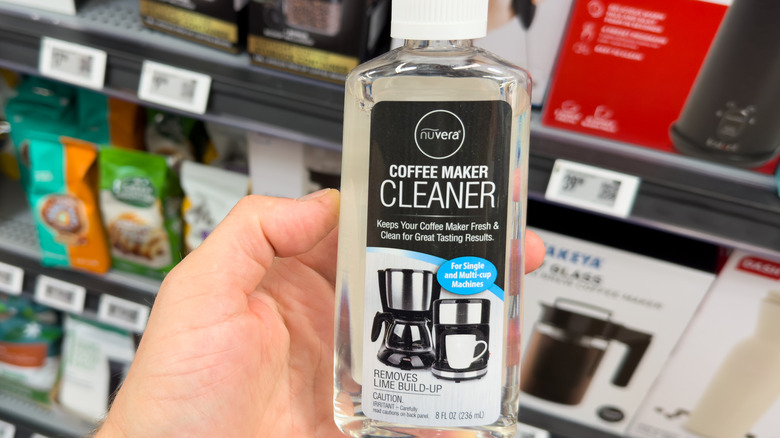
Often, if your coffee maker is running slow, it simply needs to be descaled. This is an essential piece of coffee maker maintenance, so if you don't do it regularly, you've probably found the issue. Luckily, descaling a coffee maker is straightforward, even though there are almost definitely other things you'd rather be doing with your time.
So, why do coffee makers need descaling and what does descaling do? Well, water contains minerals — even the stuff from the tap. In the U.S., 85% of tap water is hard water, meaning it contains significant quantities of minerals, some of which (calcium and magnesium) leave deposits. These deposits, known as scale, build up inside your coffee machine, which can block the pipes and ducts inside. When partially blocked, this will make your coffee machine run slowly. Hence the need to descale.
While you'll need a specific product, the actual process is fairly hands off and not particularly time consuming. First, you need to procure a descaling solution designed for coffee machines. Then, when you're ready to clean your machine, empty it of water, coffee, and filters, before filling the water reservoir with the descaling solution. Some come in powdered form and need to be prepared before use, so check the package. Run the machine as though making coffee to flush the solution through it. Once done, empty any residual solution, wipe out the reservoir, and run clean water through the machine at least twice. This rinses out any remaining solution and stubborn scale that might not have been flushed out the first time.
Make sure the filter basket isn't clogged
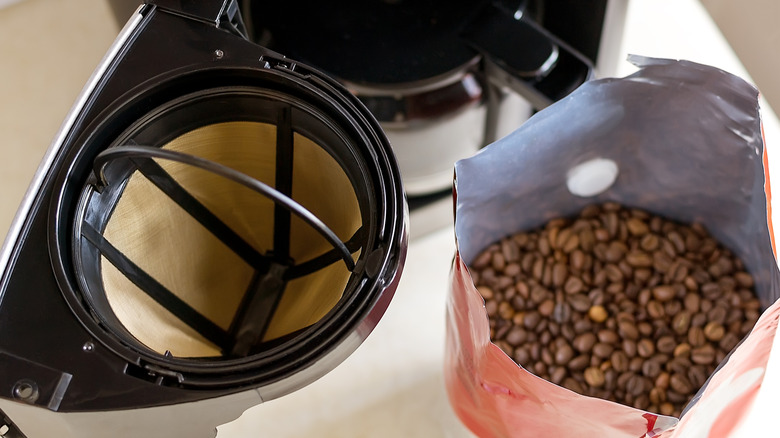
Most drip coffee makers feature a filter basket in which you put your reusable or paper filters. Depending on the design of this, it can become clogged with coffee grounds, for instance if some spill out of the filter or if a paper filter rips. And, when the filter basket becomes clogged, it can slow down the flow of your coffee maker. So, a simple solution is to make sure the basket isn't clogged.
How you access and remove the basket will depend on your coffee maker, but the first step is to do this. Even if it's not fully clogged but just has some coffee grounds lodged in it, this could be responsible for your slow coffee maker, especially when combined with other issues also restricting the flow.
To clean the filter basket, simply rinse it under some warm running water. If you need to, use a soft brush to scrub out any stubborn grounds caught in the mesh. Once cleaned, replace the filter basket, making sure it properly fits into place. This is something you can do regularly as a preventative measure to keep your machine from slowing down again in future.
Use either a paper or reusable filter
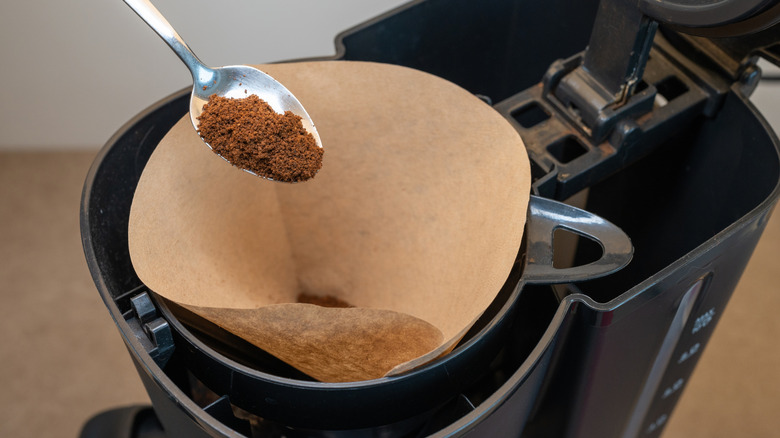
One thing to make sure of when your coffee machine is dripping painfully slow is that you're using either a paper or a reusable coffee filter, not together at the same time. It might seem obvious, but stranger things have happened, and coffee makers can be confusing to people who haven't used this style before. If you use both at once, it will be harder for the water to pass through, slowing down the machine.
If you're not sure which to use, it helps to know what sets them apart. Paper filters are cheap, convenient, and require zero cleaning. You simply toss the filter and grounds in the trash when you're done. They also trap the oils and fine particles in coffee, which makes for a cleaner, lighter cup. The downside is that you'll need to keep buying them, and they do create waste.
Reusable filters are usually made from metal mesh or cloth. They cost more upfront but can last for years. Because they let more oils and sediment through, your coffee will be richer and fuller-bodied, if a little gritty. However, they do need cleaning, which some people would rather avoid in favor of the convenience of paper versions.
If you use paper filters, you might also want to rinse them before use. Some people swear by rinsing to remove any debris and to make your coffee taste better. It might not make a difference to the speed of your coffee maker but it could improve the flavor of the coffee it brews.
Clean your reusable filter
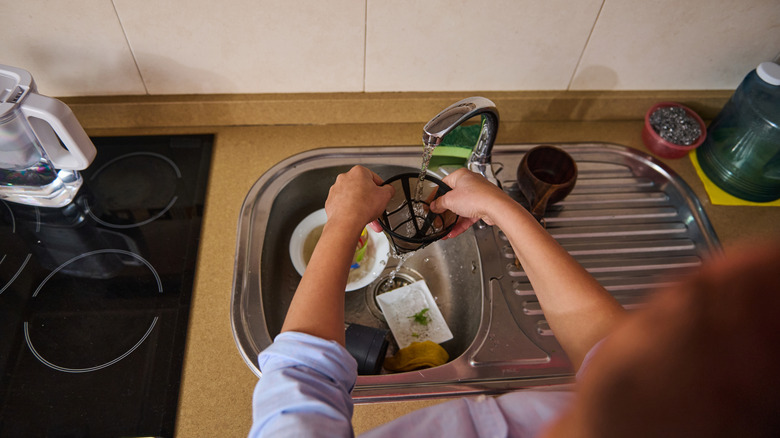
Anyone who's making their coffee with a reusable coffee filter is going to need to clean it regularly. And not just when you can be bothered or when it's visibly clogged. It's important to rinse it every time. If you're not doing that, you might be causing your coffee maker to run slowly. Just tipping out the old grounds isn't enough, as these might be lodged in the filter and reduce the flow of water.
Luckily, it's easy to clean reusable coffee filters. The people making them know they need regular washing, so it's not made to be tricky. First, you dump out the coffee grounds. If you have food recycling where you live, pop them in your food water bin. If not, they can go in home compost or straight on your garden beds to enrich the soil with nitrogen. Then, rinse the filter with warm water. If you're in a hurry, just rinsing is fine, but every few uses, you should wash it with mild dish soap and a sponge. Make sure it's fully dry before you put it away so it doesn't get mushy or moldy.
Check your coffee isn't ground too finely
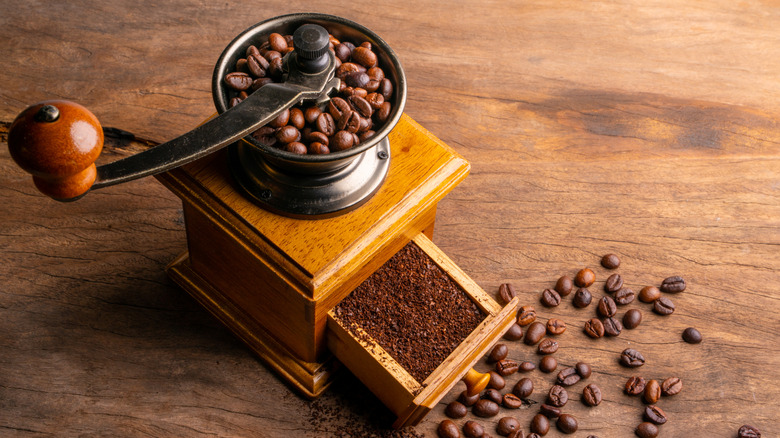
The grind size of your coffee matters — and it's not a one-size-fits-all approach. The best grind size for cold brew is different from the size you'll need for an espresso machine, and alters yet again from what's correct for an everyday drip coffee maker. If you grind the beans for a standard coffee maker too finely, the water won't pass through the way it should, and this might be what is making it slow.
The size of the grind affects the speed with which the water passes through it. A fine grind is packed together more closely with less air between the grounds, and this means there's less space for water to trickle through, so it happens more slowly. If you're used to making espresso, the water in an espresso machine is passed through the grounds at pressure, so they can be ground much more finely. You need the coffee ground more coarsely than this for a drip coffee maker.
A medium grind is about right for a drip coffee maker. This is a texture similar to regular sand. If you buy your coffee already ground, check the grind size on the package. If you grind it yourself, make sure you know how to adjust the settings to get your desired grind. If you buy straight from a roastery or specialty coffee shop, you can usually ask for your beans to be ground to the correct size for the machine that you use.
Make sure you're using the correct amount of coffee
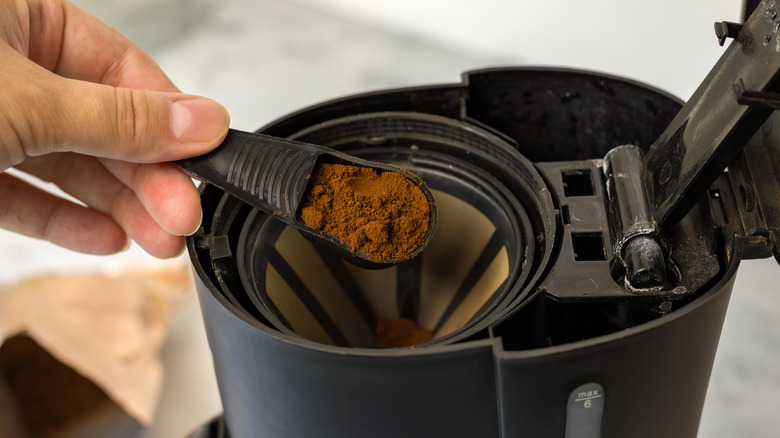
When you're someone who likes your coffee strong, it's tempting to add an extra scoop. But overloading your coffee maker could be the reason it's crawling along at a frustrating pace. Use around 2 tablespoons of ground coffee for every 6 ounces of water and you should be golden. Although you can tweak this a little depending on how strong you like, go much beyond that and you might run into trouble.
The reason it causes issues is that coffee grounds soak up water and swell as they get wet. If there are too many of them packed into the filter, they form a thick, dense bed that the water has to push its way through. Just like with a grind that's too fine, there's less room for the water to trickle through, so it drips out much more slowly. In the worst cases, the water can't get through quickly enough and backs up, overflowing the filter basket and leaving you with a mess to clean up before you've even had your first cup.
Rather than guessing, it's worth measuring your coffee. A standard coffee scoop or tablespoon will do the job, although a kitchen scale is more accurate if you want to get fussy about it. If you find your coffee tastes weak, try adjusting the amount a little at a time, rather than piling it in. Too much coffee can also make your brew bitter, so using the right amount could improve the flavor as well as the speed.
Avoid compressing the coffee in the filter
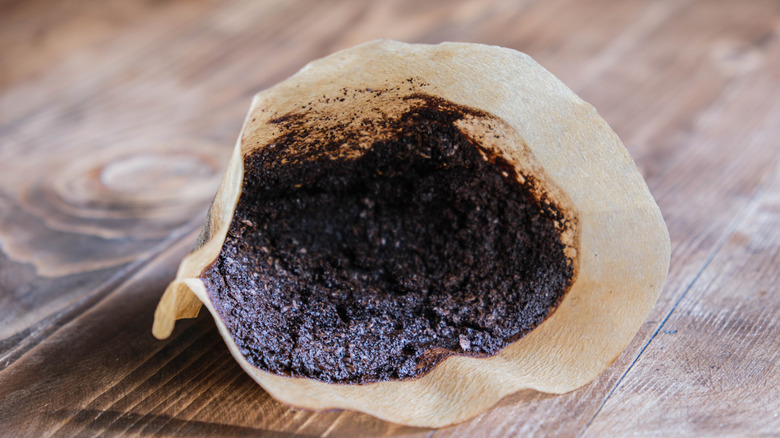
One of the mistakes people make when making espresso at home is failing to tamp the coffee grounds, compressing them in the filter. However, the opposite is true of filter coffee. If you compress the ground coffee, the way you would for espresso, you can run into issues and make your machine run slowly.
The reason comes down to how each machine works. An espresso machine forces hot water through the grounds at high pressure, so tamping them into a tight, even puck helps the water extract the flavor consistently. A drip coffee maker has no such pressure behind it. It relies on gravity to pull the water down through the grounds, so if they're packed tightly together, there's very little room for it to get through, which slows things up.
It's easy to do without realizing, too. You might press the grounds down with the back of a spoon to level them out, or pack them in to squeeze a bit more into the filter. Even pushing down on the filter to make it sit flat can be enough to compact the coffee. Beyond slowing your machine, compressed grounds can also make your brew taste bitter, as the water spends too long in contact with them and over-extracts.
Instead, add the grounds to the filter and let them do their thing. If they're piled up unevenly, give the basket a gentle shake to level them out, but nothing more than that. You might find it brews a lot faster as a result.
Check and replace any faulty seals
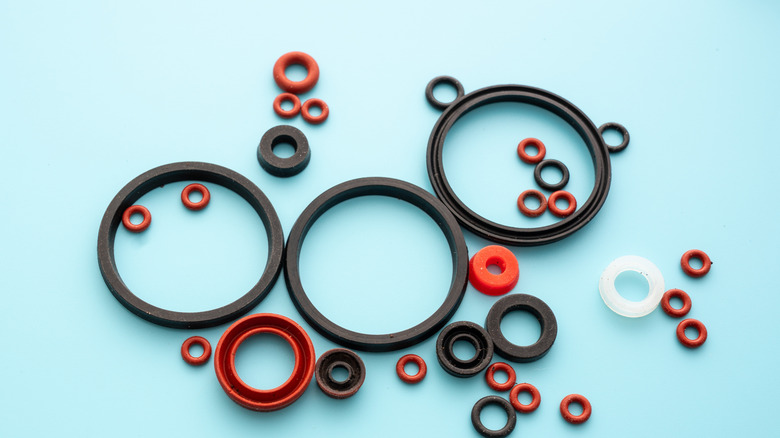
If you've tried all the likely suspects and your coffee maker is still dragging its heels, it could be down to a worn seal. Most drip coffee makers have small rubber seals or gaskets in certain spots, such as where the water leaves the reservoir and around the lid of the carafe. They're easy to overlook, but they're important.
Over time, rubber can dry out and crack, or lose its shape. When a seal is no longer sitting snugly, water can leak out before it reaches your coffee, or air can get into the system and disrupt the flow. Either way, your machine can end up brewing slowly and unevenly. Warning signs include puddles under the machine, water dripping down the sides, steam escaping from places it shouldn't, or seals that look flattened, brittle, or discolored.
To check yours, unplug the machine and let it cool completely. Then remove the reservoir and carafe lid and look over each seal. If they're just dirty, wipe them down with warm water and a little mild dish soap, as scale can stop them from sitting properly. If they're damaged, it's time to replace them. Check your manual or the manufacturer's website for the right part. They're usually inexpensive and simple to swap in, with no special tools needed. Just make sure the new seal is pressed firmly into place before you brew again.
Clean the coffee maker's showerhead
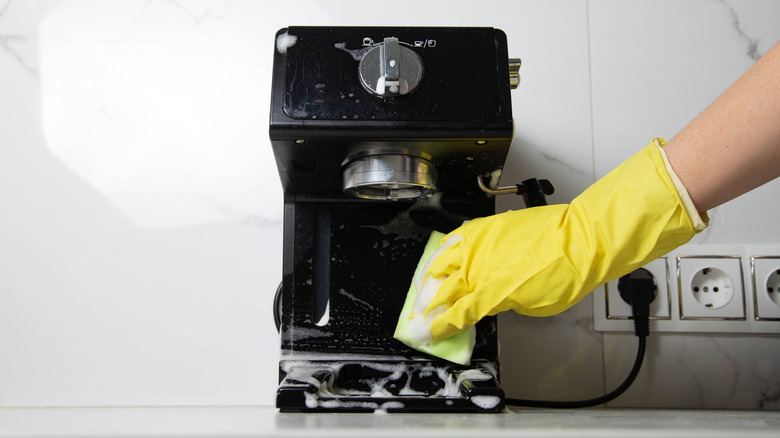
When your coffee maker is running slow, it might be a showerhead issue. And we don't mean the one in your bathroom. A coffee maker's showerhead is located on top of the filter basket, spraying hot water on the grounds in a uniform fashion. It's another part that's easy to forget about, because you only really see it if you go looking.
Like the rest of your machine, the shower head is exposed to hard water every day, so the tiny holes can fill up with scale, just like bathroom showers do. Coffee oils and fine grounds splashing up from the basket can also build up around them. When some of the holes are blocked, less water can get through at once, which slows the whole process down. If you notice water dripping from just a few of the holes, or a dry patch of grounds after brewing, this is probably the culprit. Cleaning it isn't as easy as some other options on this list, so you might want to leave it as a last resort, attempting a descaling solution before manually cleaning it.
Some showerheads twist or lift out, while others are fixed in place, so check your manual before you start. If yours comes out, soak it for around 30 minutes in a mix of equal parts white vinegar and warm water. Then use a toothpick or a soft brush to gently clear each hole, rinse well, and pop it back in. If it doesn't come out, wipe it down with a damp cloth and poke out any visible gunk with a toothpick. Avoid anything sharp or metal, which can damage the holes.
Make sure your coffee maker's water reservoir is properly in place
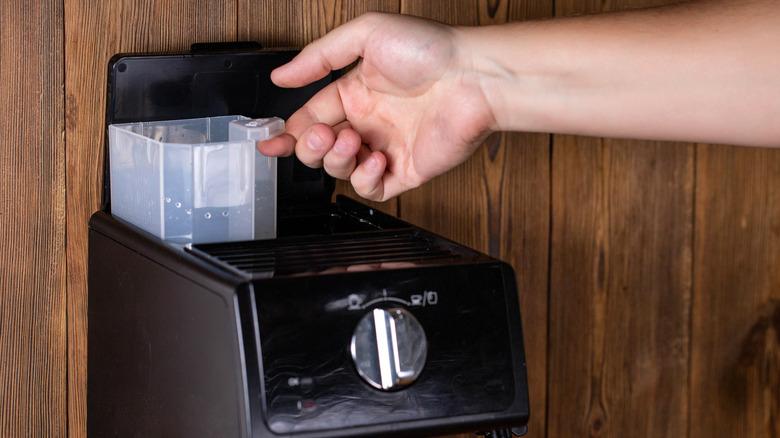
Sometimes you have to look somewhere other than the obvious places to figure out why your coffee maker is running slowly. Most solutions surround parts that could be blocked up with coffee grounds or scale. You probably wouldn't think to look at the reservoir to sort things out. Although it sounds strange, the water reservoir not being properly in place can cause some coffee makers to brew at a glacial pace.
If the reservoir isn't properly in place, this can prevent the water flowing through as it should, making the machine run slowly. It can also make certain coffee machines fail to work at all, because of a sensor that tells the machine not to run when its parts aren't properly aligned. Descaling your machine should get rid of any blockages running from the reservoir to the machine caused by a mineral buildup, but it's always worth taking off the reservoir and having a peek at where the water flows into the machine (if the design of yours lets you do so) just in case there's an obvious blockage of another type.