How To Make A Lattice Pie Crust
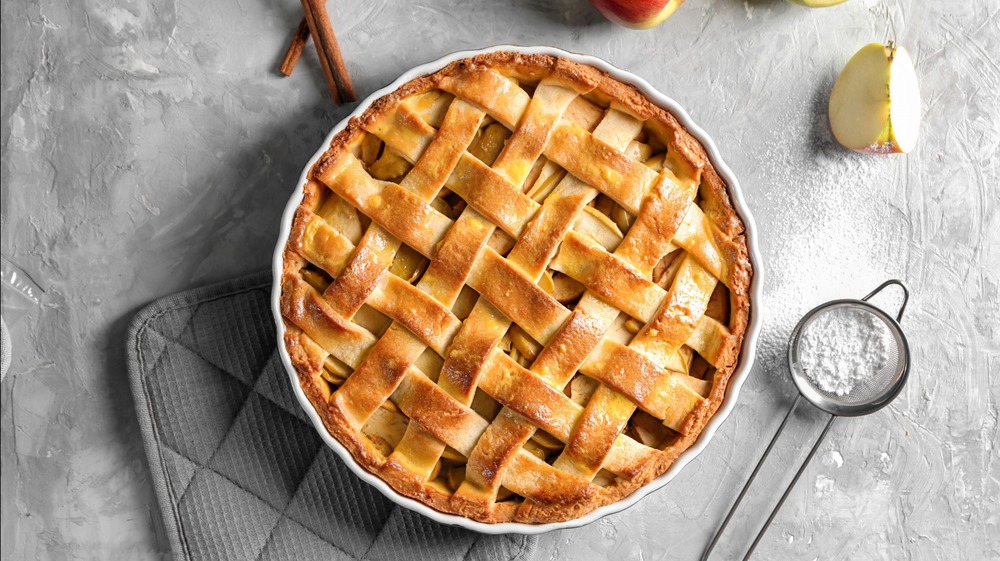
There's really nothing quite so delightful as a slice of warm, fresh pie. Be it apple, pecan, rhubarb, or what have you, pie is sweet, filling, comforting, and must at the holiday table. Additionally, unlike many comfort foods, a pie can also look as good as it tastes, serving as a striking part of your holiday table tableau. That is, before it's sliced and served up, a process that usually renders even a well-made pie more of a pile. So the time to feast your eyes on a pie is prior to slicing, and the way to make a pie the sweetest piece of eye candy is with a perfect lattice crust across the top.
While a lattice crust isn't necessarily going to make your pie taste any better, it will create a gorgeous look that's well worth the effort. (And in fact, as the lattice can allow steam to escape, it may prevent the filling from bubbling out, so that's another plus for you.) With practice, it's not hard to make lattice pie crusts worthy of Instagram snaps. In fact, as surprising as this might sound, the process is rather forgiving, but do try to handle and manipulate the dough as little as possible, as the more you work it, the more the gluten will be developed and the less the final product will be flaky and tender (flaky and tender aka good).
Here then is how to make a classic lattice pie crust.
First things first: let's roll the lattice pie crust dough
The first step toward making a perfect pie crust is to make a great pie dough. For our purposes, we're assuming you already made your dough, not to mention your filling. Also for our purposes, let's say we're making an apple pie, otherwise, the pictures will be confusing. Don't worry though, this process works for any pie with a filling of a similar texture.
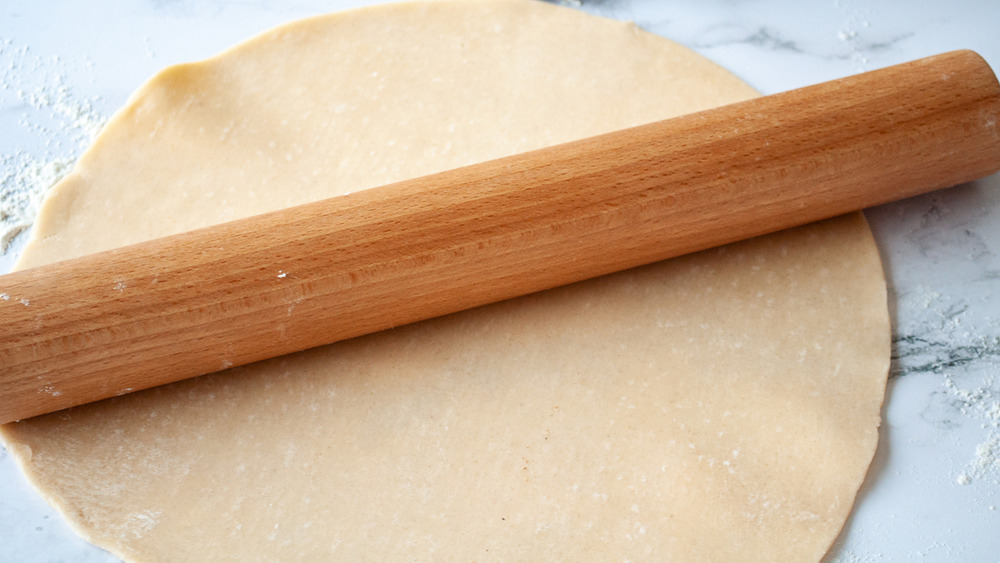
Divide your dough into two equal balls and, on a lightly floured surface, roll each out into a circle that's about a half-inch wider than the diameter of your pie dish. You can make your life easier by doing the rolling on broad sheets of parchment paper, FYI.
Time to chill your lattice pie crust

Transfer both the rolled out dough to be used to fill the pie dish and for the lattice crust to the fridge, ideally by sliding the parchment paper onto a cookie sheet or large cutting board to keep the thin dough supported. Let the soon-to-be lattice dough chill for at least 15 or 20 minutes so it will be more resilient, easier to work with, and less sticky to the touch.
If you are in a hurry and you have an appliance with the capacity, you can even chill your pie dough more rapidly in a freezer. Just don't let it freeze.
Cutting the lattice pie crust strips
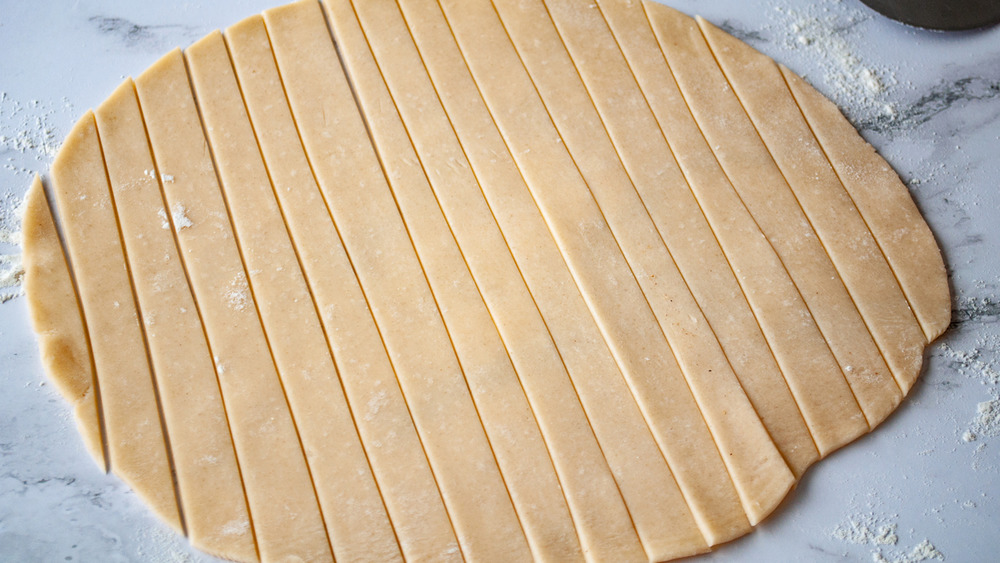
Now it's time to get to the real work. With the chilled dough flat on a smooth surface, cut it into as many even strips as you can, with a 3/4-inch strip the ideal size for less experienced pie makers to work with. You can use a butter knife guided by a ruler (or your own steady hand), a pizza cutter, or a pastry wheel if you have one.
Note that sharp knives are not effective for cutting pie crust dough because they won't separate the strips enough to make them easy to lift up and away for use.
Fill the pie, then it's lattice pie crust time
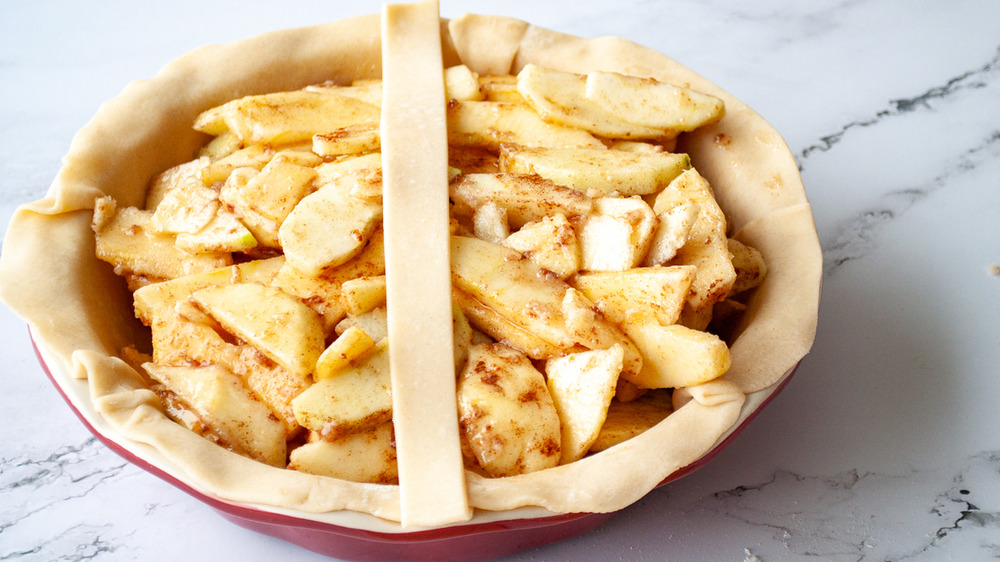
Retrieve the other disc of pie dough from the fridge and fill your pie pan, gently pressing the dough into place and folding it slightly down over the rim. Now fill the crust with your filling, and then begin to lay the cut strips of your crust down atop the filling.
You should be able to lay five to seven strips of dough down parallel to one another depending on their thickness and the diameter of the pan. Space them evenly so that the gap between each strip matches the thickness of a strip. Make sure to lay the strips lightly, not pressing down on the edges, and start in the middle with the longest strip you have, working out evenly (as in one on the left of middle, then one on the right).
Fold half of the lattice pie crust strips back
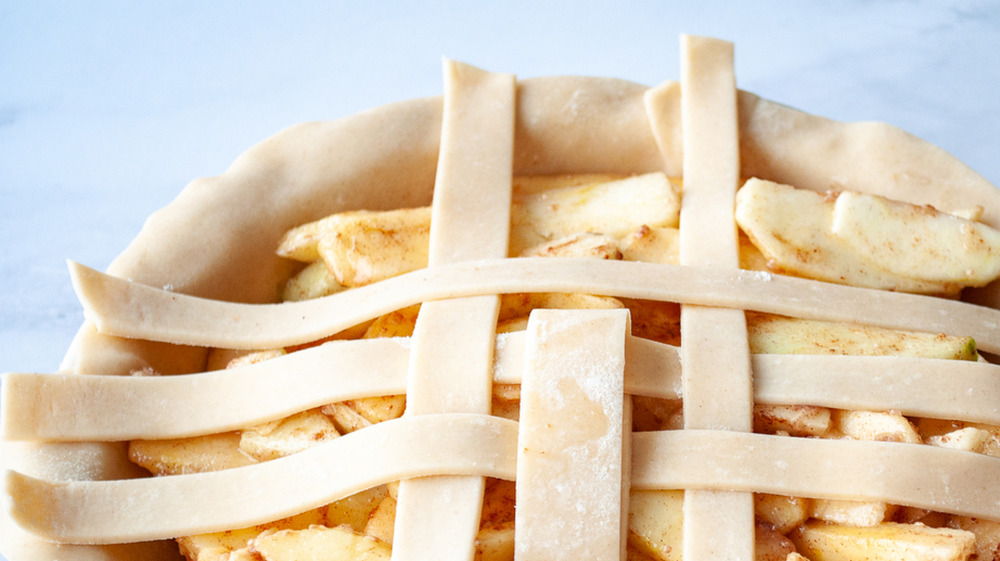
Next, fold back half of the strips of laid lattice so that every other strip is peeled fully halfway up and is gently resting on itself. Now lay a strip of dough perpendicular to the first row such that it's just off-center and resting atop the portion of the strips that were not folded back. Return the folded strips back into place, then fold those not yet touched over the perpendicular strips.
Now lay another strip parallel to the first perpendicular strip, then lay the bent back strips over it. Repeat until you reach the edge of the pie.
Now do it all again, on the other side
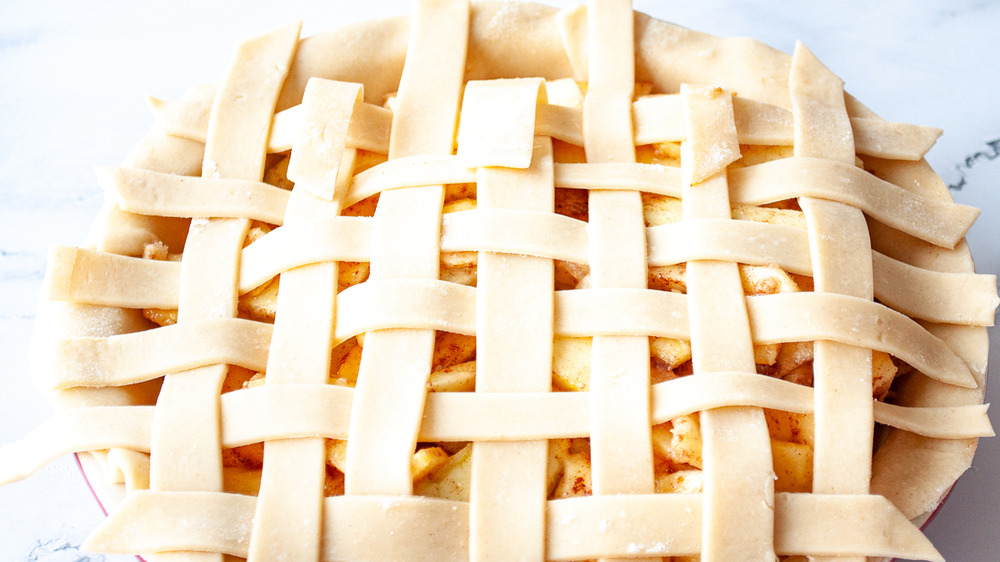
Congratulations, one half of your pie's lovely lattice crust is complete! Now spin the pie around (or just switch sides, but we find physically turning it makes the work easier, as you were probably working on your dominant hand side) and repeat the exact same process, folding and laying perpendicular strips one by one, covering and then re-folding every other strip.
Your lattice is now laid. But you're not quite done.
Almost done! Just join the crusts together
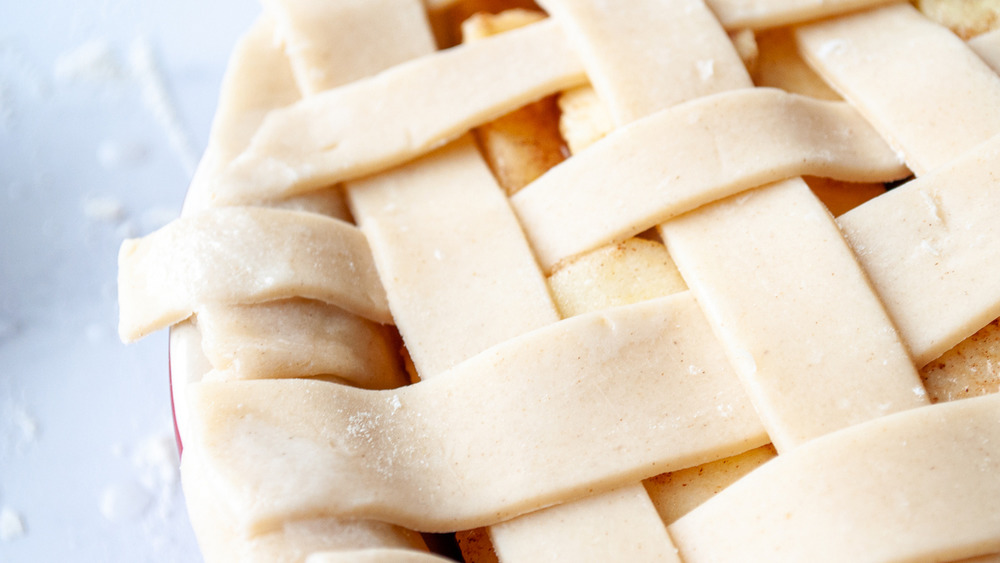
The strips of lattice you laid should each hang over the edge of the pie tin by about a half-inch, which is why we rolled it that large earlier. You now have two choices: you can trim away the extra lattice right to the edge of the pan, then fold up the bottom pie crust, or you can fold the lattice strips down over the edge and crimp with a fork or your fingers, then trim the extra dough from the bottom. Another tip is to dab the crust with water at the connection points. This will help secure them together well.
Either way, your pie will look great, but let's put one grace note final touch on there.
Egg wash will add shine to you lattice pie crust
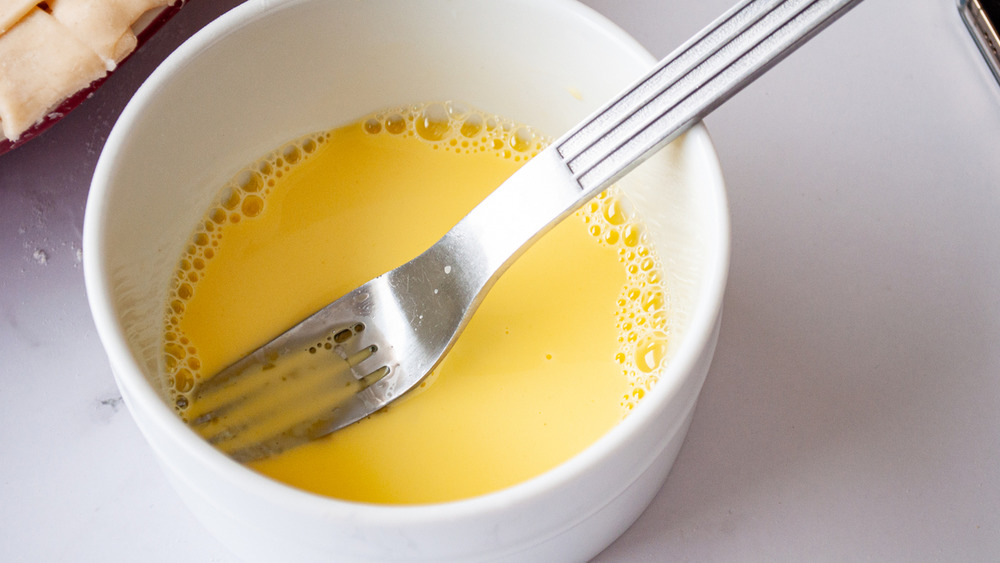
Now it's time for an egg wash, a glazing treatment that will have your pie crust literally shining and looking its best, and which adds a bit of light flakiness in texture. Whisk one egg and two tablespoons of water together vigorously to create your egg wash solution, then get a pastry brush ready (a brand new paintbrush works in a pinch, or even a clean cloth if needed).
Lightly brush all of the exposed crust with the egg wash, noting that you won't use all of it, and in fact, may use well under half. That's okay, this step is largely about aesthetics. And aside from baking and serving that lovely pie, it's the last step. Congratulations!