Mistakes Everyone Makes When Baking Cookies

We may receive a commission on purchases made from links.
Making a batch of cookies is such a popular home baking project because it's relatively straightforward with a low risk of failure, easy-to-find ingredients, and highly satisfying rewards. Once you have a handful of cookie recipes that you love, you'll likely revisit them time and time again for everything from casual weekend baking with the kids to endless holiday cookie boxes. One of the best things about baking cookies is that there's a cookie out there to fit just about anyone's tastes. Most cookie doughs are flexible enough to create the perfect dessert for you, in less than 30 minutes.
With that said, there are plenty of ways you can end up sabotaging your cookie baking project. We've outlined over a dozen different mistakes everyone makes at some point while baking cookies, from incorrect mixing methods to simple errors while baking. We tackle the incorrect measurements, time, and temperatures that may result in cookies that aren't quite what you were hoping they'd be.
Along with each common mistake, we give you a little help to troubleshoot your way through the problem to make the best possible cookies you can imagine. In no time at all, you'll be making incredible bakery-style cookies that your friends, family, and coworkers will absolutely adore.
Under-beating the butter and sugar
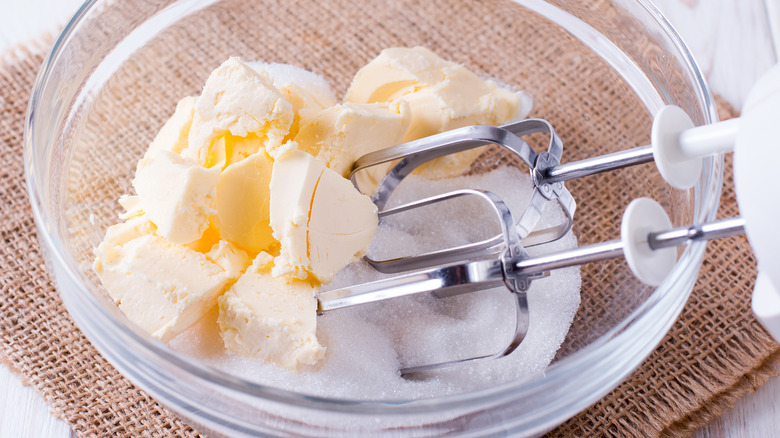
At the beginning of nearly every cookie recipe, the first step is to cream the butter and sugar together until it's "light and fluffy." This is also referred to as "creaming" and is an integral step in cookie recipes. The first minute or so of creaming just brings the ingredients together, with it resembling dense wet sand. After a few more minutes of beating, you're likely to notice that your buttercup yellow butter mixture is starting to lighten, and may turn nearly white. The ingredients will begin to expand, perhaps even doubling in size, and the friction from beating will begin to meld the butter and sugar together — although it might still be a little grainy depending on the sugar you're using. According to Stella Parks, pastry chef and cookbook author at Serious Eats, five minutes of creaming is about how long you should shoot for to achieve the perfect texture.
During the creaming process, a few important things happen. What you're essentially doing is incorporating air into your cookies, which translates to lighter and fluffier cookies, instead of denser cookies. The aeration allows for the cookies to expand better in the oven, giving the baking powder or soda you've used a path to expand their gasses instead of just puddling out. Finally, the additional air multiplies the number of cookies you can scoop out of a single batch of buttery cookie dough. And who's really going to say no to more cookies?
Measuring ingredients incorrectly
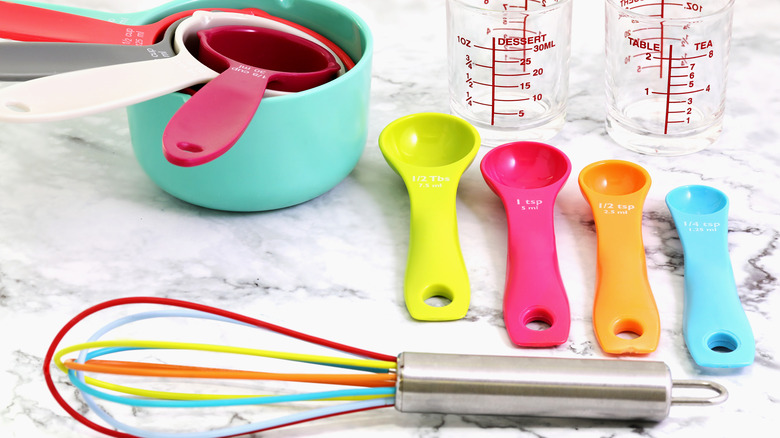
While you're cooking dinner, you may be tempted to add a little bit of salt here, and some extra butter there, letting your creativity flow with the progress of the meal. Maybe the recipe is more like a guideline while you let your tastebuds guide your cooking. And for many savory dishes, that's a perfectly acceptable way to cook, if not preferred. Baking on the other hand is a science, and assuming the recipe you're using was written and tested by an experienced baker, chances are you should follow it as closely as possible. Using the right measuring tools and following the recipe exactly are the first steps to baking the perfect cookies.
Is there really a difference between a half teaspoon and a whole teaspoon of baking soda? There is, and it could make or break your chocolate chip cookies. Measuring the ingredients incorrectly will very likely result in a cookie that isn't quite what you were trying to make. Before getting started, take a little time to learn how to properly scoop your flour, learn the different uses for wet and dry measuring cups, and maybe even invest in a kitchen scale to make sure you're measuring the exact amount of ingredients every time. Once you become familiar with the recipe you're using and have a thorough understanding of what each ingredient brings to the table, then you can get creative with your ingredients and measurements.
Using cold ingredients
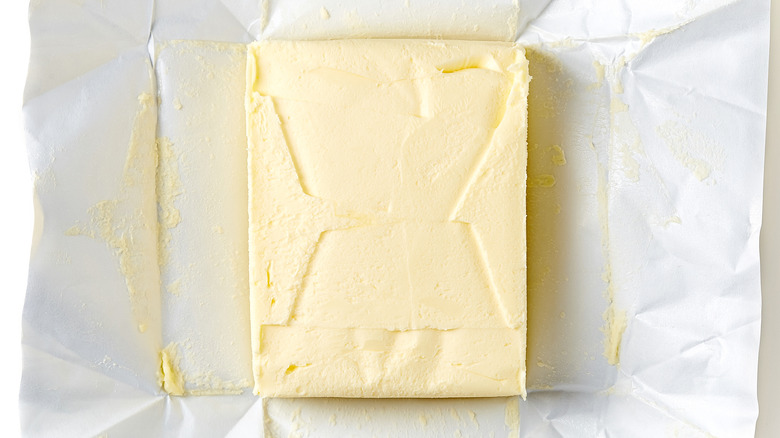
As you're reading the instructions for your cookies, you see a note saying you're supposed to use "room temperature butter" — but your butter is still chilling in the fridge. What now? Is it okay to just use the cold stuff? What is room temperature anyway?
According to pastry chef and cookbook author Claire Saffitz, room temperature is about 68-70°F. You'll notice your butter is in the sweet spot when you can spread it easily or stick your finger into it without resistance. It's still going to be cooler than body temperature, so don't expect it to actually be warm or melted. Room temperature butter is ideal for creaming in a cookie recipe, because it's going to be easier to aerate, making for a better-textured cookie overall. It's also going to be easier on your mixer, which will have to do less work to break the butter down, saving the gears and motor from getting overworked.
While you're pulling your butter out of the fridge, go ahead and pull the eggs out too. Taking the chill off the eggs will help them aerate faster as well, and make them easier to mix into the dough. If you've forgotten to pull your butter out early, consider cutting your butter up into smaller pieces before measuring anything else out to warm up faster. If you're really in a pinch, we have a hack for room temperature butter.
Not scraping down the bowl
As far as we're concerned, there are two types of bakers in the world. Bakers who scrape down the bowl, and bakers who don't. Not scraping down the bowl puts you firmly in the amateur baker category, which is easily remedied with a quick swish of a bowl scraper or rubber spatula, at a few key points during the mixing process. Typically, you'll scrape the ingredients that have stuck to the sides and bottom of the bowl after creaming, during and after adding eggs, and once or twice while adding flour and additional liquid ingredients.
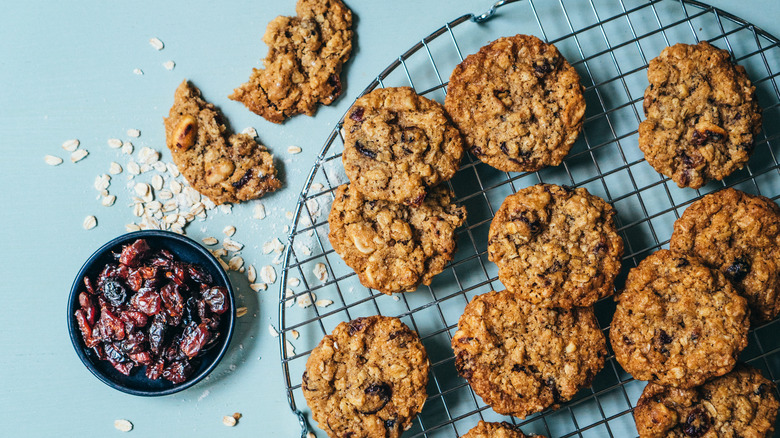
It's a simple step that can seem cumbersome. Reaching all the way to the bottom of the mixing bowl when it's full of cookie dough to make sure the last bits of oat and raisin are completely incorporated is a little bit of a nuisance. But it's worth it when every single cookie comes out with impressive uniformity. The masters at King Arthur Baking Company point out that even if the recipe doesn't explicitly call for scraping the bowl down, it's best practice to do it anyway, whether you're making cookies, cake, or any other dough. If you don't, you run the risk of having unevenly mixed dough which can result in the last few cookies baking up completely different than the first cookies scooped from the batch. Even worse, they may not even have enough chips in them to even be classified as chocolate chip cookies. The horror!
Not adding salt to your cookie dough
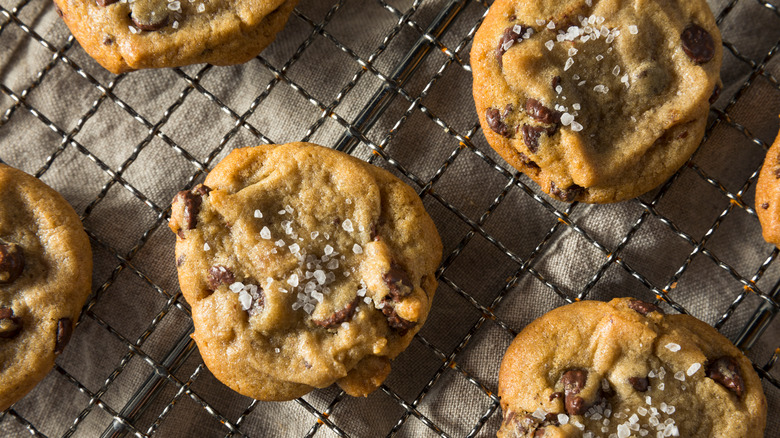
Many baking recipes miss the one ingredient that can truly bring all of the flavors and sweetness together. It's not egg yolks, a specialty spice, or even more sugar. It's salt. While a little sea salt on top of a chocolate chip cookie may not immediately seem like an amazing idea, it's actually the secret ingredient that will probably make it better than any chocolate chip cookie you've had before. HuffPost explains that salt gives our bodies a boost when it comes to processing the sweetness of sugar. A more philosophical way of looking at it is: you'll never fully appreciate the sweetness of your cookies until you add a little salt to the mix.
Of course, you don't necessarily want your sugar cookies to be overly salty. A little goes a long way. Chocolate and caramel-flavored baked goods make especially nice palettes for salting. You can achieve a nice salted cookie effect by using a little salted butter in the recipe, adding or upping the amount of salt called for in the recipe, or sprinkling a little sea salt on top of your cookies just before baking.
Not lining the baking sheet with parchment paper
If you've ever had cookies stick to a baking sheet, only to crumble when trying to scoop them off, you probably already understand why parchment paper is a necessity when baking cookies. But providing a non-stick surface for your cookies to bake on is really just one of the benefits of using parchment paper. While aluminum foil guarantees that your cookies won't stick to the tray, there's a chance that you'll still have to peel shards of foil off the back of your cookies or risk eating foil. Cookies are far less likely to stick to parchment paper (just don't confuse it with wax paper) which is lightly coated with silicone.
Parchment paper also provides a thin layer of insulation to help evenly distribute heat from the pan when baking, making for cookie bottoms that are nicely golden brown instead of overcooked. Using parchment paper can often make cleanup easier, by simply tossing the paper and leaving your sheet pan as clean as when you started. For roll-out cookie dough, consider rolling the dough on lightly floured parchment paper instead of the countertop. The dough is less likely to stick to the paper, and can easily be lifted off or transported on the paper to the baking tray. You don't have to stop at cookies though — parchment paper can be used to line cake pans and separate sheets of dough that you don't want to stick together.
Using a dark nonstick baking sheet
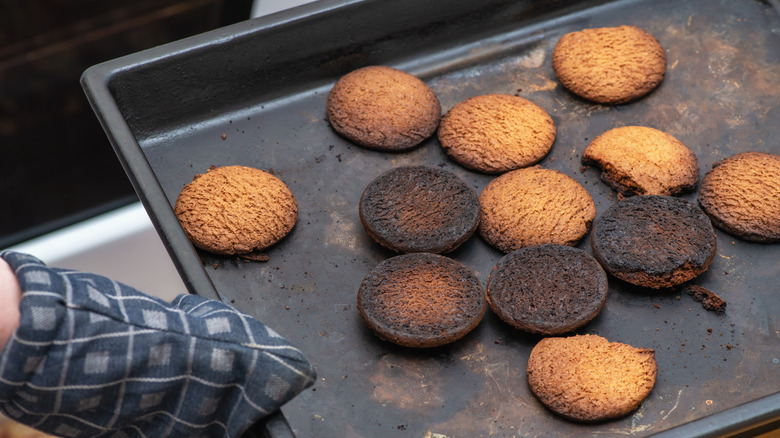
Believe it or not, not all baking sheets are created equal. In the same way that glass dishes bake differently than metal dishes, it's all about how the dish conducts heat. For example, you've probably noticed on the back of your favorite brownie mix that it says something along the lines of, "If using dark or nonstick pan, shorten bake time by 3 minutes". That's because dark pans absorb more heat and cook faster than lighter pans. It's the same principle that applies to wearing lighter colors in the summer to keep cooler, and why many large buildings have white roofs to reflect heat instead of absorbing it. When using a dark nonstick baking sheet, you run the risk of burning your cookies by overheating them or scorching the bottom side of the cookie before the rest of the cookie has had enough time to bake.
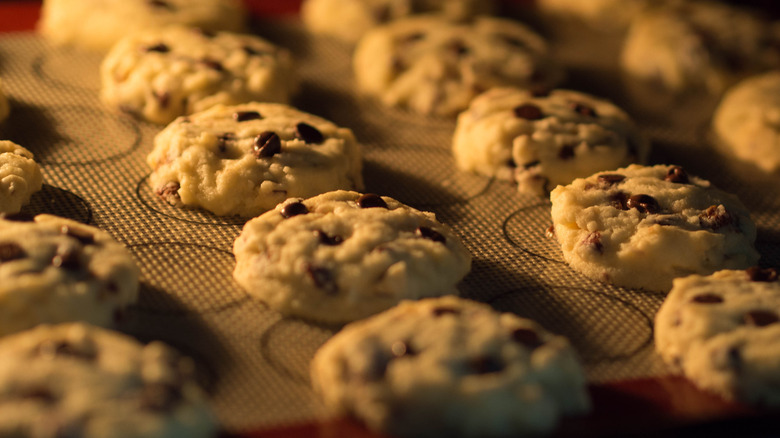
If all you've got is a dark nonstick cookie sheet, there are a few things you can do to troubleshoot the baking process. Taste of Home recommends baking your cookies on a silicone baking mat if using a dark pan to help insulate and distribute the heat. We don't recommend turning your oven temperature down, because that will affect the overall rise of your cookies. Instead, if your heating element is at the bottom of the oven, try putting the cookies on a higher rack to promote more even cooking from both the top and bottom.
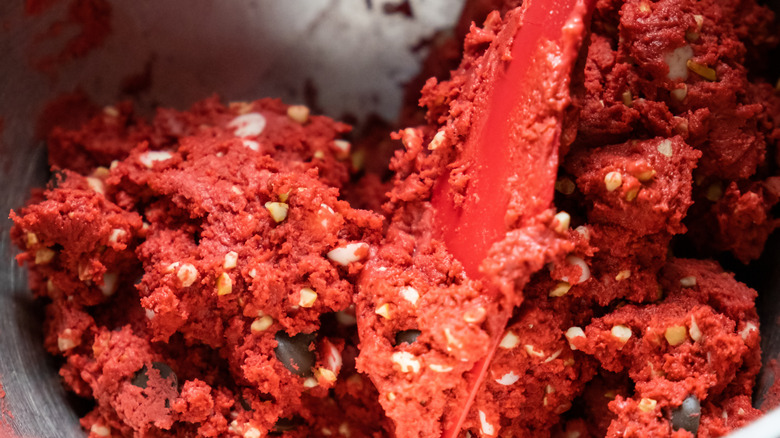
Not saving mix-ins for the end
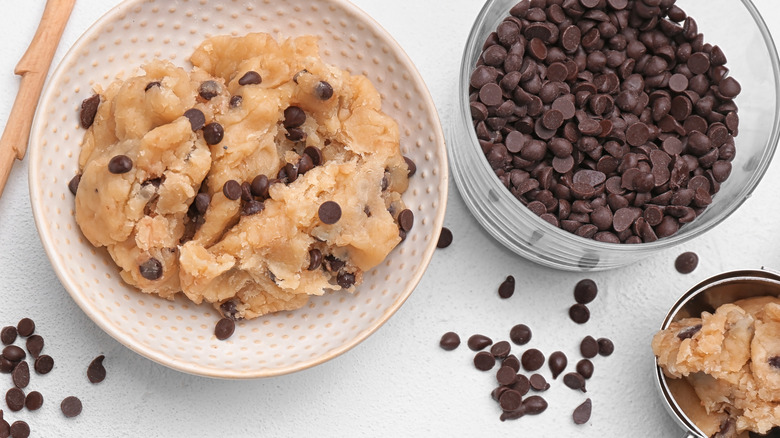
You've used room temperature butter. You've creamed the butter and sugar together until it's light and fluffy. You've scraped down the bowl five times while mixing in the ingredients. Even then, if you've done everything right during the cookie mixing process, there's still a chance that the cookie dough all the way at the bottom of the bowl won't have the same amount of mix-ins as the dough in the rest of the bowl. As the kitchen wizards over at Cook's Illustrated point out, it's a common conundrum to discover that the cookies scooped towards the end are as full of mix-ins as those from the first batch. And that's okay because if you follow this one simple step, you'll be prepared to make those last few cookie scoops just as amazing as the first few.
The secret? Keep a small handful of mix-ins to the side, so when you inevitably get to the bottom of the bowl, you can fortify the dough that's left. If your dough has magically come out perfectly, feel free to munch on the extra morsels as a snack, or stud the top of the cookies for a little extra goodness.
Overbaking the cookies
Everyone's got an opinion on what makes the perfect cookie. Some people can't resist crispy cookies with a snap, while others insist that a gooey and chewy cookie is the epitome of what a cookie should be. Sometimes the recipe has a lot to do with the outcome of the cookies. Shortbread cookies tend to be more crisp, while oatmeal raisin cookies tend to lean softer and chewier. For many cookies, though, the bake time has a good deal to do with the final texture of the cookie.
You'll notice that many recipes tend to have a specific baking temperature, and then a range of time they should be baked in. Southern Living advises that in most cookie cases — chocolate chip anyway — cookies are golden brown on the edges, yet still soft in the middle at around the 10-minute mark. At this point in the cooking process, you can either take the cookies out of the oven and let them finish cooking on the hot baking sheet, or leave them in the oven for a few more minutes until they're as crisp as you like.
All cookies are relatively soft immediately after baking, but once they're completely cooled you'll see just how crisp they managed to get in the oven. With that in mind, if your cookies are coming out a little more crunchy than you'd like, try baking them for a couple of minutes less to achieve the perfect texture.
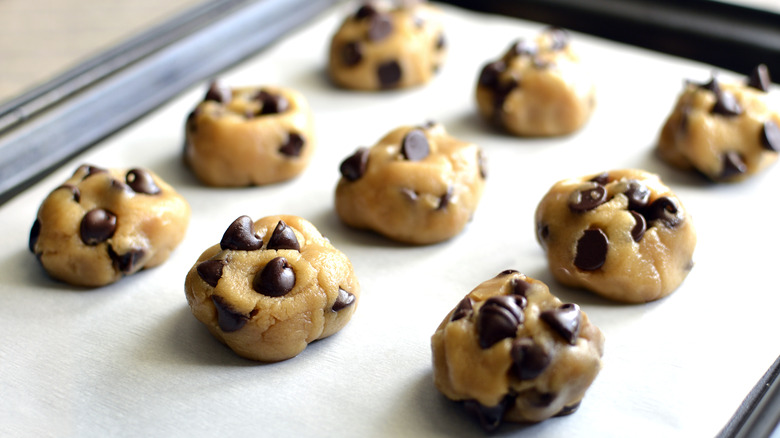
Overcrowding cookies on the baking sheet
You may be tempted to put as many balls of cookie dough on a baking sheet that you can, in an effort to get as many fresh cookies on the table as quickly as possible. We can't fault you for that. But do yourself a favor and make sure that your cookies are spaced apart from each other. Leaving room in-between your cookies has a few benefits. Most cookies spread to some degree while baking. Leaving at least two inches of space between each cookie ensures that when the cookies spread, they won't run into each other. Of course, cookies that smash into each other while baking still taste pretty great, but they're not that attractive to look at. If one or two manage to spread into each other, we recommend eating them to destroy the evidence.
Additionally, leaving room between the cookies will allow heat to evenly distribute around each of the cookies for an even bake. If you're unsure of your spacing, look for a parchment paper like Reynold's Parchment Paper Roll with SmartGrid that's got a grid printed directly on the paper. When it's time to lift the cookies off the baking sheet, it'll be easy to get to each cookie without smashing into the adjacent cookies.
Not baking cookies at the right temperature
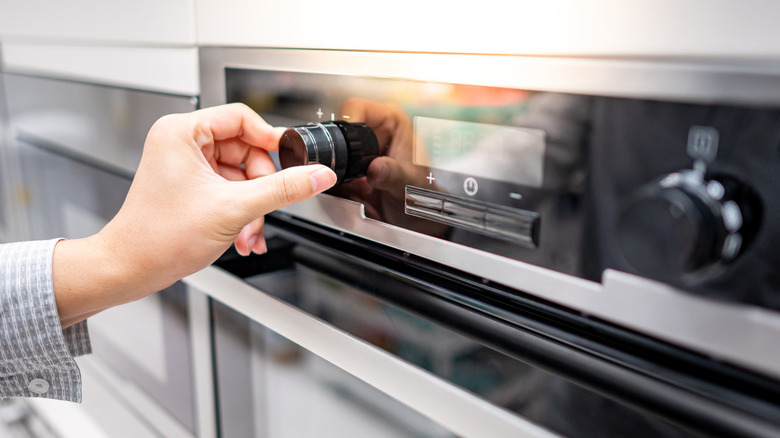
It might seem like an innocuous baking mistake to make, but baking at a lower temperature than the recipe calls for may lead to a variety of issues, according to Livestrong.com. Most cookies are leavened with baking powder or baking soda, which is activated when it heats up. The faster the leavener heats up, the better rise your cookies will have. At a lower temperature, your cookies may not rise appropriately or may rise and then fall after baking. Additionally, baking cookies at a lower temperature may yield lighter cookies, or dry your cookies out by taking longer to cook them.
Most people don't intentionally set their ovens too low, but it may not be clear what temperature your oven is actually cooking at. The best way to judge the oven's temperature is to put a reliable oven thermometer inside the oven in a place you can easily read when opening the door or through the oven door window. There may also be hot spots and cooler spots in your oven, which you'll become more familiar with as you bake.
Not rotating cookies while baking
If you do a lot of baking you have probably noticed which sides or corners of your oven are hotter than others. It's most apparent when baking a sheet cake, or a sheet of cookies, and one side of the tray gets darker before the other side. There's also a vertical heat difference between the bottom and top racks depending on where the heat source is in the oven. Most ovens don't have perfectly even heat, so don't be too disappointed if you find that your oven has a hot spot. Also, every oven is different, so hot spots will occur in different places in each new place you bake.
The best way to thwart uneven heating is to simply rotate your sheet tray while baking. About halfway through baking, rotating the sheet tray 180 degrees. If you're only baking one sheet, place the tray on the center rack of the oven. If you're baking several sheets, you'll get the most ideal heat dispersion by not only rotating the sheet tray 180 degrees but also moving the bottom tray to the top rack and the top tray to the bottom rack.
Not cooling cookies entirely on a cooling rack
We know how difficult it is to let cookies cool when they've just come out of the oven. They smell so good and you can almost taste the warm buttery crust. Aside from the threat of burning your mouth, we'd suggest letting the cookies cool for five to 10 minutes before digging in for easy handling. A cooling rack is ideal here for a very important reason. Cooling cookies on a rack allows for more airflow around the cookies and cools them off more quickly (via Better Homes and Gardens). Cookies left on a hot cookie sheet will continue to cook for several minutes even after coming out of the oven. If you've baked your cookies on a piece of parchment paper, it's easy to pick up the paper from a short side of the tray and just slide the whole sheet onto your cooling rack. If you don't have a cooling rack, consider taking your cookies out of the oven a minute or so earlier to finish cooking on the hot sheet tray, or you can simply slide the cookies on their parchment directly onto a cutting board or countertop.
Using a still-hot baking sheet
During the holidays, many people find themselves churning out cookies for gift boxes, work parties, and family gatherings. Times like these may leave you with more cookie dough than cookie sheets, constantly rotating sheets in and out of the oven in large batches in an effort to get all of the cookies baked as quickly as possible. Even though you've got a lot of baking to do, you should think twice before plopping fresh cookie dough onto a hot sheet tray.
When immediately reusing a hot sheet tray, cookies begin to melt before they have a chance to rise. This makes for cookies that bake flatter and spread further than the same cookies baked on a cool cookie sheet. The testers at Cook's Illustrated put cool, warm, and hot cookie sheets to the test and determined for good that the best cookies are baked on cool cookie sheets and get progressively worse with warmer and hot trays. If you're short on cookie trays and time, at least let your trays cool for five minutes before popping them back in the oven with more cookies.
Not chilling certain types of cookie dough
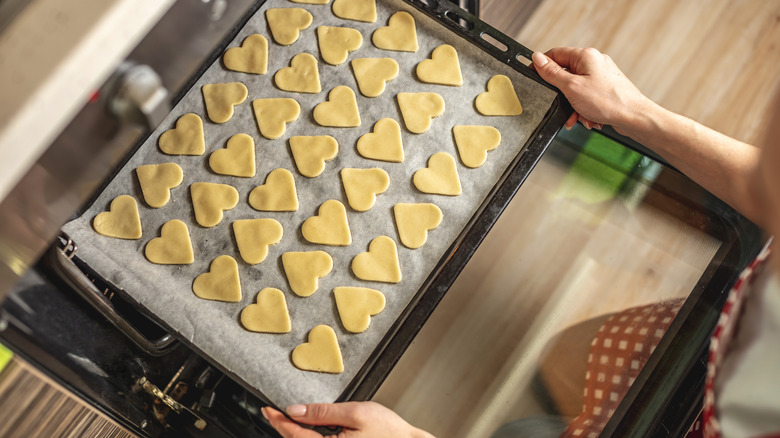
Not all cookie doughs are created equal. While some cookie dough is meant to be scooped out of the bowl directly onto a baking tray and sent straight to the oven, others need time to chill out before baking. When deciding whether to chill or bake our cookie dough, we took advice from the original baking queen, Martha Stewart. Rolled and cut-out cookies should absolutely be chilled before baking. There's plenty of scientific reasoning behind why chilling these types of cookies makes a better final product, but it boils down to more even browning while baking and less spreading, which is the biggest enemy of cutout cookies. When chilling these types of cookie doughs, you should refrigerate them for at least 30 minutes and up to 24 hours before baking.
Of course, not all cookie doughs should be or need to be chilled. Thin and crispy tuile cookies are meant to spread while baking, and dense cookies like peanut butter cookies won't benefit from absorbing more moisture in the refrigerator. If you're curious whether to chill your favorite cookie dough, consider if you'd like the cookies to spread less and brown more — in which case you should try it out. If you're looking for more spread and a lighter golden color, fresh or room temperature dough is probably the best way to go.