You've Been Cleaning Your Stand Mixer All Wrong
Those who have powerful stand mixers in general (and KitchenAids in particular) swear by them. They are sleek, beautiful workhorses that bring out the domestic deity in us by making baking less of a chore. But while our stand mixers never fail to do right by us, we aren't great about doing right by them, especially when it comes to looking after them once they've been used.
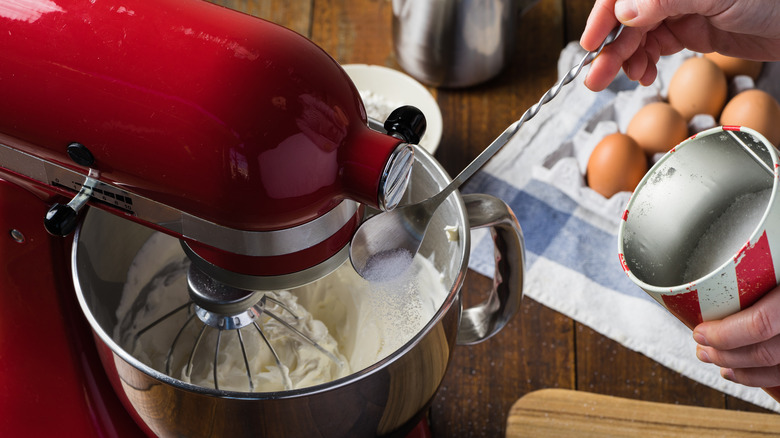
Cleaning coach Leslie Reichert tells TODAY that she has a routine for making sure that the stand mixer in your life gets the TLC it deserves. When you're done with the beating, mixing, and folding, take the bowl and its associated attachments (flat beater, wire whip, and dough hook), and rinse them up to prep them for their time in the dishwasher, otherwise use hot soapy water to get rid of all the sticky, sugary goo, rinse, and then dry properly before storing. And now for the fun part.
Your stand mixer needs a thorough deep clean
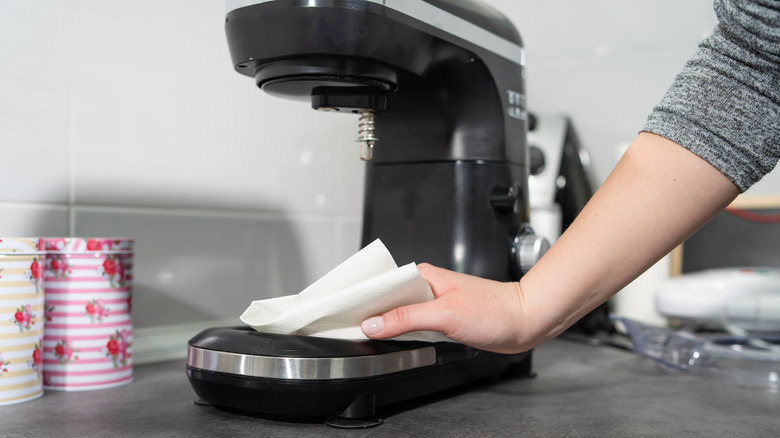
This is the bit that we almost never do, likely because we don't really see what's going on when our mixer is doing all the work. After you've unplugged the mixer, get ready to wipe down and deep clean the stand, because no matter how careful you are, ingredients will splatter — and it doesn't take much to remember how dry ingredients fly up into the air while mixing. Leslie Reichert suggests having a microfiber cloth, dedicated toothbrush, toothpick, and baking soda on hand to get the task done quickly (via TODAY).
Tackle the nooks and crannies of the mixer head with a dry toothbrush or a toothpick to get rid of any old material that might have started crusting over, then move on to the knobs, levers, the area near the mixing head, and even the vent holes in the back. If you happen to hit a particularly tough spot, Kitchn recommends you use a sprinkling of baking soda with a bit of water to loosen grime. Then wipe the areas clean with the microfiber cloth.
Whatever you do, remember that your mixing stand is made with electrical parts and won't take kindly to getting wet. Make sure that no water enters through these little cracks and crevices, and use a damp cloth when needed.