No-Churn Chocolate Ice Cream
Homemade ice cream is such a level up from commercially produced ice cream that it's surprising more people don't make their own, let alone obsess over the various TikTok hacks for doing so. But it's not really that surprising when you consider that many people believe that in order to make ice cream, you need an "ice cream maker" to do your icy-cold churning. Well, guess what? You actually don't, and recipe developer Susan Olayinka of The Flexible Fridge is here to demonstrate the no-churn method of ice cream-making with this simple and easy no-churn chocolate ice cream recipe.
So, how does it work without an ice cream maker? "The no-churn method begins by whipping the heavy cream so that it's full of air pockets. You then fold in condensed milk to add the sweetness," Olayinka explained to Mashed. That creates a blank canvas onto which Olayinka "paints" chocolate in the form of cocoa powder. So, if you've got five minutes (for prep, after which the ice cream needs to freeze), let's get not-churning.
Gather your ingredients for this no-churn chocolate ice cream
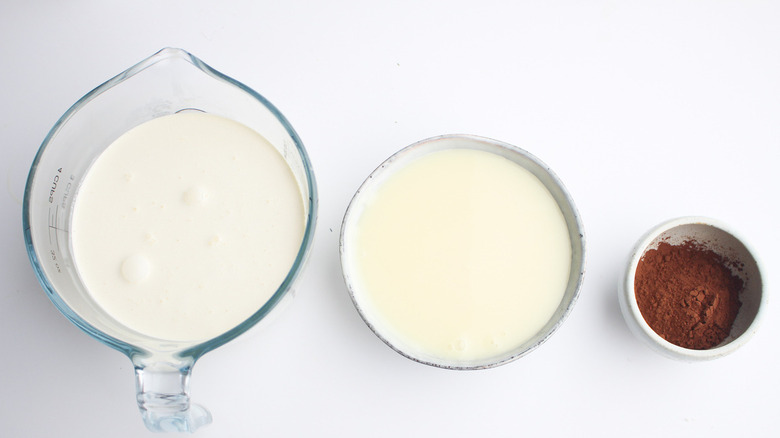
As mentioned above, one of the ways to get around using an ice cream machine to cold-churn your ice cream mixture is by employing the no-churn method. The no-churn method involves whipping the heavy cream so that it has air incorporated into it when it hits the freezer. And for that, you will need two and a half cups of heavy cream, two tablespoons of cocoa powder, and one can of sweetened condensed milk, which not only sweetens the finished product but lends it some of its rich density as well as adding a "touch of caramel flavor too," Olayinka explains.
Get your no-churn chocolate ice cream started by whipping up that cream
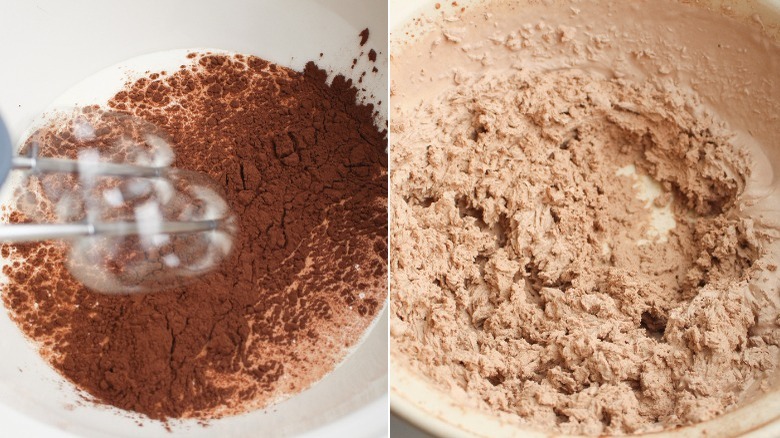
As promised, this recipe for no-churn chocolate ice cream starts with whipping heavy cream to incorporate lots and lots of air into the ice cream mixture before freezing. The chocolate flavor comes from unsweetened cocoa powder, and Olayinka has found that whipping the cocoa into the cream creates not only a lovely, smooth consistency but also saves you a step.
Use an electric mixer to beat the cocoa and heavy cream into a medium-to-large-sized bowl until stiff peaks form. This should take no more than two to three minutes. And if you're wondering what "stiff peaks" are, Olayinka explains it thusly: Whip it "until the cream forms stiff peaks so until you can turn the bowl upside down and it doesn't fall on your head!"
And now for the inevitable 'sweetening' of the deal

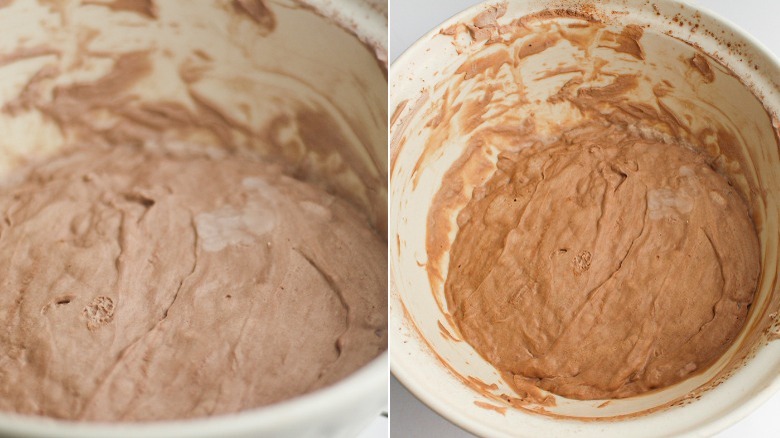
You're basically done all the work you'll need to do for this no-churn chocolate ice cream recipe. All that's left is to add the sweetened condensed milk for sweetness, smoothness, and density. Use a wooden or silicone spoon to gently mix everything until the color is uniform. This should take no more than 10 seconds.
Your freezer awaits...
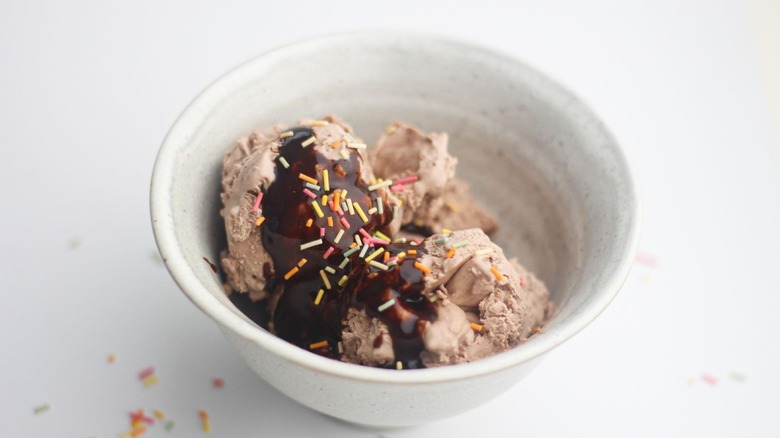
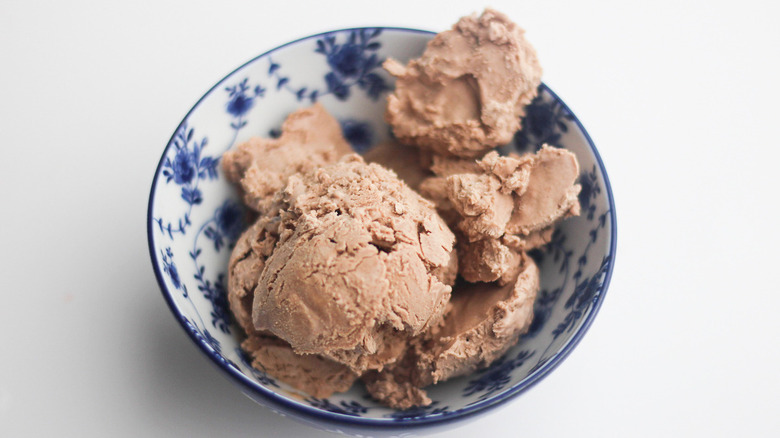
After gently stirring the sweetened condensed milk into the no-churn whipped cream base, all that is left to do is to pour the ice cream mix into a bowl or another container from which you can serve it. Then cover it tightly with aluminum foil or plastic wrap. Place it in the freezer for 12 hours, at the end of which your no-churn chocolate ice cream will be ready to scoop into cones. Or better yet, scoop it into bowls and serve with your choice of toppings.
Olayinka's peanut butter sauce is a great place to start, as is hot fudge (which happens to be the number one topping for ice cream in the U.S.). Sprinkles, sliced bananas, whipped cream, nuts, and maraschino cherries are purely optional.
No-Churn Chocolate Ice Cream Recipe Directions
Susan Olayinka is here to demonstrate the no-churn method of ice cream-making with this simple and easy no-churn chocolate ice cream recipe.
Ingredients
- 2 ½ cups heavy cream
- 2 tablespoons cocoa powder
- 1 can condensed milk
Optional Ingredients
- Peanut butter sauce
- Hot fudge
- Sprinkles
- Whipped Cream
Directions
- Pour the heavy cream into a large mixing bowl.
- Add the cocoa powder.
- Mix with an electric whisk until stiff peaks form, about 2 to 3 minutes.
- Add the condensed milk. Use a wooden or silicone spoon to mix everything gently for 10 seconds. The color will be uniform when mixed properly.
- Pour the ice cream mix into a serving bowl, cover, and freeze for 12 hours.
- After 12 hours, take the ice cream out of the freezer and scoop it into cones or bowl, and serve with the toppings of your choice.
Nutrition
| Calories per Serving | 326 |
| Total Fat | 22.6 g |
| Saturated Fat | 14.1 g |
| Trans Fat | 0.0 |
| Cholesterol | 84.2 mg |
| Total Carbohydrates | 27.9 g |
| Dietary Fiber | 0.3 g |
| Total Sugars | 27.4 g |
| Sodium | 79.7 mg |
| Protein | 5.0 g |